Gunboat Philadelphia 1776 Model Shipways MS2263 1:24 Scale

Kurt Konrath

Kurt Konrath
Joined
Feb 11, 2020
Messages
4,728
Points
588

Location
Oklahoma City OK
Well I am two weeks late for the online group build being hosted by Olha , on her YouTube channel, but I have started my build of this kit.

In episode #1, Olha identified a problem with some of the kits sent out. One of the two bottom sheets were cut undersize, and she showed the fix in episode #2.

My kit didn't have this problem, so hopefully I can catch up by not having to spend time working the corrective fix.

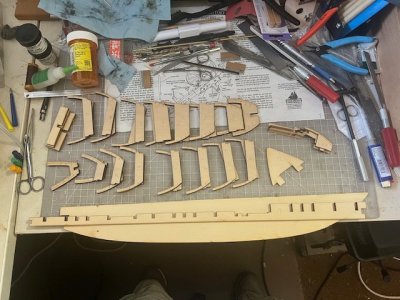
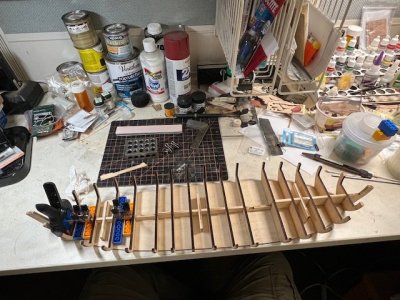
So here are photos of my start, cutting all the lower hull bulkheads and bottom pieces out getting ready to sand and glue up.

Pardon my very messy and cluttered work bench.
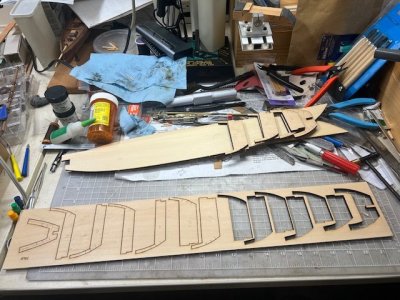
IMG_3236.jpgHull Parts.jpg
 
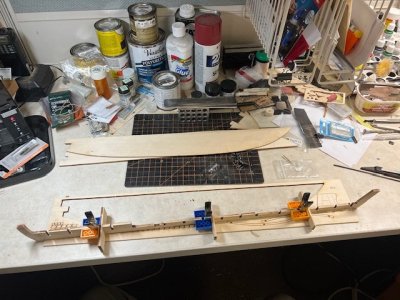
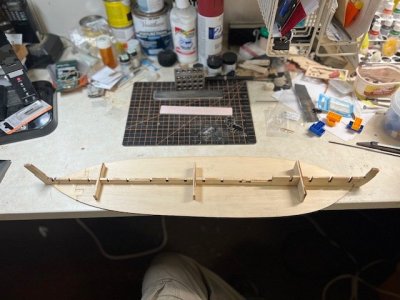
So I got the ends attached to center keel, step one. Next step is to add three stabilizing supports to keep the keel vertical on the bottom.

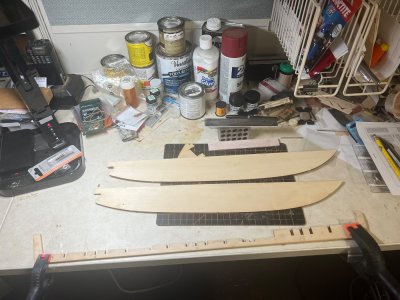
I use the board PA2, which one of the bottoms came from as a spacer for the supports, as the keel has long center notch where it goes over the bottom and stem and stern boards extend down to be level with bottom of the bottom.

Keel Support 1.jpgKeel Supports.jpg

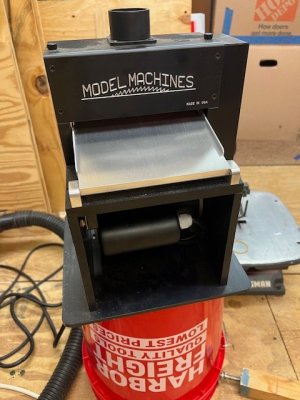
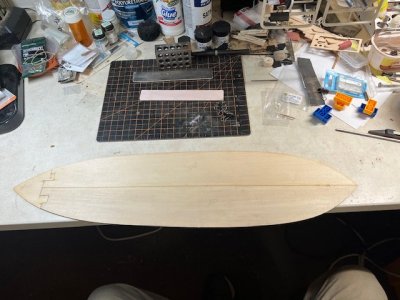
While the keel and supports were drying I thought I would assemble the bottom of the gunboat, but I did have a problem other than the short size Olha had in her kit. The two boards for bottom pieces were both supposed to be 3/32", but PA2 was actually 17/128", which is not much except when placed side by side and a difference it noticed. I had to think of what to do next, first option was to glue up and use the side with step on outside bottom, to give a smooth inside bottom to glue up bulkheads to. Then for some strange reason my brain engaged the thought mode and I remembered my new tool from Christmas 2023, I got a Model Machine thickness sander. So this was my first time/reason to use it. I hooked up power and vacuum and inserted the half that was too thick, and adjusted till it barely could be pulled out. After 5-6 passes, making minor adjustments I finally got it to 3/32" checking multiple times with my digital calipers.

MM Sander.jpgBottom.jpg

Now I could glue up the complete bottom, and move to attaching the center keel.

This is where I noticed the stem post was a bit loose, and didn't fit well, bad fitting when first glued. So after using some acetone to soften the PVA, I got the parts separated and did come cleaning and sanding, while test fitting keel on the bottom. After getting a tight fit, I re-glued he stem to keel and clamped it together to dry.

Stempost Repair.jpg

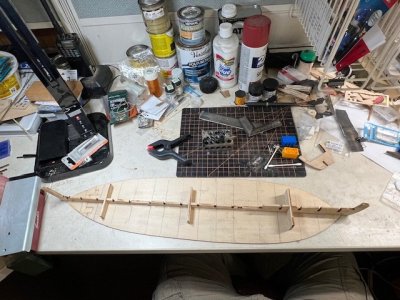
Now I applied PVA down the center of the bottom, joint made nice guideline to place glue, and then attached the keel, and placed weights on it to hold down while it dried. Then I thought I might try to save time in fairing bulkheads and started filing on #1 to the laser marked guidelines, and I broke it in half, so another repair.

Keel Installed.jpg
 
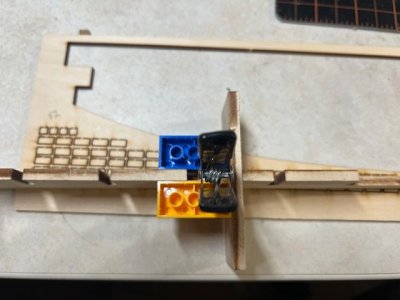
So after some time I started getting ready to attach the bulkheads. Except for #1 & 16, the others are in two piece sets. So I used a few of them to temp place in the keel and using a small square, I marked lines on the bottom to keep the bulkheads square and straight across the width of the hull. Then started the slow process of gluing, cleaning up excess glue, and clamping with my Lego blocks to keep things square. It is nice that Oklahoma City has a official Lego store in the mall, so I could go buy enough pieces just for ship building. The Admiral forbid robbing of the grandkids Lego stash.

Bulkhead guidelines.jpg

Then working every other bulkhead set I started gluing them all in, alternating location of my blocks, as some spots were tight on spacing. When done I carefully added #1 back after repairs and all will sit now overnight to glue up.

Bulkheads done.jpg

Now to start the fun part which is fairing all the bulkheads from top to bottom, and that means the bottom must also be faired as the side planks go down to bottom, with no external keel to mate against. A true flat bottom boat. Hopefully, fingers crossed I won't break any bulkhead tops off, as Olha has two break just by bumping them lightly. But she showed how to fix this kind of problem, which makes for great teaching video series.

I have a week to get fairing done to catch up with where the work is at in her online group build.
 
Hey Kurt, things are looking solid so far! I'll definitely be keeping an eye on how your build comes together.
 
Back
Top