Thanks Daniel. I think I'm going with golden oak from now on. The kit had basswood and walnut pieces to be used in the deckhouse construction. Thought it would look strange with a light stain and to contrasty. Will substitute wood next time so all the components are the same type.I know what you mean about walnut stain. I used it on some basswood and the results were way less than what I was expecting. I've found that lighter stains like pecan or golden oak look much better. I'm sure it has to do with basswoods density and grain structure. You do have a very beautiful ship there Charlie.
Daniel
You are using an out of date browser. It may not display this or other websites correctly.
You should upgrade or use an alternative browser.
You should upgrade or use an alternative browser.
H.M.Y Britannia (MV44) by Mamoli [COMPLETED BUILD]
- Thread starter STGCS
- Start date
- Watchers 13
-
- Tags
- completed build
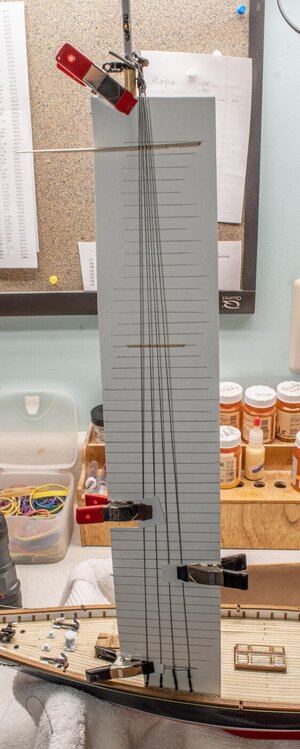
All the old photos of J-Class yachts I could find didn't have ratlines but the plans show them. Finally decided to do it because I like the look.Good luck with a laborious exercise Charlie! The result is sure to please!
Without ratlines I can only imagine what a chore it would of been to rope climb all the way up for any kind repairs or replacements. I agree the rat lines would look better than not having them.
Well I finished the port side and set up for the starboard. It looks pretty good so far. Took a couple of days to complete. The arms get sore holding them up tying those knots so had lots of rest breaks. I assume without ratlines they would have used a boatswain chair for those mast top repairs.Without ratlines I can only imagine what a chore it would of been to rope climb all the way up for any kind repairs or replacements. I agree the rat lines would look better than not having them.
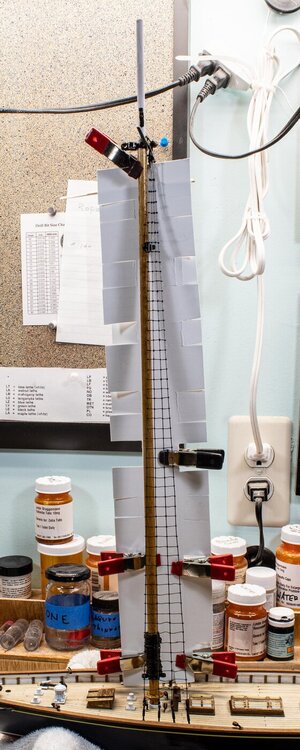
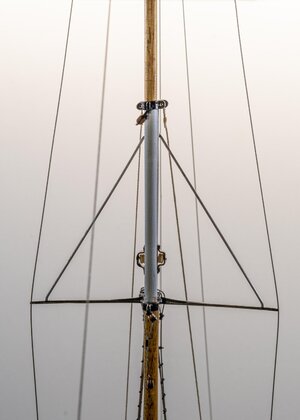
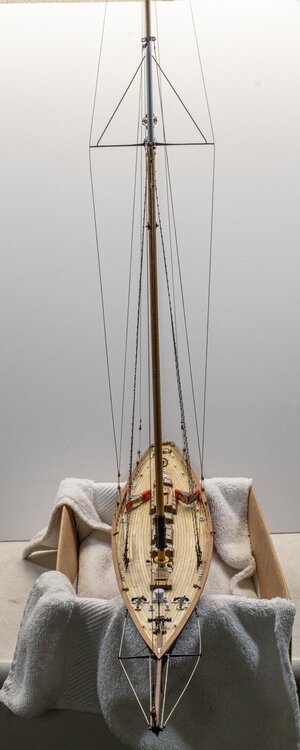
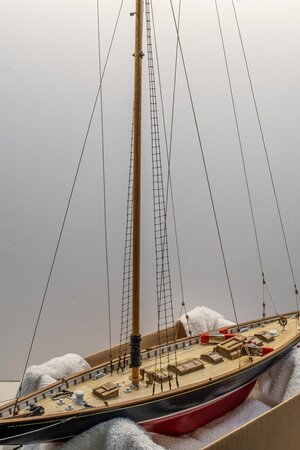
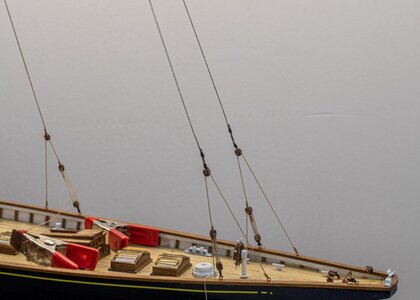
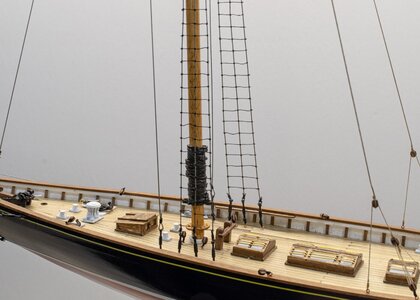
Most of the standing rigging is complete. Really having trouble reading/interpreting the plans. In the previous photo you can see I did ratlines on all four shrouds. Wrong! Had to cut out the fourth one and redo it. It was supposed to go to the ends of the spreader then to the top of the mast. You can see the corrected shroud on a couple of the photos below.


Hi Charlie,
I was just noticing how tall the main mast looks in relation to the length of the hull. It's impressive!
I was just noticing how tall the main mast looks in relation to the length of the hull. It's impressive!
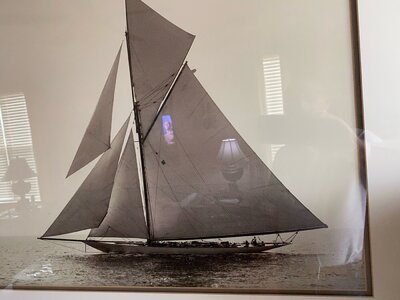
My wife bought this print many years ago, way before I started modeling. I swear it's the same ship or at least the same class and time frame. Like you mentioned the masts were really tall.Hi Charlie,
I was just noticing how tall the main mast looks in relation to the length of the hull. It's impressive!
It was time to start working on the sails but it will be a chore as I'm not very proficient on the sewing machine. As a backup plan I gave a set to a seamstress for her to try. She never has done sails but at least she knows how to run a Singer. While I wait for her I worked on the stand supplied in the plans. I liked the way it came out but not how the model sits on it. I still need to sand down the top planks to conform to the hull shape and that will effect how it sits, but I think it's way to forward and not pleasing to the eye.
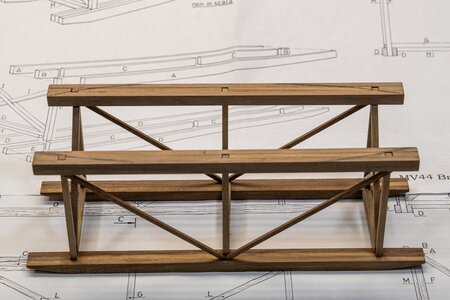
The lines are drawn on the top planks to show where the sanding should be done. It's also visible on the plan sheet in the background.
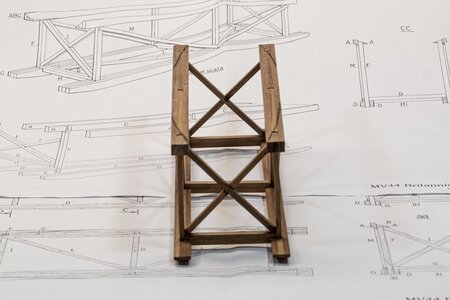
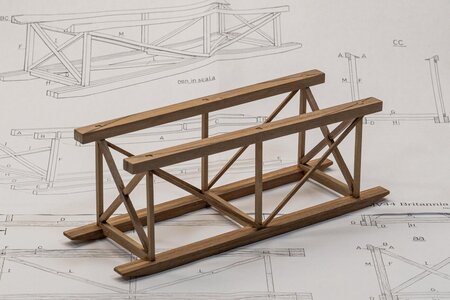
As well as too far forward, it's also not level on the stand. After shaping it to the hull I hope it will at least sit straight and level.
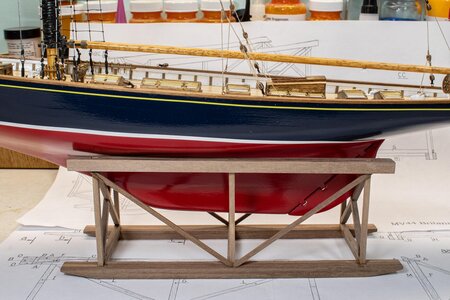

The lines are drawn on the top planks to show where the sanding should be done. It's also visible on the plan sheet in the background.


As well as too far forward, it's also not level on the stand. After shaping it to the hull I hope it will at least sit straight and level.

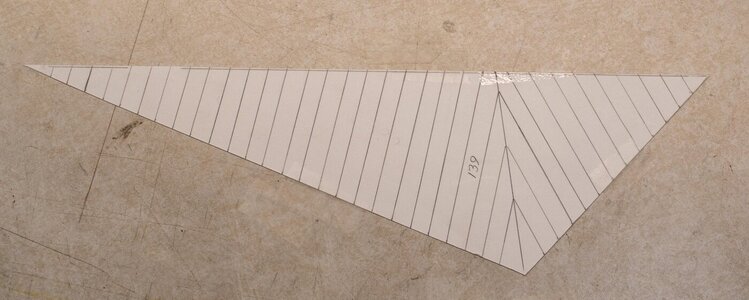
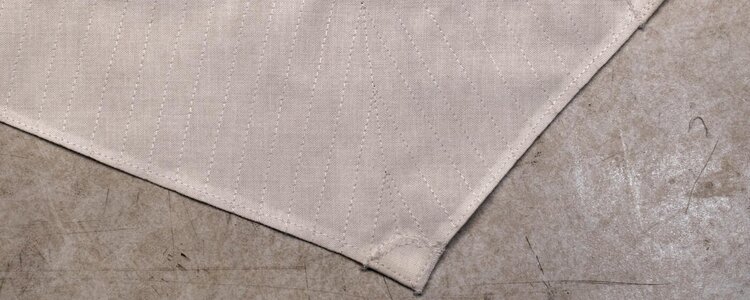
It took several tries but finally got one acceptable sail. Sewing machines are not my forte. First I made a template and taped it to the table.
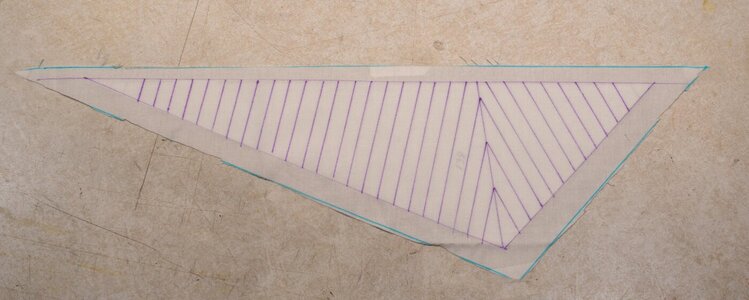
Then I taped the sail cloth on top of the template and with a fabric marker traced the lines to be sown.
After sewing it looked good so ran it under water and the marks disappeared. (Different color this time. Last attempt was a mess so started over for the third time.)
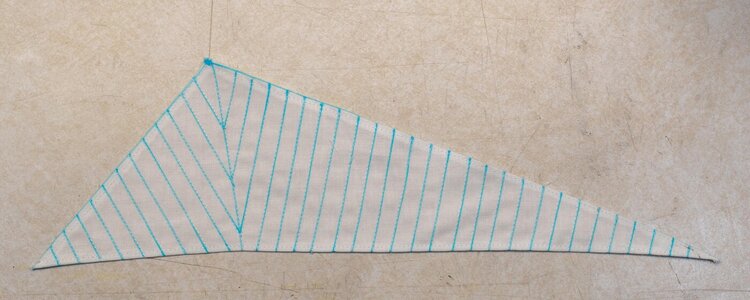
Jib completed. Will work on the next jib tomorrow. The back side not so pretty but I'll have it facing the wall.

Then I taped the sail cloth on top of the template and with a fabric marker traced the lines to be sown.

After sewing it looked good so ran it under water and the marks disappeared. (Different color this time. Last attempt was a mess so started over for the third time.)

Jib completed. Will work on the next jib tomorrow. The back side not so pretty but I'll have it facing the wall.

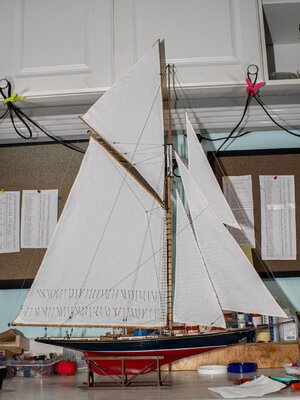
Finished sewing the sails. I did a different approach to the clew, foot and head attachments. The plans called for a grommet at each corner but I couldn't figure out how to do it with the parts supplied. Still looks pretty good. Next up is attaching the mainsail to the boom and gaff, then mounting to the mast and sewing the mast hoops.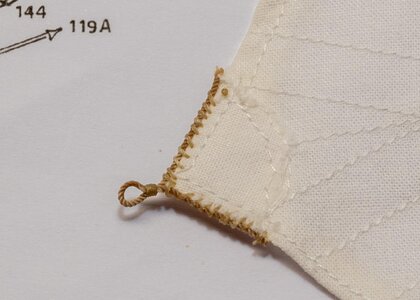
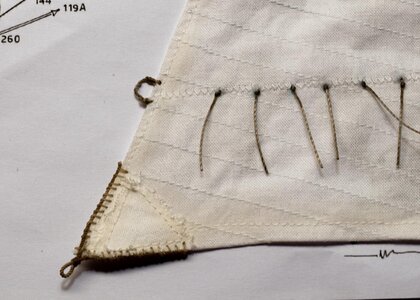


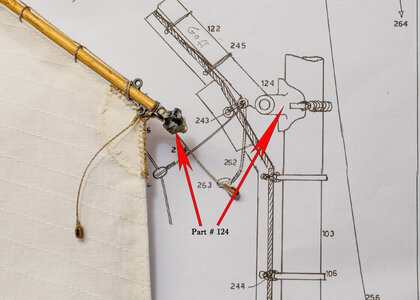
Finished most of the sail work and now it's time to mount the main sail. If you are planning to build on this model here's a tip. Part #124 a collar, should not be glued to the mast until you're ready to mount the sail. I had to soak it in acetone for 10 minutes to get it free. It was about 1" off from where the plans said to put it. Probably because when making the sail it's almost impossible to have it come out exactly the right size and shape. I also attached the sail to the gaff a little off so now it won't be tight to the mast. will have to try and slid it down a tad. 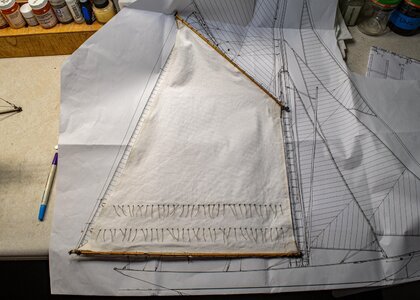
 I have learned to live with my mistakes.

 I have learned to live with my mistakes.
Hallo Charlie alias @STGCSMy wife is a big fan of racing yachts and wanted me to build the Britannia. I couldn't find a build log for her so comments along the way would be appreciated. I'm not a big fan of Mamoli kit instructions. I had the same problem with my cross-section of Constitution. It would be nice if the instructions were in booklet form with separate drawings sheets instead of all mixed together. Also the print is too small for me to read without using magnifiers so I have to scan the english directions into Adobe and enlarge them 200% then print. Works better to have the directions on a separate sheet that I can also use as a checkoff list as each step is completed.
View attachment 229746View attachment 229747View attachment 229748View attachment 229749
we wish you all the BEST and a HAPPY BIRTHDAY

Enjoy your special day
Cool Charlie. Happy birthday indeed!!!
Thanks EWEK Will probably overindulge and enjoy every minute of it.
Thanks Paul. 81 not great but as long as the eyes hold up and the hands are steady life is good.Cool Charlie. Happy birthday indeed!!!
Happy Birthday, Charlie! 

Happy Birthday my friend!! Here's to overindulgence!!
 = too much foam!

 = too much foam!

