Halcon 1:100 first attempt for wooden ship modeling

Joined
Aug 28, 2024
Messages
22
Points
58

Hello for everyone :).
One day of rest time after surgery, something inside me told -" it is a time to build a wooden ship model", as a first try in my life :) .
I always was impressed by amazing models of galleons and schooners and full of respect for passion and skills of people creating those models.
Also please excuse my possible mistakes in English, is not my native language.
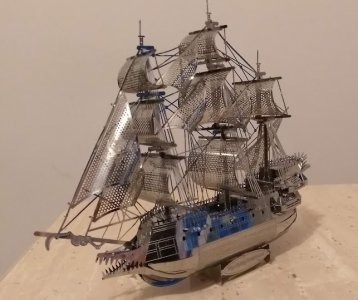
Well, for learning I got a metal kit from Ali as a warm up, one afternoon and Flying Dutch model was ready :) .
Flying Dutch.jpg

So I decided to order 7$ Halcon 1840 kit from Ali, to just check my ability in such modeling, I didn't know what I am stepping for :)
Kit was typical, bad instruction, my modeling experience was equal to 0.
Anyway I started to look at some movies at You Tube and look for some pictures over the internet.
I found an old water glue in garage, already got sharp knife and start my modeling adventure :)
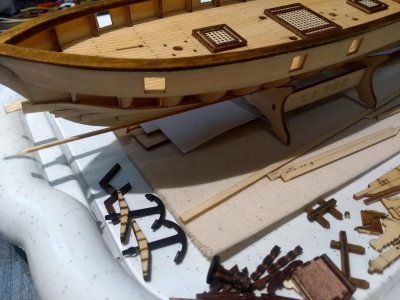
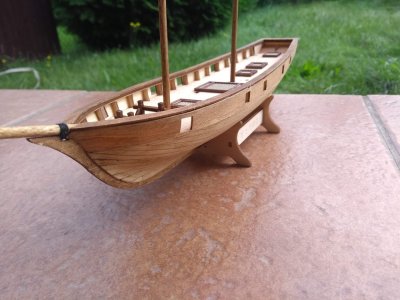
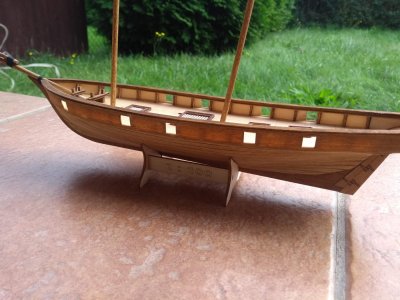
First of all I did some light wood coloring, for deck and some more intense for other small parts to have them in contrast.
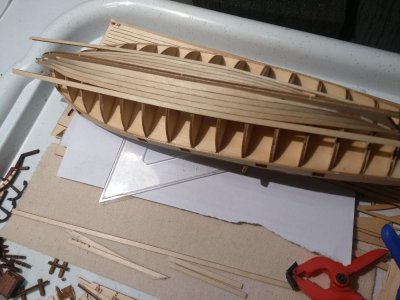
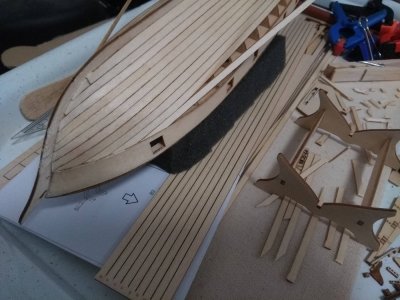
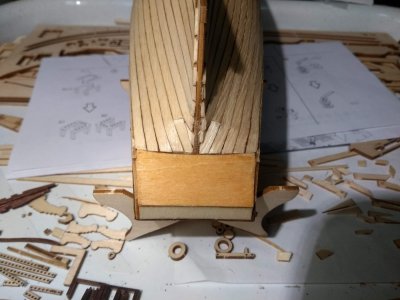
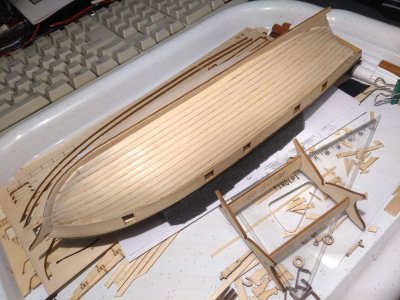
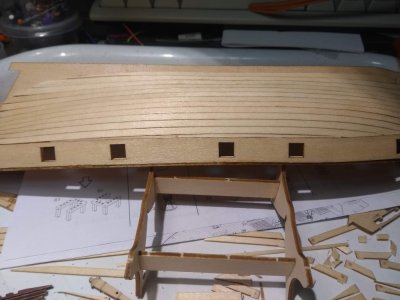
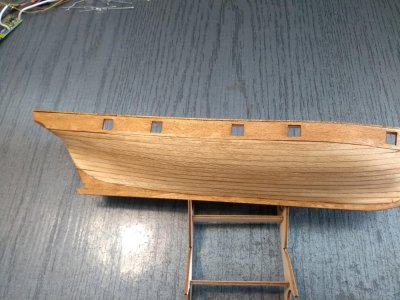
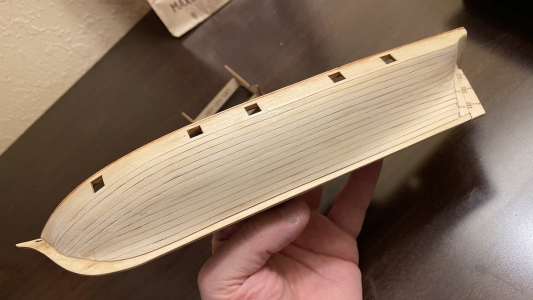
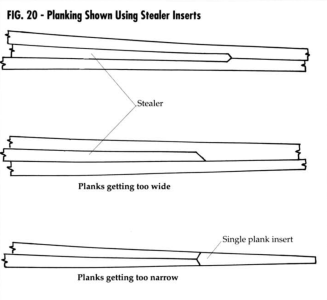
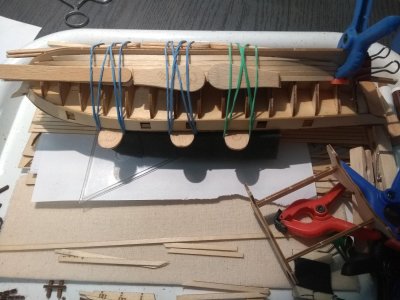
Then I started planking.
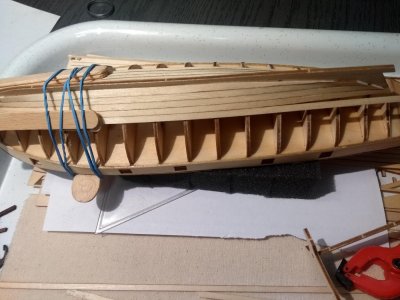
plancking3.jpgplancking2.jpg
deck1.jpg
plancking1.jpgplancking5.jpgplancking_rear.jpg
 
Last edited:
Well as for first try I was proud of my work, however there was a lot of imperfections.
Anyhow, a hull need a sanding, so I got a sand paper and sanded a hull, that was nice experience when feel under fingers how wood surface becoming smooth :) .
plancking_finish_sanded.jpgplancking_finish.jpg
 
Last edited:
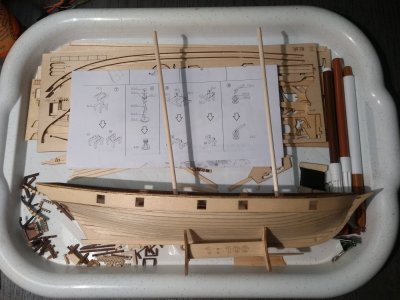
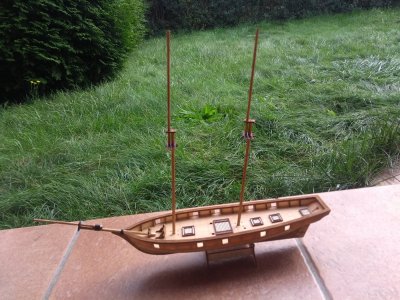
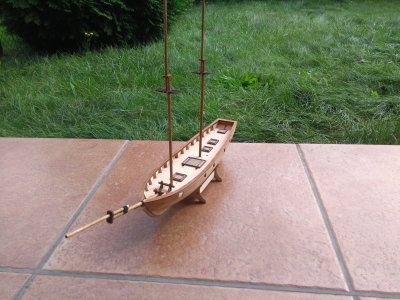
At next was a point to made a masts and bowsprit, but there was no any dimensions in China "instruction". I saw a pictures of models where masts was much too big for the rest of body, making such no proportional model a pain when look at it :)
Proper proportions are very important, for ship and women :D

plancking4.jpg

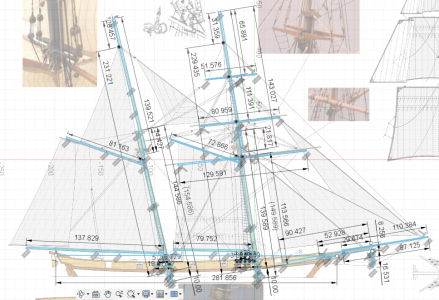
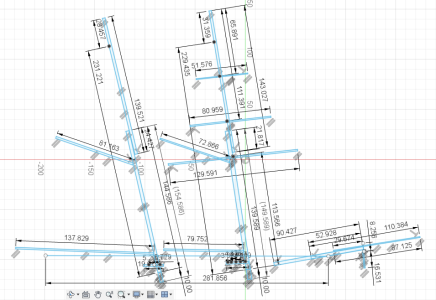
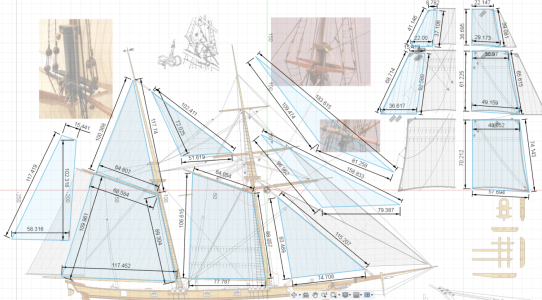
So I used a Fusion 360 software (it is free for personal use) and famous Halcon plans I found in net, to made a proper proportion for my model at 1:100 scale. Using CAD software I was able to scale/calibrate the plans and made/estimate proper dimensions for masts, bowsprit and sails. Here is an example of dimension. All are metric system mm ;)

dim_masts1_1-100_remzibi.pngdim_masts1_noRef_1-100_remzibi.pngdim_sails_1-100_remzibi.png
Maybe my dimensions calculation will be useful for anyone in future, so here I add dimension pack as .zip file for download, including .pdf files with proper sails dimensions for Halcon 1840 1:100 scale.
 

Attachments

Last edited:
In kit was some sticks, 5mm diameter, 3.85 and 3mm.So 5mm I didn't use at all, as too fat for masts in my opinion, so 3.85 was used for main mast and 3mm diameter as top mast, same at bowsprit.
I can imagine that +/- 2mm toleration in dimensions in practical manufacturing of parts, is absolutely "no problem" for final look
1f642.png
.
I added some color, masts and bowsprit.
All dimensions as I calculated before for 1:100 scale, however in real, overall bowsprit is 7mm shorter and topmasts about 15mm shorter - anyway the proportions are still OK.
color1.jpg
mast4.jpgmast1.jpgmast2.jpgmast3.jpg
 
Last edited:
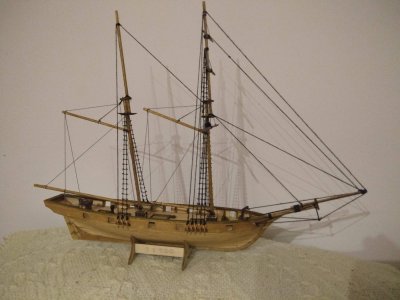
Well, it is time to think about the rigging. I learned that in such ships was used dead-eye for rat lines.
Dead Eye, those parts are missing and I need them
1f642.png
.
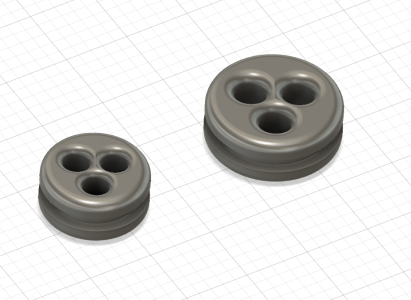
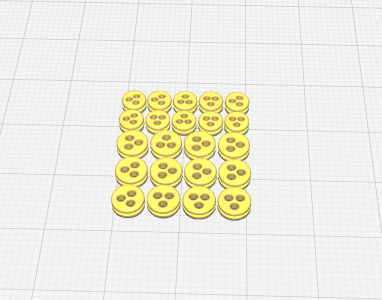
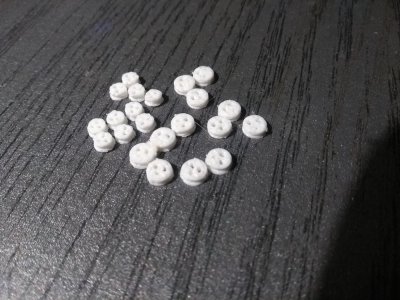
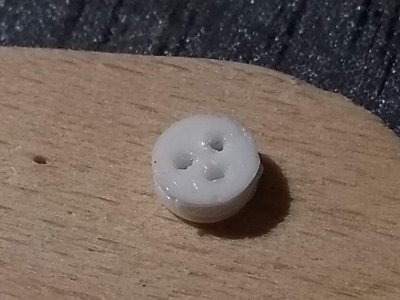
So, I made quick project in Fusion360 for 4mm and 5mm DeadEye, then I made try to print them on my Anet A8 printer 3D, this is not the best printer, and I have nozzle 0.4mm, however I set layer as .33mm to made 6 layers and without any support I printed them at once
1f642.png
, this first try pictures.
Well, result is not the best but absolutely acceptable, especially when there are not any other source for DeadEye (I do not want to wait till delivery from China
1f642.png
). After work with 1mm drill will be fine
1f642.png
.
The .stl files are here for anyone who want to download and print by his self, at this link https://www.thingiverse.com/thing:6751377
Finally, I didn't use any Dead Eye at all on model. I do not want plastik in my wooden model. Also I think that 4 and 5mm are too big for this scale model.

DeadEyeF.pngDeadEye.pngDeaEyes_4_5mm.jpgDeaEye5mm.jpg
 
Last edited:
Making a ratlines was a really nice part, I calculate, that most proper space between steps for my scale model is 6mm.
Here I got into trouble, how to print 6mm lines template on my printer (paper printer :) )?
Finally, I had to sit down and learn to use Free CAD software, to draw a lines in spaces 6mm and set a project to .pdf file and print it on my printer.
I used printed papers as templates for ratlines making, the result was not bad I think :)
Also I used a copper wire as the line/rope keeper (I do not know proper name of this thing in English)
12.jpg
2.jpg3.jpg1.jpg
 
Last edited:
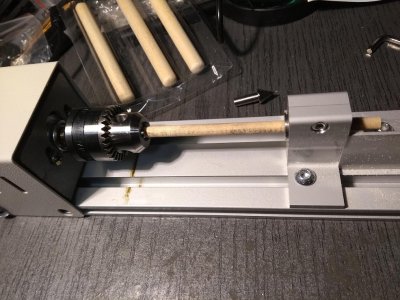
What was absolutely bad looking in this model kit - cannons made as flat parts, so there was some thinking, how to made a nice cannons.
Firs of all I had idea about 3D printing, but there are still plastic, and as second I was lazy to change filament in my 3D printer from white to black color.
There was also idea to buy a ready made cannons from Ali, but finally I bought a lathe for wood, there was some promotions for 25$, good deal :)
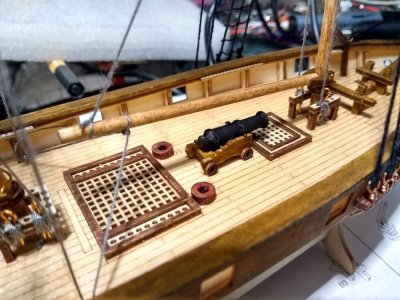
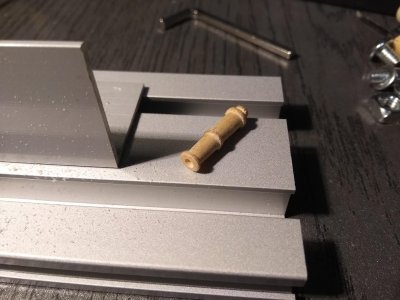
I used iron rod 6mm to set inline of lathe (bearings are 6mm inside diameter), and after first try I was able to made a middle deck big cannon, I was so proud, my first in life lathe use :) . As material I used a stick from water ice cream, they are exactly 6mm external diameter, so fit in bearings perfectly.
After using black marker, the cannon looks pretty well :D

tok1.jpg
tok2.jpgcan3.jpgcan2.jpgcan1.jpgcannon1.jpg
 
Last edited:
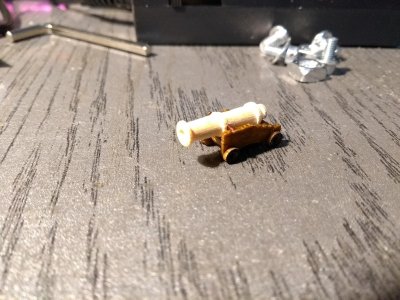
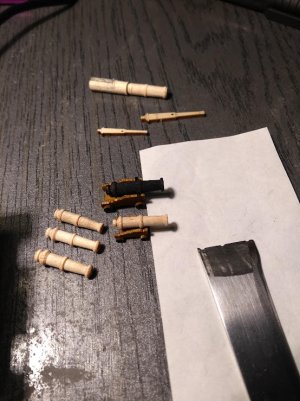
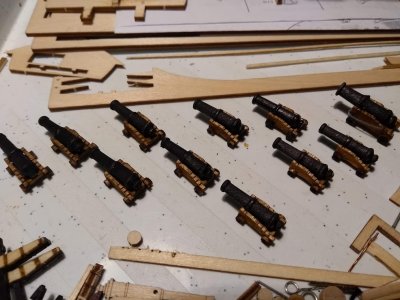
After such nice try with middle-deck cannon, I try some small cannons made, finally I used broken knife as template for cannons body made.
I decide that such dimension is OK.
szablon.jpg
can_ship3.jpgcan_ship1.jpg
 
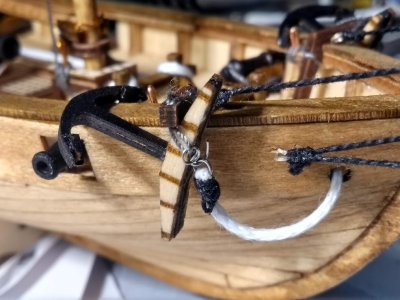
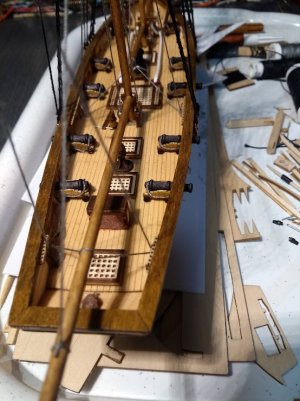
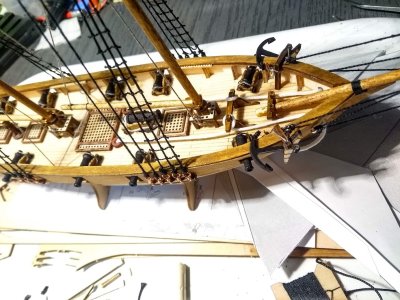
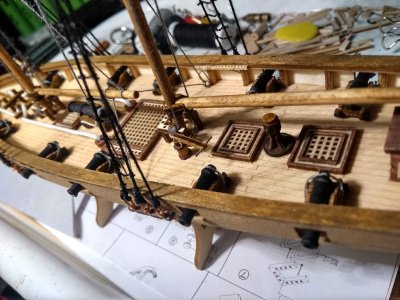
Lastly, as I learned from this forum, that I have to fix anchors, to twist them 90 degree, so I did it.
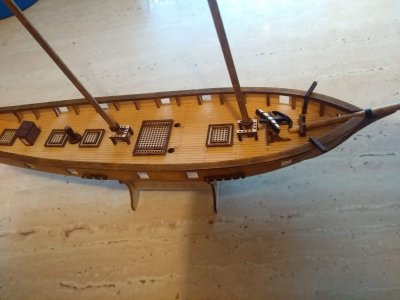
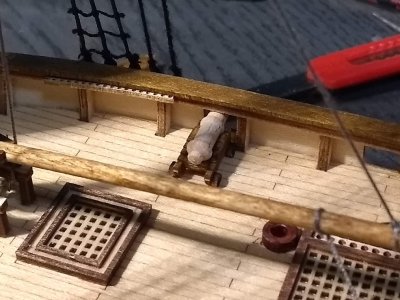
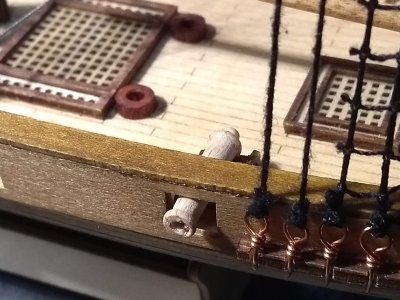
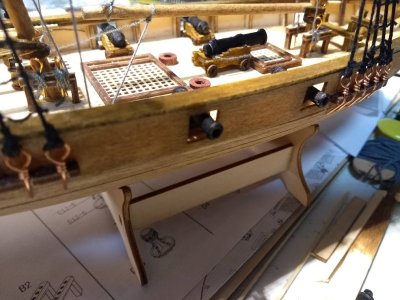
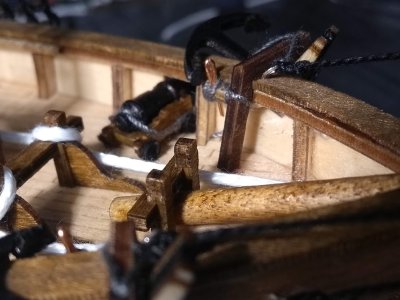
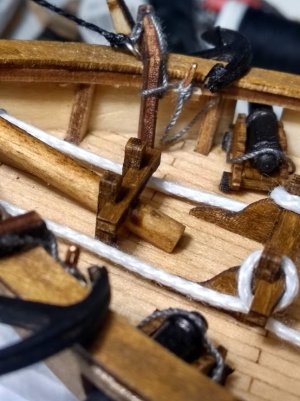
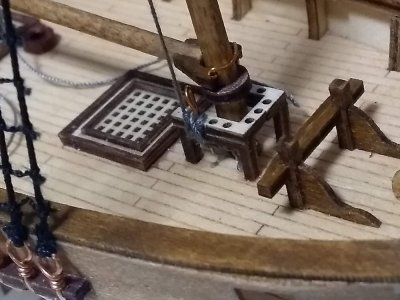
I added also some ropes/lines for cannons and glue all 10 of them at deck, added fixed anchors also :)
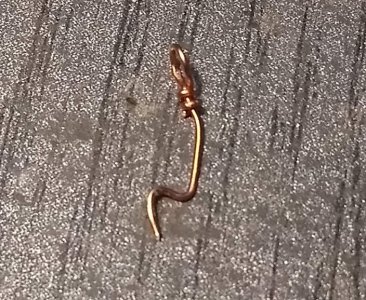
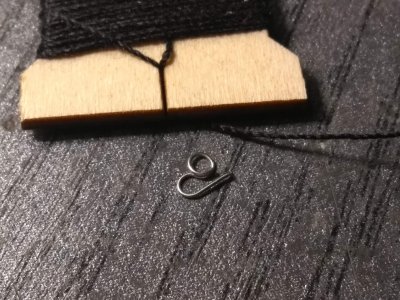
For anchor I made a small hook to keep them up.
hook.jpganchor3.jpganchor4.jpganchor2.jpgdeck2.jpgdeck3.jpgdeck4.jpg
 
Last edited:
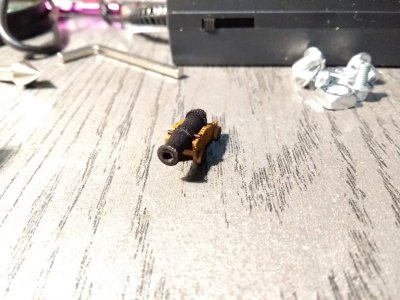
I will not add any sails, because I am not able to made them with proper quality.
I saw really nice models with ugly made sails, and finally made all model look as ...... you know :)
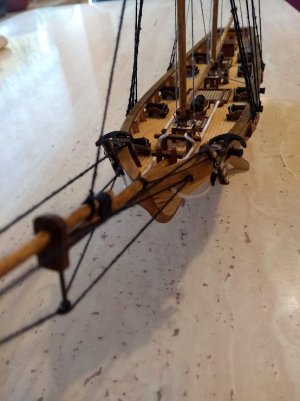
I will add only Yard brace and that will be finish.
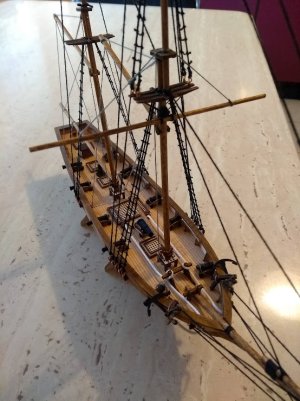
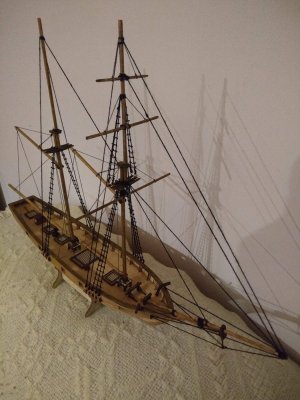
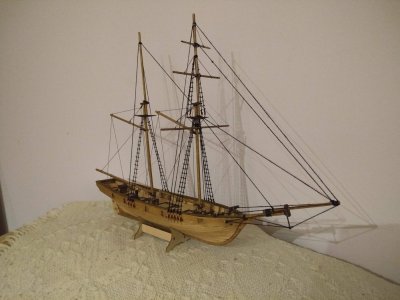
Anyway, I know, I am far away behind of modelers making really beautiful and big ships, however as for my first try I am glad for work.
Let say - good warm-up :D
In fact I liked so much this work, I learned so many things and how to use a tools I never used before,
and finally I ordered another China kits in scale 1:130, 1:120, 1:70 etc.
so probably I will made another models if I have some spare time :D

final2.jpgfinal1.jpg
 
Last edited:
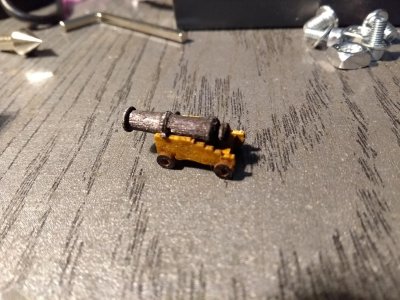
Great job for your first attempt- especially with what you had (rather, what you didn't have!)!!
Very good that you stuck with it- and figured out how to resolve all the issues with the kit.
It definitely pays to buy a quality kit that has all the proper parts and materials- as well as accurate instructions and/or plans.
 
Outstanding job with a 7 dollar kit. Especially with no real instructions and no rigging materials. Best wishes, fair winds and following seas to you sir.
 
You have done really really well, considering 7$ kit and this being your first wood model.
 
I also bought this for a practice kit before starting more expensive ship project. I just finished planking the hull, filler and sanding. Not sure if I am going to go any further as the parts are severely lacking and not worth spending a lot of money to acquire all tbe fittings. But for $10, I learned a lot that will help me on more complex projects.
 
Stunning woodwork! And a nice alternative for cannon that I had not previously considered. I don't have a mini-lathe, so I will give myself a "pass" on that oversite.

Thanks for posting and best wishes!

M.
 
Nice result and I see you're having the very same fun I found also in building this cheap kit.
Also having another 3 to go...;)
And thanks for the calculation and pictures on the masts!
 
Back
Top