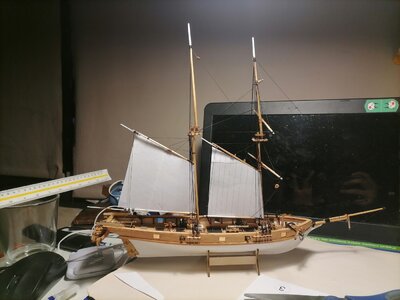
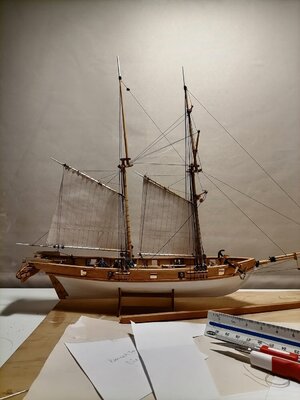
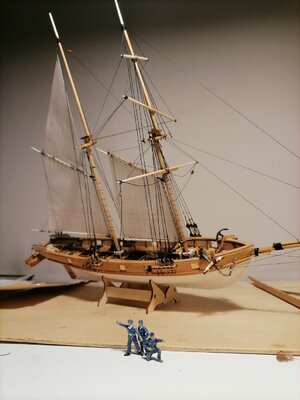
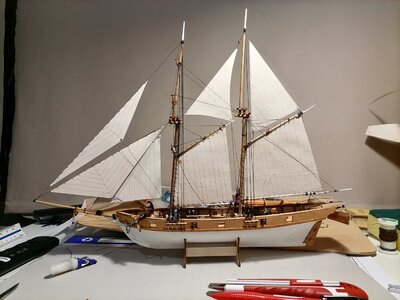
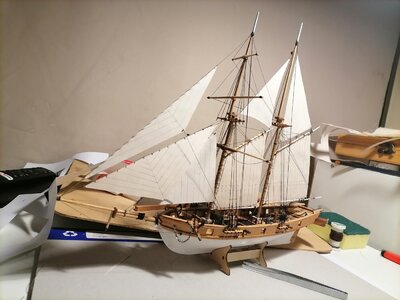
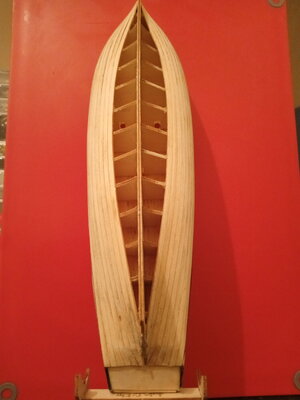
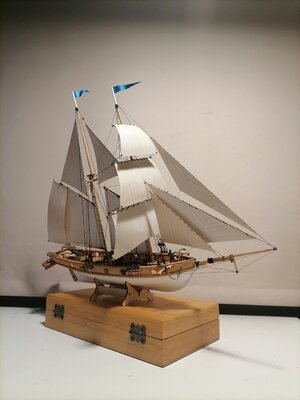
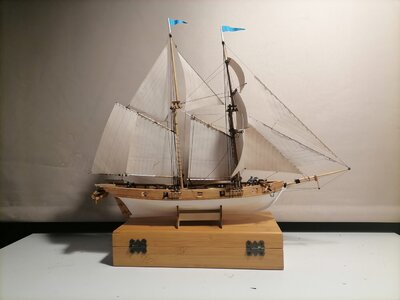
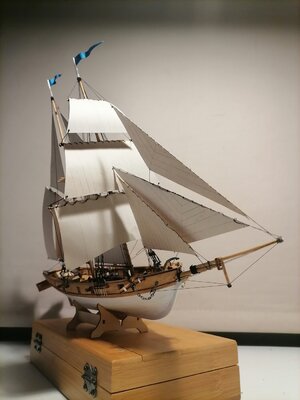
Halcon 1:100 Rookie way [COMPLETED BUILD]

Ok, after seeing some of the photos some fully sailed some just rigging, I now have a dilemma. Sails or no sails with the rigging. Or do it with no full sails just some furrowed sails? I think I prefer not fully sailed as it allows you to see more of the deck. Also, do I paint and varnish it or leave it bare wood.
You know, for a cheap little kit bought to pass some time it's got me asking lots of questions and a fair bit of head scratching.
I know the feeling, I bought a €16 HALCON 1840 1/100 and the instructions are terrible. I'm missing a lot of smaller intricate piece's that I now am making myself but it's starting to come together.
I noticed on a different site for just over €25 with the updated kit, you get the lifeboat, brass canon's, steel anchor's, chains and the eyelets and small nails needed so at least when this one comes I'll have a fair idea of what's ahead of me. I sort of jumped into this project blind and it said it was for 14+ so I gathered it won't be that hard but boy was I wrong but I'm really enjoying the build and the forum, the info picked up here is priceless. I've just started planking and have 3 done on each side, I'll post a few pictures as I'm it's on
 
Ok, after seeing some of the photos some fully sailed some just rigging, I now have a dilemma. Sails or no sails with the rigging. Or do it with no full sails just some furrowed sails? I think I prefer not fully sailed as it allows you to see more of the deck. Also, do I paint and varnish it or leave it bare wood.
You know, for a cheap little kit bought to pass some time it's got me asking lots of questions and a fair bit of head scratching.
As the saying goes, “Builder’s choice!” This is the one to experiment with. Which looks best to you? Take a look at multiple builds and see what you like.
 
As the saying goes, “Builder’s choice!” This is the one to experiment with. Which looks best to you? Take a look at multiple builds and see what you like.
Im still have doubts. I like the way it looks without the sails now... Might leave it like that way.
I think most of the times, bad sail cloth doesn't fit scale and doesn't look good. Maybe I can find the right technique on cloth or paper.
 
Im still have doubts. I like the way it looks without the sails now... Might leave it like that way.
I think most of the times, bad sail cloth doesn't fit scale and doesn't look good. Maybe I can find the right technique on cloth or paper.
I hear silks pan works well. I’ve watched some videos at tjlauria.com and will try some of those ideas. I bought some ready-made sails from Cornwall for my Soleil Royal, and they look pretty good.
 
I tried a set of paper sails, cut to the correct size and just stuck on with tape. I think I'm going with furled sails, just to see more of the smaller details which would get hidden. I'll have fun playing with them
I'd like to seal the wood but not sure what to use.
I'll take some photos tomorrow. I'd already started building before joining here and hadn't thought of pictures so it'll be from where I am now.
Looking forward to it.
 
Chapter 8
Sails
Paper experiment. Cloth is not an option for this scale....
Black Tea and think paper.

IMG_20210521_151821.jpg
Templates
IMG_20210521_211945.jpg
First set.
IMG_20210523_184230.jpg
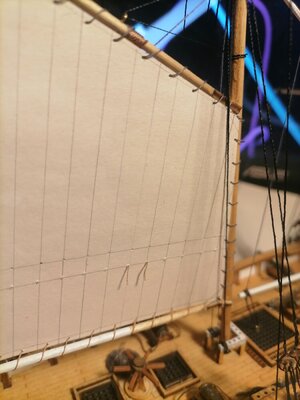
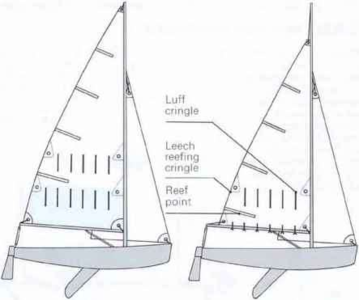
In spanish these are called Rizos.
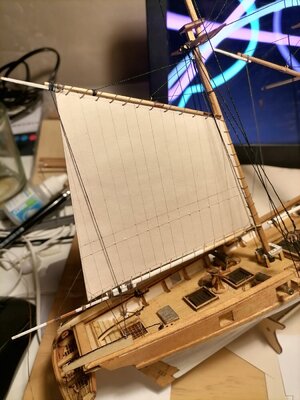
I think they look nice and add scale. Will be 2 rows at each main sail.
IMG_20210523_185146.jpg
2nd main sail
IMG_20210523_224416.jpg
Looking good for me...
IMG_20210523_235049.jpg
 
Last edited:
Chapter 8
Sails
Paper experiment. Cloth is not an option for this scale....
Black Tea and think paper.

View attachment 235140
Templates
View attachment 235141
First set.
View attachment 235142
In spanish these are called Rizos.
I think they look nice and add scale. Will be 2 rows at each main sail.
View attachment 235143
2nd main sail
View attachment 235147
Looking good for me...
View attachment 235151
I've never heard of think paper, I'll have a look and see if I can find anything out about the name u said "rizos" but ur ship is really looking great, very nice work ✌️
 
I've never heard of think paper, I'll have a look and see if I can find anything out about the name u said "rizos" but ur ship is really looking great, very nice work ✌️
Hi! sorry about that! is THICK paper xD i meant a resistant paper.

About the "rizos" there are called like that here in Chile. In english, they are called Reefs. .... the idea is to reduce sail area in case of strong winds.
1622037000721.png

Thank you for your kind comments
Want to see your project!

PD. Little Update on sails
IMG_20210524_233753.jpgIMG_20210525_013656.jpg
 
Hi! sorry about that! is THICK paper xD i meant a resistant paper.

About the "rizos" there are called like that here in Chile. In english, they are called Reefs. .... the idea is to reduce sail area in case of strong winds.
View attachment 235562

Thank you for your kind comments
Want to see your project!

PD. Little Update on sails
View attachment 235563View attachment 235564
Looks great, if u be didn't say they were paper sail's I wouldn't have noticed the difference, they look like there real mini sail's. It's actually a great affect, well done
 
I'm nearly done planking the hull, it started off slow but it's starting to come together now. I'll post a picture of the hull finished & painted in the next day or so. But I might do some research on the thick paper sail's, u just use black tea to colour them so they look a bit weathered
IMG_20210523_013659_4.jpg
 
Hey folks.
Update here!
Had to rest and take a few days off from this build. I worked too hard but I'm back to the shop.

Got a couple of sails left. Made some flag test too.
Here some pics. I love how it looks.
Even if I know there are some tricky things, and things to be made better the next time, I think it's a good result.
Still need to add some lines and ropes.

Nearly finished...
IMG_20210601_231747.jpgIMG_20210601_230907.jpgIMG_20210601_231757.jpg
 
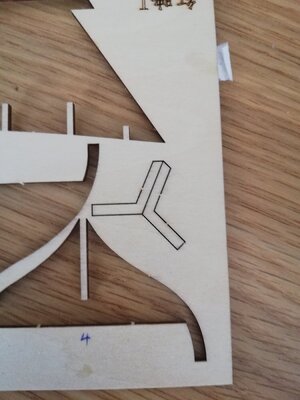
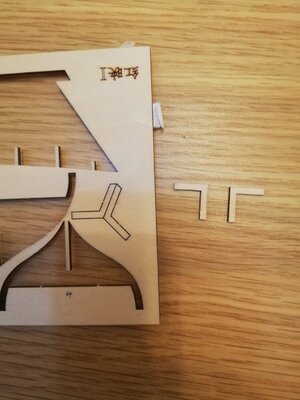
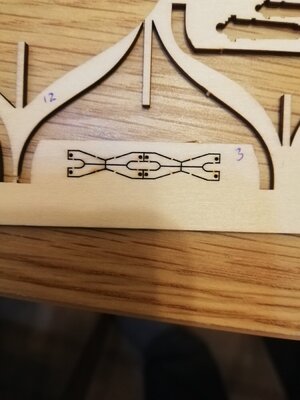
Ok quick question. I've found a couple of parts in my kit that have me reference numbers or details. I have searched the plans I got and can't see them or anything similar to them. Does anyone recognise what they are and where they go please?
Thanks
 

Attachments

  • IMG_20210608_160157.jpg
    IMG_20210608_160157.jpg
    154.9 KB · Views: 12
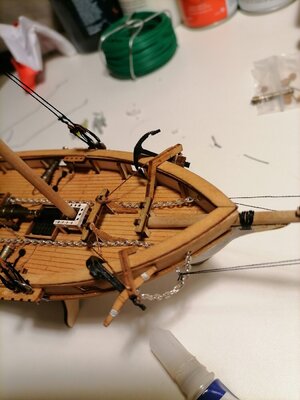
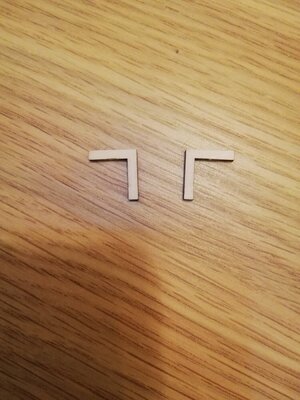
You know, I gave them a thought but I've got two 90' angled pieces that I thought were for that. I tried them to see if they were ok and they seem to fit. The two pieces in the original photograph are a much bigger angle. I've attached a photo of what I thought should be for holding the anchors and a comparison of the two. I've also got another couple photos of parts with no marks if you have any ideas for them.
 

Attachments

  • IMG_20210609_230234.jpg
    IMG_20210609_230234.jpg
    178.1 KB · Views: 11
  • IMG_20210609_230256.jpg
    IMG_20210609_230256.jpg
    163.9 KB · Views: 11
  • IMG_20210609_230203.jpg
    IMG_20210609_230203.jpg
    218.8 KB · Views: 11
Fellow SOS members,
A "Beginner" here. Im Daniel Rubio, from Chile. Im an architect, so i have some experience in small models. Love boating, old ships and history.
ive taken pics of my build.

This is a Halcon 1840 1:100 kit, with the upgraded canons.
My intention is not to make it historic accurate, but making a beautiful objet, and learn the tecniques of ship model making.

Some comments about the kit.... It Sucks! xD but its a good start. I dont mind doing some parts by my own, or getting materials.
Watching pictures of other builds is very helpful because the instructions manual is a real joke.
You can see at this pictures a "sideproject", wich is a Bluenose II by ArtesaníaLatina. A present from my father.

Ive took a lot of pictures, so ill keep doing updates. on the project.
Next. The hull.
Hallo Daniel alias @Capt Rubio
we wish you all the BEST and a HAPPY BIRTHDAY
Birthday-Cake
 
You know, I gave them a thought but I've got two 90' angled pieces that I thought were for that. I tried them to see if they were ok and they seem to fit. The two pieces in the original photograph are a much bigger angle. I've attached a photo of what I thought should be for holding the anchors and a comparison of the two. I've also got another couple photos of parts with no marks if you have any ideas for them.
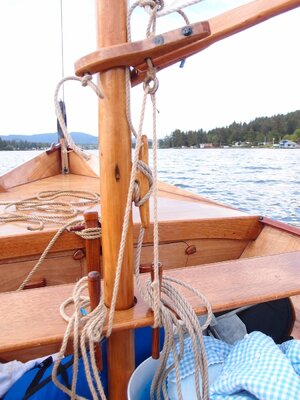
Center photo is yokes or goosenecks, used to secure the booms to the masts
 

Attachments

  • R.jpg
    R.jpg
    249.3 KB · Views: 29
I'm loving this log and impressed by all these efforts i hope to get somewhere near this standard.
I'm also starting to build this kit but to save confusion i have started my own log. (Halcon 1/100)
The the instructions are basically as much use as a chocolate tea pot.
looking ahead can any one tell me the sizes of the various masts and spars.
 
Last edited:
Back
Top