- Joined
- Jun 20, 2024
- Messages
- 3
- Points
- 3
Hello all. Newbie here.
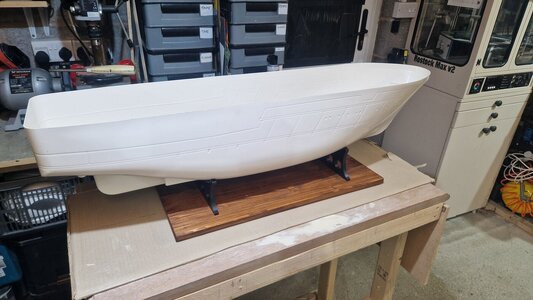
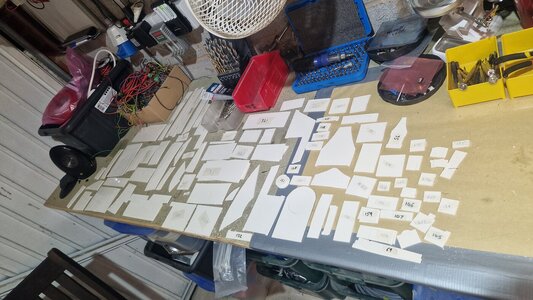
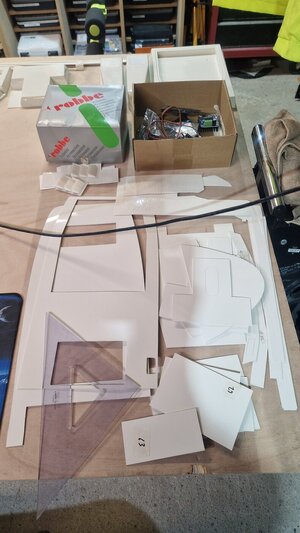
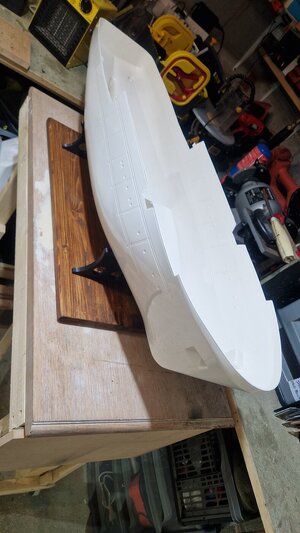
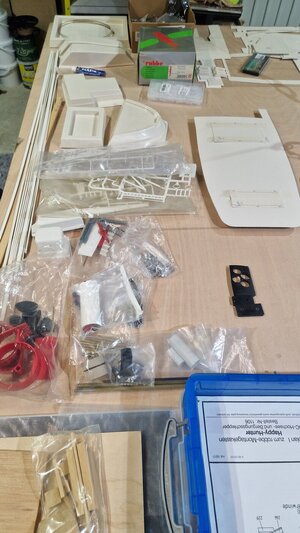
I bought this kit off Ebay MANY years ago. It was cheap, and that is because all the larger sheet ABS components have curled or warped.
I have managed to flatten some of them, and others I will cut new ones.
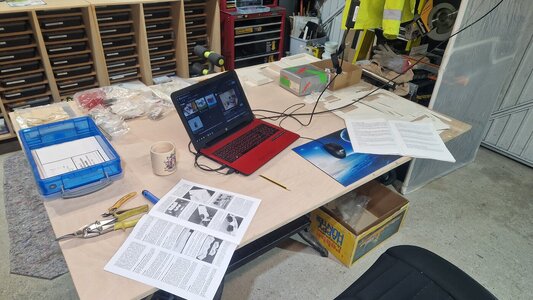
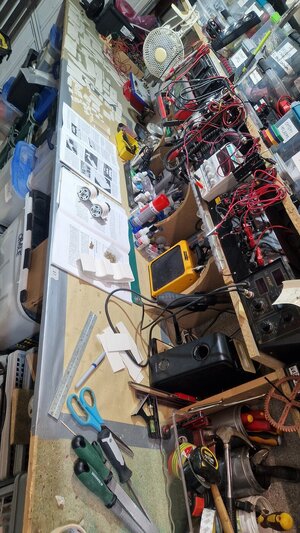
I have to say, the instructions are fairly rubbish considering how expensive the original kit cost. There are German instructions with some black and white images that are very difficult to see.
The English instructions are basically a short-hand version of the German ones with no images. So you end up having to have both sets of instructions open at the same time which is a bit silly.
So, first job... scan the German instruction book into PDF pages. Upload those to a free PDF to JPG conversion website (scanning them as JPG directly didn't work so well).
Then... re-scan the new JPG pages onto a free German to English conversion website.
Hour later... one English instruction book from the German one with images.
I intended to go with Brushless motors, but they are biblically expensive and I am trying to build this on a budget (I am a special effects engineer by trade).
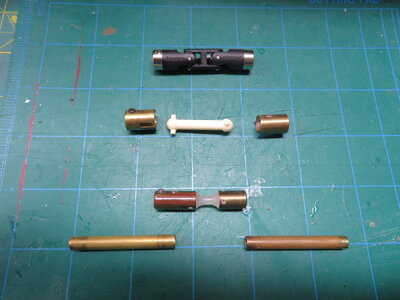
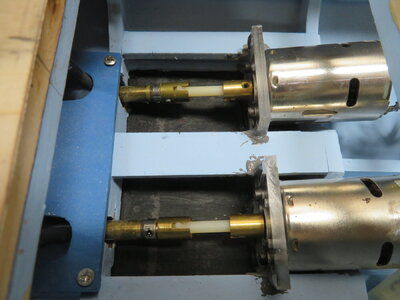
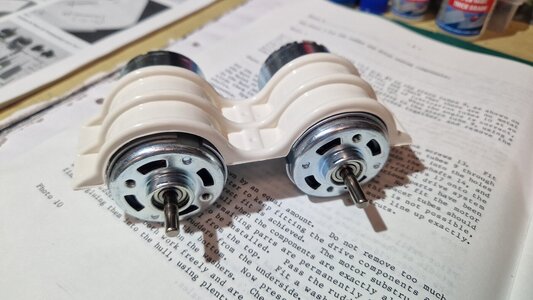
So, managed to find some very nice 775 motors on Ebay that I think will work fine. Much better quality than I was expecting and only £15 for 2.
I have some gearboxes that fit these shafts if I need to reduce the output.
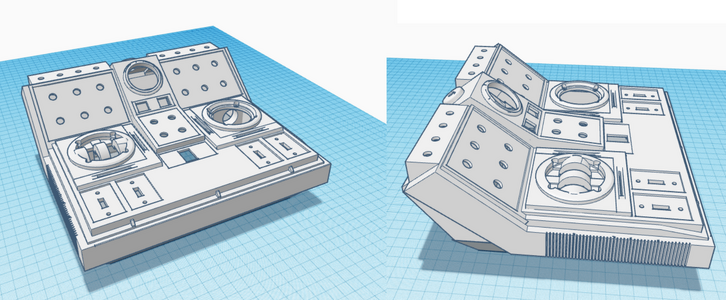
RC system. Because I want a lot of working features, I have designed my own. Just 3d printing the controller now.
This will be my own bespoke RF system with 2x Throttles, a dual joystick, 12x Toggle switches, 4x 3 position switches and 12x rotary servo pots.
MORE than enough for this project and any future ones. I based it on the Robbe Navy Twin Stick F-14 controller.
I actually have a Robbe Navy Twin Stick F-14 controller + aux modules in the workshop, but I have that ear-marked for my RC submarine.
So, currently 3d printing some new motor mounts and a few other bespoke parts.
The main batteries will be 2x Dewalt 18v, 5Ah tool batteries in parallel (because I have loads of them in my workshop). I will 3d print a bespoke battery holder and the 18v will go through my own designed H-Bridge motor controller.
Long road ahead


![20240623_145815[1].jpg 20240623_145815[1].jpg](https://shipsofscale.com/sosforums/data/attachments/438/438950-747d88a7ad750ac69da58b6192d84b61.jpg)

