- Joined
- Sep 9, 2016
- Messages
- 198
- Points
- 113

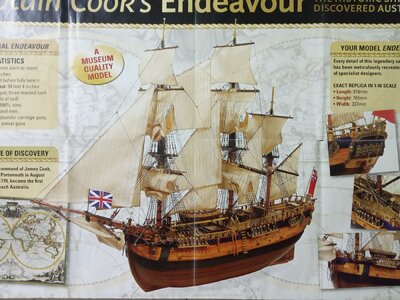
HM Bark Endeavour
Scale 1:48
lenght 916mm x height 765mm x width 337mm
Sails: square-rigged, Three-masted bark
Tonnage: 336 2/3 tons
Crew: 83 Officers and men
Armament: Ten 4-pounder carriage guns, twelve 1-pounder swivel guns
Sailing under command of James Cook, The Endeavour left Portsmouth in August 1768 and, in April 1770, became the first British vessel yo reach Australia.
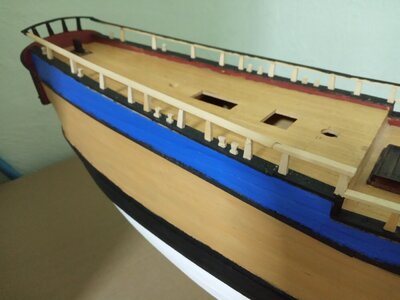
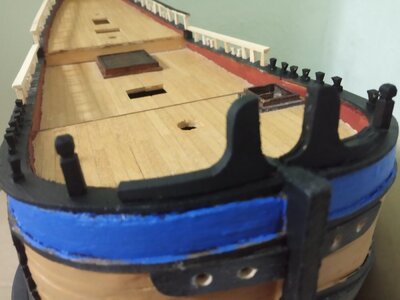
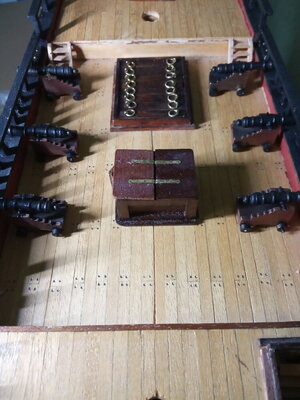
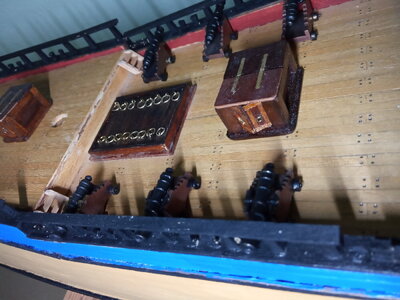
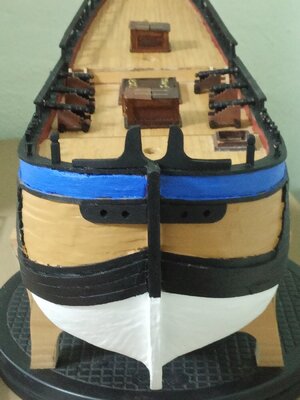
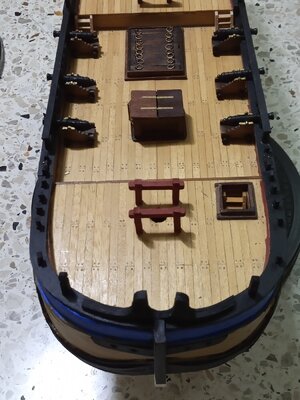
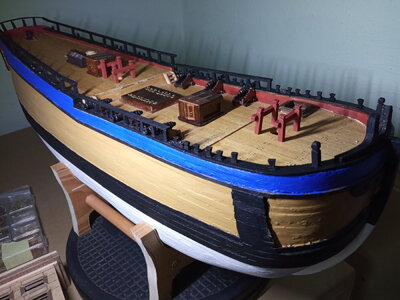
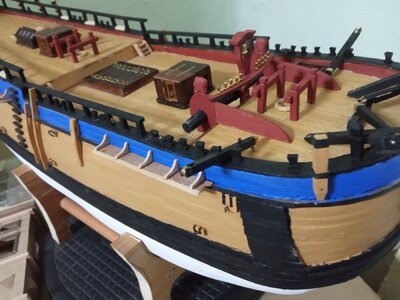
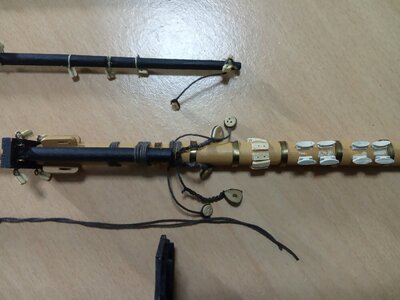
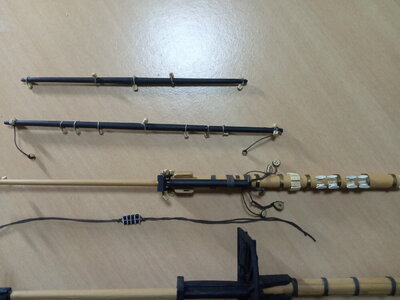
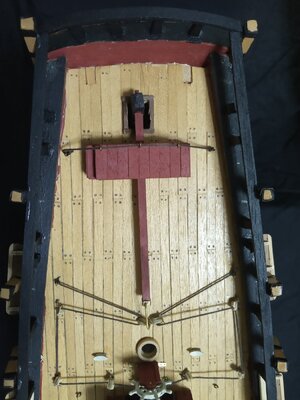
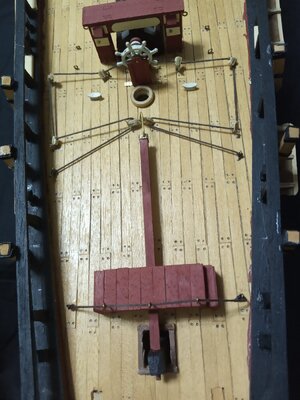
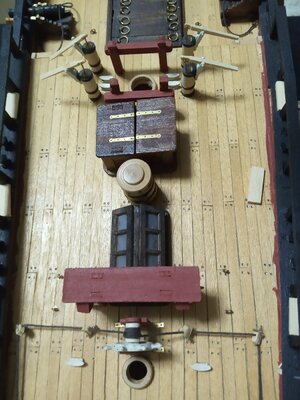
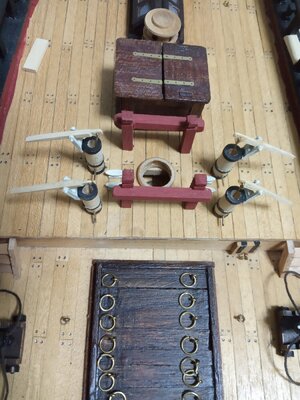
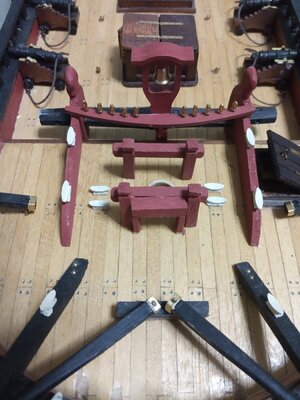
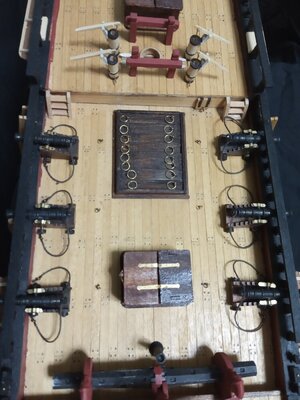
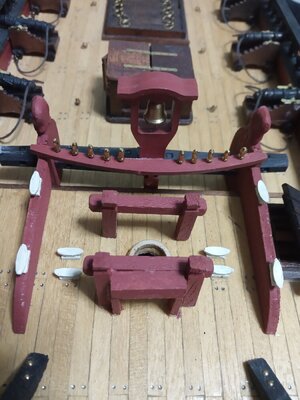
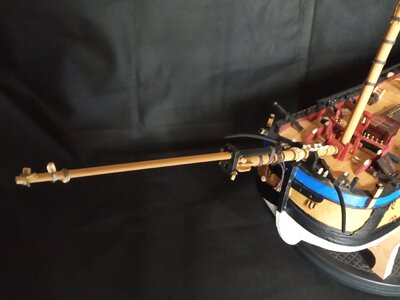
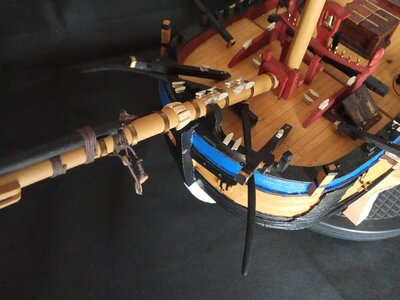
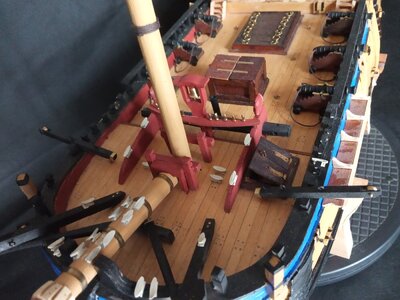
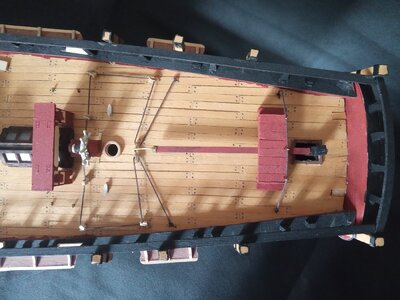
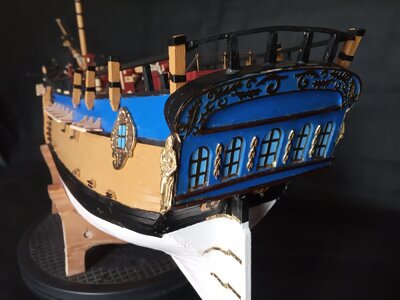
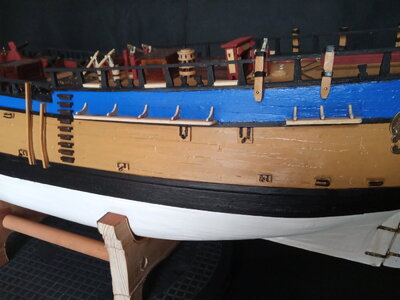
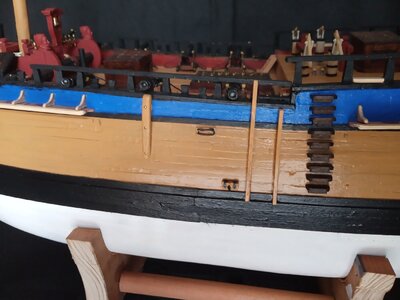
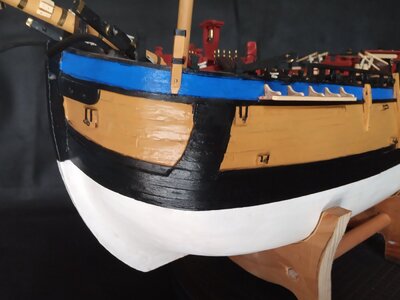
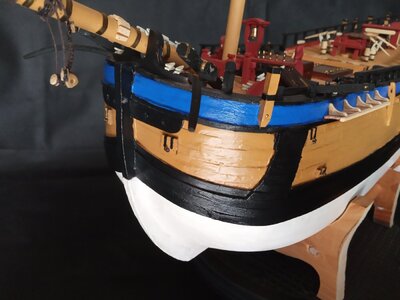
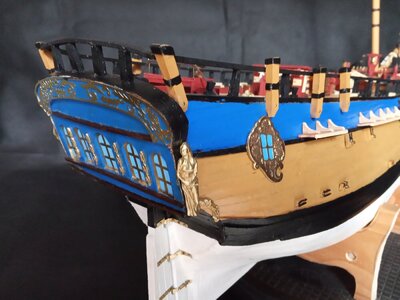
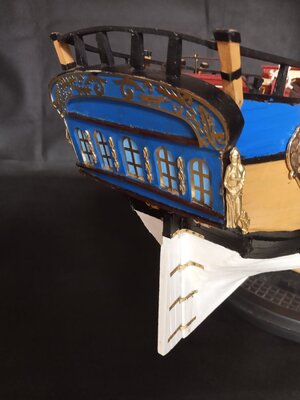
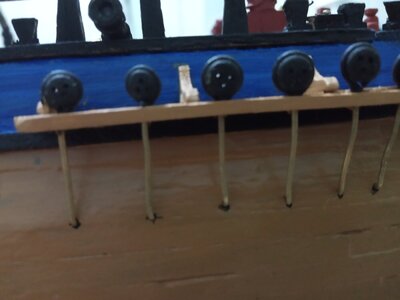
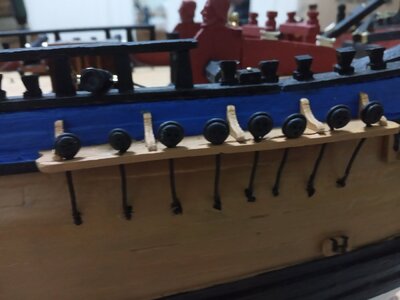
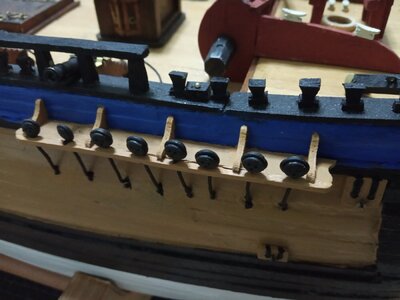
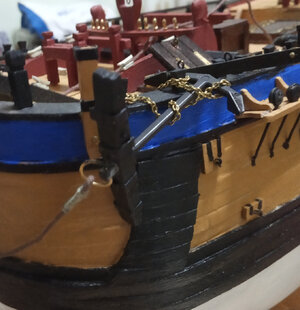
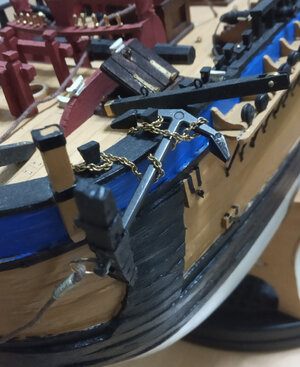
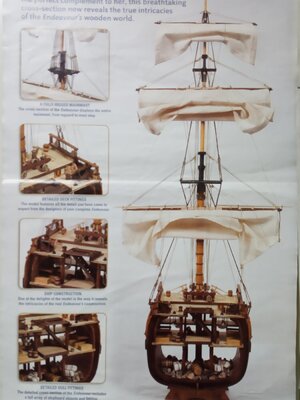
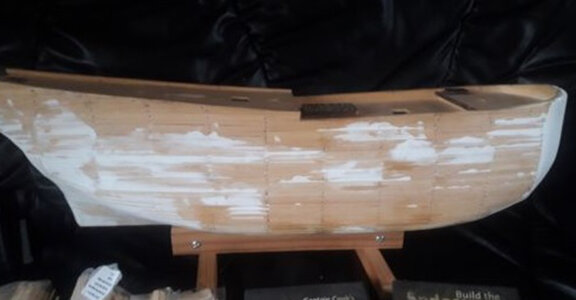
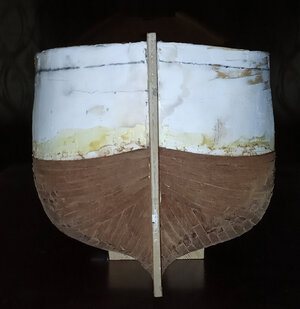
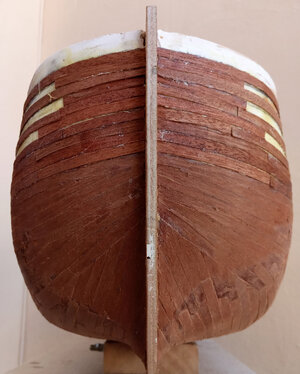
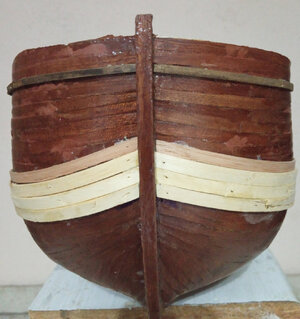
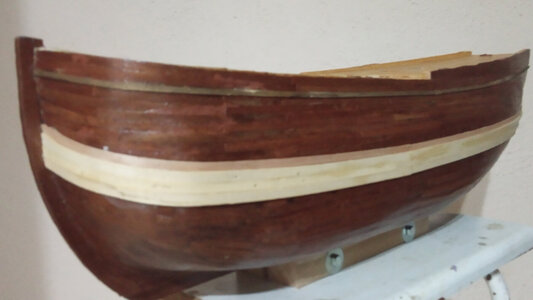
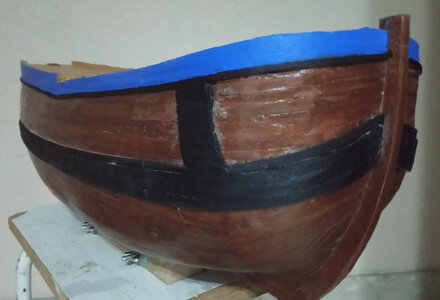
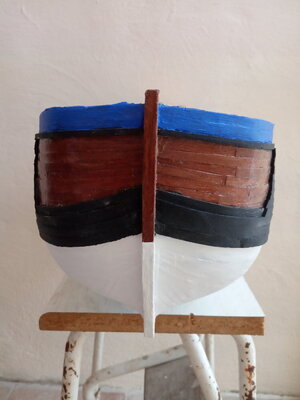
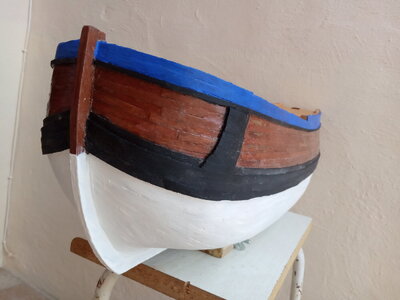
Three years ago I decided to buy the HM Bark Endeavour , the Eaglemoss kit, an offer of £75.00 for the kit and 100 issues, but it was part build up to issue 40 with the first planking ready. The build was covered with a lot of filler and I had to sand quite a lot. I also bought mahogany 0.6 strips for the second planking and this was my first time to build a large boat. This project was my first project to build a double planking sailing ship. After the sanding I started to glue the mahogany strips cut in 20mm length to cover the hull. During this process I saw that their were spaces between the strips and I fill with brown filler (a big mistake as I had ruined the hull)., then after some thoughts I decided to continue the project with the same colours of the Endeavour replica, white hull, and yellow ochre and French blue.


