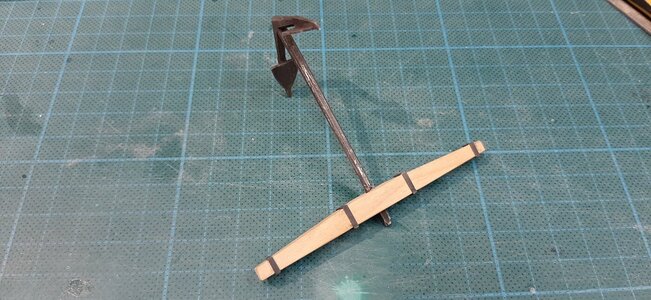
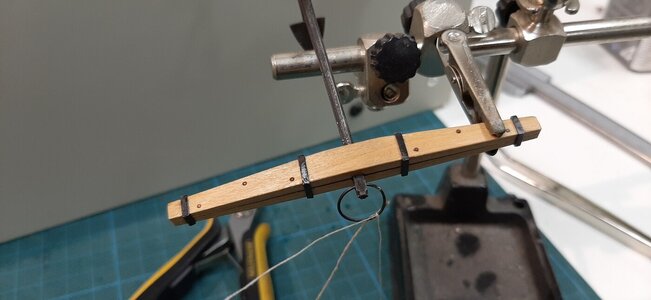
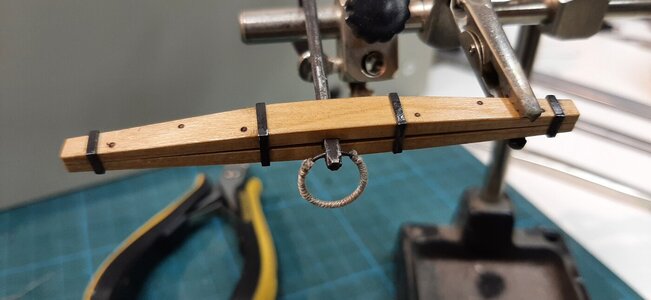
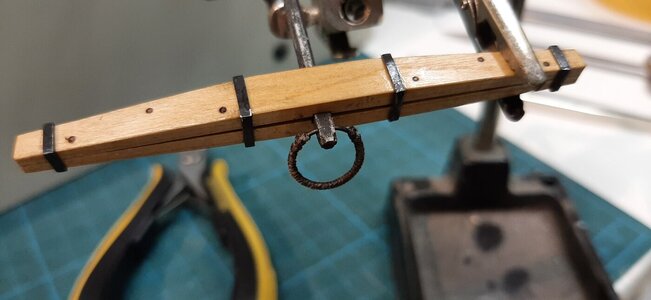
Thx gents for all the nice words and likes.Just wow.
Black glue? Woodglue and paint?
Steef the black pva is simple. I just mix some pva wood glue with a few drops of black ecoline.
Thx gents for all the nice words and likes.Just wow.
Black glue? Woodglue and paint?
Hi Uwe, I just blackened with Ballistol but had to degrease with acetone to get it properly blackened. It bleckened within seconds and I am using a brush to brush the parts while in the Balistol solution.Looking very good - very well done my friend
Is the white metal parts blackened with Ballistol (normal), or did you use a different fluid?
I have every time some problems with the different blackening of f.e. brass parts soldered with "Lötzinn"
Many Thanks already - My last question: Do you mix the Ballistol with water f.e. 50:50 or you use pure Ballistol?Hi Uwe, I just blackened with Ballistol but had to degrease with acetone to get it properly blackened. It bleckened within seconds and I am using a brush to brush the parts while in the Balistol solution.
Ballistol ? When I search it in Google I find Ballistol oil. Can you show a picture or share a link ?
Thank you !!
Daniel
I use the pure ballistol, but re-use it constantly.Many Thanks already - My last question: Do you mix the Ballistol with water f.e. 50:50 or you use pure Ballistol?
It is an EU alternative for casey brass black.Ballistol ? When I search it in Google I find Ballistol oil. Can you show a picture or share a link ?
Thank you !!
Daniel
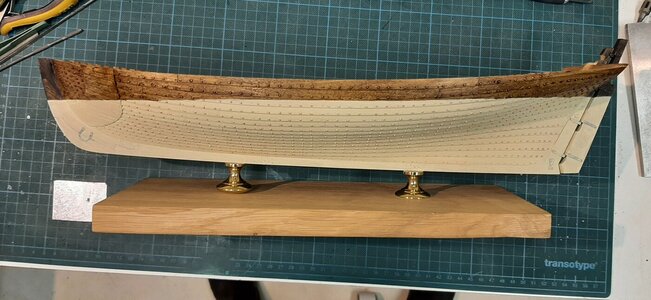
All the work for nothing.
For my new stand ideas I decided to colour the PS side of the hull. The stern post and stem with black ecoline. The under water ship with yellowish anti fouling made of titanium white acrilic mixed with dark brown, yellow and black pigment inkts all dilluted with water. The above water planking with bitumen of judea.
The current look of the PS side.
View attachment 268894
I am speechless...All the work for nothing

Daredevil...Haha I knew this would cause some questionmarks. For me this model is to experiment with new materials and techniques.
In a short time the ship will be launched into the water and therefore I decided the outside hull had to look like the actial ship looked. The oak was tarred with pine tar, the lower hull was treated with a mixture of tar, pitch, fat and brimstone. This layer had and off white yellowish colour. Wait and see.
As Brian said the SB side will be plain wood with only some shellack.

The colors looks great, Maarten.All the work for nothing.
For my new stand ideas I decided to colour the PS side of the hull. The stern post and stem with black ecoline. The under water ship with yellowish anti fouling made of titanium white acrilic mixed with dark brown, yellow and black pigment inkts all dilluted with water. The above water planking with bitumen of judea.
The current look of the PS side.
View attachment 268894
