Hi Keef.
It certainly seems a superb kit. I love the carvings.
Good luck and happy building. W'll be watching.
Herman
It certainly seems a superb kit. I love the carvings.
Good luck and happy building. W'll be watching.
Herman

Great Herman. Thanks and will good to have you alongHi Keef.
It certainly seems a superb kit. I love the carvings.
Good luck and happy building. W'll be watching.
Herman

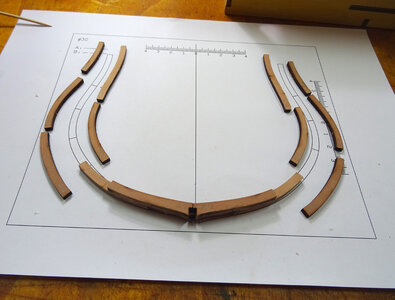
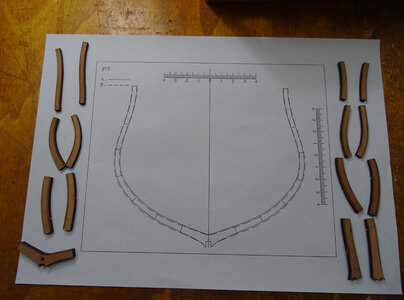
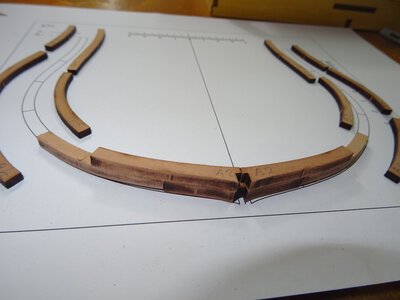
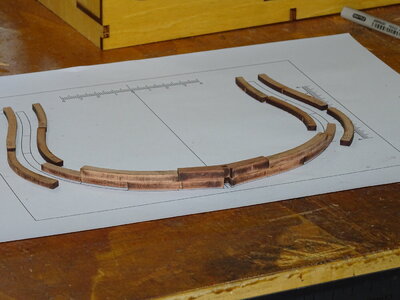
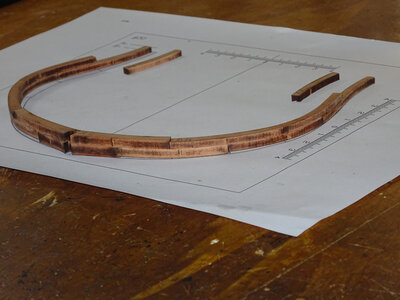
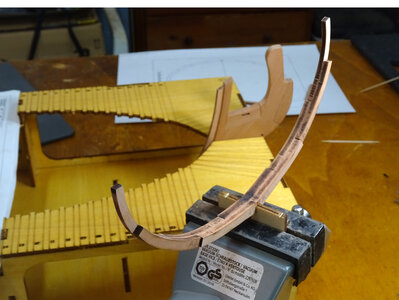
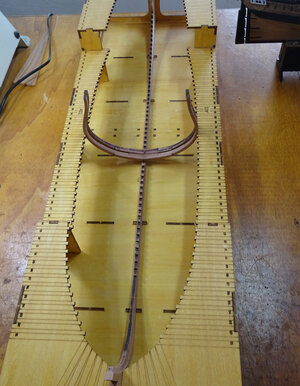
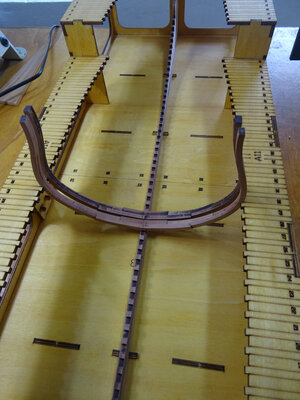
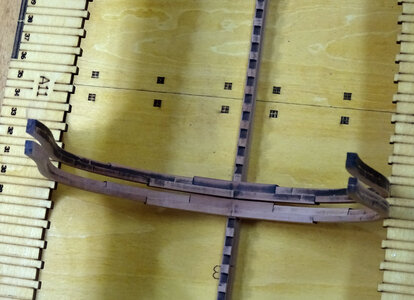
It will be interesting to watch your progression. Great ship model! Magic MikeHi All. I have been making wooden plank on bulkhead ship kits for some years now and, after seeing some of the POF kits featured on this site, I was immediately smitten and decided a change of direction is called for and so l have entered the world of POF with the 1:48 scale HMS Blandford kit from Modelship Dockyard. I would like to share with you my experiences, good and bad, as l progress along this, for me, totally new path. The kit arrived on 13th April taking 13 days from initial order to delivery to my address in Spain. l enclose a quick overview of the contents, which on first impessions appear to be of excellent quality.
View attachment 305630
View attachment 305631
View attachment 305632
View attachment 305636
View attachment 305637
View attachment 305638
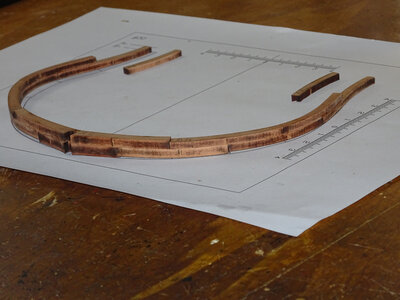
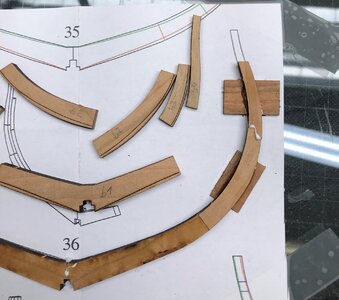
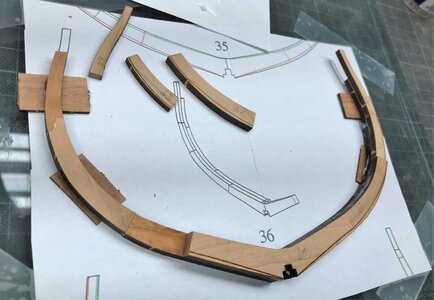
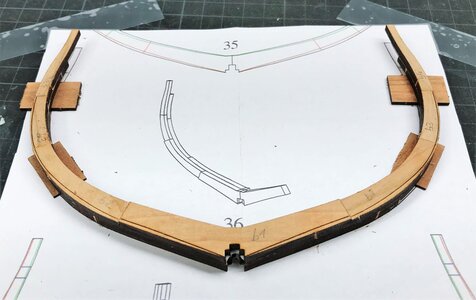
Hi @Uwek,a Very good start in the highly interesting world of POF-kits
Just a small hint for making the frames
I can see, that you are not using distancers under the frame parts - if not included try to find some small wooden sheets of 1 or 2mm - exactly the difference of the difference in width - take a look at my Granado frame and it will be clear what I want to say
yours:
View attachment 306640
Granado
View attachment 306641 View attachment 306642
View attachment 306643
you do not have a flat side - both sides of the frames have these stepsHi @Uwek,
I may build this kit in the future. Can you explain why the frame should be glued up the way you have described? Why can't it just be done on the flat side as Keef is doing? Thanks for helping me understand this. I'm assuming it has to do with the orientation of the drawing but...
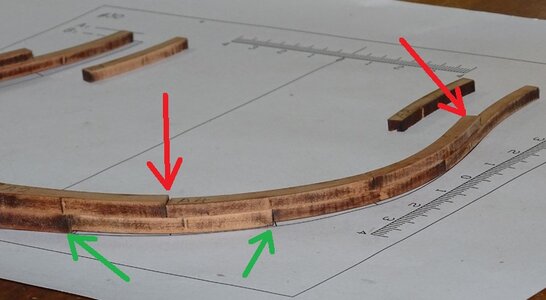
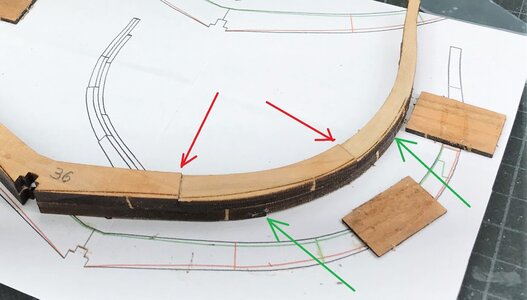

A very good idea Uwek. Thanks for the tip. I have plenty of spare 1 and 2 mm knocking around, so they will come in handy toa Very good start in the highly interesting world of POF-kits
Just a small hint for making the frames
I can see, that you are not using distancers under the frame parts - if not included try to find some small wooden sheets of 1 or 2mm - exactly the difference of the difference in width - take a look at my Granado frame and it will be clear what I want to say
yours:
View attachment 306640
Granado
View attachment 306641 View attachment 306642
View attachment 306643

Thank you for your comments. It's no trouble at all I am new to POF modelling myself. This is my first POF kit. I am using a mini Proxon spindle sander (very carefully) to clean the laser char and contour the ribs nearer the bow and stern when I eventually get that far. I give the connecting parts only a very light sanding. I am sanding the entire rib after gluing together all the segmentsBeautifully clean work Keef. Sorry to ask about the mundane - but how are you cleaning up the char? Sandpaper? Files? Spindle sander? Have you left the char at the joints where pieces connect or cleaned everything prior to glue up? Thanks for indulging my 'beginner-level' questions.
Thank you for kindly answering my question. Much appreciated.Thank you for your comments. It's no trouble at all I am new to POF modelling myself. This is my first POF kit. I am using a mini Proxon spindle sander (very carefully) to clean the laser char and contour the ribs nearer the bow and stern when I eventually get that far. I give the connecting parts only a very light sanding. I am sanding the entire rib after gluing together all the segments
Sorry that I jump once more in the talk....Have you left the char at the joints where pieces connect or cleaned everything prior to glue up? Thanks for indulging my 'beginner-level' questions.
your answerI give the connecting parts only a very light sanding
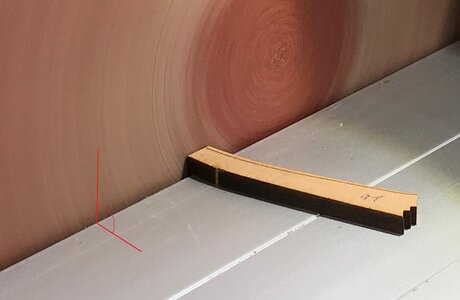
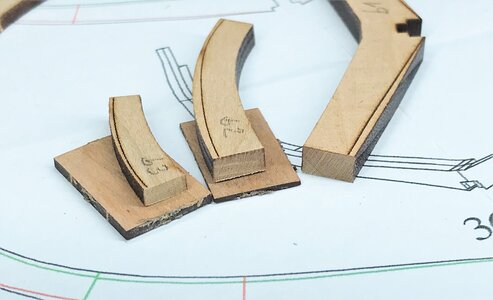
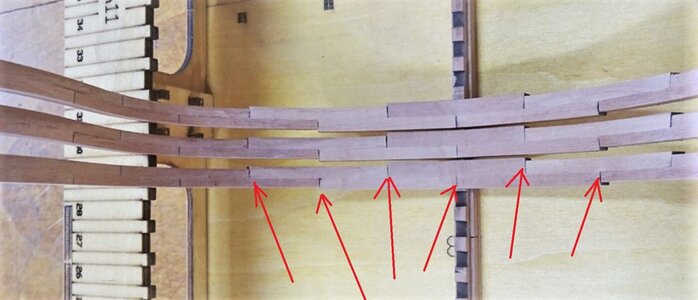
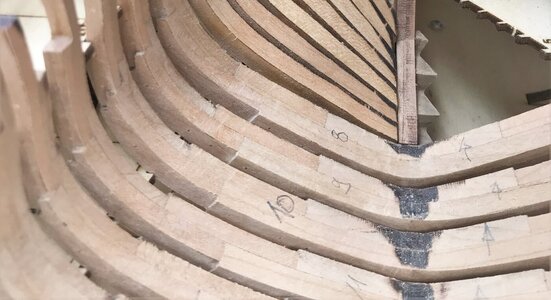


Thank you for the advice. I am now sanding all joints and learning as I go alongThe laser trace should be polished off at the joint, otherwise the strength of the frame will be affected。


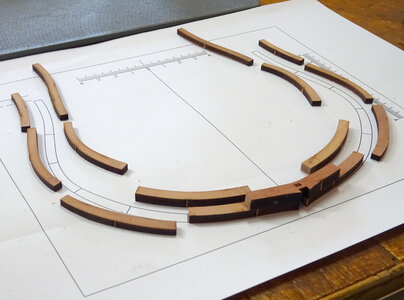
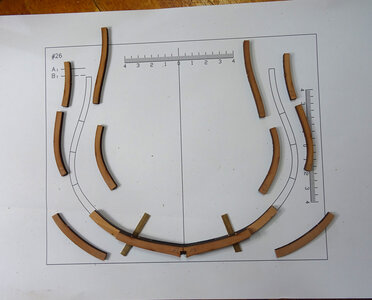
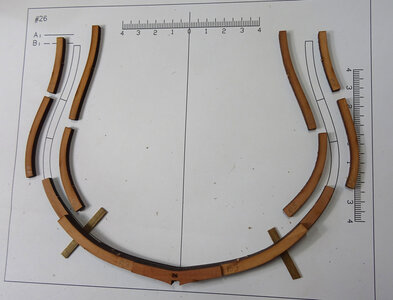
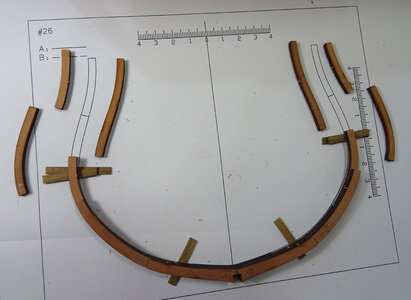
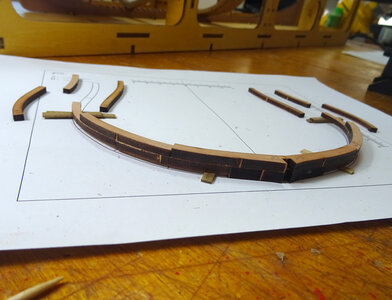
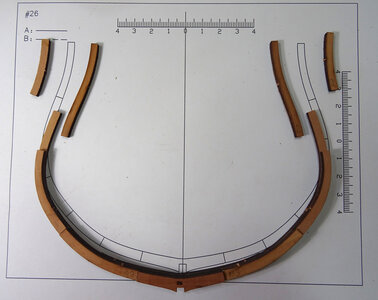
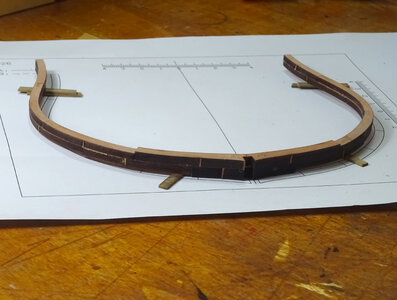
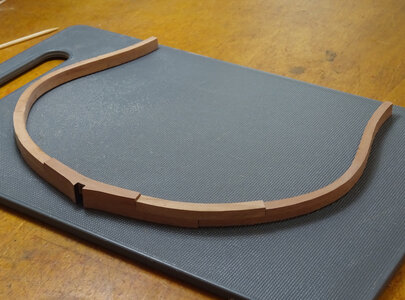
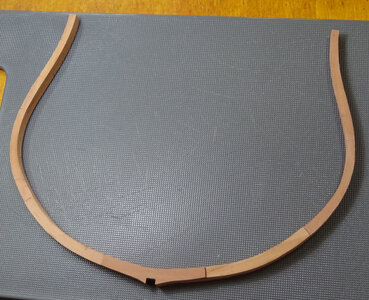
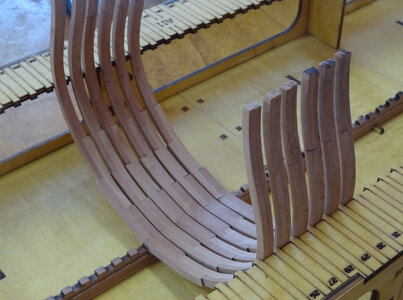
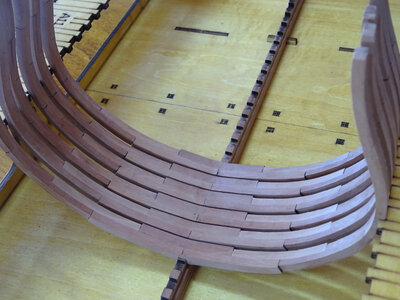
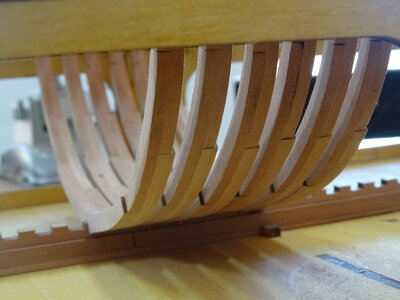
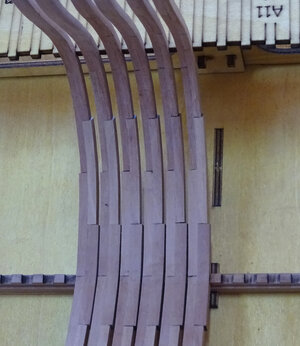

Thank you for your comments Paul. I'm sure you're right about the framesVery nice work indeed. I wouldn't worry a single moment about the difference in the frames. This will never been seen.
