HMS Druid P.O.F. - Unicorn Models by Donnie [COMPLETED BUILD]

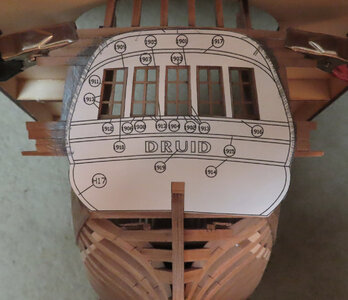
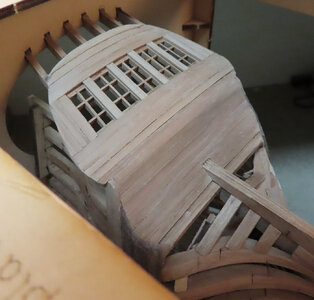
Well, this particular post wraps up most of the Stern. There WILL be Stern decoration strips of dark walnut that will make the stern better appearance instead of just a flat look. That will come later when the model is released from the jig. Some sanding and adding the dark walnut strips should hide some of the imperfections and gaps (which was kind of difficult since there are two bends of each plank).

My apologies friends. I forgot to add the image of the stern template that I used to follow. It is just a copy from the plans. There is a wooden template, but I did not use it.

stern05b.jpg

stern07.jpg


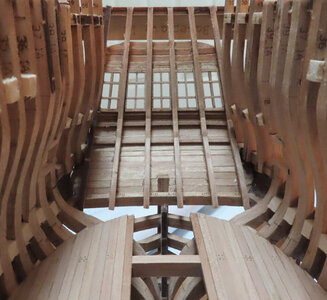
This is an inboard view of course.


stern06.jpg
 
Last edited:
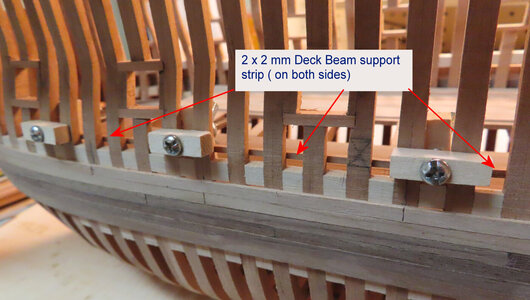
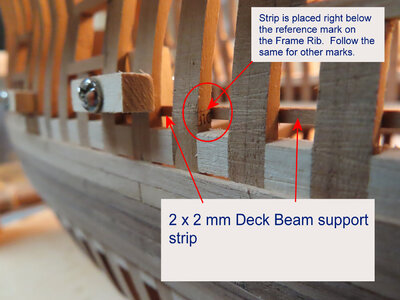
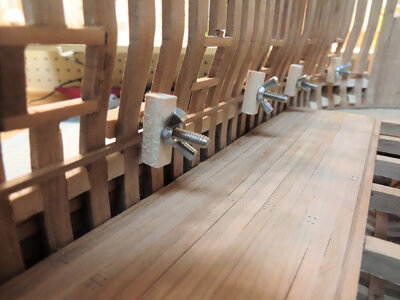
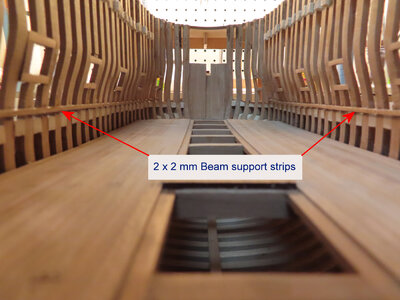
So, this post starts the process of adding Deck #1. The instructions call for the entire sides of the hull to be planked BEFORE the 2x2mm Beam supports strips are added. I could not agree with that. This would in my opinion make adding the Deck Beam support strips very difficult to manage. I am going to wait until I have Deck #1 with all of its Beams in place before I complete the planking of the hull. I have to be able to see what I am doing and this method I am doing will make the installation of the 2 x 2 mm support strips easier to manage.

Therefore this starts this process showing the 2x2mm support strip prebent. The supports are dry-fitted for now.

deck1-01.jpg

deck1-02.jpg

deck1-03.jpg

deck1-04.jpg
 
Looking very impressive Donnie, very nice work, like you I found that the worst thing about the Chinese kits is getting your mind around the instructions, apart from that ev thing else is great,
Best regards John,
 
So, this post starts the process of adding Deck #1. The instructions call for the entire sides of the hull to be planked BEFORE the 2x2mm Beam supports strips are added. I could not agree with that. This would in my opinion make adding the Deck Beam support strips very difficult to manage. I am going to wait until I have Deck #1 with all of its Beams in place before I complete the planking of the hull. I have to be able to see what I am doing and this method I am doing will make the installation of the 2 x 2 mm support strips easier to manage. Therefore this starts this process showing the 2x2mm support strip prebent. The supports are dry-fitted for now. View attachment 244890 View attachment 244891 View attachment 244892
great job, well done :) Thumbsup
 
The 2 x 2 mm Beam support strips for Deck 1 are now glued in place.

EDIT: IF YOU ARE FOLLOWING THIS LOG, NOW IS THE TIME TO INVESTIGATE YOUR DECK #1 OPTION. MY KIT CAME WITH A MORE DETAILED DECK #1 WHICH HAS MORE CARLINGS AND MORE DETAIL. IT IS UNFORTUNATE THAT I FORGOT TO UNPACKAGE THAT OPTIONAL DECK. AT THIS TIME IT WOULD BE BEST TO INSTALL THE OPTION #2 THAT CAME WITH THE KIT --- IT IS CALLED THE BONUS DECK.

deck1-05.jpg
 
Last edited:
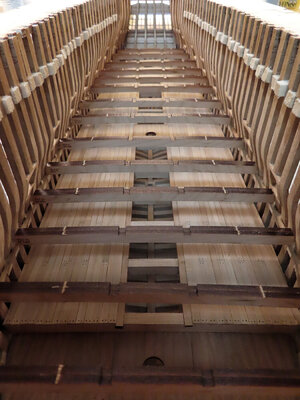
Thank you all again for the nice compliments. These are Deck #1 Beams just sitting in place as a dry fit and to get an idea of how things are looking. The beams will be sanded to remove the char.

deck1-06.jpg
 
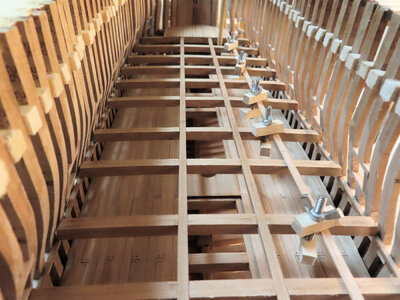
I am now installing the Beams for Deck #1. Some of the notches of the carling that goes along the length are not lined up exactly which is only I think two notches. That is not too difficult to shift them over by 2 mm or so. This is to be expected from a kit and is not a big deal.

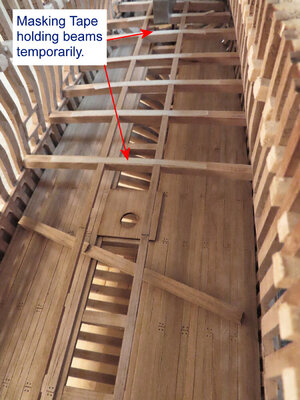
Now, here is the important part. Unless someone knows of another method, I am having to install the long carling and make it stationary while I install the beams from UNDERNEATH. The shape and curvature of the hull from the inside DOES NOT allow for the beams and carling to be PREBUILT like last time. This is different.
I show a picture of one beam laying on the lower deck as I maneuver the beam and fasten it onto the carling and then I am using masking tape to help hold the beam in place.
ONCE all the beams are in place, THEN the beams will be glued ONTO the 2 x 2m beam supports. THEN when the beams are set and dry, THEN I will REMOVE the long carling and prepare to glue the carling / beam lap joints down. This way, I know for sure that the long carling will fit exactly - I can not just go by the plans for beam placement and trust that the long carling will fit. I want to make sure the entire assembly fits as a whole and this is the only way I have found.

deck1-07.jpg
 
When the Deck #1 beams are positioned like I want it, then I have to stop for a while and build this little STOVE as it has to be positioned onto Deck #2 at the bow. If all the beams of Deck #1 are installed, then the stove might not be able to fit through, it needs to be put into place before going further.
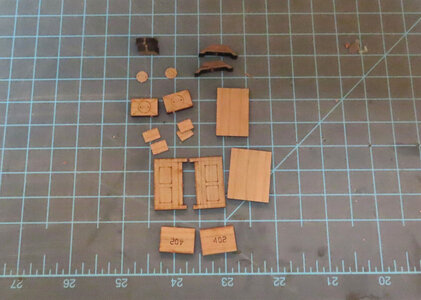
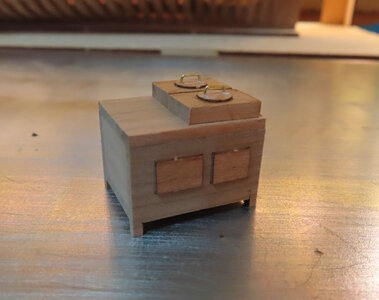
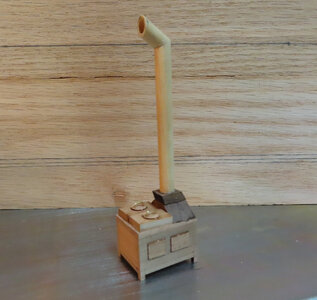
Here are the parts for the Stove. There will be a pipe that will be protruding up from the floors. I might just leave this all-natural wood as most of this stove will NOT be seen at all.

stove01.jpg
 
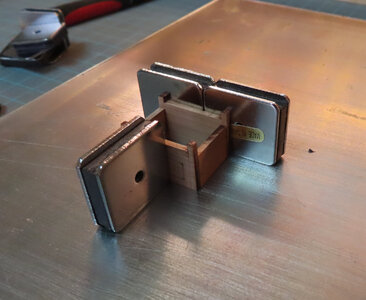
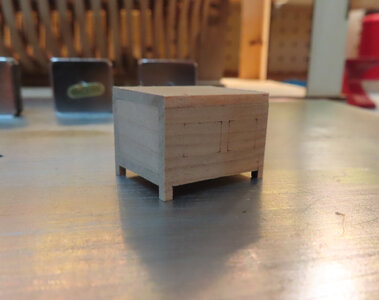
Thank you all. I am finishing up the stove now. I can get back to installing the Beams on Deck #1
I know it is rough and not too elaborate, but I do not feel like putting a lot of work into this.

stove02.jpg

stove03.jpg

stove04.jpg

stove05.jpg

stove06.jpg
 
Thank you all. I am finishing up the stove now. I can get back to installing the Beams on Deck #1
I know it is rough and not too elaborate, but I do not feel like putting a lot of work into this.

View attachment 246314

View attachment 246315

View attachment 246316

View attachment 246317

View attachment 246318
While it may be a lot of work, I am sure the crew onboard will enjoy the quality food it will produce when used!

Great stuff Donnie, keep up the work and love the instruction and explanations. This will help me when I get to my first true POF build.
 
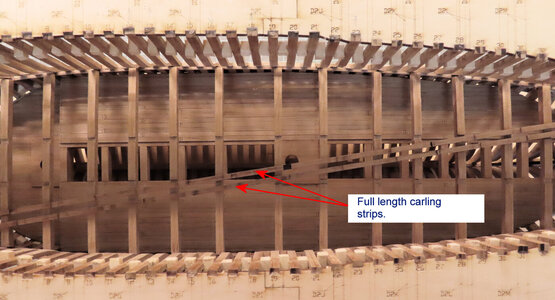
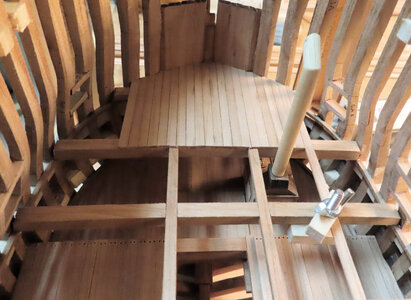
Now with the long carling strips in place, I am starting the Deck #1 planking. The planking at the bow is complete. There will only be just enough deck to hold the cannons as I do not want to cover all (the framing) up.
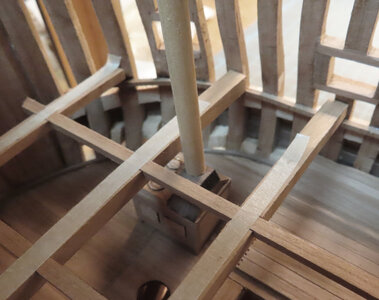
The stove IS NOT glued in yet but will need final positioning later.

deck1-10.jpg

deck1-09.jpg
 
Back
Top