HMS Druid P.O.F. - Unicorn Models by Donnie [COMPLETED BUILD]

Latest:
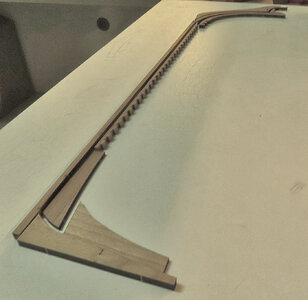
this shows the keel parts laid out.
keel-layout-12.jpg


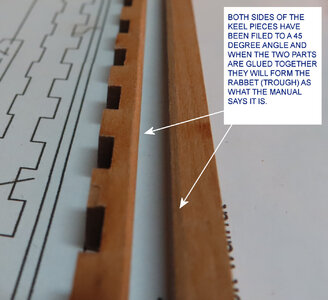
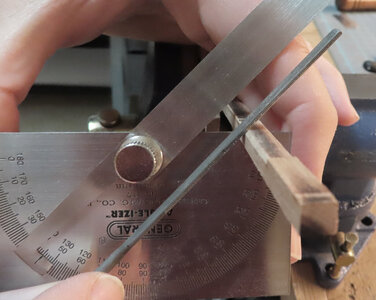
This now shows how I am manually making the rabbet for the keel. Instead of cutting out the bevel - the nice thing is that since the Keel is in two pieces, each piece can be filed at a 45 ° angle and when the two halves are glued together, then you will have a complete rabbet. The protractor
keeps me at the right angle the best I can get it.
What you do not see is that the Keel has a laser-cut line as a guide.

keel-layout-13.jpg
 
Hello Donnie, Super job you have did on correcting your keel over haul length, the mill is sure a handy tool to have in the Old Ship Yard but it is like you sat it takes much longer to set up than to do the job , but the precision is well worth the effort.
Regards Lawrence
 
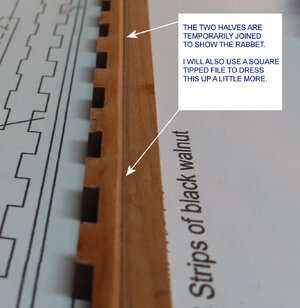
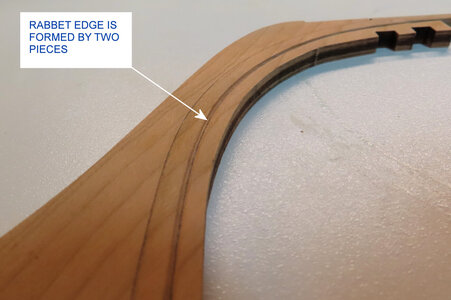
Thank you all for the follows, the likes and even the dislikes. Well, here is the latest. The Keel from the kit has a "reference" line that is laser printed so that you can file at a 45 ° angle to obtain your Rabbet edge. When both of the Keel pieces are glued together, it will form the Rabbet, which in my opinion is a lot easier to do.
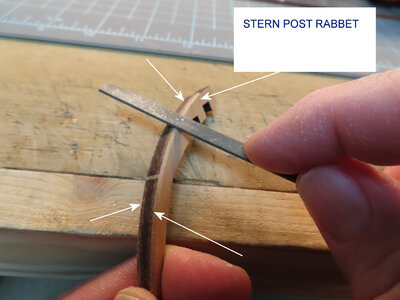
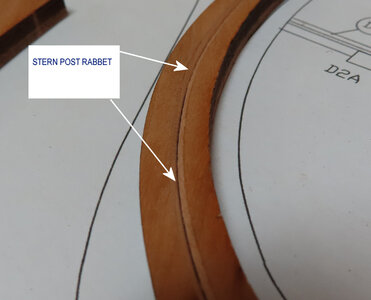
The Stern Post (both parts) were guessed at the angle, but I think I got it close enough.

keel-layout-14.jpg


keel-layout-15.jpg


keel-layout-16.jpg


keel-layout-17.jpg
 
Continuing with the logical steps of gluing up the Keel.

keel-layout-20.jpg


The RABBET is formed by the two halves shaped at 45° angles and then brought together to form a nice Rabbet.

keel-layout-21.jpg


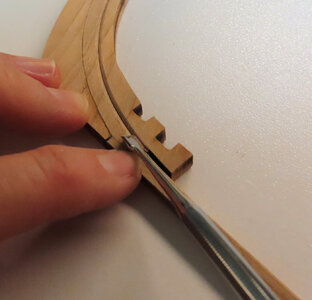
Using a Micro Chisel from Micro Mark to clean out residual glue and a little final shaping.

keel-layout-22.jpg


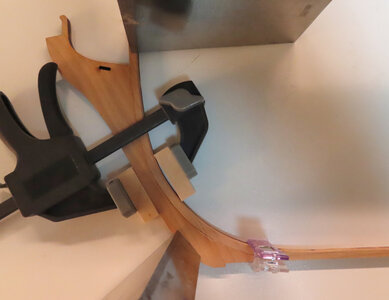
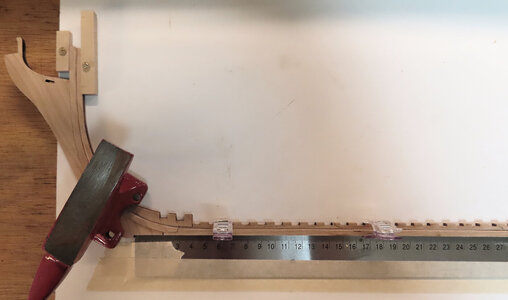
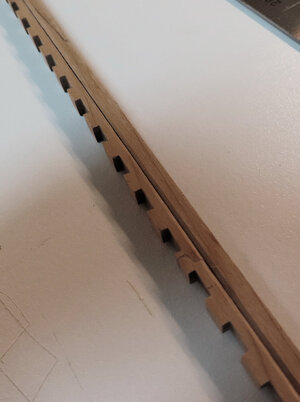
The is the Keel part that has the Notches. It is very important just like the previous steps to have things FLAT and STRAIGHT. As you can see I have the upper part of the Stern secured down with two small blocks. With the Ruler, the Keel is very snug. I usually 'mock-up' my layout before I glue. Then I remove clamps and things, glue up and then secure parts down. It is best NOT to glue up first and then decide how to clamp later.

keel-layout-23.jpg

Enjoy !!!
Donald
 
Continued Sequence of Gluing up Keel:

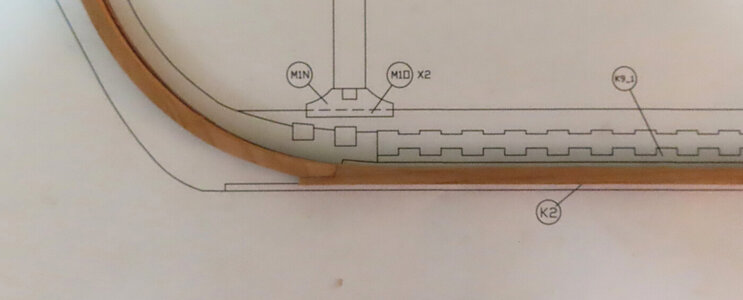
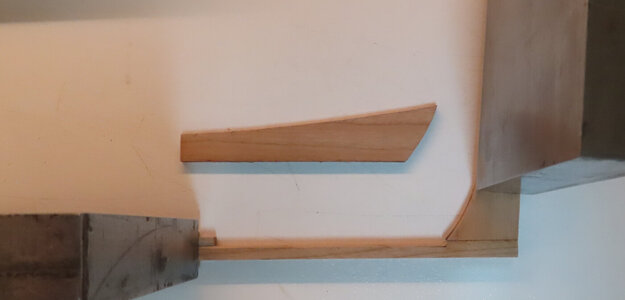
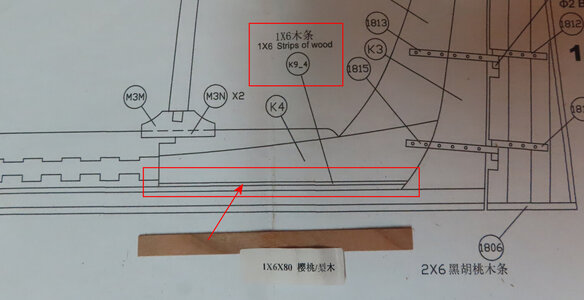
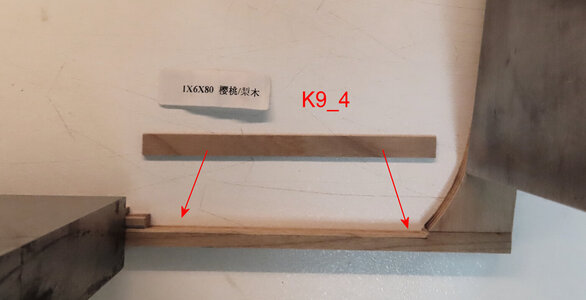
Take note of the Piece K9_4 (1 x 6 x 80) which in the kit is ALREADY CUT to near length for you !!! Bevel this piece at a 45 ° angle before glue-up.

Image showing the clean Rabbet.

keel-layout-24.jpg


keel-layout-25.jpg


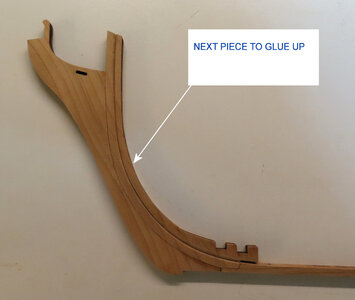
Gluing up the Next Piece

keel-layout-26.jpg


It is time now for K9_4 to be installed on Keel. This piece is already nearly cut to length for you.

keel-layout-27.jpg


keel-layout-28.jpg


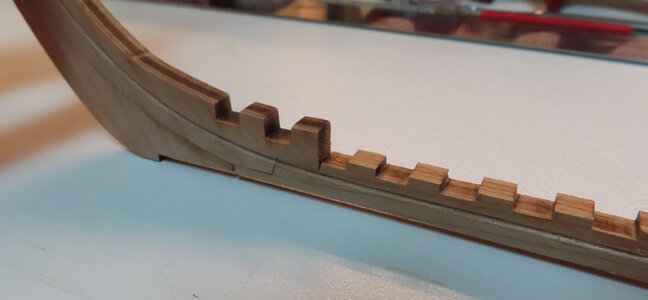
The K9_4, 1 x 6 allows for a nice transition of the Bevel to continue all the way through - very ingenious. This is a dry fit before glue-up.

keel-layout-29.jpg
 
Could not be said better! I'm about to order one myself. Excellent kit and excellent job.

Get it from ZHL MODELS. He sells it with a free life boat, upgraded deck beans design and CNC Boxwood figurehead.

If you look on eBay,, other sellers do not offer those items.

Beside ZHL customer attention is excellent.

Just a suggestion.... I got mine, but still is a ship and a half far away to be started. :)

This log is a blessing for us.... the Druiders.... :)

Cheers
Daniel
 
Back
Top