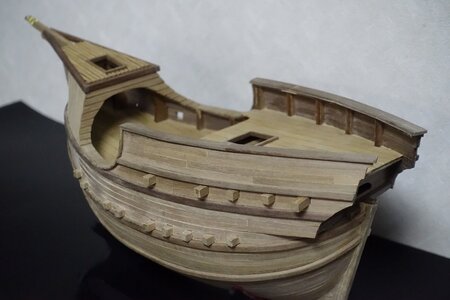
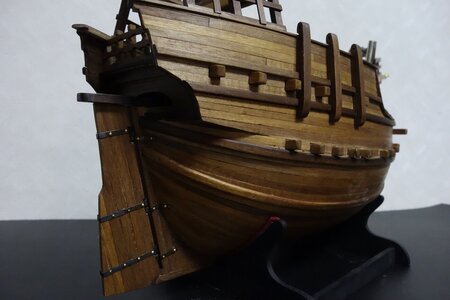
HMS Granado 1/48, POF, CAFmodel

Joined
Feb 3, 2021
Messages
75
Points
143

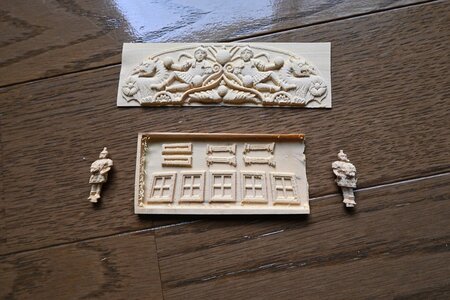
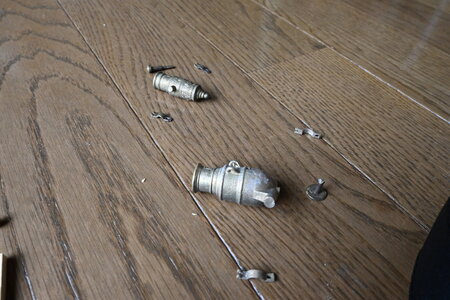
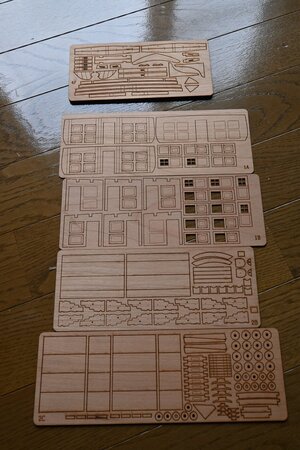
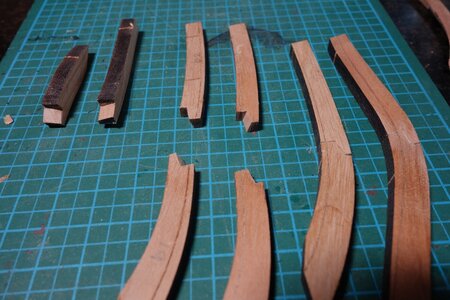
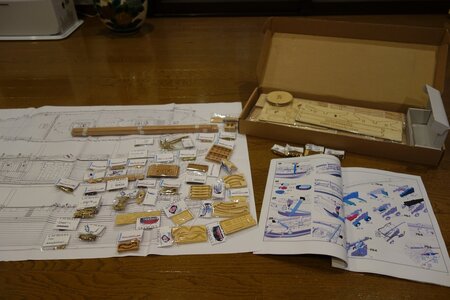
All parts No. 1 ~ 3 are available
No.3 parts are quite substantial.
There is only one drawing for part No.3.
All drawings other than the frame have only side views and vertical views.
I want a cross section.
DSC02959.JPG

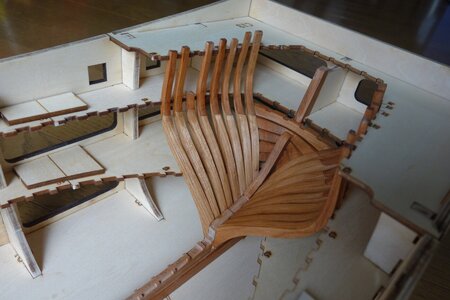
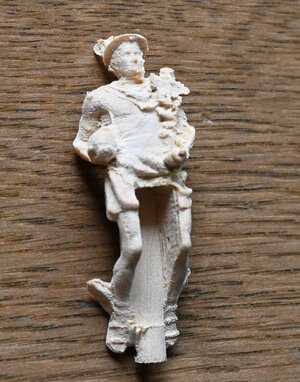
The figure head is 1/48, which is small but has a good face.
dsc492.jpg

I want a little more power.
DSC_0487.JPG


DSC_0490.JPG


DSC_0498.JPG

Production has started.
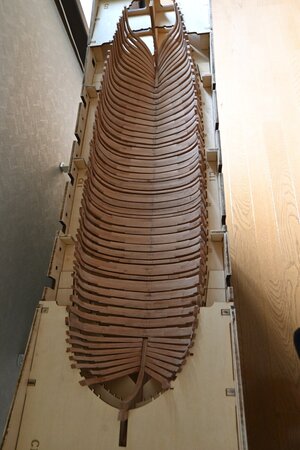
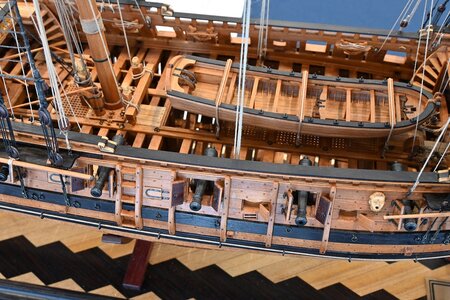
The museum model that this kit is aiming for is attractive, so I would like to divide it into upper and lower parts, but since the protrusions on the frame of the lower hull are ugly in the method of specifying the kit, when dividing it, I will assemble the hull with a thin saw and then cut it. is.
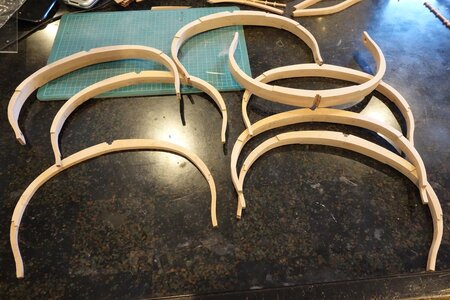
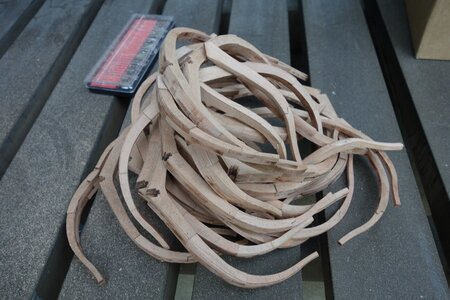
First of all, soot removal.
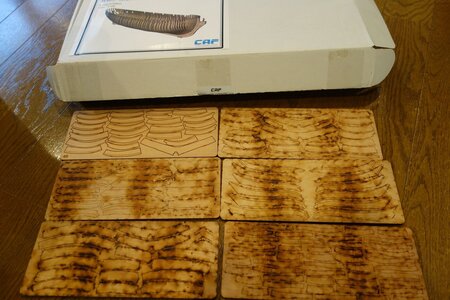
DSC02954.JPG

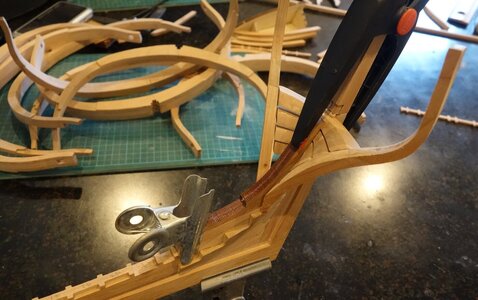
The keel is difficult to adjust because there is a gap between the parts.
When parts 1A-1, 1A-2 and 2A-12 were pasted together, it became too thick and 1A-1 was almost scraped.
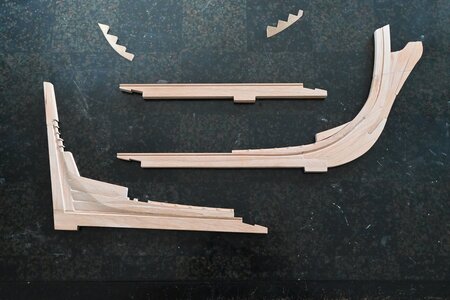
DSC_0501.JPG
 
I am very happy to see one more HMS Granado in a building log.
I will follow your progress with big interest, with very big interest because I am also working on the bomb vessel kit from CAF
 
Thanks Uwek.

I got off to a good start, but I stumbled a little.
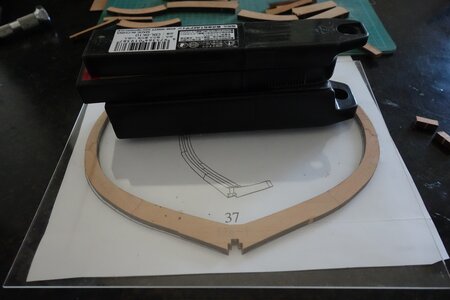
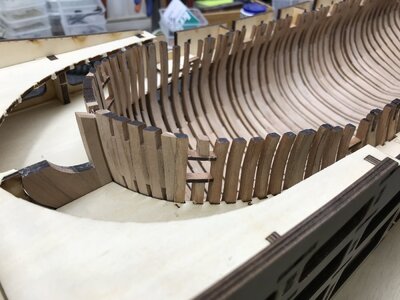
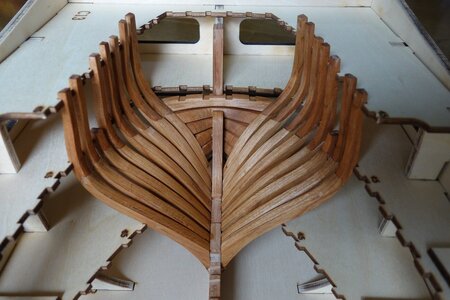
The frame of the upper and lower split parts is L-shaped, and it is difficult for me to attach a bevel to it and process it without gaps.
Those who are moving forward will be processed without any problems.

I found that if I didn't stick to the gap too much, it would go clean.
The more you try to reduce the gap, the larger the gap.
It was my technical problem.
DSC02966.JPG
The goal, the National Maritime Museum Greenwich, is a little farther away.
 
Last edited:
Thanks Uwek.

I got off to a good start, but I stumbled a little.
The frame of the upper and lower split parts is L-shaped, and it is difficult for me to attach a bevel to it and process it without gaps.
Those who are moving forward will be processed without any problems.

I found that if I didn't stick to the gap too much, it would go clean.
The more you try to reduce the gap, the larger the gap.
It was my technical problem.
View attachment 320785
The goal, the National Maritime Museum Greenwich, is a little farther away.
Understood - these parts needs some experience with this type of construction, but frame by frame you will see, that it going much faster, better and more accurate.
I would like to suggest, that you start also with some easier frames from midship, so get faster into this .....
 
Nice to see another Granado build underway!
I'm quite a bit further on, but will be following your build with interest - you always learn something from any build that can be used in the future.

Ted
 
Understood - these parts needs some experience with this type of construction, but frame by frame you will see, that it going much faster, better and more accurate.
I would like to suggest, that you start also with some easier frames from midship, so get faster into this .....
Thanks Uwek
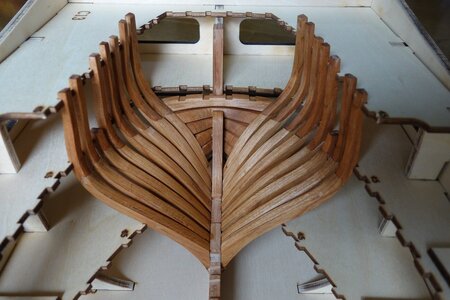
I started production from 20 of the frame, and the production is proceeding quite comfortably.
DSC02972.JPG
 
Nice to see another Granado build underway!
I'm quite a bit further on, but will be following your build with interest - you always learn something from any build that can be used in the future.

Ted
Thanks Ted
The production logs of everyone at Granado are my guide.
I also learned from the log that adjustments are required before assembling 6C-1 and 6C-2 into the keel.DSC02976.JPG
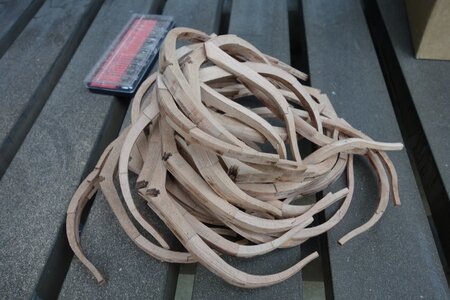
Most frames require adjustment and are easy to scrape before they glue to the keel.
DSC02975.JPG
 
Thanks Mike
Stern is also quite difficult, but it is helped by the log of the person who is moving forward.
I am writing that it will be useful even a little, it may not be interesting, but thank you.
View attachment 321393

Everything you ,or anyone else do, is interesting and useful. You are doing a great job. I have the kit, just received part 3. One day my time will come to build it. Yours and others built threads will be my guide.

Cheers
Daniel
 
Thanks Daniel

DSC02983.JPG
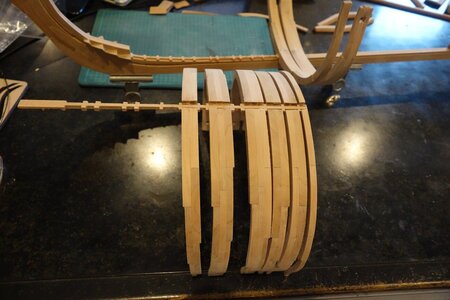
The flat surface of the frame was glued according to the drawing and fixed with a weight.
The 2nd and 3rd layers were glued on top of it, and 1mm and 2mm jigs were inserted and lightly fixed.

DSC02986.JPG
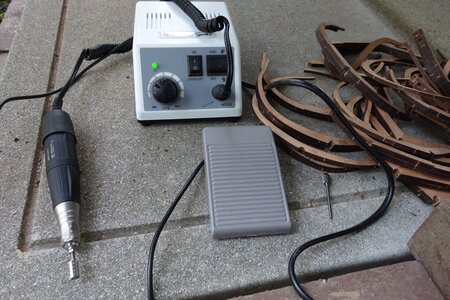
I used a router to remove the soot and scrape the bevel.

DSC02987.JPG
It is a frame cut with a router.
The single frame is a little lacking in strength.
I may need reinforcement later.

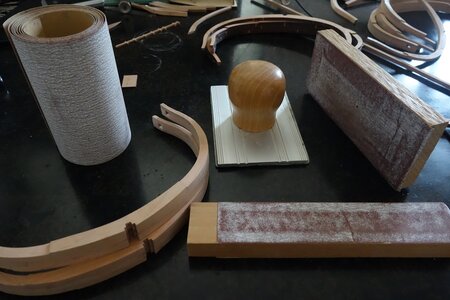
Finished with 240 grit sandpaper.
DSC02980.JPG

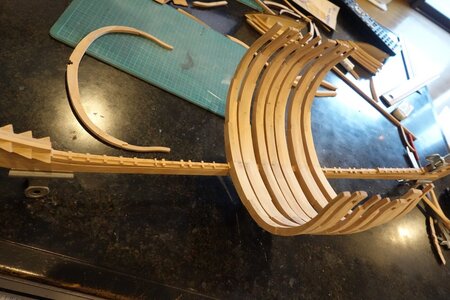
This is a dry fit.
I've been a little sleep deprived for the past two weeks.
DSC_0513.JPG
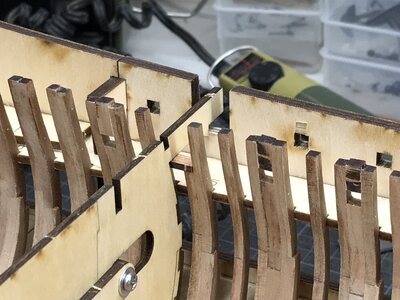
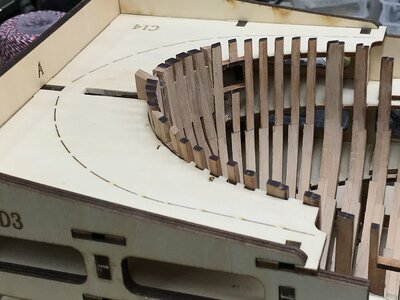
Part of jigs c13 and c14 is cut in No. 2-1, but my jig does not have a cutting line.
Is it normal to have cut lines?

DSC_0516.JPG
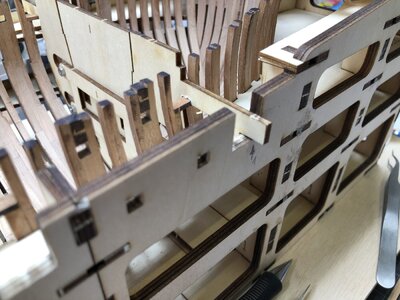
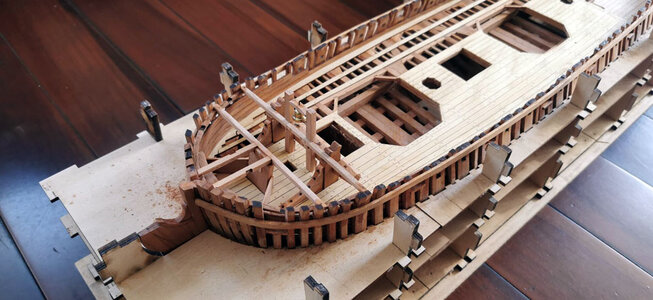
In No. 2 of 8, the template is used to position the beam receiver based on the gun port, but when the port sill is attached, the height of the hull and the jig will be different. The manual says the height is the same, but is it wrong?
 
Last edited:
Very good progress - and in addition it is looking very good Thumbsup Thumbsup

In No. 2 of 8, the template is used to position the beam receiver based on the gun port, but when the port sill is attached, the height of the hull and the jig will be different. The manual says the height is the same, but is it wrong?

The order in the manual is wrong (Tom from CAF is revising the manual) - the lower sills of the gunports have to be installed afterwards you meassured the height for the clamps ("beam receiver") with the templates

with the sills installed the templates are too high
IMG_0284.jpg

Due to the fact that Installed already the sills I made small notches in the templates

with the small notches
IMG_9279.jpg

Part of jigs c13 and c14 is cut in No. 2-1, but my jig does not have a cutting line.
Is it normal to have cut lines?
In my jig there was a perforated laser cut line which made it easier to remove the upper part - at the bow and also at the stern.

IMG_0319.jpg IMG_0320.jpg

But I think, that this is not really necessary to remove, in moment (although I removed it already, I do not imagine in moment on which stage of the construction it is necessary or helpful - the outer planking has to be done when the complete hull is out of the jig.......
 
I am helped by the logs of the people who made it first.
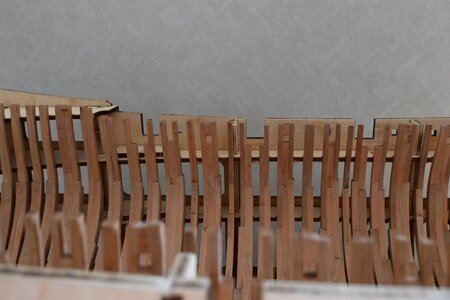
Other than Frame 53, it's still a dry fit.
The protrusions on my template C7 and frames 52-51 did not fit well and I cut off the small protrusions on the C7.
DSC02999.JPG
My frame 51 is 1mm lower and my frame 52 is 2mm higher with a slight step.
DSC03000.JPG

A person who makes a lot of structural models gave me information about paraffin wax.
It has a natural luster, can be used with vinyl acetate emulsion-based adhesive, and is not sticky,
so it is recommended for structural models because it does not stick to wood shavings.
The model below is a paraffin-coated aurora.
DSC_0446.JPG

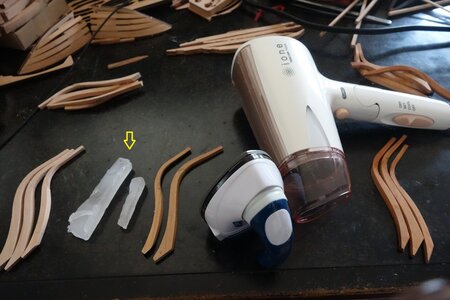
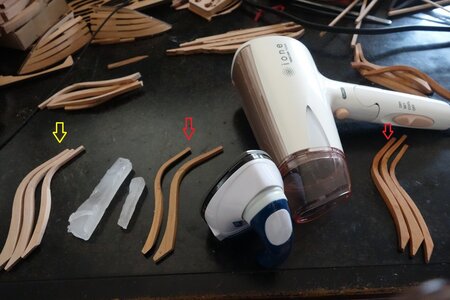
The yellow arrow is paraffin with a melting point of 47 degrees.
Paraffin is solid and easily melted by the heat of the dryer and seeps into the wood. Paraffin with a high melting point is not suitable for model sailboats.
DSC02993a.jpg
Paraffin wax is like a candle, so it cannot be applied to narrow spaces such as between frames or hollows. Paraffin is applied to such parts at the part stage, and heat is applied with a dryer after assembly.
We have also confirmed that vinyl acetate emulsion adhesives have sufficient strength against paraffin wax.

Araldite adhesive is effective and recommended for temporary fixation.
I thought it would not be possible to remove it with a strong adhesive, but it does not soak into the wood and the adhesive strength is moderate and leaves no marks.
IMGP4848a.jpg

Paraffin seems to melt in Japan today. The cold beer cools my body, and the 5% alcohol protects me from Omicron.
 
Last edited:
Hi Muchi

Can you explain with pictures on a scratch piece of wood how do you apply paraffin. And show the "before & After " picture.

What is the objective of using paraffin ?

Thanks
Daniel
Hi Daniel

Do you know the oil finish? It is the most suitable method for expressing the beauty of wood and moist skin by applying vegetable oil such as linseed oil and letting it penetrate.

This is the Coca I made earlier, before applying oil.
DSC00526.JPG

This is an image with linseed oil applied.
DSC00548.JPG

The disadvantage of linseed oil is that it is a vegetable oil, so it is difficult to remove dust from it.
On the other hand, paraffin wax is not sticky, so it is resistant to dust adhesion and is suitable for structural models.

This was my first time using paraffin wax.

Below is an unpainted image of the cherry blossoms in the kit.
DSC02987.JPG

Image after applying paraffin wax and warming with a hair dryer
DSC02999.JPG

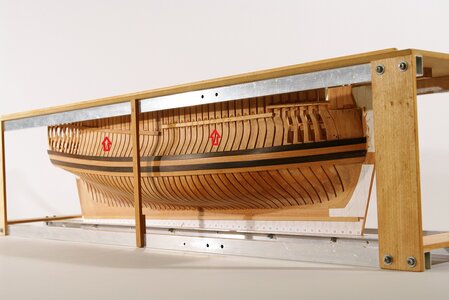
The yellow arrow is before use, and the red arrow is after use.
DSC02993b.jpg

It penetrates rather than forming a film.
I don't know how well it protects trees.
Minor scratches can be healed by heating with a hair dryer.

Thanks
Muchi
 
Last edited:
Hi Daniel

Do you know the oil finish? It is the most suitable method for expressing the beauty of wood and moist skin by applying vegetable oil such as linseed oil and letting it penetrate.

This is the Coca I made earlier, before applying oil.
View attachment 323799

This is an image with linseed oil applied.
View attachment 323800

The disadvantage of linseed oil is that it is a vegetable oil, so it is difficult to remove dust from it.
On the other hand, paraffin wax is not sticky, so it is resistant to dust adhesion and is suitable for structural models.

This was my first time using paraffin wax.

Below is an unpainted image of the cherry blossoms in the kit.
View attachment 323813

Image after applying paraffin wax and warming with a hair dryer
View attachment 323803

The yellow arrow is before use, and the red arrow is after use.
View attachment 323812

It penetrates rather than forming a film.
I don't know how well it protects trees.
Minor scratches can be healed by heating with a hair dryer.

Thanks
Muchi

Thank you !! The differences are striking.

You melt the paraffin in a bowl and then you spread it as the oil, correct ?

You need to be fast or you have enought time till it is solid again ?

Moreover, oil is known to have issues with glue (glue doesn'twork well). You mentioned that with paraffin glue works well. Am I understanding this correctly or it will be like with oil ?

Thank you !
Daniel
 
Back
Top