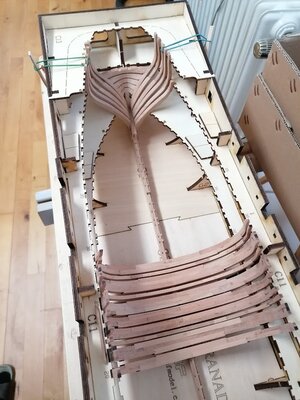
HMS Granado, Plank-on-Frame, 1/48 scale CAFModel

Joined
Sep 23, 2018
Messages
97
Points
253

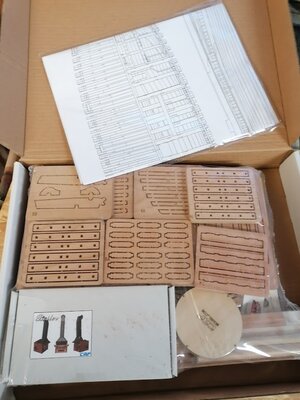
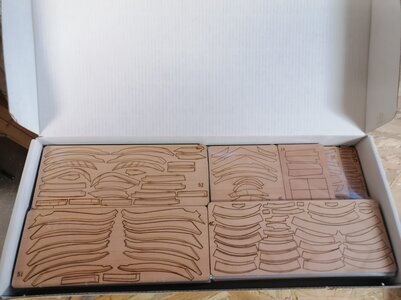
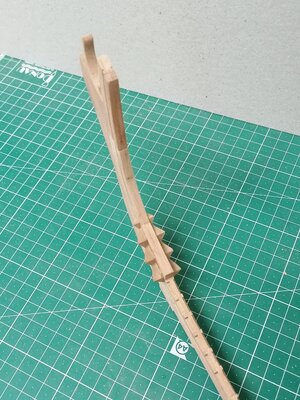
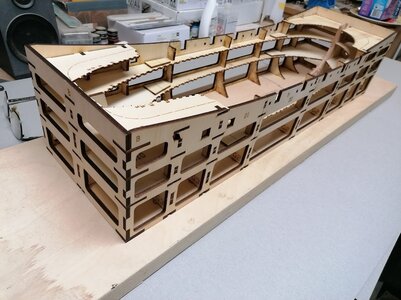
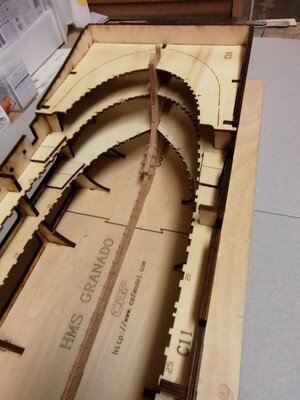
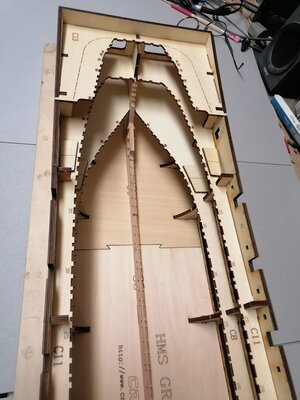
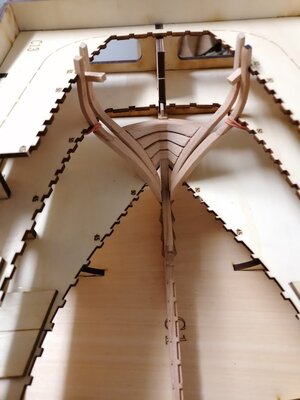
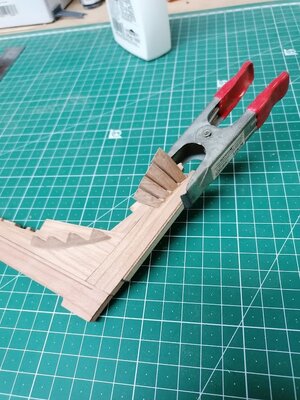
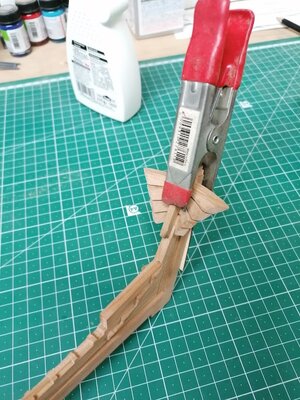
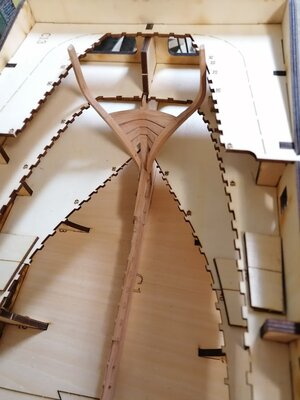
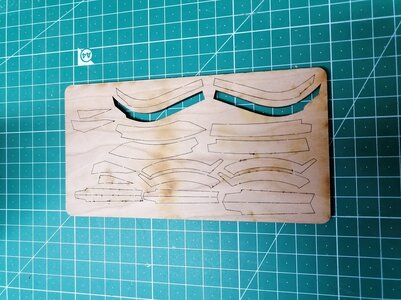
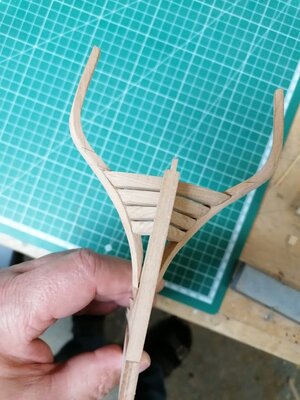
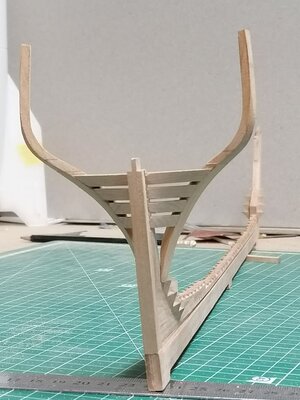
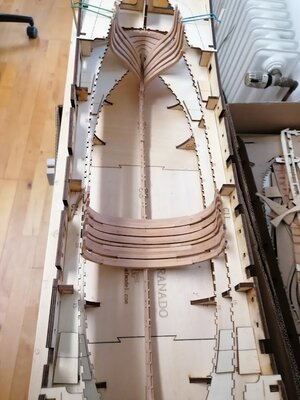
Hi all, my ship came in last week and of course I was eager to figure out, how it goes together. Here's the start:
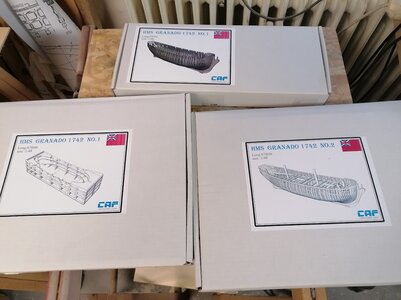
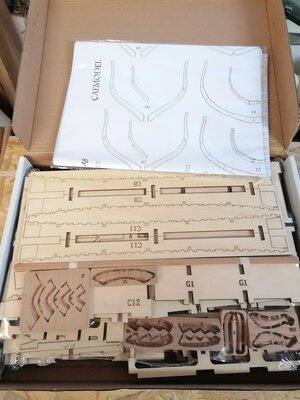
IMG_20211207_161958.jpg

IMG_20211207_162755.jpg

IMG_20211207_162911.jpg

IMG_20211207_162840.jpg

I was lucky to have a large 2.5cm thick board of Multiplex in my workshop which serves perfectly as a base for the build:
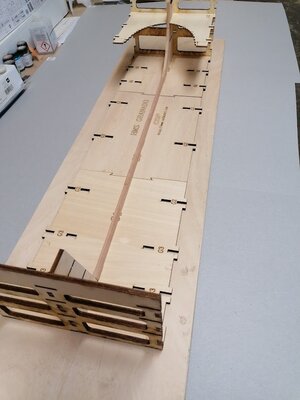
IMG_20211213_200612.jpg

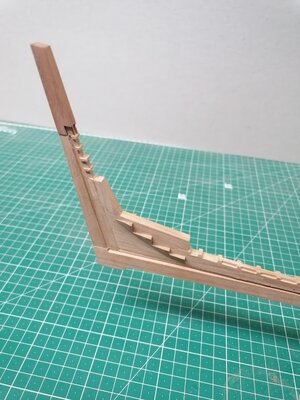
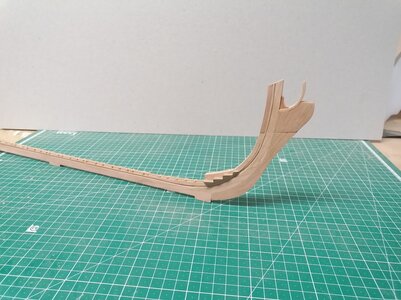
I built the stem today and it went very well. I'm not sure how to build the hull yet, if I'll build it as a complete unit or to make it seperable, time will tell.
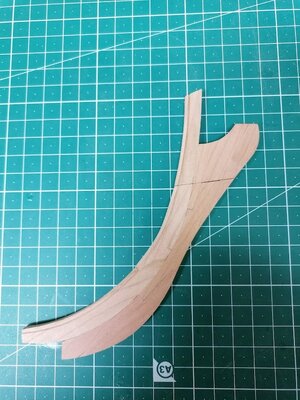
IMG_20211213_200741.jpg

I built up part of the jig to ensure that the stem is attached square to the keel:
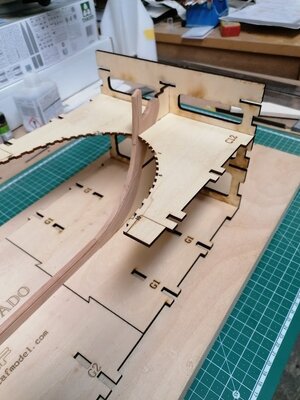
IMG_20211213_200313.jpg

But I need to complete my "HMS Alert " first.

Regards
Peter
 
Ho Ho Ho - you have also one - I am very happy that you also .... bist auf die Granado gekommen (nicht auf den Hund)
I am looking forward to see your and to see how I should build mine after the section model I am in moment working on
:cool:
 
Great start. I will follow this log with great interest. The Stem is not glued, correct ? The horizontal line that we see on its upper half is the joint section, correct ?

Best !!!
Daniel
 
Thanks for dropping in everyone and for your kind comments and likes. @Uwek Wir sind in der Tat auf den Hund gekommen! Meet Kito (pronounced Keehto) who has been with us since April. Kito is a mixture of a White Canadian Sheepdog and a Border Collie.

IMG_20210714_173841.jpg

@Dematosdg The Stem can still be seperated, but I think I'll join the horizontal hull sections together. This is what has been done during the past few days:

IMG_20211216_111413.jpg

IMG_20211216_130809.jpg

IMG_20211216_131113.jpg

The jig hasn't been glued together yet, but even so it is very solid. I wanted to get familiar with it first and see how it goes together. Everything fits perfectly.

IMG_20211216_183600.jpg

IMG_20211216_183727.jpg

IMG_20211216_183644.jpg

Thanks for checking in!

Peter
 
Last edited:
@Bryian No, you have most of the frames under construction, I'm nowhere near that far now.
So with the keel and deadwoods completed it was time to tackle the transom pieces and stern-frames. After all items were released from the backing sheets and cleaned I placed the pieces for a dry-fit into the jig:

IMG_20211217_174156.jpg

Looks fine enough for me, so I tried to glue the lot together seperated from the hull! This didn't work out at all, the frame-ends ended up all over the place but not where they were supposed to. I tore the whole lot to pieces again and removed the remains of the glue. After some head-scratching I figured out what to do next. This was to glue the transom pieces to the stern piece first.

IMG_20211217_204546.jpg

IMG_20211217_204634.jpg

This was then left over night to dry and the next day I levelled out the side edges where the stern-frames were to be attached. After test fitting in the jig yet again, it seemd to work. The stern frames were then glued to the transom pieces.

IMG_20211218_073545.jpg

The stern frames are numbered 53 in the instruction manual and I assembled frame 52 also to aid the positioning of the stern frames. However sheet 5J is lasered on one side only.

IMG_20211218_073720.jpg

So I had no indication where the upper frame pieces were to be chamfered, I didn't chamfer them at all. Attaching the unchamfered to pieces to the chamfered bottom pieces left me with some seriously bent frames when viewed from the side. Even though the glue hadn't set fully, I placed these frames into the jig where they straightened out again by themselves! Viewed from the side they were fully flat. It was at this stage when I noticed that something was going wrong. Then I realised that the rear side of sheet 5J hadn't been lasered and that BOTH pieces of the frames were to be chamfered at their joints.
While writing this, the glue on the stern hat cured enough for me to remove the keel from the jig and to check how it worked out.

IMG_20211218_080756.jpg

There are still some gaps that need to be taken care of but I think that after fairing and cleaning it'll look quite good.

Thanks for dropping in

Peter
 
Last edited:
Good start Peter!
I had similar problems with the stern transoms, but overcame them in a different way - I'll be starting my build log (much delayed) in a few days, so will explain then. In the meantime, only 22 frames still to assemble (also assembled in a different way!)

Ted
 
Before I remodelled my workshop during the Christmas Holidays (new floor) I built some further frames at the stern of my Granado.

IMG_20220117_142524.jpg

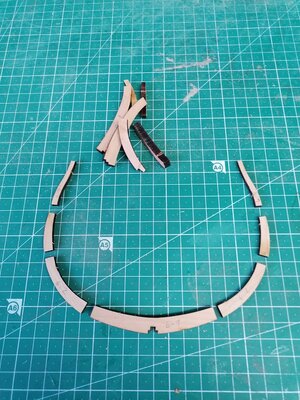
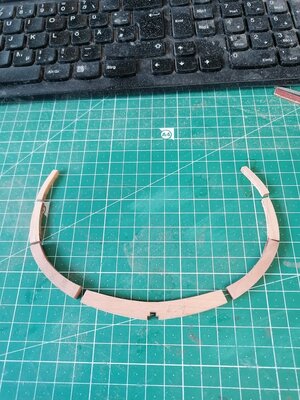
To get back into it, I continued with building frames at the centre of the hull. Here the pieces of a double frame have been removed from the wooden sheet.

IMG_20220118_151419.jpg

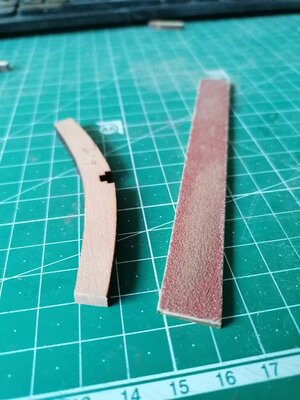
I remove the char at the butt-ends with a brass sanding stick by hand:

IMG_20220118_133149.jpg

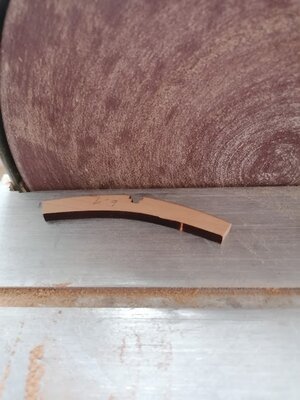
The rounded edges are cleand with my disc-sander:

IMG_20220118_133215.jpg

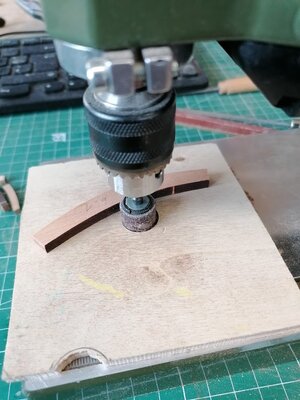
And the rounded inside with the drum-sander:

IMG_20220118_134319.jpg

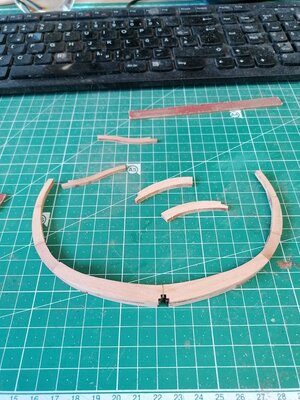
Here are cleand up items ready for assembly:

IMG_20220118_134826.jpg

Assembly completed with the remaining pieces ready and waiting:

IMG_20220118_143337.jpg

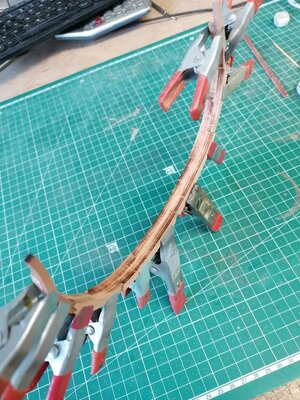
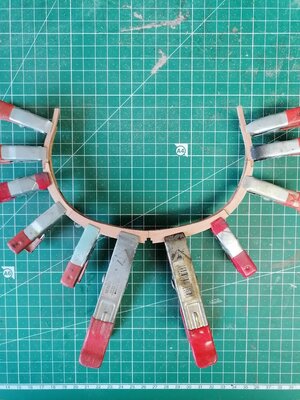
The double-frame fully assembled...

IMG_20220118_145130.jpg

IMG_20220118_145336.jpg

... and installed:

IMG_20220118_153845.jpg

Thanks for checking in!

Peter
 
Back
Top