HMS Pegasus 1776 Amati Victory series

Joined
Feb 8, 2021
Messages
466
Points
323

Location
Victoria Australia
You dont really need another Pegasus build log but it helps me a bit. I am preparing myself for a bigger task with either Amati Victory Vanguard or perhaps Occre Montanes. I have never done copper plating or crowsfeet rigging so Pegasus will provide that experience along with an opportunity to clean up my act on gunports and gun rigging.
So here goes, and I hope it is helpful to someone else. I will maintain a message at the start of the build log listing things I want to draw attention to.
 
This is a numbered list of traps/errors/other things to be aware of.

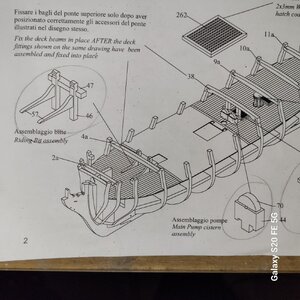
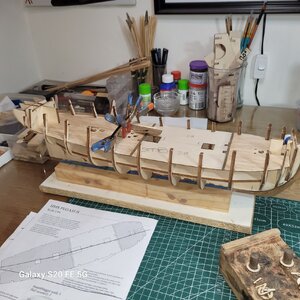
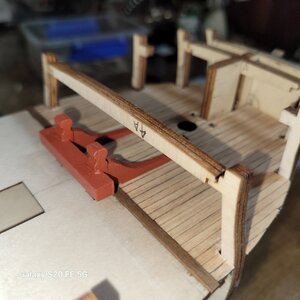
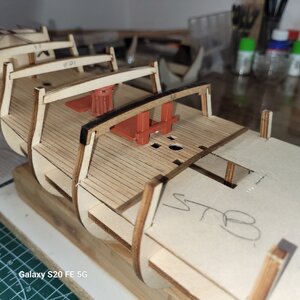
1. The drawing of step 3 in the diagrams book shows the Riding Bitt Assy as on the already planked foredeck part of the main gun deck. It is not, it is aft of the newly planked are as shown by the location of the mounting holes in diagram 2.

20240727_114605.jpg


2. Part 3A does not exist. It is listed but not in the cutouts. Doesnt matter as it would actually get in the way of the forfedeck which is no doubt why they have removed it. The above diagram shows where it would be if it existed.
 
Last edited:
I look back on kits as an intro but …. Much anguish getting over flaws. Hope all goes well. But … maybe a bit more scratch build? Take a challenge: I fully recommend. Once hooked it breaths new era, excitement to modelling concept of art/appreciation.
I wish you all the best. Thank you for sharing.
 
I look back on kits as an intro but …. Much anguish getting over flaws. Hope all goes well. But … maybe a bit more scratch build? Take a challenge: I fully recommend. Once hooked it breaths new era, excitement to modelling concept of art/appreciation.
I wish you all the best. Thank you for sharing.
Yes...I am tempted but i would need to do two things..upgrade my tool collection and improve my skills significantly. Certainly agree that even good kits have their frustrations particularly when you try hard to focus on their detail and reveal their shortcomings. Thanks for the encouragement..thinking about it.
 
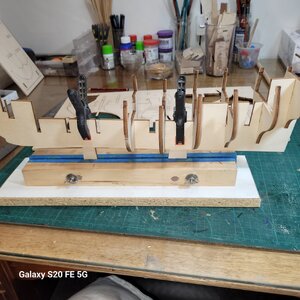
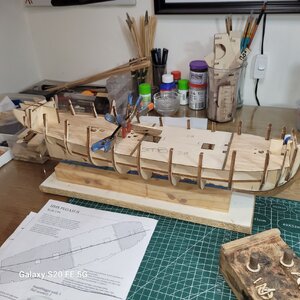
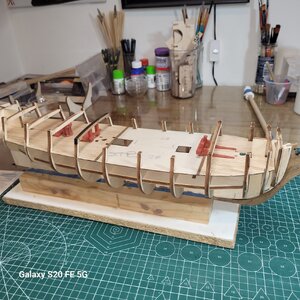
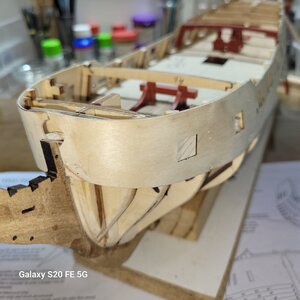
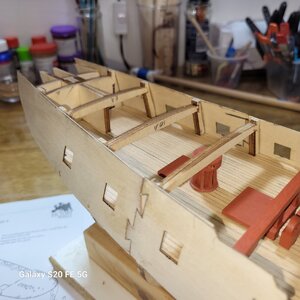
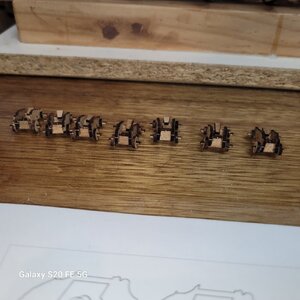
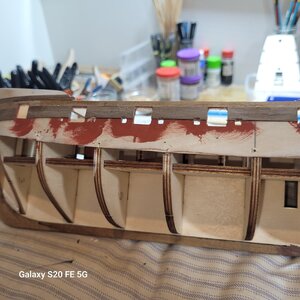
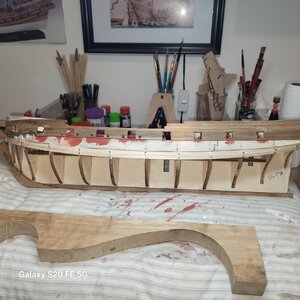
The gunport topsides went on pretty well considering they bend two ways. Have had to re trim the upper deck parts to go inside the topside panels. Making gun carriages and painting guns before fitting those lower decks. On Revenge I used glue which was not great to attach gun barrels to carriages and if you knocked a gun it broke free. This time I am going to epoxy them onto the carriages so the sttachment will be better. I am thinking of putting the barrels in from the start with the carriages to get much better control of their postion and elevation. I cant reall see anyt reason not to do this...yes the guns will stick out a little, but I think I would prefer to work around that than to install them last through the guports. Any thoughts..?

20240730_103223.jpg20240730_103234.jpg20240730_114608.jpg
 
Yes...I am tempted but i would need to do two things..upgrade my tool collection and improve my skills significantly. Certainly agree that even good kits have their frustrations particularly when you try hard to focus on their detail and reveal their shortcomings. Thanks for the encouragement..thinking about it.
Tools you can make from home like old hacksaw blades in wooden handles or junk markets. You not need professional shipbuilding 1000 + tools. As for craft skills - I make shavings to dust and piles of it. Never too old to learn or improve. We are the critical thinkers. Please get a piece of pear or apple or lemon wood … just cut, carve … then make a few planks and build something easy. It’s surprising what happens and how the brain develops (ingenious ways to suit us).
 
we can never have enough building logs - many thanks for starting your log
 
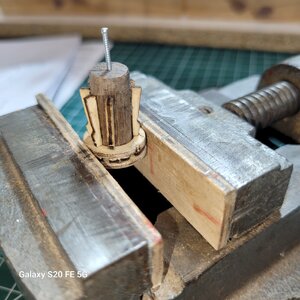
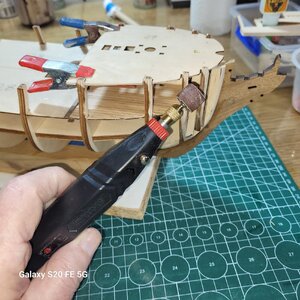
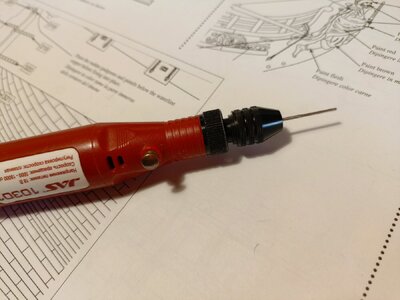
Fairing the bulkhead tops for the gunport panels. I bought this awesome little micro drill, USB charged, 5 speeds and about 100 fittings, on eBay for 40aud and now i dont have to keep changing my dremel setup.
View attachment 461515
It is useful to purchase a three-cam cartridge for this engraver. I bought one for myself on Aliexpress, it is very convenient, you do not need to select collets for the diameter of the nozzle every time. This one, judging by the photo, should be suitable.

Смотри, что есть на AliExpress! Многоцелевой БЕСКЛЮЧЕВОЙ сверлильный патрон M7/M8, вращающийся инструмент, 4 типа, опционально, стандартные аксессуары для преобразователя за 121 ₽ - уже со скидкой -45%

IMG_20240801_113849_495.jpg
 
It is useful to purchase a three-cam cartridge for this engraver. I bought one for myself on Aliexpress, it is very convenient, you do not need to select collets for the diameter of the nozzle every time. This one, judging by the photo, should be suitable.

Смотри, что есть на AliExpress! Многоцелевой БЕСКЛЮЧЕВОЙ сверлильный патрон M7/M8, вращающийся инструмент, 4 типа, опционально, стандартные аксессуары для преобразователя за 121 ₽ - уже со скидкой -45%

View attachment 463175
Thanks for that..will check it out.
 
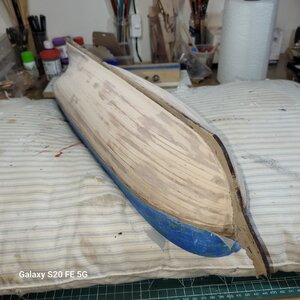
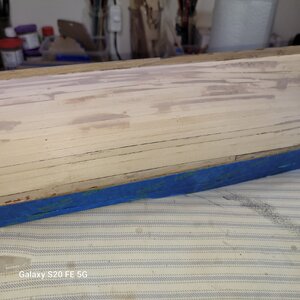
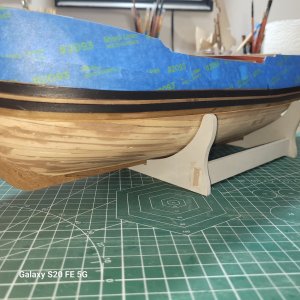
Finished the 1st layer of planking. The wood is excellent quality and 2mm thick so you can easily get a smooth enough finish to take the copper and save the Mahogany which is supposed to go on next. Will satin coat the hull twice before coppering to make the medium CA stick. Cant see any reason to waste all that Mahogany. Very little tapering required and no spiling. The planks are so thick that you can easily plane off the small amount of edge set you get. ( well I always get some because I am not a technical planker)

Next to close up the transom properly where I had a bit of a problem...dont ask. Then mark the waterline, put the wales on, and plank down to the waterline where the copper will start.

20240821_152028.jpg20240821_152038.jpg
 
finished the wales and also a waterli=ne piece of 1mm strip to bring the copper up to. A bit of kit bashing here with the wales. Now I am going to epoxy the fore and aft cannon barrels in place before installing the foredeck and aft deck...and then planking them. I have found from Revenge that installing the barrels tyhrough the gunports veryt late was a bit of a pain in the neck, partly because of difficult glue control on my part.

20240827_090901.jpg
 
Back
Top