HMS Pegasus - by Amati [COMPLETED BUILD]

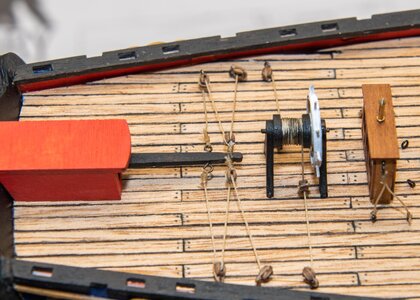
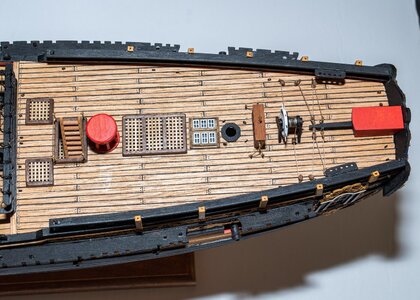
With 5" of rain in the last two days it was full time in the ship yard so was able to complete the quarterdeck planking. After looking at the before and after of the deck with treenails and without, I think the next ship will be without. Just looks too busy and besides I have a hard time getting them lined up in a nice even row. Back to the fo'c's'le and a start on deck furniture and fittings nextPegasus 069.jpg.
 
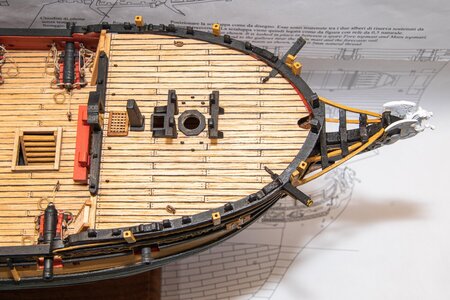
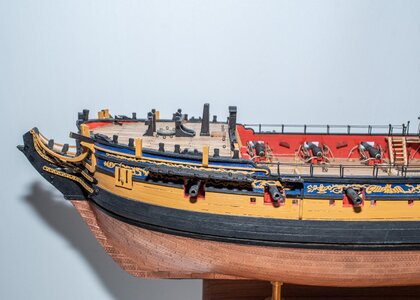
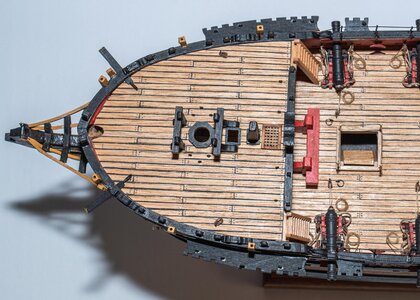
The weather is still nasty so I spent another 6 hours in the shipyard. Not complaining though, really having a fun time with this one. Fo'c's'le done for the most part so moving on to the midships gun deck next. The distance between the deck and the cathead was insufficient to get it installed correctly so had to compromise. I was also surprised that the cathead/anchor tackle was not on the directions or plans so I drilled the holes at the end of the cathead and added a cleat so it can be added. I'll rig up a block to the anchor when it is installed. Pegasus 070.jpgPegasus 071.jpgPegasus 072.jpg
 
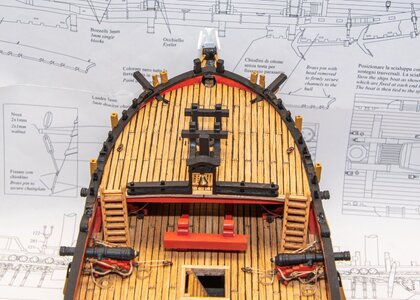
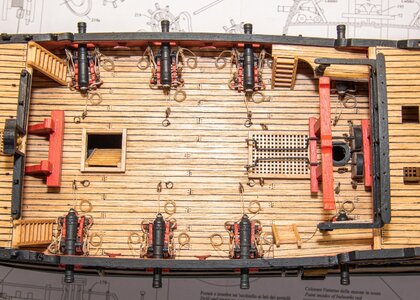
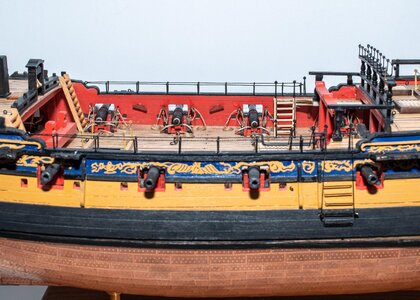
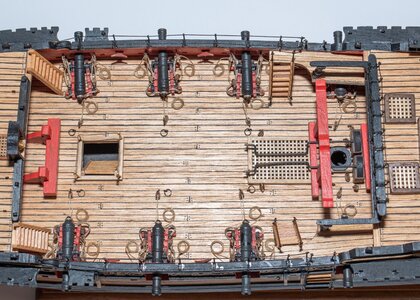
The midships gun deck is complete except for a couple of small items I just noticed in the closeup shots. Will fix them before I go on to the quarterdeck furniture. I'm leaving small fragile pieces like hammock cranes until near the end to keep from getting hung up and breaking them off. I do that a lot.

Pegasus 073.jpgPegasus 074.jpgPegasus 075.jpg
 
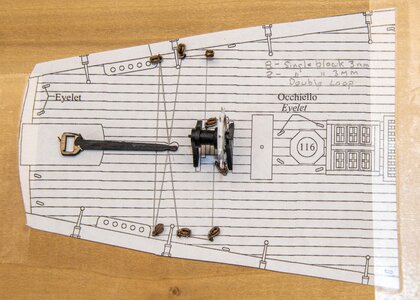
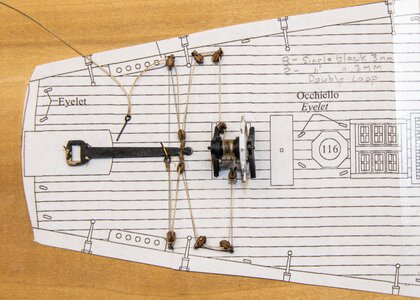
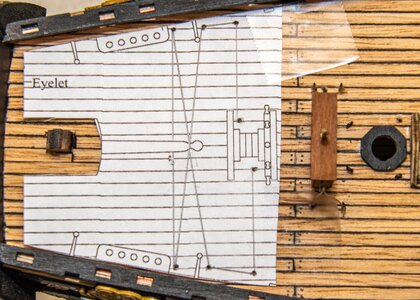
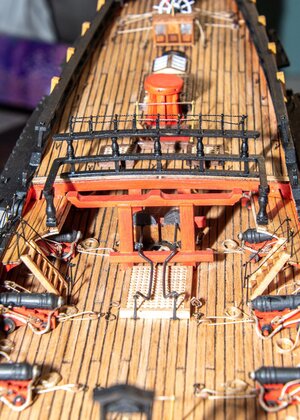
Finished up most of the desk furniture then tackled the steering gear. I made a copy of the layout from the plans and taped it to a piece of plywood then drilled the holes for the eyebolts.Pegasus 076.jpg
After making up the blocks and eyebolts I placed them on the layout but no glue, just a tight fit.
Pegasus 077.jpg
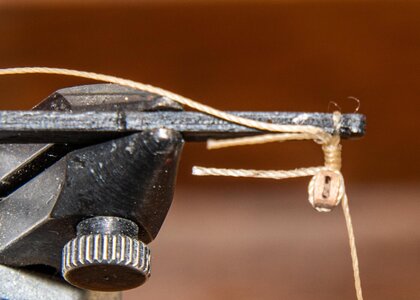
Then I rigged the tackle and removed it from the jig.
Pegasus 078.jpgPegasus 079.jpg
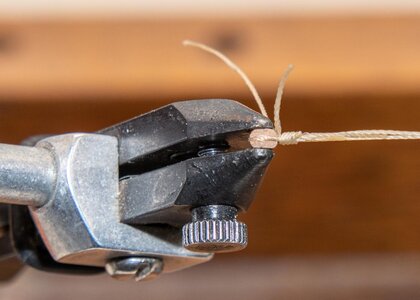
I use my fly tying vice for making up blocks and other small projects.
Pegasus 080.jpg
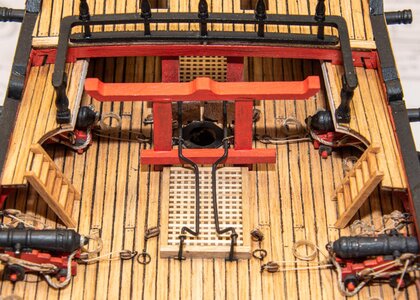
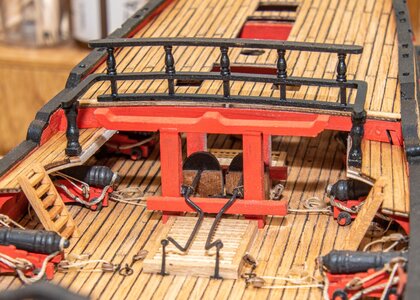
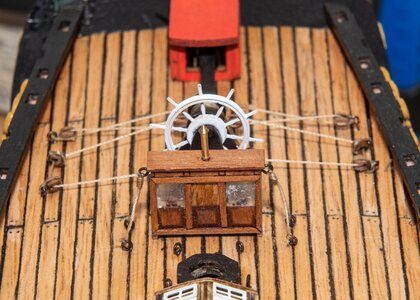
I removed the layout plan from the jig and moved it to the ship and taped it down in position and drilled the eyebolt holes. After removing the plan I installed the rigging and glued the eyebolts in place. Everything worked out great. Spent a lot of time laying awake at night mulling the provess over in my mind and it worked out well. I'll use this process on other projects too.
Pegasus 083.jpgPegasus 081.jpg
The binnacle is from a third party vender. Liked it better than what came in the kit.
 
Completed the rudder assemble last night. Next up will have to be some cannon so I can install the top decks.

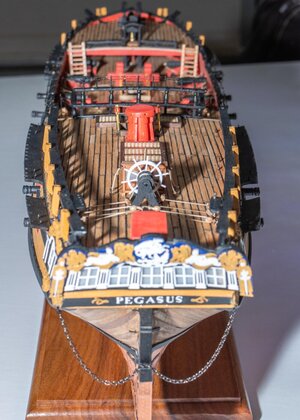
Question for all you experts: What is the chain on the rudder for? I have seen it on other models and thought it looked great so add to my Pegasus. Some sort of backup in case a rudder breaks loose and doesn't float away?

View attachment 189689
As i understand it it does 3 things first to catch the rudder if it is torn off usually attached several places on each side to give kind of a shock absorber effect so it doesnt just tear loose also to use as auxiliary steering with pulley s,etc if helm is damaged third the weight of chain hanging a bit would tend to center the rudder in normal use
 
As i understand it it does 3 things first to catch the rudder if it is torn off usually attached several places on each side to give kind of a shock absorber effect so it doesnt just tear loose also to use as auxiliary steering with pulley s,etc if helm is damaged third the weight of chain hanging a bit would tend to center the rudder in normal use
Thanks. All three make a lot of sense. Glad I added it.
 
Finished up most of the desk furniture then tackled the steering gear. I made a copy of the layout from the plans and taped it to a piece of plywood then drilled the holes for the eyebolts.View attachment 194517
After making up the blocks and eyebolts I placed them on the layout but no glue, just a tight fit.
View attachment 194518
Then I rigged the tackle and removed it from the jig.
View attachment 194519View attachment 194520
I use my fly tying vice for making up blocks and other small projects.
View attachment 194521
I removed the layout plan from the jig and moved it to the ship and taped it down in position and drilled the eyebolt holes. After removing the plan I installed the rigging and glued the eyebolts in place. Everything worked out great. Spent a lot of time laying awake at night mulling the provess over in my mind and it worked out well. I'll use this process on other projects too.
View attachment 194524View attachment 194523
The binnacle is from a third party vender. Liked it better than what came in the kit.
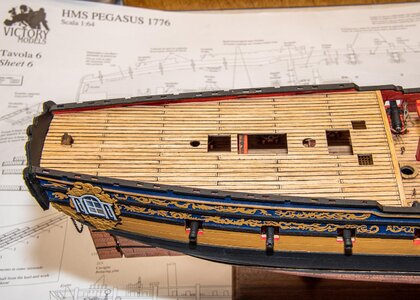
I can’t believe that was the steering mechanism. Looks like a safety hazard to me. ROTF :eek:
 
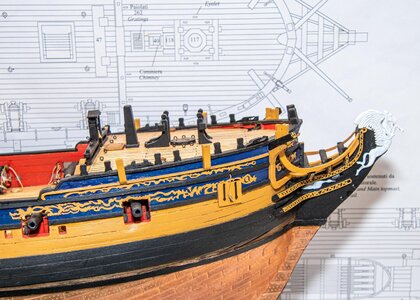
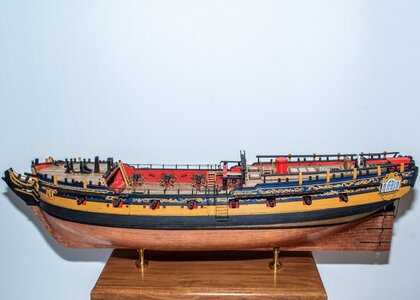
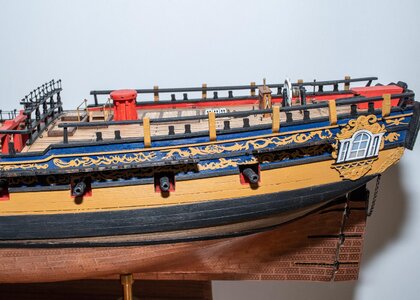
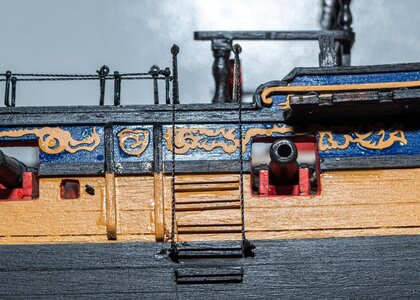
Pretty much done with the hull and ready to start with the deadeyes. Need a few paint touchups here and there and I noticed on the midships photo the boarding ladder is out of alignment which is bugging me. Guess I'll have to rip it out and redo it correctly. Seems like studying the photos makes the errors really stand out and easier to see. Happy Thanksgiving to y'all.
Pegasus 084.jpgPegasus 085.jpgPegasus 086.jpgPegasus 087.jpgPegasus 088.jpgPegasus 089.jpgPegasus 090.jpgPegasus 091.jpgPegasus 092.jpg
 
Wow, this is an amazing build. I’m following this quite closely as I will be doing her Sister, HMS Fly. I saw a build with the galley stove, I think I will be doing that. I think I will 3D print the stove.
 
Wow, this is an amazing build. I’m following this quite closely as I will be doing her Sister, HMS Fly. I saw a build with the galley stove, I think I will be doing that. I think I will 3D print the stove.
Thanks Chris. I would have given up a long time ago if wasn't for other builds. Pictures really helped my process so besides watching other builds I also try to add plenty of good photos for anyone else that might benefit from them.
 
Thanks Chris. I would have given up a long time ago if wasn't for other builds. Pictures really helped my process so besides watching other builds I also try to add plenty of good photos for anyone else that might benefit from them.
Have you seen this build? Blue Ensign
I don't know if it's bad to post a build from another forum but his interior work is exceptional.
 
I'm kind of working back and forth between Bob's practicum and the kit directions. Also following another Pegasus build and doing a few modifications of my own. The plans call for planking the bow and stern section of the gun deck and leaving the midships section unplanked for the time being. Like Bob I planked the entire deck. He also installed the riding bits and the main mast bits at this point. They looked a little fragile to me and I'd probably break them off while planking the hull with the ship upside down so I left them off for now. I also filled the space between bulkheads 1, 2, 3, and 11, 12, 13 with some scrap balsa for more gluing surface and it made the bulkhead faring easier to "visualize". Some cleaning up to do then the major step of glueing on part 32, the gun port pattern. The instructions say to soak them for at least an hour before bending the into position. Seems kind of excessive to me. Hope the ply doesn't delaminate while installing.
View attachment 181285View attachment 181286View attachment 181287View attachment 181288View attachment 181289
I’ve had plywood delaminates from just painting.
 
Back
Top