HMS Snake Caldercraft Build Log

Joined
Jun 29, 2020
Messages
17
Points
58

Hello all,

A year and a half has passed since I first joined and posted. Covid has made life interesting to say the least. I went from full time in the office to full time WFH. So I had to move my hobby area to accommodate my work desk. Then my wife lost her job, but found a new job she liked much more, but…also WFH. So I was out of a place to work indefinitely. Finally staked my claim to part of the dining room table and bare the scars of keeping it mine.

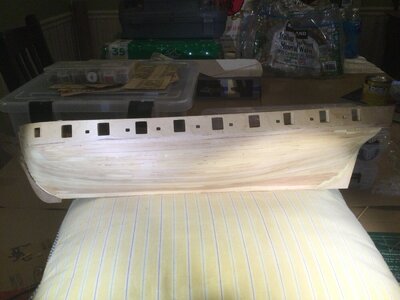
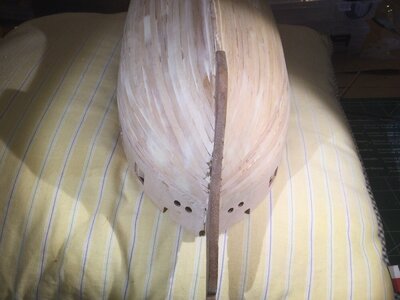
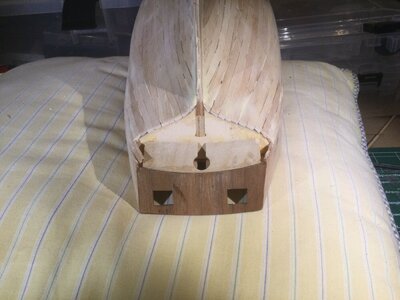
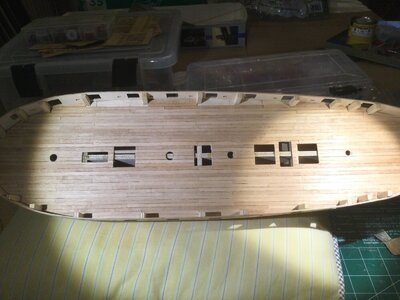
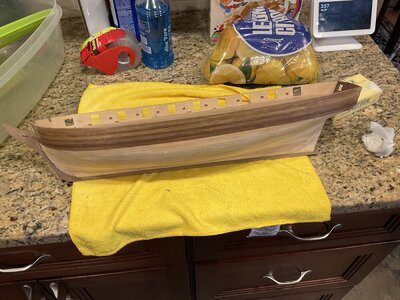
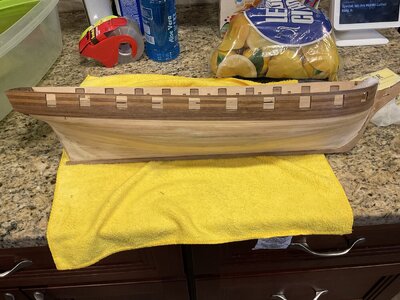
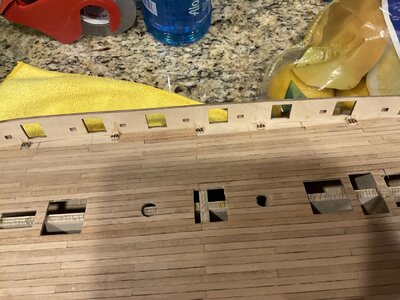
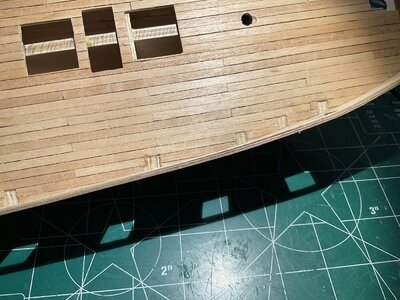
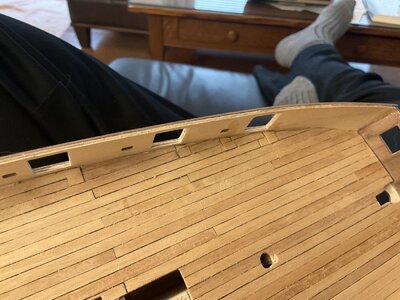
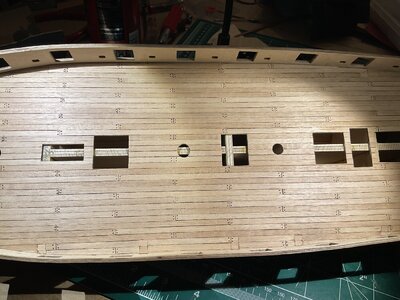
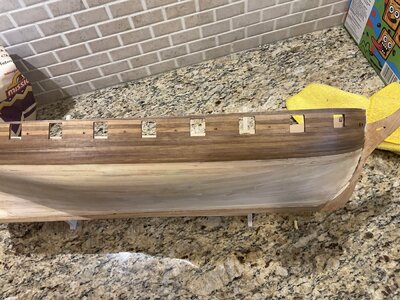
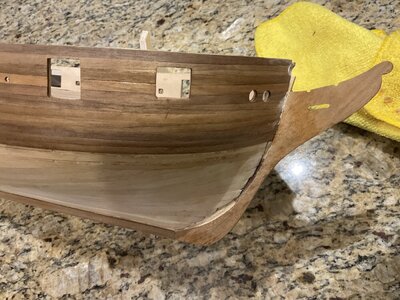
Anyhow, I had started my first kit which is the Snake and I am close to finished with the first planking. I followed the examples of previous logs to ensure the keel was straight and bulkheads square. After putting in the deck, I made my first mistake by planking the deck. I was thinking I would be planking against the extensions of the bulkheads, as opposed to removing them first. Ooops. Will deal with that at the appropriate time. Proceeded with the first planking starting from the top and planking evenly on each side to avoid warping the keel. Here are the results so far.9DD8F194-A850-4C14-9DDE-9FE160BB32FA.jpegF8D38EA0-2ED7-4F4F-AF20-5150B2F968E2.jpegD416CA51-09F0-45B0-9DD1-553EA3DEF044.jpeg2F37CD99-FFD7-4E75-AEA6-650775A47FA8.jpeg285DC95F-B046-48D4-AB38-6DD7C5A8356F.jpeg
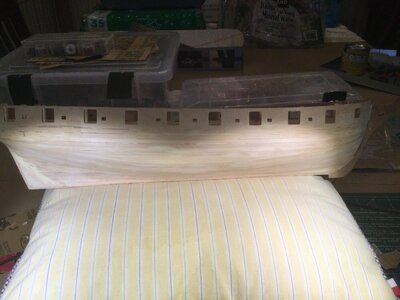
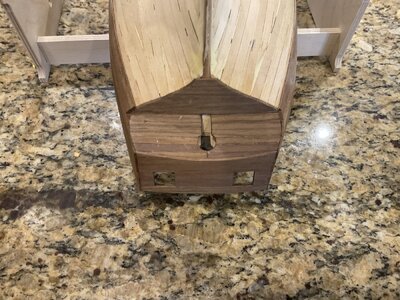
I still need to figure out how the stern comes together. That is my nest task. And then to figure out how the second planking will fit into the keel so that they are snug and tight. I am open to any suggestions or criticisms. I am confident that I have no idea what I am doing.
 
Last edited:
First off, welcome to the forum!

To fit the second planking tight to the keel try taking more time to carefully fit each strake to the keel. I use a sanding block for this, sand a little, check fit, sand, check etc...enjoy the process.

As for the other things you are asking help on try a separate post for each issue, with pictures. We like pictures.

Glenn
 
Many use a split approach on planking, start from upper section near Whale and work down, and start at keel with garboard strake, and work up a few planks and meet in middle.

Before starting the second layer of planking, get some wood putty or body filler and fill in gaps and get smooth hull lines.

As for the deck, I really didn't seen any major glaring errors.

Sometimes its best to just know what needs fixed next time and leave the minor errors along.
 
Thanks for the info. I decided to start near where the planking meets the wale, and plank up and down from there. Then plank up from the base of the keel, leaving the messier bits for the section that will be coppered. Am I correct that I wan to offset the second planking so that these planks are not exactly in line with the planks of the first layer? Seems like it would increase adherence and hull strength To do so.
 
As for the errors, yes I agree. This is my learning ship. Next is the Agamemnon. And I figure that the deck planking boo boos can be camouflaged with coiled rope or something similar. Thanks again!
 
I have finished my first section of the second planking
D233FAD7-CDA5-44A2-A9D2-03B5856CEE29.jpeg

One one side I have also finished the preliminary shaping of the gun ports
8D819994-61D2-4A80-823E-BEE077A53B5D.jpeg
To take a break from filing, I am removing the bulkhead extensions. At first I had to use a cutting wheel and the snap them off, but I ordered a nice little flush cut saw to remove them to the deck.
088F31D4-F897-4357-9F48-6E03822ECC5F.jpeg

As I mentioned in a prior post, I incorrectly thought I could plank the deck at an earlier stage. Once they are flush, I will use some carving blades to lower the underlying deck and shape some planks to fit. The ones that come out looking bad will be covered by rope, or buckets, etc to hide by boneheaded move.
 
Last edited:
The Snake was every time one of my favourites from Caldercraft / Jotika - looking very good
 
Finally got time to work on the ship today. I was able to remove the remains of the bulkhead extensions
470DB889-84BE-47C0-983E-100DFDBC5675.jpeg

It was difficult to get the surface of the sub deck smooth and level and when I added small pieces of plank and sanded them flush, a few looked ok, but most looked awful. I would have been better off just flush cutting the extensions and leaving it at that as I am going to have to cover the patches that aren’t covered by the cannons wit ropes, etc. as I would have had to with flush cuts. Oh well, lesson learned.
72416A9F-35C7-4618-B256-CB41806A88DD.jpeg

I sanded the deck and finished drilling spots to simulate deck nails. The quality of the wood provided was really poor and I wish i had ordered something to replace it. Uneven edges that would not sand smooth and prone to chipping. Another lesson learned for the next ship.
0BAC1119-1405-49A3-906E-9BFF625D269F.jpeg

I did get the gun ports filed out in the second side. Next steps are to apply a finish to the deck after finishing the nails and then plank the interior.
 
Progressing on the second planking. The first planking I focused on basics like order of planking and tapering. For the second, I am learning to chamfer so there are no gaps
735CB1B7-5F02-44D9-AE41-56579C7B50CE.jpeg

I can see that my fitting is improving even from the easier planks I started with.

6C5E55A3-8F05-4A8C-B3FB-A687052843F1.jpeg

Progress is slow, and at times frustrating, but mostly a fun challenge.

Also made progress on the stern.
99FF0950-97CD-4194-8C50-CE9F1E17088E.jpeg


As I progress I buy a tool here and there. Last week a nice tiny box plane from Lee Valley and this week I have a waterline marker coming. I also learned that in the year long break due to the pandemic, I had lost the pumps, so I have a couple of Amati replacements on the way.
 
Nice planking job so far. You are at the point where the planking gets real tricky. On my HMS Snake, I gave up on planking nicely below the waterline since copper plates cover that area.

Perhaps I should upload my build log to this site.
 
Nice planking job so far. You are at the point where the planking gets real tricky. On my HMS Snake, I gave up on planking nicely below the waterline since copper plates cover that area.

Perhaps I should upload my build log to this site.
Another build log is always welcomed here!! Do it!!!

Glenn
 
Nice planking job so far. You are at the point where the planking gets real tricky. On my HMS Snake, I gave up on planking nicely below the waterline since copper plates cover that area.

Perhaps I should upload my build log to this site.
Thanks Ben. Moving your log over would be great, but I look at it regularly, along with two others, when I am trying to understand something that isn’t clear in the limited instructions. It is a great reference tool.

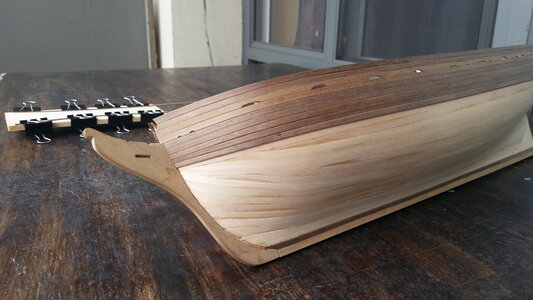
The last three planks I added to the side I showed were tough, with the second taking a good 2 hours to bend, taper, hand chamfer etc.. But the third was much faster, perhaps because of the work on #2? Anyhow, my thumbs were so sore from holding the planks tight to the previous ones while the CA set that I have taken a few days break to let them heal a bit.
 
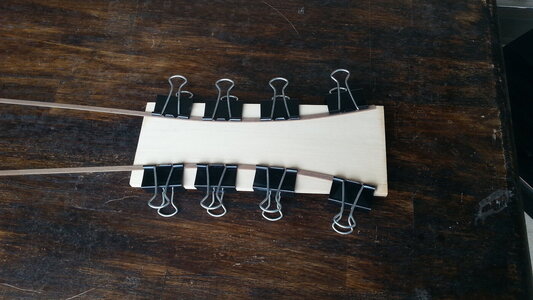
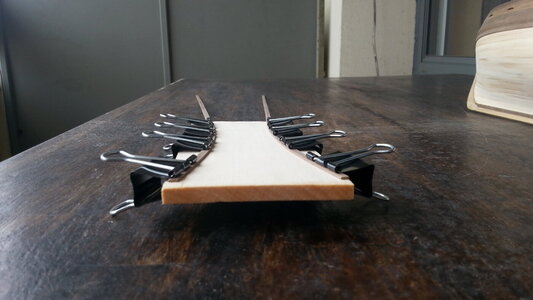
The pictures below are of my solution to plank bending. Clamp them down and use a heat gun/hair drier. After a little shaping, they fit right in place with very little effort. I only used CA glue in small sections every couple of inches the rest was PVA.

I really should get back into my HMS Snake.

Ship 52.jpgShip 53.jpgShip 54.jpg
 
The pictures below are of my solution to plank bending. Clamp them down and use a heat gun/hair drier. After a little shaping, they fit right in place with very little effort. I only used CA glue in small sections every couple of inches the rest was PVA.

I really should get back into my HMS Snake.

View attachment 291348View attachment 291349View attachment 291350
How do you determine the correct bend? Or is establishing a general curve in a rang helpful regardless? Thanks!
 
Or is establishing a general curve in a rang helpful regardless?
Pretty much this. If it's not enough, increase the length of the bend. That little basswood board in the pictures is about 6" long and it almost wasn't long enough.
 
I was able to test out the process and it works well. However, my piece of scrap wood was also too small to be practical. So I have added a reasonably thick plastic clipboard to my Amazon cart and it should be here next week. So I am going to look for some smaller things to complete in the meantime.
 
The pictures below are of my solution to plank bending. Clamp them down and use a heat gun/hair drier. After a little shaping, they fit right in place with very little effort. I only used CA glue in small sections every couple of inches the rest was PVA.

I really should get back into my HMS Snake.

View attachment 291348View attachment 291349View attachment 291350
Good morning Ben- you second planking layer looks beautiful. I don’t know if you are going to paint the hull as it would almost me sad to paint this. Fantastic. Cheers Grant. PS clever bending method.
 
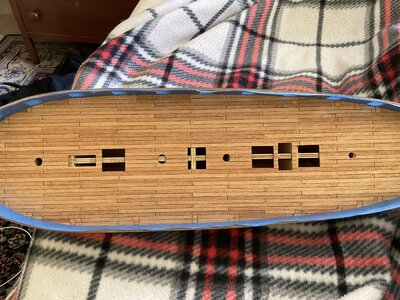
This weekend was focused on finishing up the deck. Some pins I ordered came in and I used the as trunnels. I get that they are not to scale and should likely be wood, but I just wanted to experiment a bit.
1F96857B-6AAF-4D79-84FC-C85C662268A9.jpeg

I did pick up a draw plate for making wooden trunnels in the future. Next step will be to finish the internal planking of the gunwales and cutting out all the ports etc. Then back to hull planking.
 
Last edited:
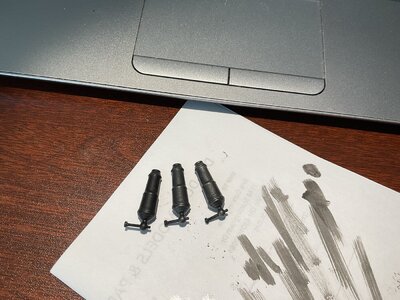
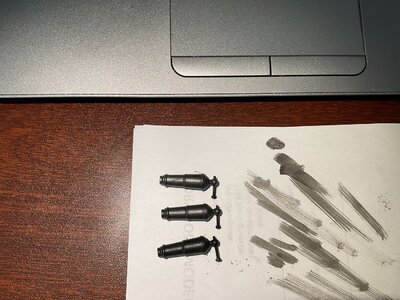
Looking for opinions on the carronades. I think a simple base coat of black paint makes them lifeless and hides the detail. On the left is the Admiralty black. Middle is the black with an over wash of ‘burnt iron’. At right is black, dry brushing of steel, the overcoat of ‘burnt’ iron. Any favorites?View attachment 29250013D1E250-B325-47DF-97FF-98974C87B9C8.jpeg

E3488D2F-DF14-46B1-BEF1-ADBCF4F94203.jpeg
 
Last edited:
It is hard to say, which one is looking more realistic or better..... like often it is a question of taste and also sometimes the original part is looking different like on photos - you see them best
From my point of view I like the middle one most, but ......
check out on google photos of real caronades and compare with your model - maybe in this way you get the best feeling, like you like most
 
Back
Top