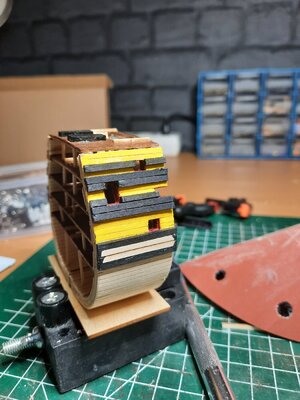
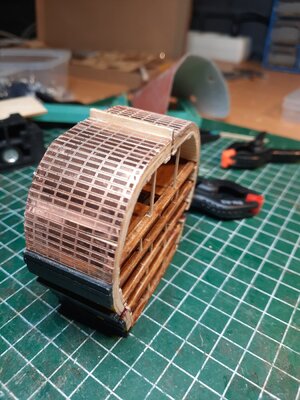
Hms Victory 1:200 midsection (Nidale) [COMPLETED BUILD]

Joined
Feb 27, 2021
Messages
187
Points
143

Location
The Netherlands, Brabant
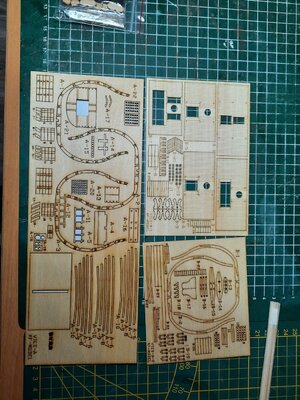
I found this little kit on the Internet and bought it because i was curious about it and i couldn't resist to buy it for only 25 euro.
Yesterday it got delivered and i just open it.
Can't say it does look bad, and the building plans doesn't look bad at all.
But its amazing small with a lot details.
I'm not disappointed till now.
I shall try to post here the progress of it
It will be my first building log.
Most times i look around here and love to see what you all build..
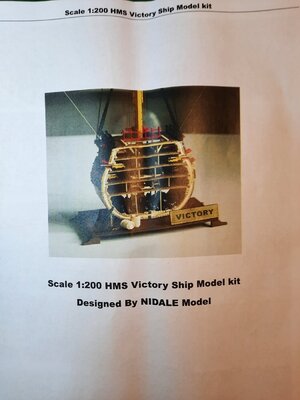
20220109_125737.jpg
20220109_125831.jpg
20220109_125838.jpg


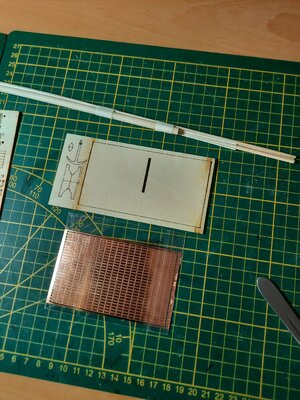
This is in the kit, only i didn't make photos of the ropes and all the other little stuff like canons.
They will come later in the building progress.
 
Nidale is quite a well-known company in China. It is great that you are starting your first build log. There are many experienced builders of the HMS Victory here so advice and help will never be far - just ask. The best of luck with this model.
 
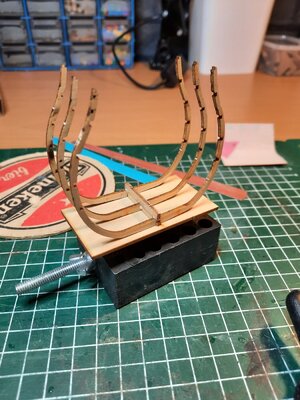
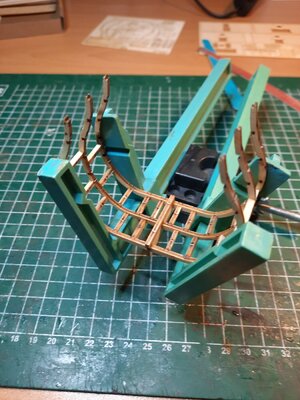
Today I started building this very small model. Didn't do a lot but since it is very fragile and the size is not really suitable for my thick rheumatic hands I have made a nice begin.
And my hands aren't a reason not to build it.
It is only 3.3cm deep and has just under 1cm space between the rafters.
With tweezers and a toothpick to put glue in the right places, I've come this far.

By making a small piece every day, I still keep busy and I enjoy this beautiful hobby just like everyone else here only i build maybe a bit slower than you all.
20220110_120223.jpg20220110_133536.jpg

For cutting out the parts I use a scalpel as it is thinner than a standard hobby knife and the small parts are easier to cut out.

Hopefully tomorrow I will be able to make something more and if not, it will just take a little longer to build.
 
You are off to a great start! Remember, this is not a race - you are doing it because you are enjoying it and if you are a slow builders, there is nothing wrong with that. Your English is fine - I will look forward to your progress. :)
 
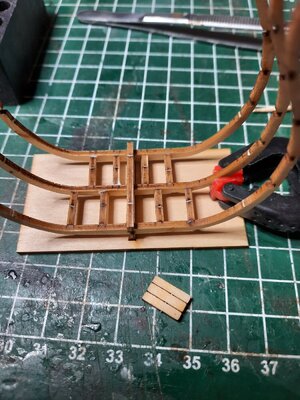
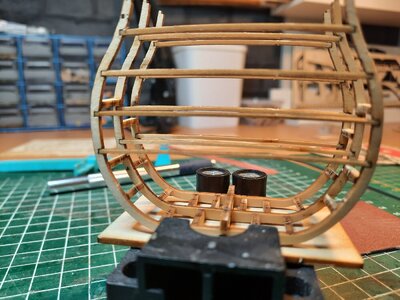
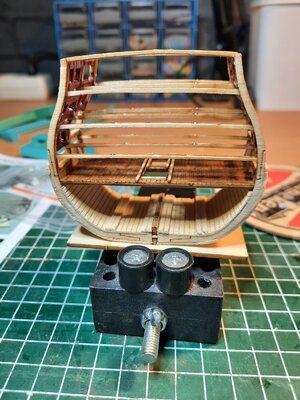
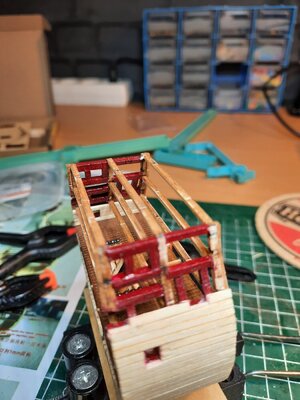
Today i first placed a few more beams between the rafters and then the cross beams to make it all a bit more sturdy.
20220110_184349.jpg
20220111_133742.jpg

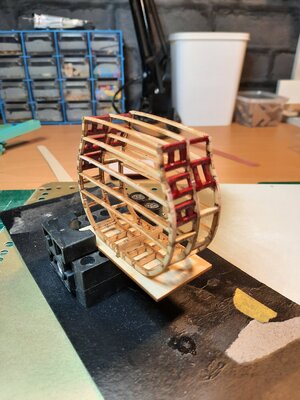
A little bit further in the construction manual i could see where the cannons should be and saw that these gates were painted red, so i placed the standing blocks for the cannon gates in between and painted it red already. Now it is easier to paint them.
20220111_161557.jpg
I probably to paint them one more time as soon as the paint is dry for a nicer color red.
 
Just make sure that the paint is fully dry. If you are using water-based paint, you can dilute the paint with water - for a good effect it is always good to paint thinner coats of a paint a time, even if it means more coats.
 
I used tinner based paint (humbrol) this time. But im not sure if im gonna use it in the future again. I normally use it for ornaments and not on wood.
 
Last edited:
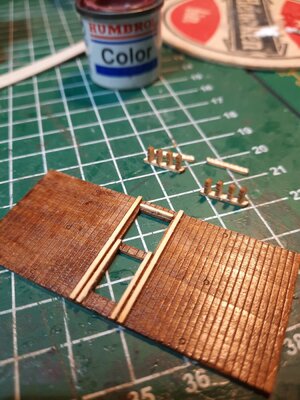
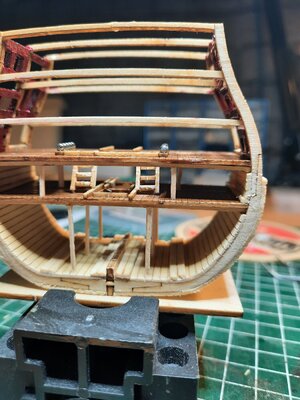
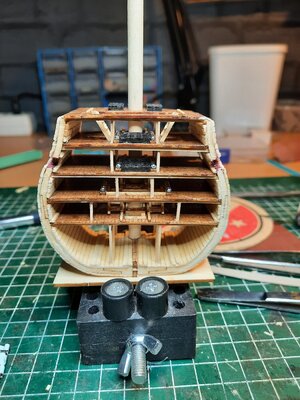
Started painting all the decks walnut brown yesterday and masked the construction of some of these decks a little bit.
The description says i had to paint the deck black, i think it will get to dark because the size of this model so i made this choice.

Also i made 2 small stairs that connect the 2 lower decks.

20220113_115240.jpg

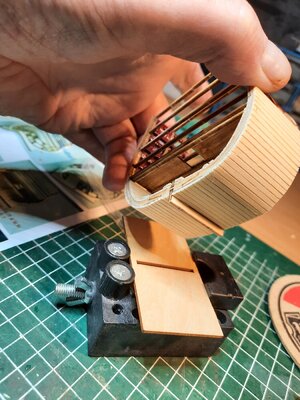
Today i started to close the bottom of the hull a bit on the outside.
20220113_155303.jpg
And i closed the bottom on the inside till the lowest deck.
Also installed the lower deck already.
20220113_155311.jpg
 
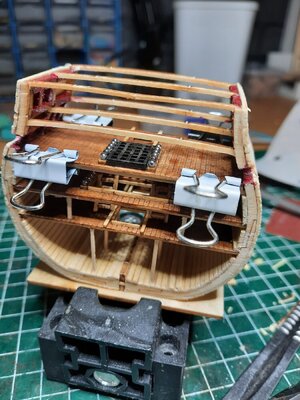
I have been busy with the next 2 decks so far they are ready.
The decks are exactly the same only 1 is bigger
So it is easier to do them at the same time.
Also working on the planking of the outside around the cannon ports.
20220117_104834.jpg
20220117_103348.jpg
When the outside is done i can place the 2 decks and put some planking on the inside.
Hopefully i can today the outside done.
 
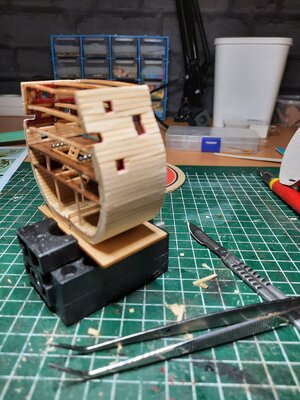
Outside planked and gun ports cut out, still need to sand it, i also installed a deck extra what i finished before
It makes the model a bit stronger.
20220117_143242.jpg
20220117_144333.jpg
Maybe i better did the inside before the outside.
I don't follow the building description for 100% but there they also do first the outside.
Also they don't have any deck in it and start placing decks when the outside is planked.
I wonder if that is smart, it is a very fragile model and the smallest bit of strength you use will break it.
You can see in the picture 1 of the upper beams is almost broken.
Happen by picking up the model
Think i didn't it do wrong by doing in and outside a bit at the same moment.
 
Today i started to paint the model a bit yellow.
Till the 4th plank under the lowest gunport
Afterwards i didn't had to paint it so far, because the other black planking will go on top of it.
I also measured and cut out some planking and put them on the model and start painting them black.
In the picture i still need to paint on the bottom 2 planks.
20220121_141211.jpg
 
Painting done on the part i already built.
Next step in the description is building up top deck so far that you only have to put in the mast. Then place the copper tiles...i think that is totally wrong.
Because when everything is on the topdeck you got in problems with turning it, it is way to fragile.
So i have been busy for 2 days placing the tiles.
20220124_124257(0).jpg


I saw some of them aren't sitting so nice but you can't see it when you place the model on standard.
You see in the picture a big gap, i cut that one already out and place it better back again.
Still not perfect but it will do for now.


The tiles who are with the model are smal strips paper-thin copper.
Best way to cut them are a fine sharp scissor and a toothpick to put it in place.
A knife goes right true it and it bent immediately when you try to pick it up
 
I fixed the copper strips who weren't placed so nicely, terribly job to do but i managed it.
I had to cut them totally out and had to replace them with new ones.
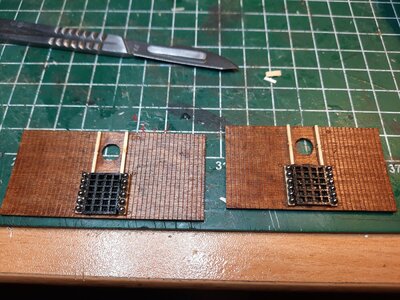
Also been busy painting a lot smal parts who are going to be placed on the upper deck.
The cannon cars also i made already so i can paint them.
For the rest of this week i won't be able to do more
 
Last edited:
Back
Top