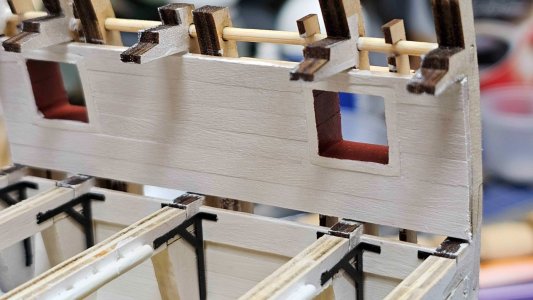
HMS Victory Cross section by Artesenia Latina - 1/72

Joined
Aug 18, 2024
Messages
6
Points
43

Hello everyone.

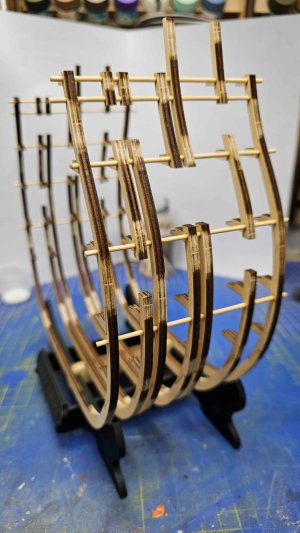
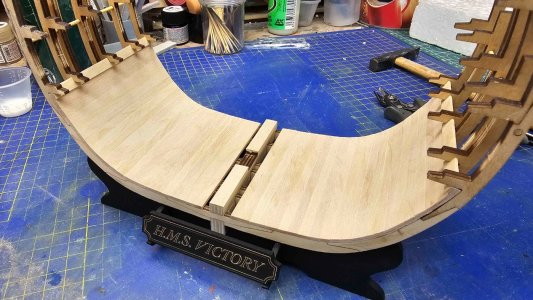
This isn't my first build, but the first one I've posted here. This will be a bit of a photo-dump sorry, future posts will be shorter updates I hope.

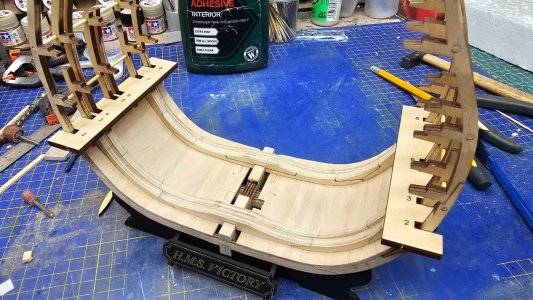
I've been meaning to get round to this kit for a long time but was never able to slot it into my other plastic addiction, but I finally got around to it. I dislike video instructions but I'm coping, aside from getting two of the inner ribs back to front, which in turn caused me issues with the templates for the platforms but was easily fixed.

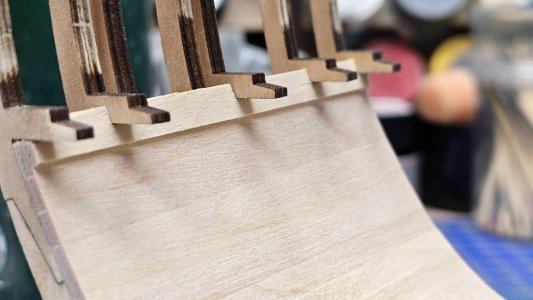
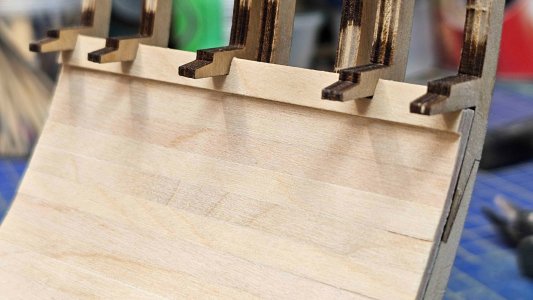
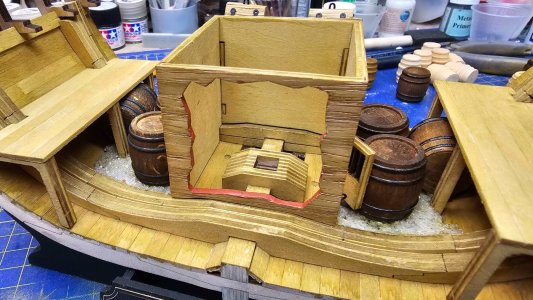
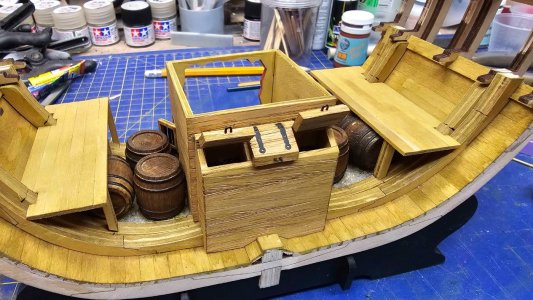
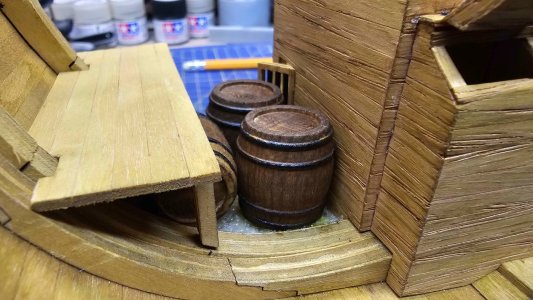
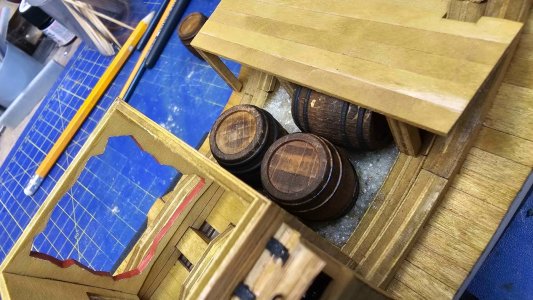
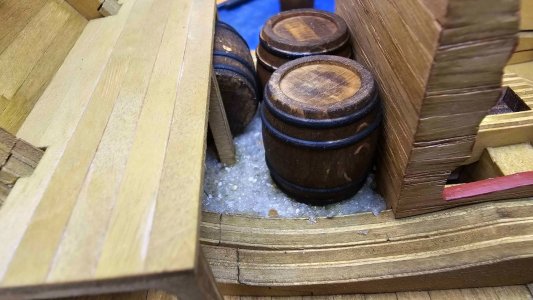
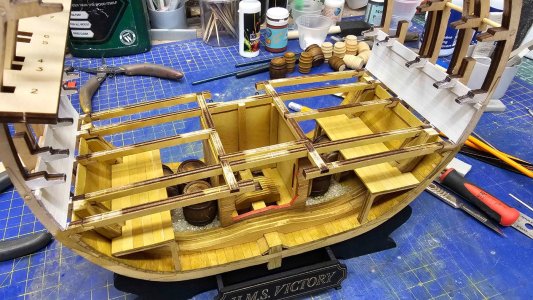
The rest is pretty self-explanatory in the photos.

Thanks :)
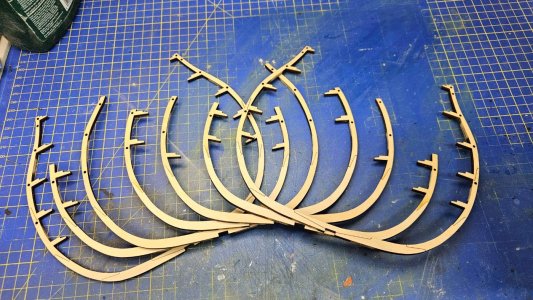

20240821_202534.jpg20240822_082345.jpg
20240822_153144.jpg20240822_204857.jpg
20240822_204905.jpg20240822_204910.jpg
20240823_182001.jpg20240825_164302.jpg
20240825_164310.jpg20240825_164314.jpg
20240825_164324.jpg20240826_161929.jpg
20240826_161949.jpg20240826_162000.jpg
20240826_162025.jpg20240827_161234.jpg
20240827_161241.jpg20240827_161247.jpg
20240829_075731.jpg20240829_075738.jpg
20240829_075744.jpg20240829_075751.jpg
20240829_075801.jpg
 
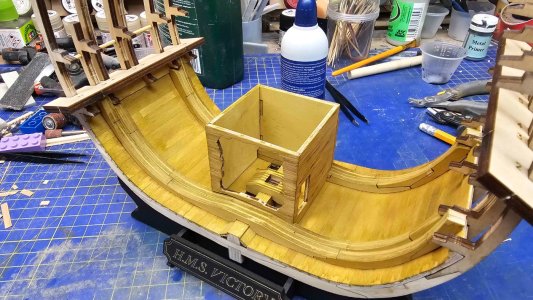
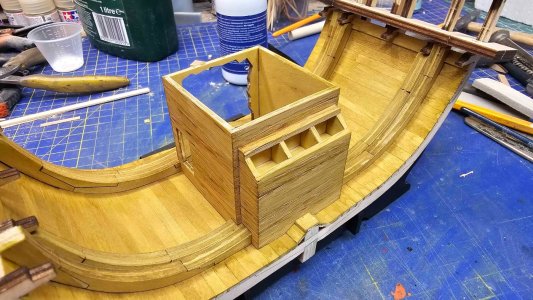
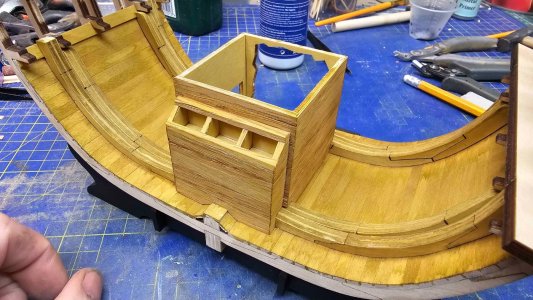
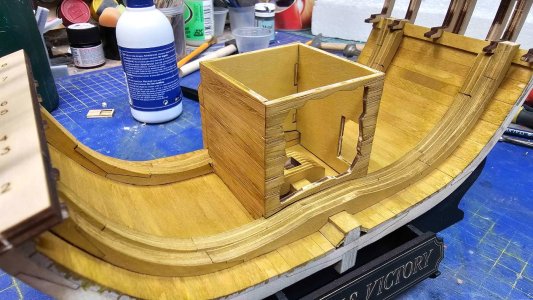
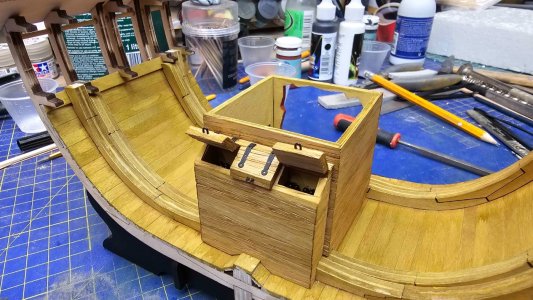
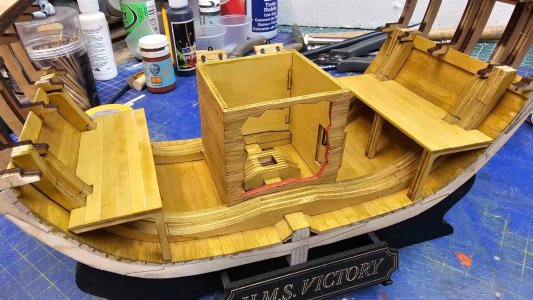
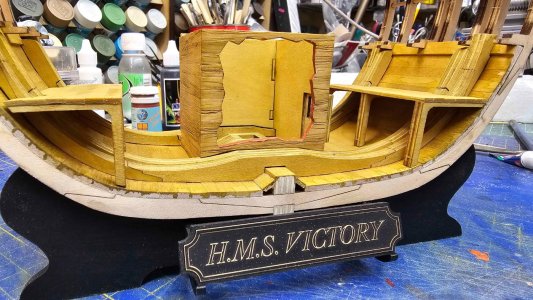
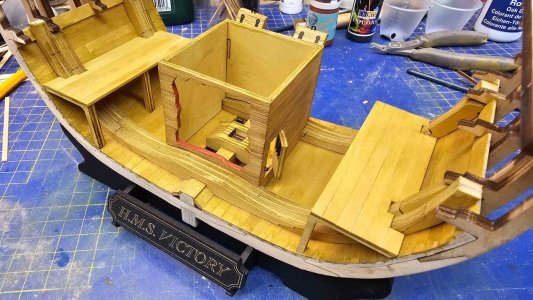
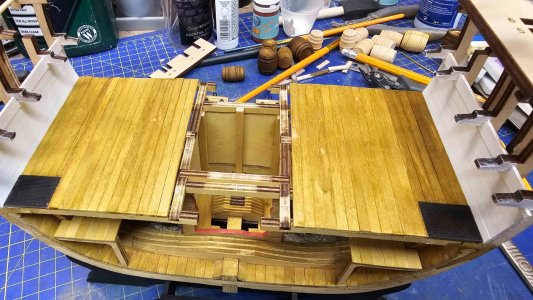
Hi again, small amount of progress. Had some issues with staining the deck, some sort of contamination in patches on a single strip. In the end I just removed it and used a coarse sanding sponge then re-stained it.

Just a small note, it doesn't look "yellow" as it does in the photos, I just can't get my lighting right as it's not an idea environment at the moment.

20240830_111545.jpg20240830_111550.jpg20240830_111557.jpg20240830_205257.jpg
 
Hello everyone.

This isn't my first build, but the first one I've posted here. This will be a bit of a photo-dump sorry, future posts will be shorter updates I hope.

I've been meaning to get round to this kit for a long time but was never able to slot it into my other plastic addiction, but I finally got around to it. I dislike video instructions but I'm coping, aside from getting two of the inner ribs back to front, which in turn caused me issues with the templates for the platforms but was easily fixed.

The rest is pretty self-explanatory in the photos.

Thanks :)
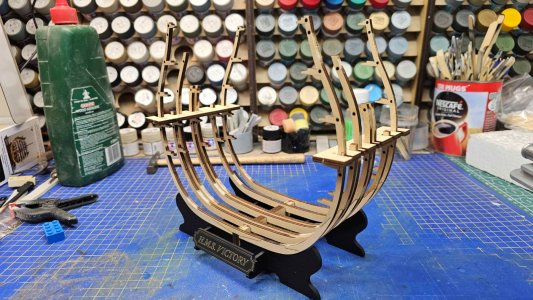

View attachment 467946View attachment 467945
View attachment 467944View attachment 467943
View attachment 467942View attachment 467941
View attachment 467940View attachment 467939
View attachment 467938View attachment 467937
View attachment 467936View attachment 467935
View attachment 467934View attachment 467933
View attachment 467932View attachment 467931
View attachment 467930View attachment 467929
View attachment 467928View attachment 467927
View attachment 467926View attachment 467925
View attachment 467924
Incredibly neat work, and from a kit no less. I have a similar model the wife would like me to build, I will be using your pictures as an example of creating something that has a serious wow-factor. Keep posting please.
 
Hello all.

Been making some headway on this now.

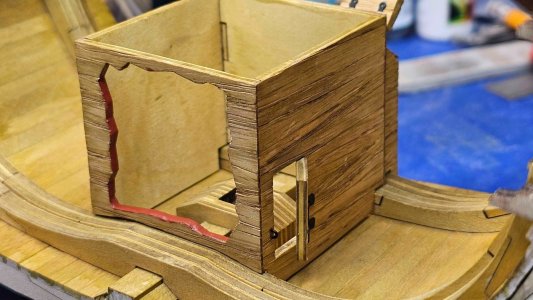
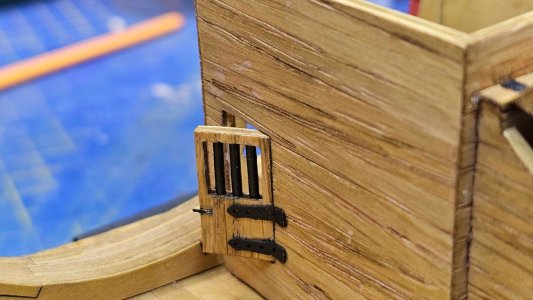
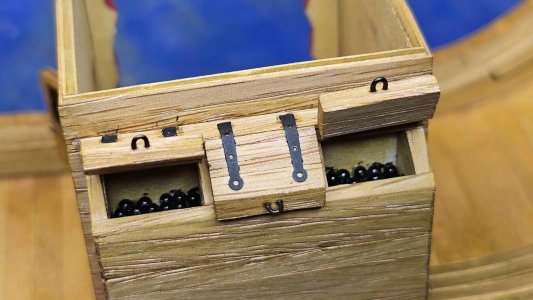
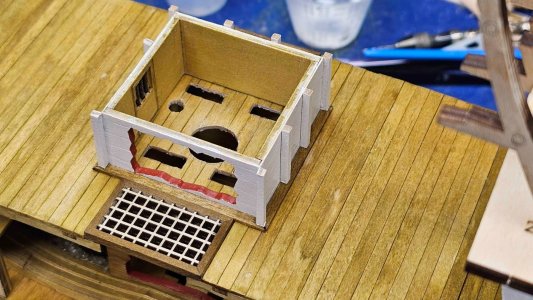
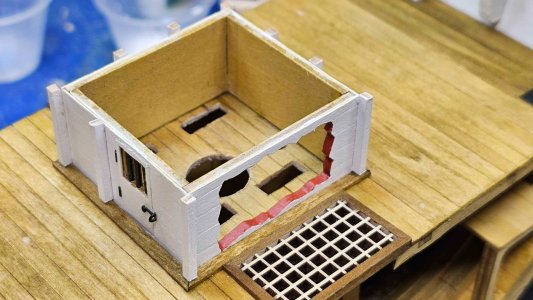
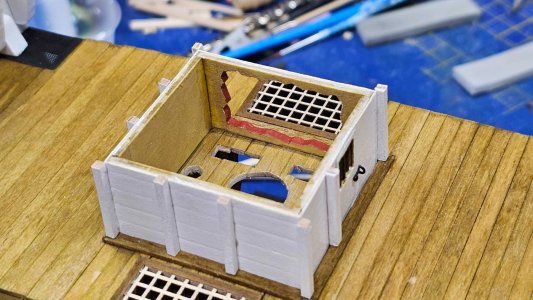
Starting with the pump house on the next deck, I added some small details to the door such as the hinges and a crude sliding bolt:
20240904_161651.jpg20240904_161659.jpg20240904_161705.jpg

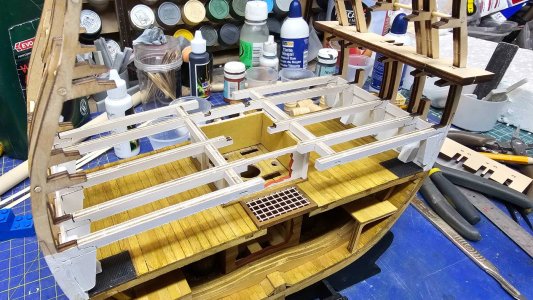
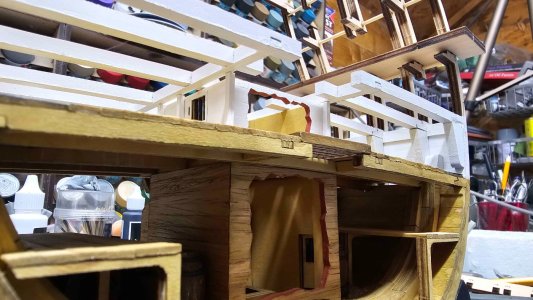
And then adding the beams for the deck above:
20240905_153612.jpg20240905_153619.jpg

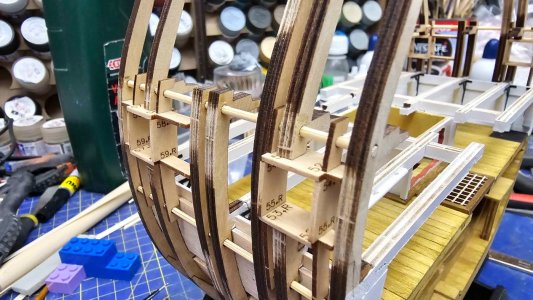
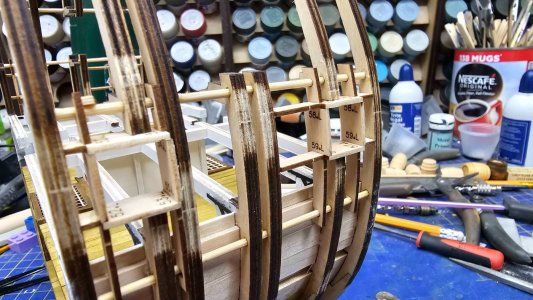
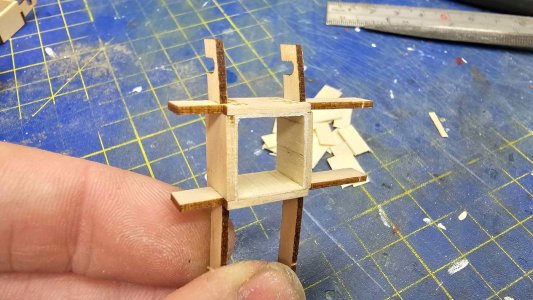
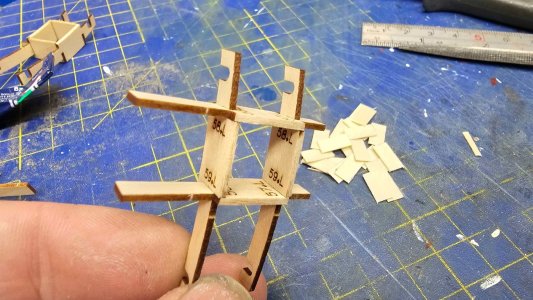
And finally making a start on that deck, the gun ports were made via a mini frame. Annoyingly the part numbers were etched into the wood where they would be visible, so after assembling and test fitting, I lined them with some 0.5mm veneer:
20240906_180441.jpg20240906_180450.jpg
20240907_081731.jpg20240907_081741.jpg

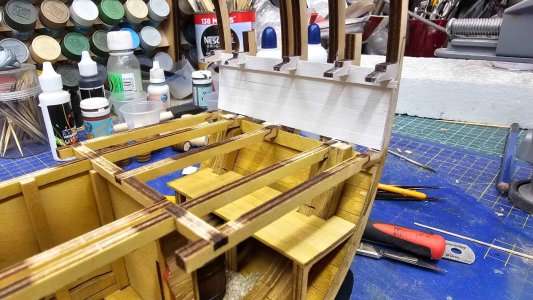
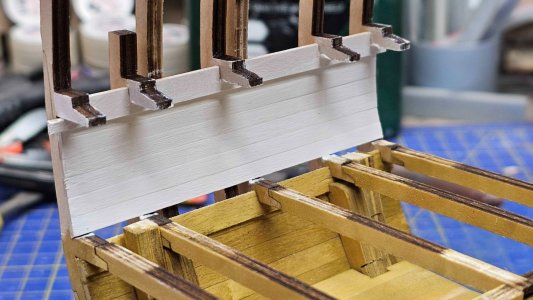
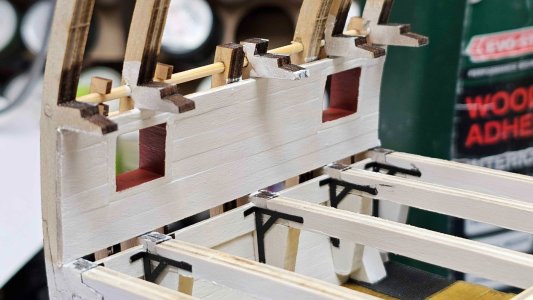
And then they were fitted and the inner walls planked and painted:
20240908_113329.jpg20240908_113337.jpg


Thanks for looking in,
D
 
Hello all.

Been making some headway on this now.

Starting with the pump house on the next deck, I added some small details to the door such as the hinges and a crude sliding bolt:
View attachment 470243View attachment 470242View attachment 470241

And then adding the beams for the deck above:
View attachment 470240View attachment 470239

And finally making a start on that deck, the gun ports were made via a mini frame. Annoyingly the part numbers were etched into the wood where they would be visible, so after assembling and test fitting, I lined them with some 0.5mm veneer:
View attachment 470238View attachment 470237
View attachment 470236View attachment 470235

And then they were fitted and the inner walls planked and painted:
View attachment 470234View attachment 470233


Thanks for looking in,
D
Another one that has been on the list for a long time. You are doing a very nice job ... very neat and tidy indeed.
 
Very accurate and exact work - you are on a very good way with this model :cool:
 
Back
Top