
-

SUBSCRIBE TO SHIPS IN SCALE TODAY!
The beloved Ships in Scale Magazine is back and charting a new course for 2026!
Discover new skills, new techniques, and new inspirations in every issue.
NOTE THAT OUR NEXT ISSUE WILL BE July/August 2026 -

Win a Free Custom Engraved Brass Coin!!!
As a way to introduce our brass coins to the community, we will raffle off a free coin during the month of August. Follow link ABOVE for instructions for entering.


You are using an out of date browser. It may not display this or other websites correctly.
You should upgrade or use an alternative browser.
You should upgrade or use an alternative browser.


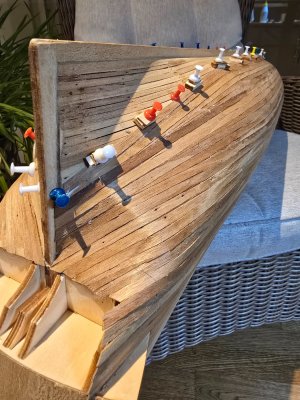
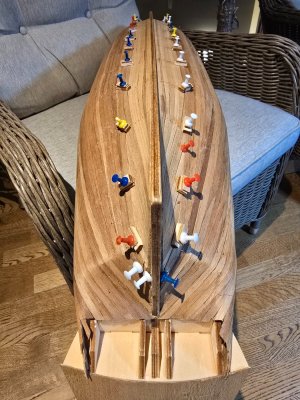
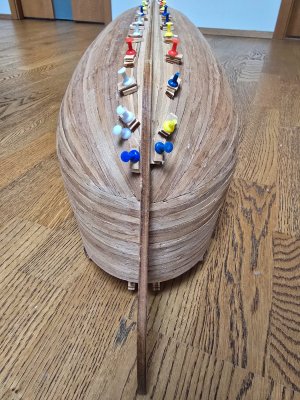
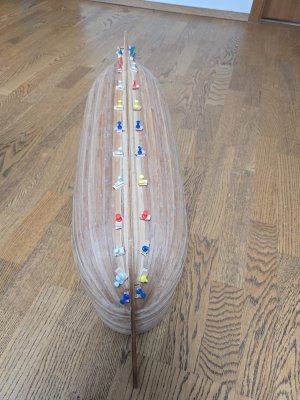
I'm starting with the installation of the second layer of planks. Now the 1x6mm walnut strips.
I'll say in advance that this walnut plank is much more difficult to install and process. The material is thinner, when cutting the wood, the knife wants to run along the wood pattern, not the pre-marked line. The wood breaks easily when fastened.


I'll say in advance that this walnut plank is much more difficult to install and process. The material is thinner, when cutting the wood, the knife wants to run along the wood pattern, not the pre-marked line. The wood breaks easily when fastened.


This is where I stopped today. I stopped precisely because it is frustrating to sand this wood on this part of the arch in order to achieve a good result.
Although it is known that the hull will also be covered with copper plates and stuff, I still want the planking to be installed to be pleasing to the eye.


Although it is known that the hull will also be covered with copper plates and stuff, I still want the planking to be installed to be pleasing to the eye.
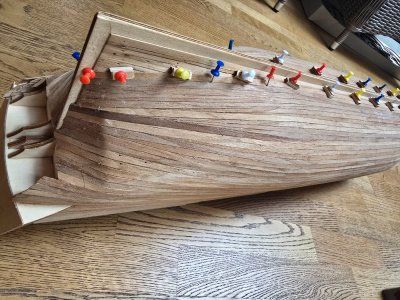
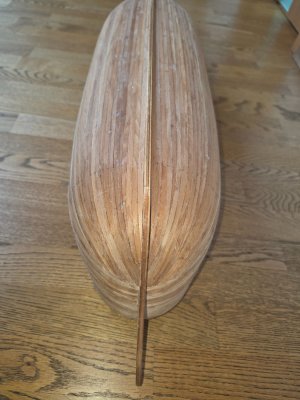
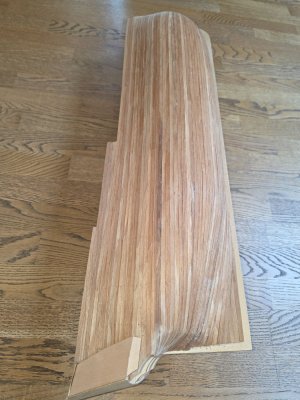
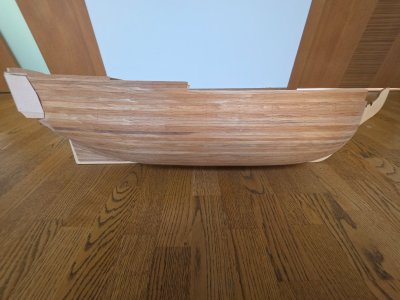
I started building the transom gallery now. The Panert instructions are a bit unclear here, but I built the transom gallery as best I could. I don't think I did anything terribly wrong, but I'm not going to make anything out of this model kit either.
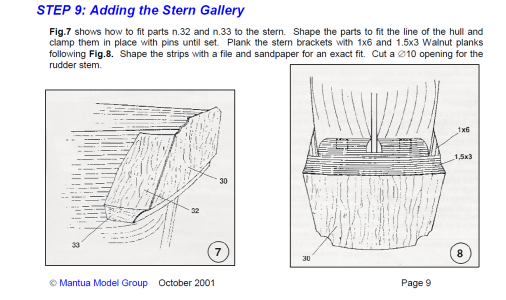
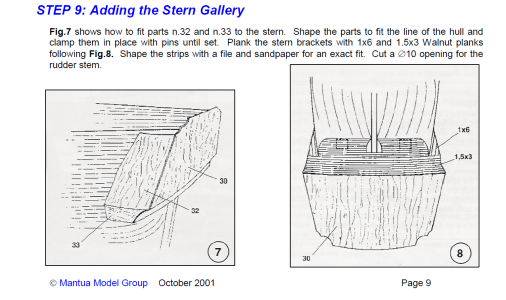
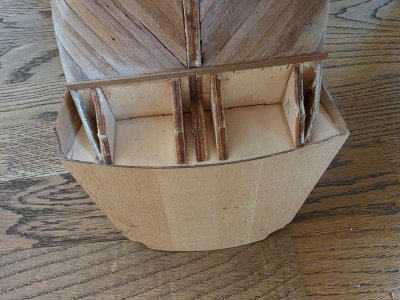
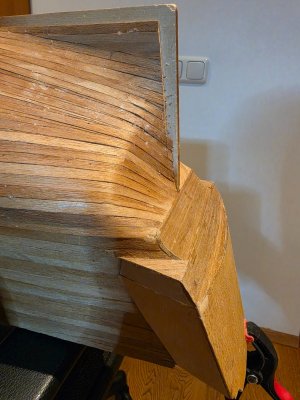
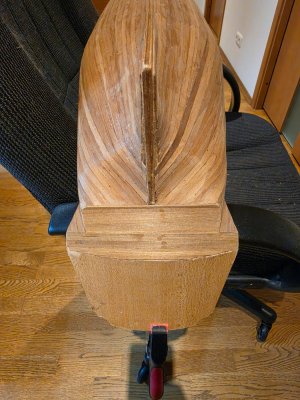
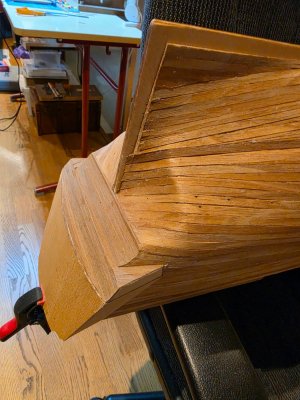
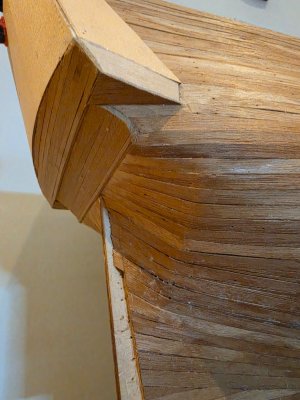
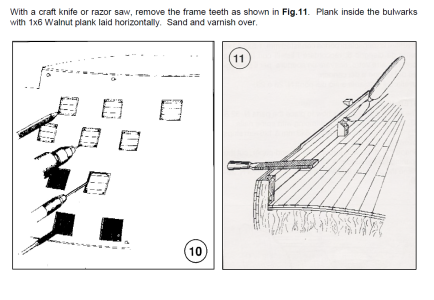
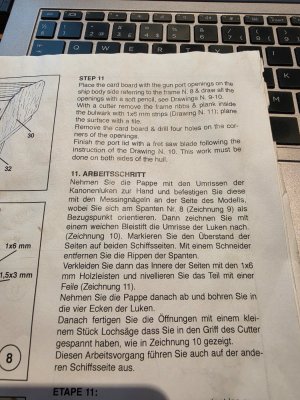
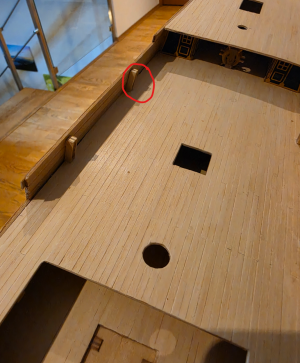
I want to cut the upper deck railing to the correct height, but I don't understand the instructions exactly. The instructions in different languages give different results when translated. Can anyone give me instructions? Do I understand correctly that I should remove one of the middle frame posts and glue another layer of 1x6mm walnut planks to the inner side of the railing. So there will be a third layer on the inside of the two outer layers?


Your hull certainly has been a major undertaking in plank bending. Nice work.