- Joined
- Nov 10, 2020
- Messages
- 128
- Points
- 253

Hi
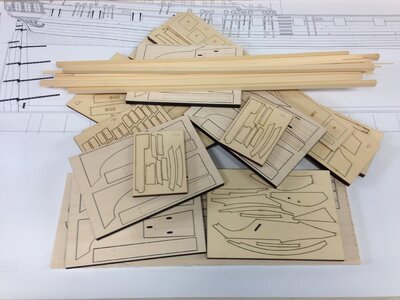
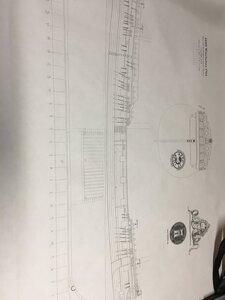
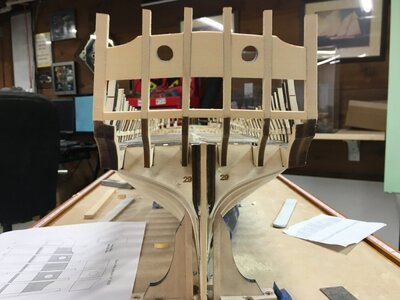
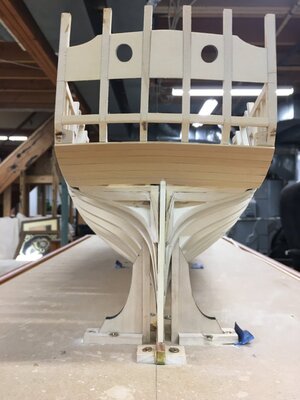
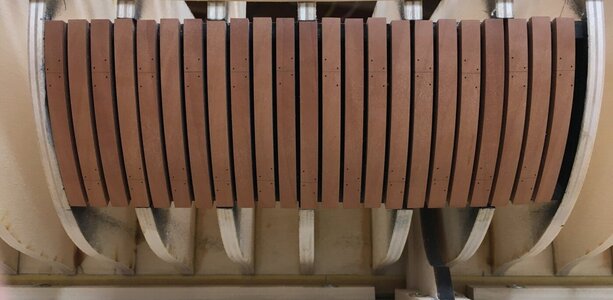
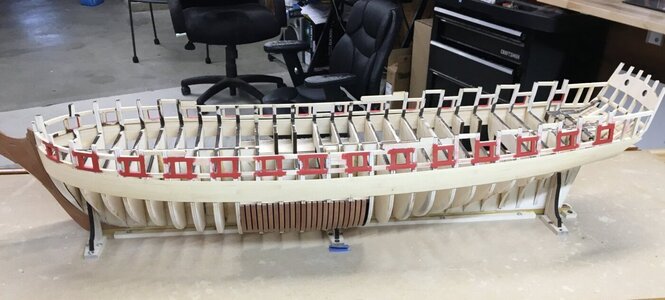
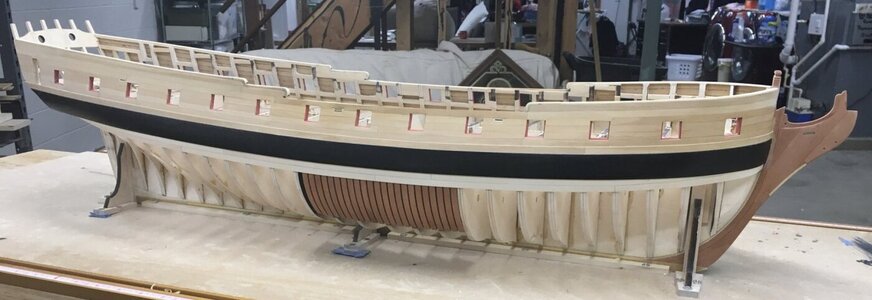
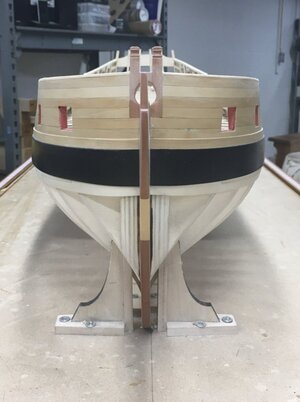
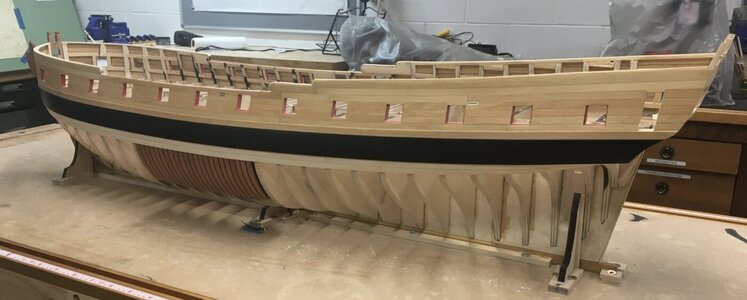
So I'm going to go ahead and start a build log of the Winchelsea, It will based off Syren's designs with a few modifications of my own.
My main reason for building her is because she was once captained by Pellew and I intend in the future to build another of his ships,
a 1:48 fully framed model of the 44 gun Razee Indefatigable and it would be great to have both models together in the same scale.
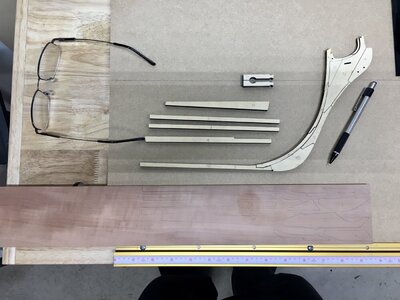
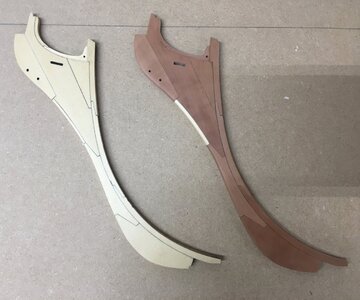
I will not be planking in AYC as I have a goodly stock of Castello Boxwood and prefer it on a model of this size, also stem/stern framing
and keel will be of Swiss Pear with other wood highlights, maybe I will use the cedar on things that wont be seen easily and use the fruitwood
gel stain to blend it with the boxwood to minimize usage.
Here is a link to the kit review that I did on SOS.
https://shipsofscale.com/sosforums/...frigate-pob-1-48-scale-syren-ship-model.8506/
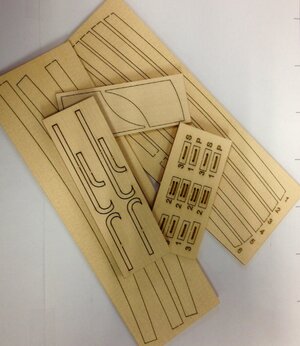
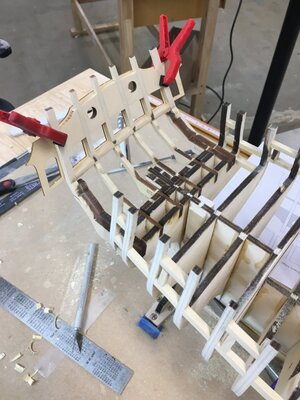
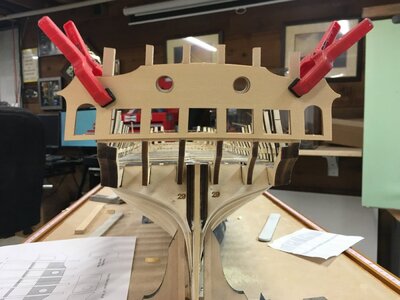
I did purchase the Bulkheads and starter packages from Syren and will certainly be buying their cast resin set when they are available.
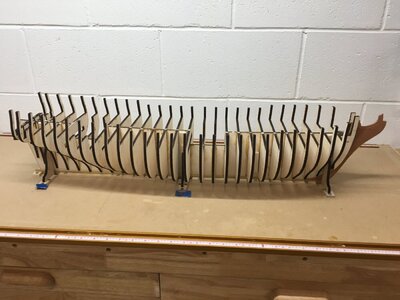
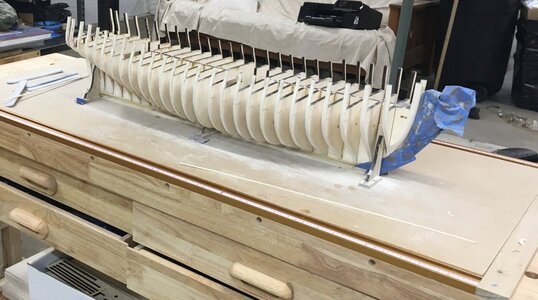
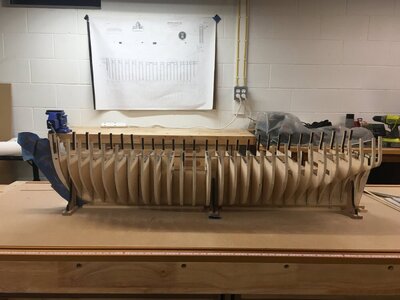
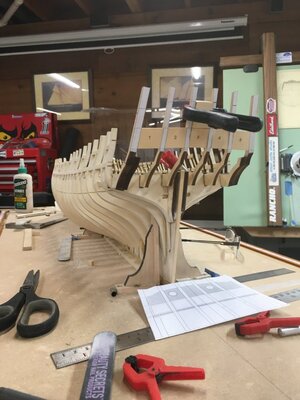
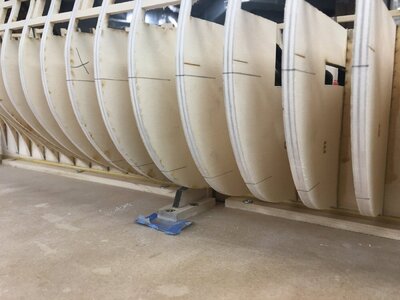
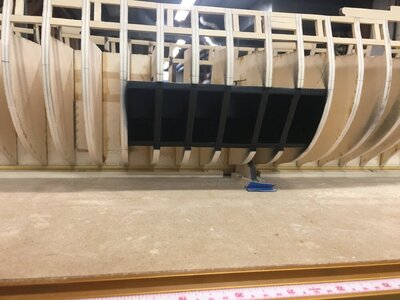
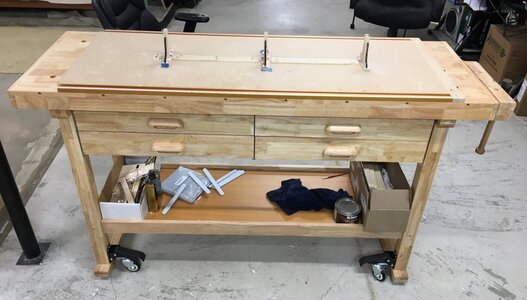
The first job I have started while waiting for planking to dry on Pegasus is to make a new build board for this "BIG" ship, it will be approx
38" long without rigging and will need good support while framing, planking and finishing, so I decided to go and buy another 'cheap'
5foot workbench from Harbor Freight for $100 and modify it to suit. First it was put together and lift casters added so that I can quickly move
and spin the bench whichever way I need it. Second was to add 4-foot T-tracks and a nice large 1/2" MDF buildboad to the top. Third was to
install the keel and bulkhead former holders ready for the backbone. The 4 drawers are great for holding parts/tools and the bottom shelf for
materials which keeps an entire build together on one table instead of being spread about my workshop.
Here is looking forward to an interesting build and I should start on the bulkheads later this week.
ben

Last edited:

