Follow along with the video below to see how to install our site as a web app on your home screen.
Note: This feature may not be available in some browsers.
Ships of Scale has incorportated an extra level of security when you log In. Please follow
on-screen prompts to acknowledge that you are not a robot via a "Check Box" or a "Pictorial Check Box Puzzle". This is needed due
to higher level of AI Activity Security.
The beloved Ships in Scale Magazine is back and charting a new course for 2026!
Discover new skills, new techniques, and new inspirations in every issue.
NOTE THAT OUR NEXT ISSUE WILL BE July/August 2026
Win a Free Custom Engraved Brass Coin!!!
As a way to introduce our brass coins to the community, we will raffle off a free coin during the month
of August. Follow link ABOVE for instructions for entering.
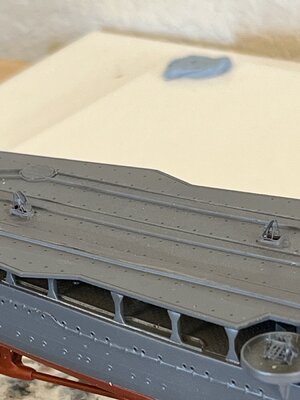
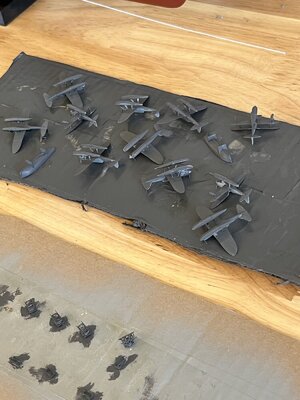
Airplanes all assembled and ready for paint. I have never used water slides (decals) so its going to be very interesting. Given my lack of experience I did find that IJN 1/350 airplane decals are available. Part of me says order them now so they'll be here when I need other side says how difficult can decals be. ????? Along with the airplanes I finished the hatches from flight deck to hanger deck. A while back I posted how I cut the flight deck for the ladders to the hanger deck.
This is the photo etch hatch before painting
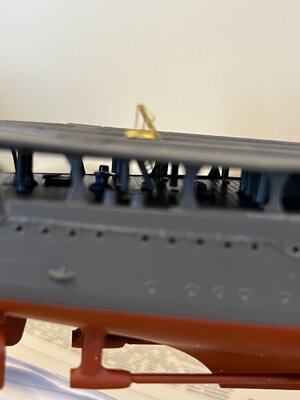
A view thru the decks where you can see the ladder although out of focus.
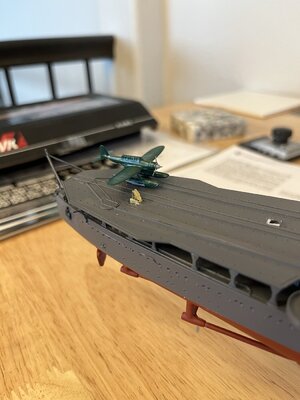
A perspective relation to the had and a "Jake" airplane
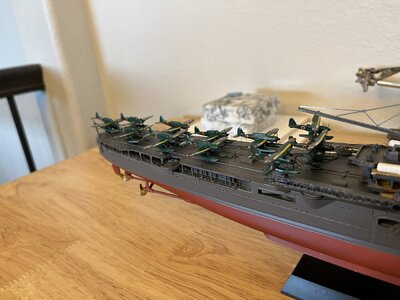
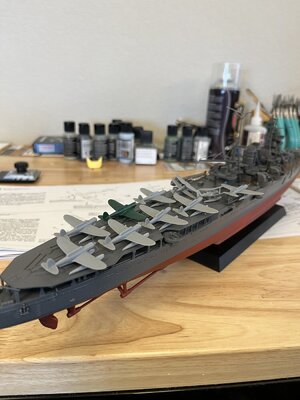
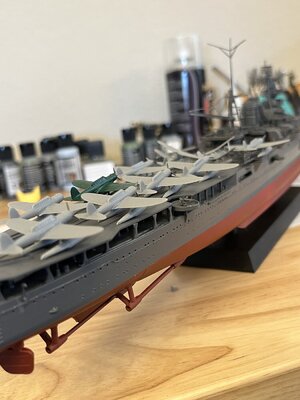
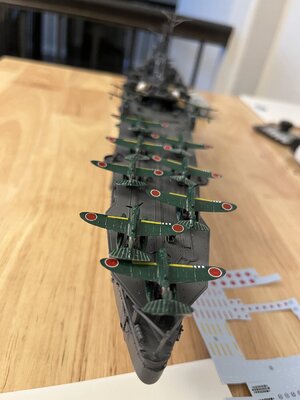
Deck load of airplanes. That is a bunch and very crowded. I can't imagine how many sailors it would have taken to work the deck.
Well now on to painting tomorrow and decals after paint dries.
Finished working for another day. Airplane deck is completed.
Painted hatches
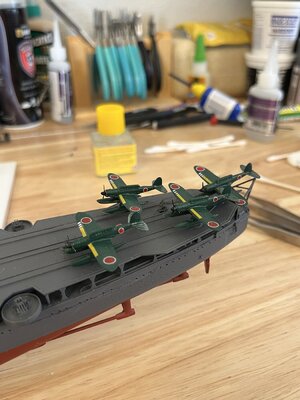
Airplanes completed and bottoms painted IJN grey
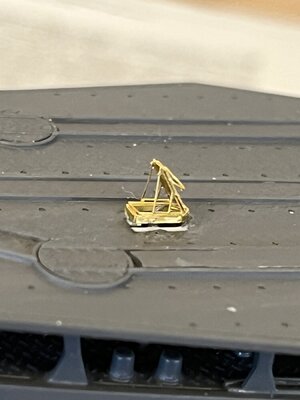
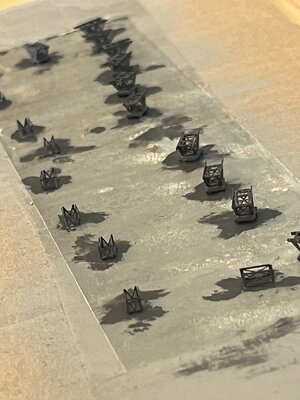
Made the transportation carriages and the catapult sleds. Tamiya used stainless steel for their photo etch and it was very hard to cut the pieces from the sprue. I used four #11 blades cutting the carriages and sleds from the sprue. The stainless is much harder than the brass and is not as forgiving when you bend to shape. Brass will allow more bends before breaking than stainless.
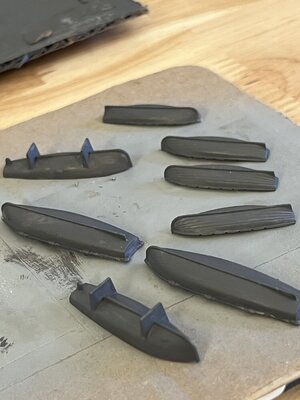
Lastly the boat hulls were cleaned and painted
More painting tomorrow
Good job on this build. Also, I use the small #15 blade in my surgical scalpel because as you say the steel presents challenges in cutting from the fret. Cheers.
Good job on this build. Also, I use the small #15 blade in my surgical scalpel because as you say the steel presents challenges in cutting from the fret. Cheers
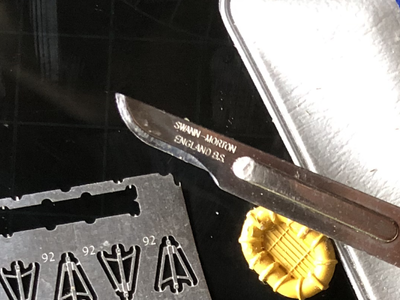
Ummmm! I've never actually taken any notice but a very good question. Normally with steel PE I work with a Norton pocket size sharpening stone which is regularly used but no idea after how many cuts. The #15 is used because it is smaller/stronger and unlike the #11 isn't prone to breaking under pressure and can be sharpened without too much bother. Defining the pics. PE is cut on a thick black glass slate making the PE easier to see (still use magnifier) and cutting from the fret without leaving nibs to file off later. As can be seen the #15 tip can suffer indents and blunting which is why/when I reach over for the Norton. PE is wonderful for enhancing models but not my favourite as I believe it is made for those with steady nibble fingers and super sharp vision. - Didn't answer your question 'sorry' but hope something may have helped. Am liking your build Cheers.
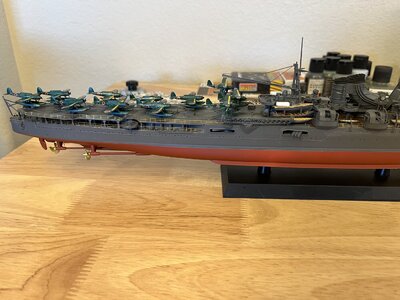
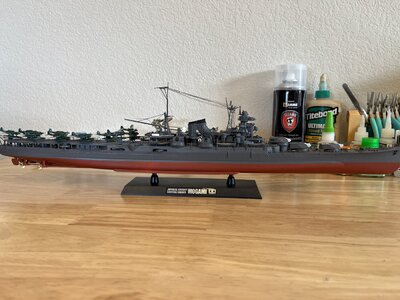
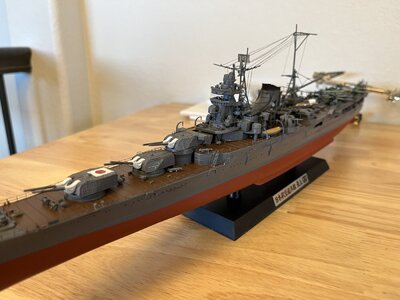
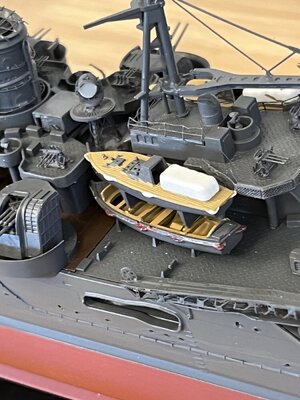
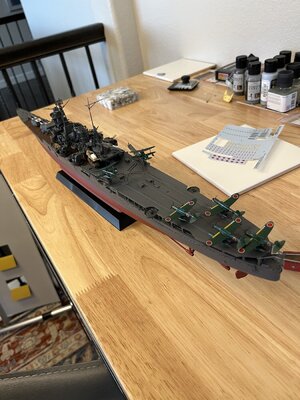
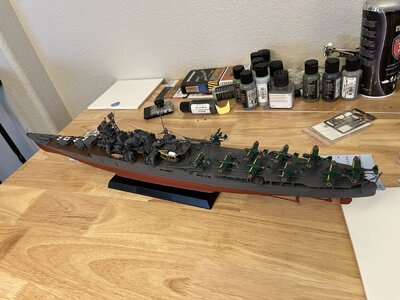
Well I'm reaching the end of the Mogami build with the boats painted and airplane sled and launch completed.
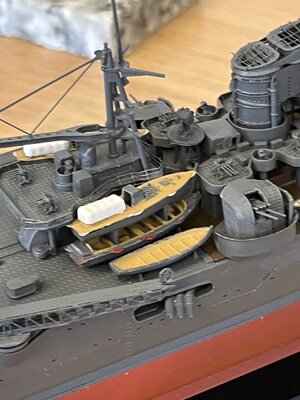
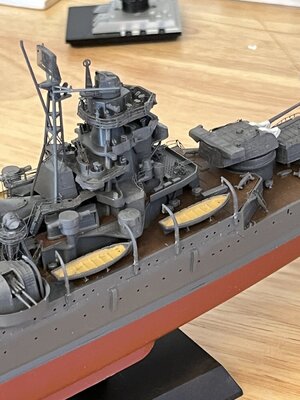
The boats mounted
Finished painting the two tone airplanes and started the decals
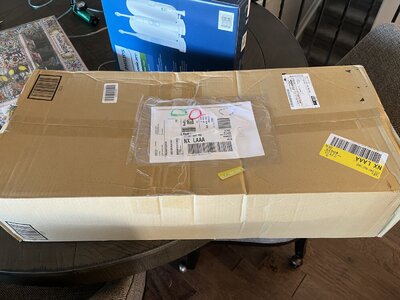
While completing the Mogami I started looking for my next kit. One thing I find of interest are the ships of history and fame which led me to USS Gambier Bay by Hasegawa in 1/350. The Gambier Bay was part of the taffy3 group the held and turned around the major IJN fleet sent to destroy the Leyte Gulf invasion With resulted in the battle off samar where she was sunk by heavy cruisers and Yamato shells. I ordered the kit and Fedex delivered it this morning.
Now I must wait but I think I'll start a log tomorrow.
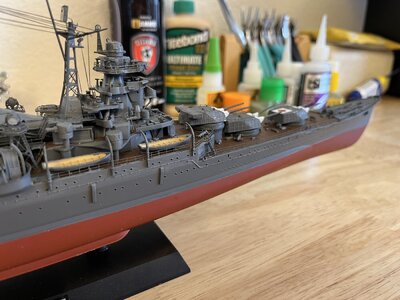
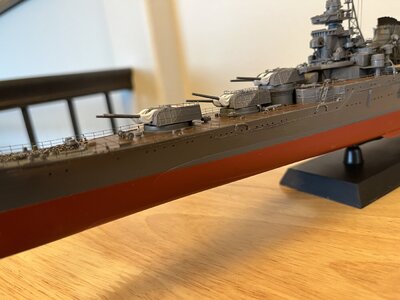
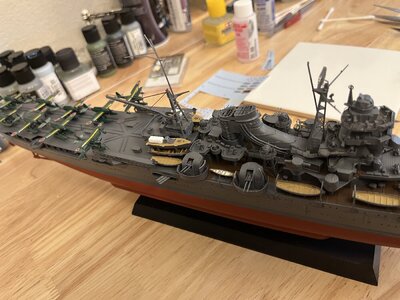
Hey Consnz thanks for the post of Swann Morton blades. I got mine today and tried on pe railings what a cut like a hot knife through butter. Finished all the airplanes and their decals when I realized I hadn't painted the funnel tops flat black and hadn't worked at all on the propellers. Painted the funnel tops black and started the propeller work. Sanded the props getting ready for gold leaf paint. Painted the starboard props and glued on the shafts. While the Mogami kit didn't make provisions for deck rails I decided to use the pe railings. Started with the starboard hanger deck railings and then the flight deck. I'll finish the railing on the front and the gun deck before painting.
Hey Consnz thanks for the post of Swann Morton blades. I got mine today and tried on pe railings what a cut like a hot knife through butter. Finished all the airplanes and their decals when I realized I hadn't painted the funnel tops flat black and hadn't worked at all on the propellers. Painted the funnel tops black and started the propeller work. Sanded the props getting ready for gold leaf paint. Painted the starboard props and glued on the shafts. While the Mogami kit didn't make provisions for deck rails I decided to use the pe railings. Started with the starboard hanger deck railings and then the flight deck. I'll finish the railing on the front and the gun deck before painting.
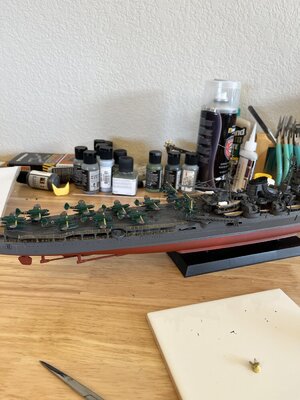
Whew! glad i was of some help. The JN Mogami is looking very good. Keep up the excellent work. PE can be very much a pain where the sun don't shine but can be very very exciting once completed. Incidentally, how do you keep your work bench/table so clean? Mine always makes 'Pigpen' (Charlie Brown) look hygienically sanitized - Cheers.
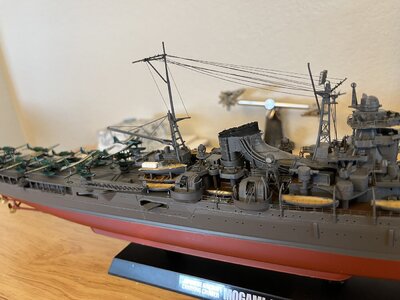
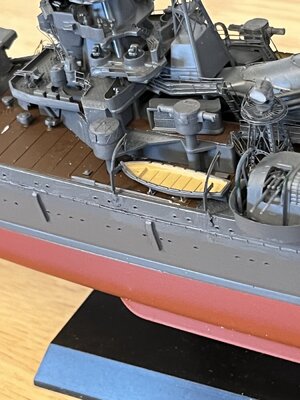
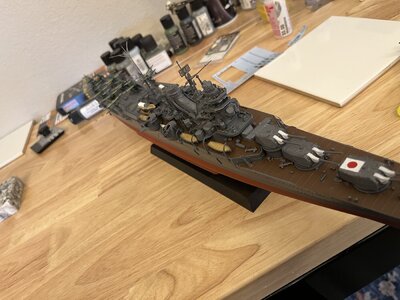
Got the rails added and painted. Paint touched up and in the process broke the aft mast. Had to make a new one best I could using some .03 and .04 styrene rod. I added extra support but tried to mimic the kits mast. While adding mast I decided to add some rigging giving a finished look.
My wife thinks the brass photo etch should be left natural










 Cheers.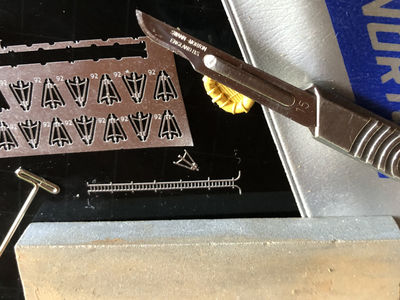
 - Cheers.