You are using an out of date browser. It may not display this or other websites correctly.
You should upgrade or use an alternative browser.
You should upgrade or use an alternative browser.
La Belle - Caf Model 1:48 by Thomas Marocke [COMPLETED BUILD]
- Thread starter Thomas Marocke
- Start date
- Watchers 61
Precise, clean and accurate work…well done as usual Thomas!View attachment 250273
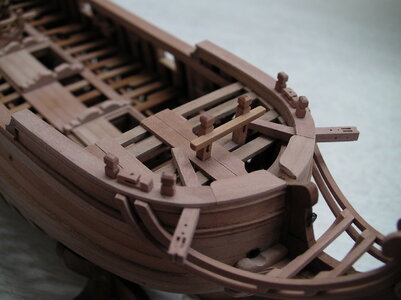
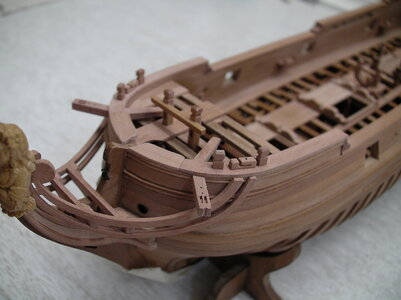
The connecting arches of the railing were mounted cut to size.
View attachment 250275
. . . and the last pieces of the railing.
View attachment 250277
. . . the timberheads.
View attachment 250283View attachment 250281
Have a nice weekend!
Thomas
The production of an open sheave.
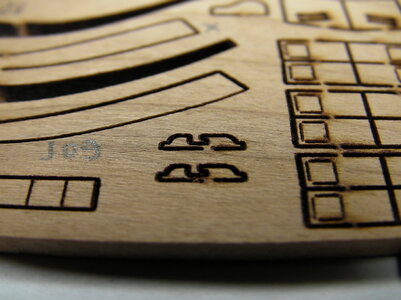
There were two sheaves in the kit that were not usable.
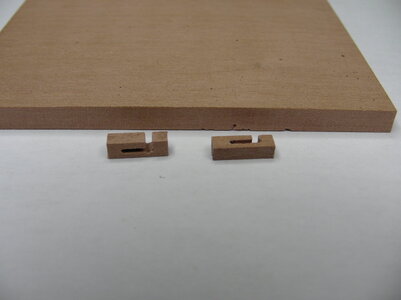
So they had to be made new. The first attempt was unsuccessful because I had to cut beyond the format. Every 1/10 mm milled too far gives unsightly contours.
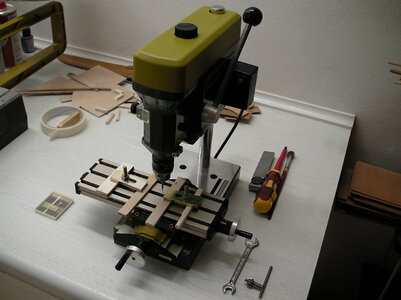
Milled was with a drill with coordinate table. The machine has been able to cope with small, careful milling jobs for many years.
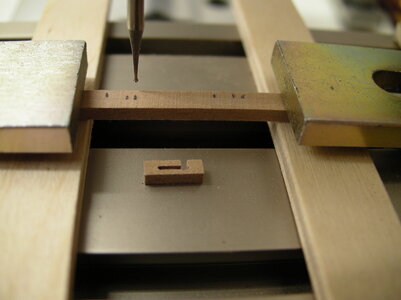
First the milling distances were drawn and the holes milled, then the bay for inserting the rope and the lower pulley were indicated. The deeper pulley also had to be re-milled on the reverse side.
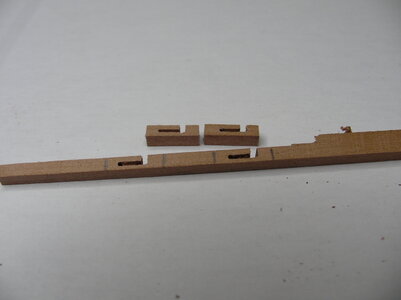
After milling, the board had to be sawed to the required height and the two rope sheaves on the left and right had to be cut out.
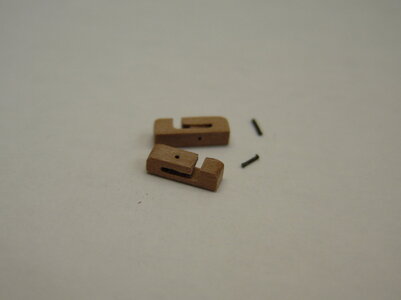
Obligatory grinding, rounding contours and the bolts for the fake pulley as final work.
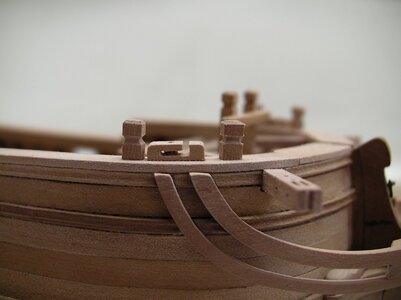
The somewhat queasy thought of making these small open sheaves was unfounded. It is quite simple.
Best regards
Thomas

There were two sheaves in the kit that were not usable.

So they had to be made new. The first attempt was unsuccessful because I had to cut beyond the format. Every 1/10 mm milled too far gives unsightly contours.

Milled was with a drill with coordinate table. The machine has been able to cope with small, careful milling jobs for many years.

First the milling distances were drawn and the holes milled, then the bay for inserting the rope and the lower pulley were indicated. The deeper pulley also had to be re-milled on the reverse side.

After milling, the board had to be sawed to the required height and the two rope sheaves on the left and right had to be cut out.

Obligatory grinding, rounding contours and the bolts for the fake pulley as final work.


The somewhat queasy thought of making these small open sheaves was unfounded. It is quite simple.
Best regards
Thomas
Bravo - very good work
Start with the construction of the ladder on the side wall.
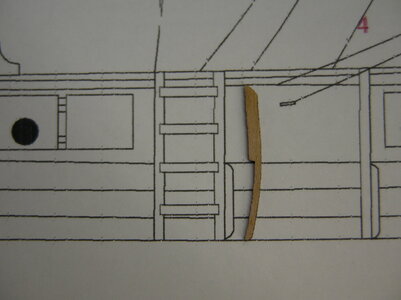
Construction plan and wooden part from the kit.
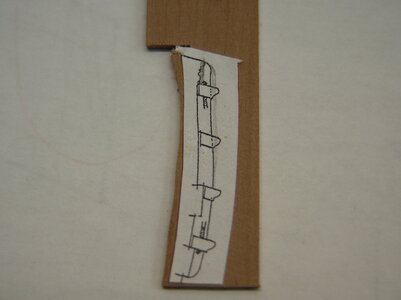
Construction of the side ladder parts according to the "Ancre" construction plan. For a kit manufactorer it is simply impossible to produce such components accurately. Each model is planked slightly differently.
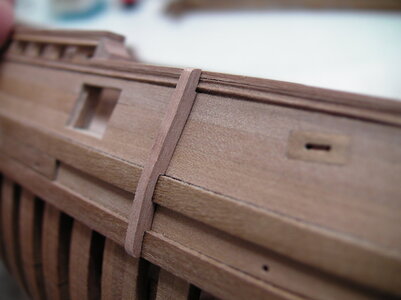
Even with the accurate "Ancre" drawing the fabrication and fitting to the ship's side took a long time. And there are still some components missing.
Best regards
Thomas

Construction plan and wooden part from the kit.

Construction of the side ladder parts according to the "Ancre" construction plan. For a kit manufactorer it is simply impossible to produce such components accurately. Each model is planked slightly differently.

Even with the accurate "Ancre" drawing the fabrication and fitting to the ship's side took a long time. And there are still some components missing.

Best regards
Thomas
Completition of the access ladder and fender.
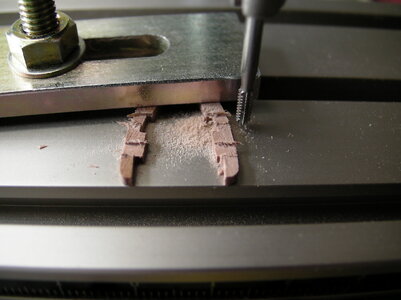
The recesses for the steps were milled very slowly and carefully into the side rails. When you see the components after milling, you think everything is broken now.
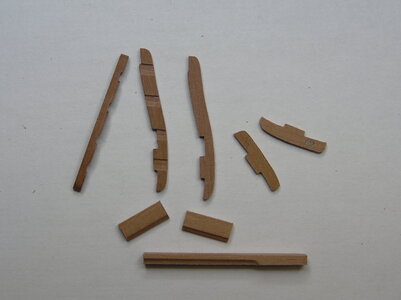
But everything went well and nothing was splittered. Here you can see all the necessary parts. The footsteps were milled as a rail and four footsteps were cut off.
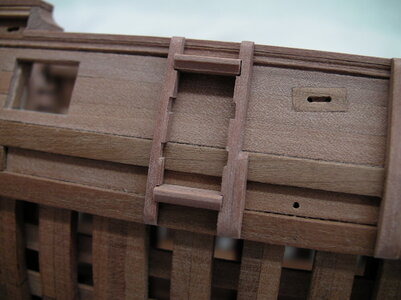
Dry assembly.
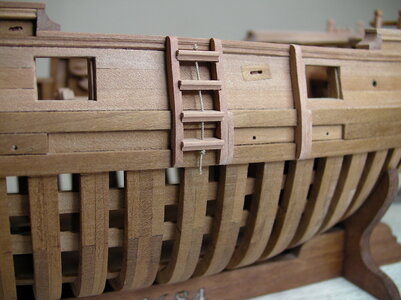
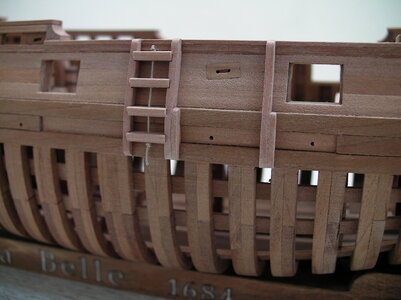
All parts sanded and mounted. Also the holes for the holding rope were drilled before. The rope must be removed for later painting.
Have a nice weekend!
Thomas

The recesses for the steps were milled very slowly and carefully into the side rails. When you see the components after milling, you think everything is broken now.

But everything went well and nothing was splittered. Here you can see all the necessary parts. The footsteps were milled as a rail and four footsteps were cut off.

Dry assembly.


All parts sanded and mounted. Also the holes for the holding rope were drilled before. The rope must be removed for later painting.
Have a nice weekend!
Thomas
Beautiful Thomas. When you are ready to offer a one week boat modeling course I'll be there.
Incredible work. You must have Elves in your workshop.
Jan
Jan
That is precision work Thomas! Just beautiful!Completition of the access ladder and fender.
View attachment 251733
The recesses for the steps were milled very slowly and carefully into the side rails. When you see the components after milling, you think everything is broken now.
View attachment 251734
But everything went well and nothing was splittered. Here you can see all the necessary parts. The footsteps were milled as a rail and four footsteps were cut off.
View attachment 251735
Dry assembly.
View attachment 251736
View attachment 251737
All parts sanded and mounted. Also the holes for the holding rope were drilled before. The rope must be removed for later painting.
Have a nice weekend!
Thomas
- Joined
- Apr 20, 2020
- Messages
- 5,141
- Points
- 738

Dear ThomasCompletition of the access ladder and fender.
View attachment 251733
The recesses for the steps were milled very slowly and carefully into the side rails. When you see the components after milling, you think everything is broken now.
View attachment 251734
But everything went well and nothing was splittered. Here you can see all the necessary parts. The footsteps were milled as a rail and four footsteps were cut off.
View attachment 251735
Dry assembly.
View attachment 251736
View attachment 251737
All parts sanded and mounted. Also the holes for the holding rope were drilled before. The rope must be removed for later painting.
Have a nice weekend!
Thomas
Beautiful work, it's looks great
Thanks for the likes and comments!
Hello Paul, you are always a very welcome guest! My eldest daughter is going to study in another city from October 1 and we have enough space in our house.
Best regards
Thomas
Hello Paul, you are always a very welcome guest! My eldest daughter is going to study in another city from October 1 and we have enough space in our house.
Best regards
Thomas
I don't think so, Heinrich.Oh boy! Can it get better than this?
I spend a few hours on the rudder construction:
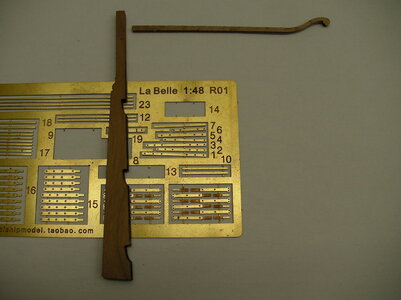
The supplied parts of the kit.
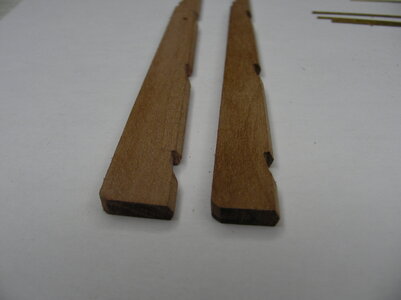
The rudder from the kit is laser cut to the inside dimensions of the drawing and after sanding off the burn marks and beveling at the joint, it is too narrow. So it was remade from scraps from the kit.
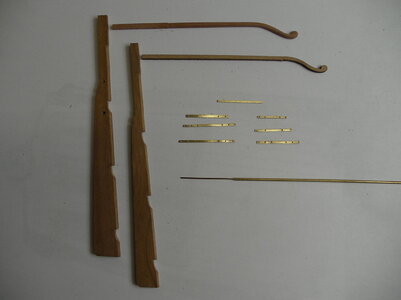 Old and new rudder, the bands and right down from brass own tube with inserted wire. Without tube and wire you can not build hinges and a beginner does not know what to do.
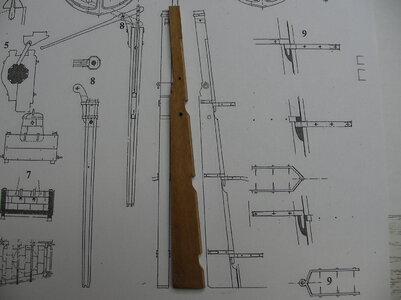
New rudder according to the external dimensions of the drawing.
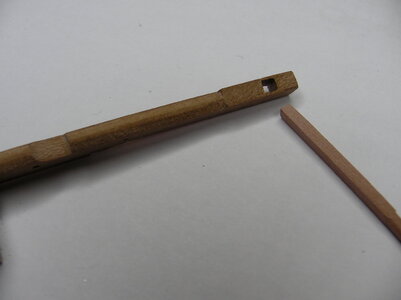
Fitting the ruder tiller into the rudder.
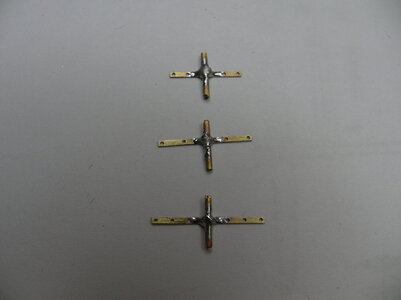
Rough soldering of the hinges with soft solder on the tapes. The tubes are longer so that no solder can flow into them.
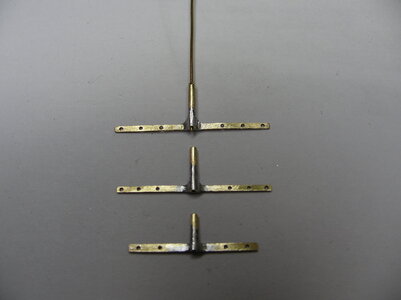
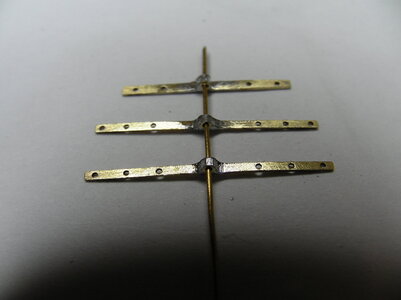
Top and bottem tubes shortened.
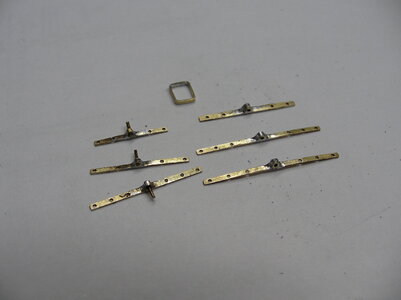
On the right, straps for the hull, on the left, straps for the rudder, and at the top, a cuff for the rudder above the tiller.
Best regards
Thomas

The supplied parts of the kit.

The rudder from the kit is laser cut to the inside dimensions of the drawing and after sanding off the burn marks and beveling at the joint, it is too narrow. So it was remade from scraps from the kit.
 Old and new rudder, the bands and right down from brass own tube with inserted wire. Without tube and wire you can not build hinges and a beginner does not know what to do.
New rudder according to the external dimensions of the drawing.

Fitting the ruder tiller into the rudder.

Rough soldering of the hinges with soft solder on the tapes. The tubes are longer so that no solder can flow into them.


Top and bottem tubes shortened.

On the right, straps for the hull, on the left, straps for the rudder, and at the top, a cuff for the rudder above the tiller.
Best regards
Thomas
Looks very good, Thomas.
Wow that is great detail work. I’m in that beginner group, don’t think I could manufacture those hinges.
Jan
Jan


