Its good to see what is waiting for me.... 


Beautiful work, Thomas. How thick is the copper sheet and how did you cut it to shape? Jeweller's saw, files?It was time to be a blacksmith again next to the carpenter. The foot for the mizzenmast was built.
View attachment 193312
Wooden parts.
View attachment 193314
View attachment 193315
For the tire of the mast copper was used.
View attachment 193316
By a short annealing the copper becomes soft and can be bent well. After bending it is again as tough as before. After heating, put it in vinegar for 20 minutes, then clean it with water, blacken it and wash it again with water. Wipe again briefly with a cloth to remove any black dust that might contaminate the wood. Cold formed brass can crack later, therefore copper.
View attachment 193317
View attachment 193318
With best regards
Thomas
Many thanks Thomas for detailed explanation. Much appreciated. I wish my La Belle turns out half as good as yours.The copper sheet is 0.7 mm thick. It was sawn with a fretsaw with metal saw blades. In one hour I already sawed 30 x 20 cm, 3 mm thick brass plates by hand and straightened them with a disk sander. This small part was separeted from the plate as a strip with the fretsaw, clamped in the vice and straightened. Duration: 5 minutes. The rest was done with small metal files. Total: 1 hour. The ring is a bit thick and could be reduced to 0,5 mm??? No special tools are needed for this work!
The woodwork takes longer.
With best regards
Thomas
Thank you Thomas for your kind and encouraging words. Much appreciated. This build log has been a constant inspiration.Hi Gennaro!
I see you also have the biography of La Belle from the Ancre Publisher. At the beginning of my report I wrote that the figurehead is mirrored. But on page 46 of the biography the figure is printed full-page as delivered by CAF modell??? The front cabin is drawn too wide on the wrong frame and the ring of the mast foot is not possible to realize (compare plan 14) in the top view. In addition there are my own simplifications, which make building easier for me.
Only the finds in Texas are certain. The rest is based on Boudriot's excellent knowledgs at that time.
The CAF model can be built from the box. It is up to the model maker how much time, energy and additional material is spent to detail the model even further. Each La Belle from the same kit looks slightly different, but is basically the same as the original.
When I visited the Hermione shipyard in France, the forge fire with ist coal smell was on and the ropes were freshly tarred and there was a smell of tar all around. A sensual pleasure, which always accompanies me while modeling.
Your model will look very beautiful and with her craftmanship she will certainly be beautiful.
Best regards
Thomas
This is unbelievable Thomas! How do you manage to make this miniature things to such a perfection is beyond me. Thanks for sharing.View attachment 194123
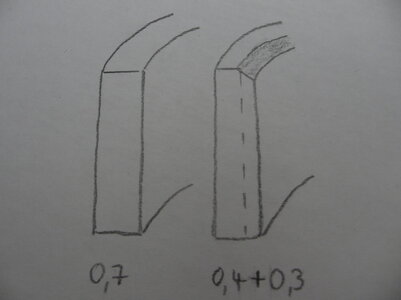
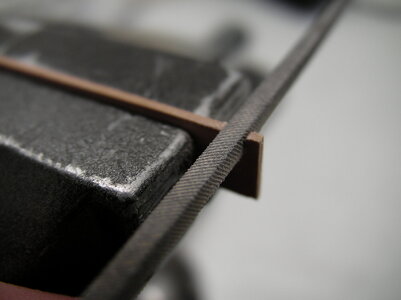
The material of the mast strip was with 0,7 mm too much and so I reduced the thickness with a file diagonally to 0,4 mm.
View attachment 194124
Now I am satisfied.
View attachment 194126
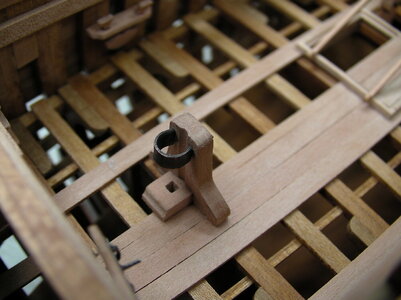
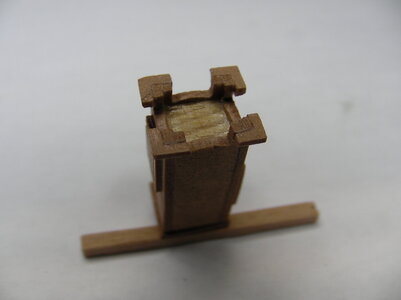
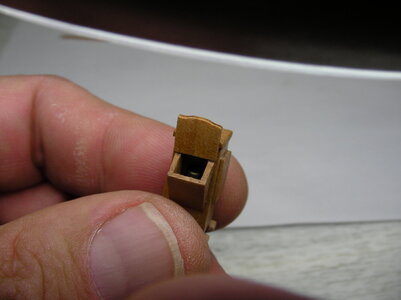
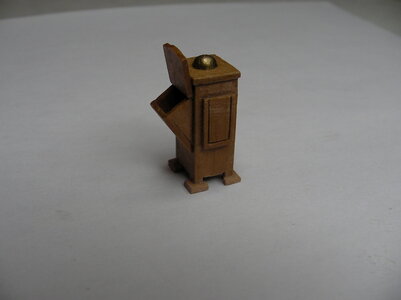
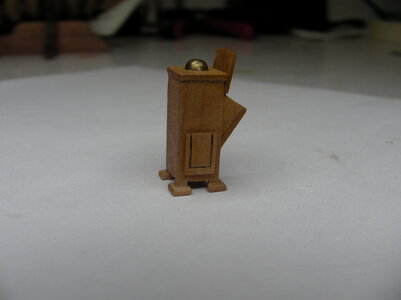
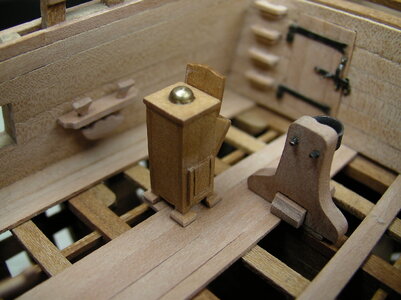
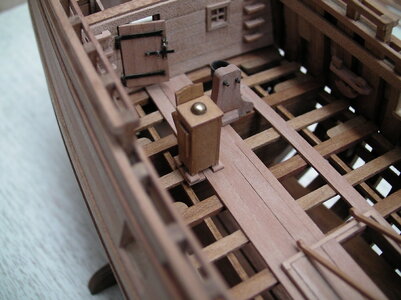
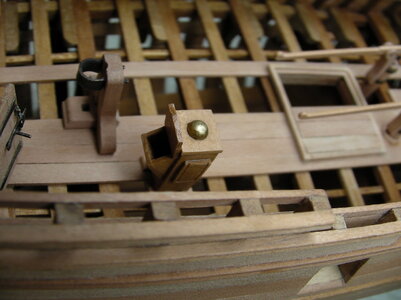
The binnacle was finally mounted. It consists of a wooden core with cladding.
View attachment 194131
Even a lamp is installed. With the eye you can see it well, the camera can unfortunately perceive it.
View attachment 194132
View attachment 194133
Detailed views.
View attachment 194134
View attachment 194135
And mounted on a small board. The differences in color of the wood are due to the fact, that some parts are alredy primed.
I wish everyone a nice weekend
Thomas
Thank you kindly for the great explanation. Still though - it's magic. What you do with file and xacto knife I have trouble doing with milling machineHi Gennaro!
The construction of the binnacle is still simple. The baseboards are really small.
View attachment 194495
Files.
View attachment 194496
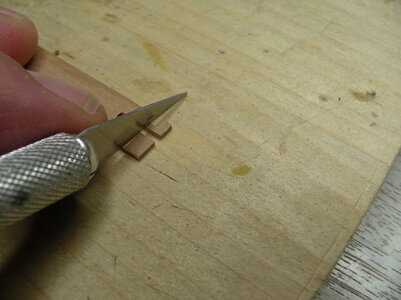
One more saw cut and then cut off with the cutter. Glue the four baseboards, let them dry well and file them to their final shape.
View attachment 194504
Make sure that the roof does not prodrute, otherwise the drawers cannot be pushed up. I have reworked mine again. Only glue wood on wood, no oil, no varnish. Do not oil or varnish the binnacle until it is mounted.
With best regards
Thomas
Ingenious Thomas! The lathe thing reminded me of an old machinist, decades ago, who turned round piece of steel on a lathe into an ashtray. Thanks for sharing.Hi Gennaro!
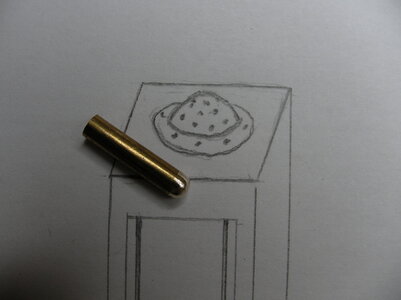
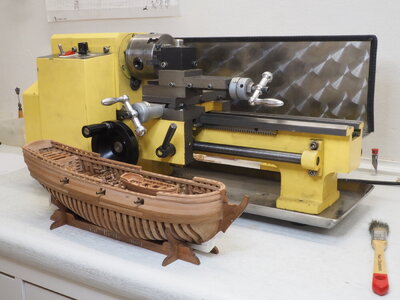
The easiest way to produce the metal half sphere is of course with a lathe. My lathe is under the workbench and is heavy. Therefore I have renounced it.
View attachment 194662
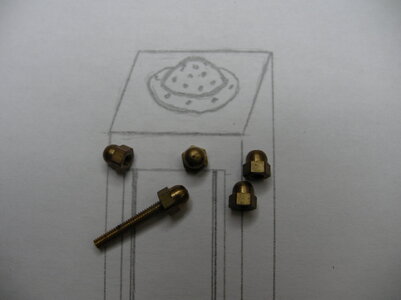
The original plate is made of copper and has holes to dissipate the heat of the lamp. I shortened a brass cap nut with the fretsaw.
View attachment 194663
In the drill you can also file a piece of brass while the machine is running. Then cut it with the fretsaw and grind it smooth.
The drawers are simulated with a blade and a metal ruler. Always carve from the corners to the outside.
With best regards
Thomas
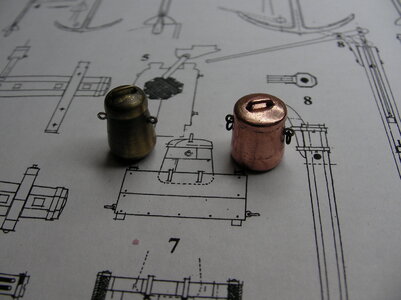
Sailors need something to eat and so I started with the kitchen. First I need a cooking pot.
View attachment 195759
The lathe laughed once when she heard about it.
View attachment 195748
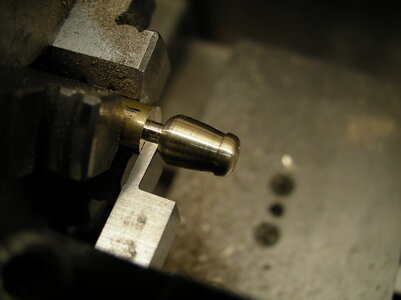
1 st try made of brass.
View attachment 195753
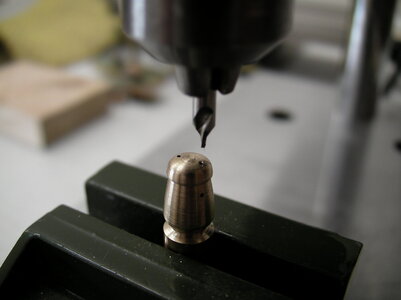
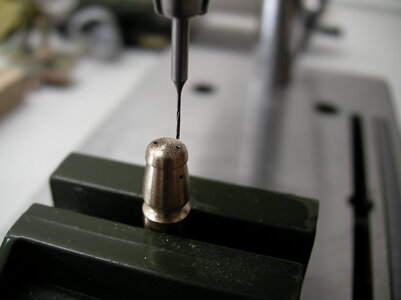
First touch briefly with a center drill. With brass not necessary, with copper absolut necessary. Otherwise the small drills will move and break.
View attachment 195754
Then drill deeper with a drill bit. This is where handles will befixed later.
View attachment 195755
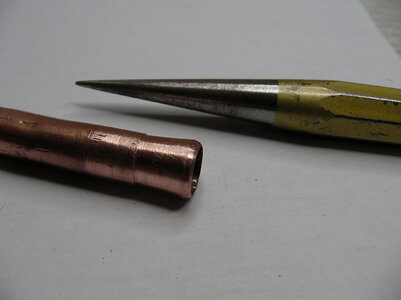
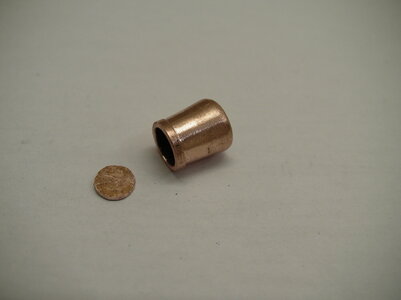
2. try to make a pot out of a tube without a lathe. The pots were made of copper and I did not really like the color of the brass pot. First the pipe has to glowed with a burner to soften it. Then expand the tube with a mandrel and a hammer.
View attachment 195756
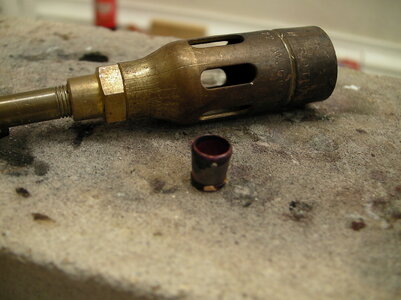
Solder in the lid. The bottom stays open and gets a wooden core after soldering.
View attachment 195757
After the silver soldering the pot looks bad. Put it in vinegar for a view hours and polish it.
View attachment 195758
Put on the fittings and age a little and two pots are ready.
With best regards
Thomas
