La Belle - Caf Model 1:48 by Thomas Marocke [COMPLETED BUILD]

Short update. There is so little time to build - Christmas, new year, children without school . . .
SANY1045.JPG
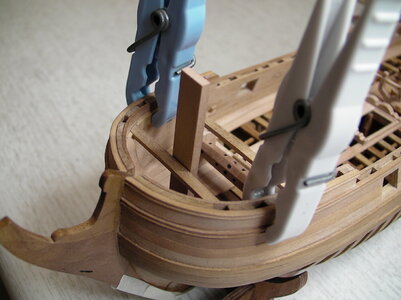
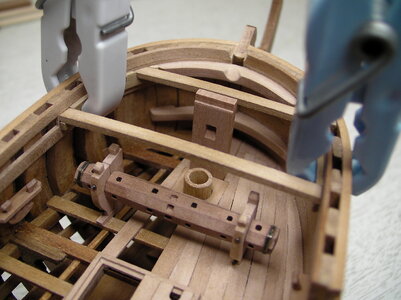
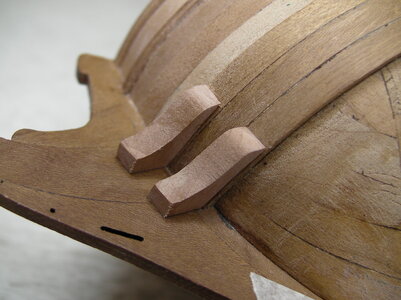
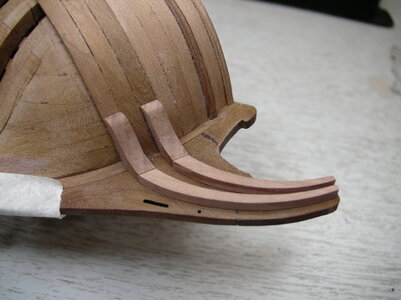
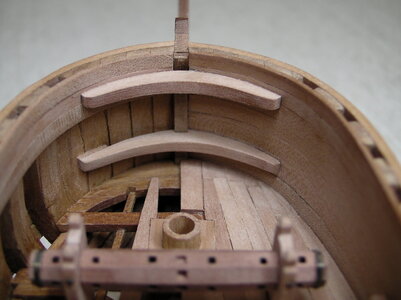
The hooks were built and mounted. They need to be mounted at the right height. The lower hawse-hook must not be mounted too high, because otherwise the anchor cable runs through the hook, so measure inside and outside on the ship' side. The upper hook must be mounted so low that the deck planks and the cathead still fit on it.
SANY1044.JPG

SANY1046.JPG

SANY1047.JPG
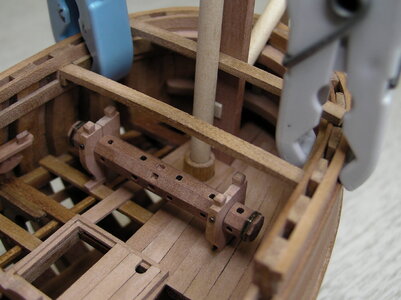
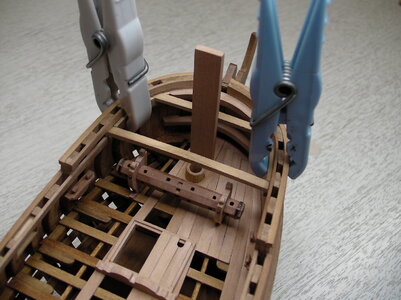
Fitting without glue. Two deck beams are still missing. The deck beams remain removable for painting underneath and also to mount the stove.

With best regards
Thomas
 
Hello Thomas, I don't even know what to say after reviewing this build log. I know what it means to be an expert in a field and you, sir, are an expert (and an artist!). There are some marvelous ship builders who share their work and expertise here on the SoS forum - please accept my admiration for being listed among the finest. Inspiring hardly covers it! Ich schätze Ihre sanfte Natur - Sie sind freundlich und bescheiden mit Ihren Erklärungen. Vielen Dank!
 
Thanks for the likes and comments!

The clothes pin clamps are in the normal size. The La Belle is a very small ship. It reminds me of a visit in Boston when I first visit the two small replica Boston Tea Party ships "Eleanor" and "Beaver" and then the "USS Constitution".

Best regards
Thomas
The plank bending, cutting and fitting so precisely are details setting a high bar for others. Well done. RIch (PT-2)
 
Continuation of construction on the very narrow forcastle.

SANY1049.JPG
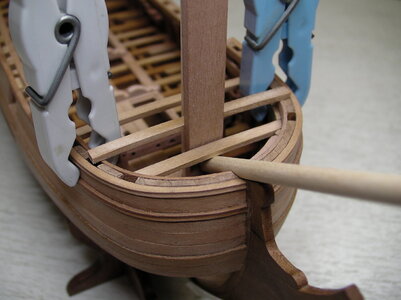
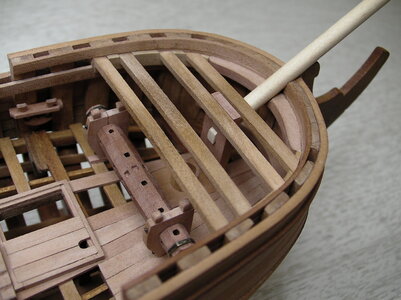
Fitting the bowsprit.

SANY1050.JPG
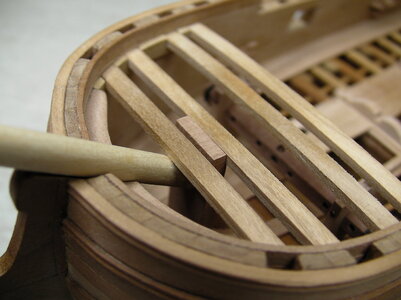
Under the first deck beam there is no air at all to the bowsprit.

SANY1051.JPG
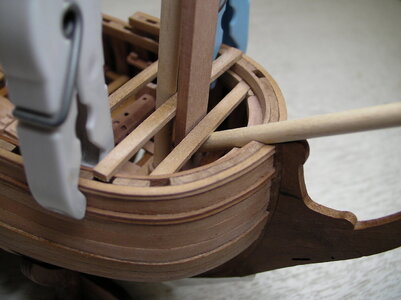
Fitting of the remaining deck beams.

SANY1052.JPG
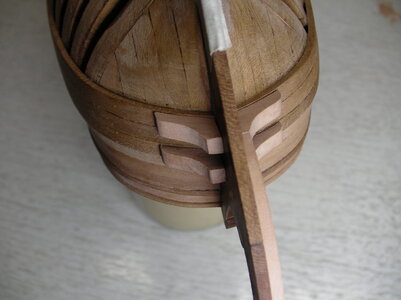
Upper cutout on the bowsprit holder as a support for the deck beam.

SANY1057.JPG
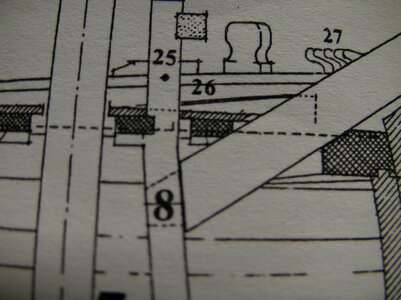
Before building, you can already see on the construction plan how precisely you have to model here.

SANY1054.JPGSANY1055.JPG
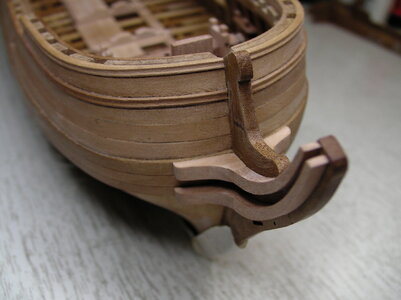
In the end, everything went well. The bowsprit with the wrong wood is only a placeholder. The deck beams are still removable.

With best regards
Thomas
 
SANY1080.JPG
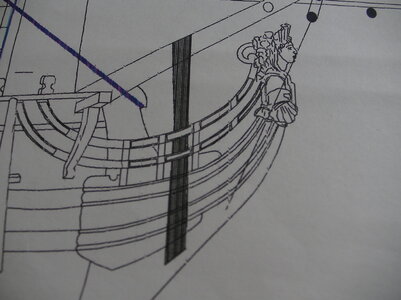
This is how the bow should look one day. (Picture from the construction plan of CAF).

SANY1079.JPG
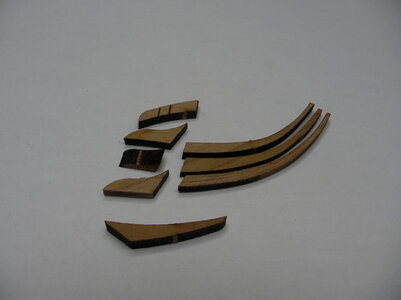
The supplied parts of the kit.

SANY1075.JPG
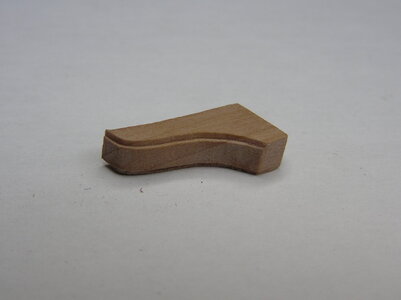
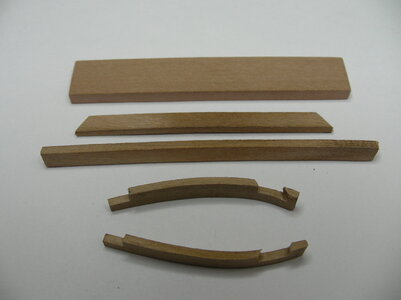
The components from pear wood. There is no real indication of any angle. You have to try.

SANY1078.JPG

SANY1074.JPG

SANY1077.JPG
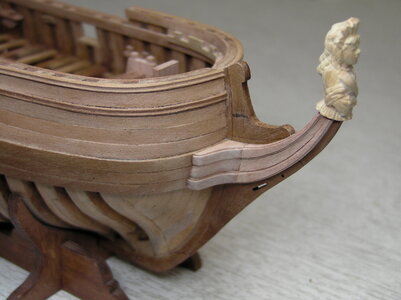
It is laborious to find a nice swing between the knees and the sims. But the effort is worth it. The components are attached with a tiny drop of glue and are easy to remove.
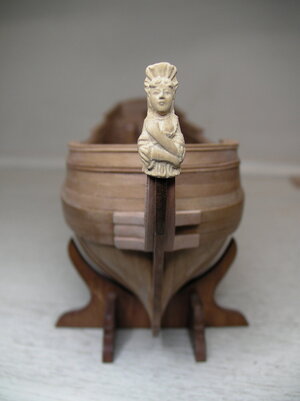
The ledges have to made narrower towards the top and the space for the figurehead is still missing.

SANY1081.JPG

SANY1082.JPG
The parts get a nice contour at the end.

Best regards
Thomas
 
View attachment 214939
This is how the bow should look one day. (Picture from the construction plan of CAF).

View attachment 214940
The supplied parts of the kit.

View attachment 214941
The components from pear wood. There is no real indication of any angle. You have to try.

View attachment 214942

View attachment 214944

View attachment 214945
It is laborious to find a nice swing between the knees and the sims. But the effort is worth it. The components are attached with a tiny drop of glue and are easy to remove.
The ledges have to made narrower towards the top and the space for the figurehead is still missing.

View attachment 214947

View attachment 214948
The parts get a nice contour at the end.

Best regards
Thomas
Having the right tools is essential to such precision which I don't know if handwork alone could produce. The precision in you model is outstanding. Rich
 
Good idea using the burr for the contouring of the edges - looking very good my friend :cool:
 
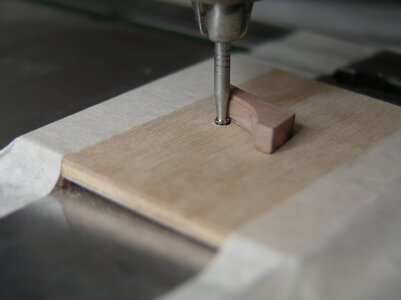
The slot is drilled with the bench drill and then milled out. The figure was guided by hand underneath. Clamping in a vice is not possible because of the "press marks" in the wood.

SANY1097.JPG
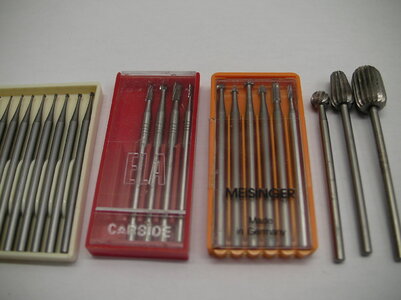
On the right are small Proxxon cutters. Much to large for contour milling. But the other cutters were also too large. A few days ago Uwe presented the address of "Busch", far left in the picture. They came from Birmingham, England, a few days ago. Now the smallest details can be shown.

SANY1096.JPG
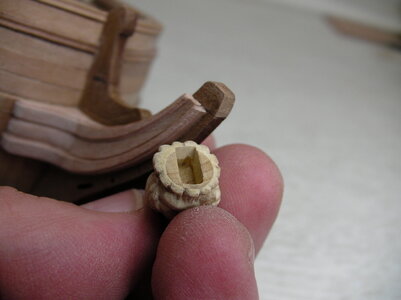
The figure can also be fixed on a small peg (right in the picture). This prevents one milling out outside the figure. In the "Ancre" construction description you see this method on page 125 by Bernard Frolich on the upper picture.

It is a bit like the dentist. But with him there are two wobby components, the patient's head and the doctor's hand.

Cheers
Thomas
 
Last edited:
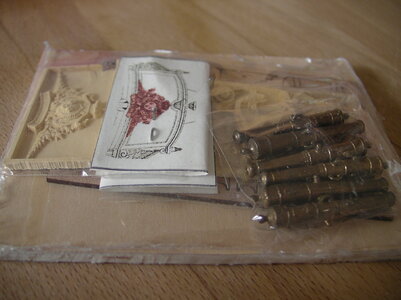
Today I received a delivery from China with FedEx. 99,9% of the readers will smile. But it is my first delivery through this company. Do you have to get that old first? I know this from "Cast Away" with Tom Hanks. This delivery reached me without crash from Tom from CAF.

SANY1109.JPG

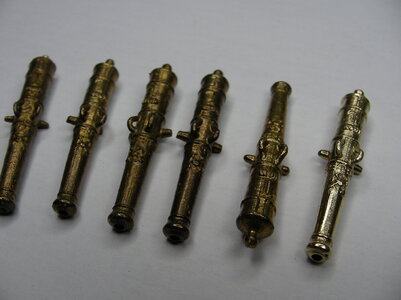
I saw the gun barrels in Gennaro's report of the La Belle and Tom sent me some on request. Thank you very much.

SANY1113.JPG
I have started to remove the casting burrs and smooth and straighten the cannon barrels a bit. They have the royal crest and the crest of the Comte de Vermandois, Louis de Bourbon.

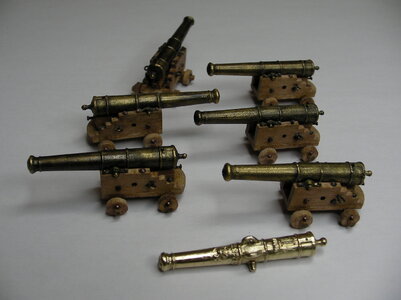
SANY1117.JPG
Old and new gun barrel compared. Whether the cannon barrels will be patinated again a bit, I don't know yet. The originals were made of bronze and the models will get darker again on their own.

Best regards
Thomas
 
Last edited:
Back
Top