Hello SOS builders,
Now after I have gathered a huge load of information and inspiration from the fine build logs here on SOS it’s finally time to start my own first model.
I have chosen La Candelaria from OcCre which seems the right size and complexity for me to start with ( but it was hard to withstand buying one of the larger more complex models available, like for example the ZHL San Felipe )
Since there seems to be no other build log for this ship I will start one by myself and maybe it will be helpful for others also interested in this model.
Before I had even purchased the kit I already started making plans on how I could modify it. So I also purchased some 3 and 9 x 0.5 mm Teak strips which I will use for a custom deck planking pattern.
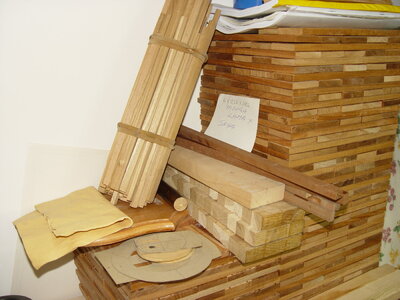
But at first it’s time to see what‘s actually in the box…


Additionally I made a draft picture in PhotoShop to test the colors I want to use, and this shows which colors I want to use on the model:

Finally some pictures of my first steps, not so much progress so far but at least building has started!
A small note: I was surprised that the bulkheads are sitting relatively loose inside the notches so I had to be careful while the wood glue dries to ensure a right angle.


Now after I have gathered a huge load of information and inspiration from the fine build logs here on SOS it’s finally time to start my own first model.
I have chosen La Candelaria from OcCre which seems the right size and complexity for me to start with ( but it was hard to withstand buying one of the larger more complex models available, like for example the ZHL San Felipe )
Since there seems to be no other build log for this ship I will start one by myself and maybe it will be helpful for others also interested in this model.
Before I had even purchased the kit I already started making plans on how I could modify it. So I also purchased some 3 and 9 x 0.5 mm Teak strips which I will use for a custom deck planking pattern.
But at first it’s time to see what‘s actually in the box…
Additionally I made a draft picture in PhotoShop to test the colors I want to use, and this shows which colors I want to use on the model:
Finally some pictures of my first steps, not so much progress so far but at least building has started!
A small note: I was surprised that the bulkheads are sitting relatively loose inside the notches so I had to be careful while the wood glue dries to ensure a right angle.


")