I described the device in some details in the other thread,
https://www.shipsofscale.com/sosfor...78-bashed-to-death-kit-from-janos.1125/page-7
...but here are a few more details.
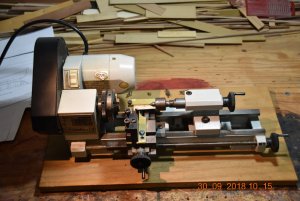
The lathe is an EMCO Unimat 3 which is perfect for this purpose as well as for others... I made some attempts to make a duplicator on the Chinese wonder AL-30 and on the Unimat 1 (which is a bad joke in itself) but to no avail. All it needs is a chuck, the live centre and the tool holder.
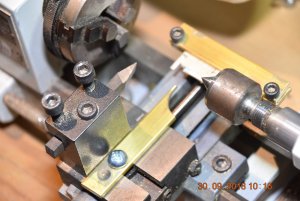
The pattern 'reader' is attached next to the tool holder. The tip of the reader supposed to be smaller to follow the shape of the cutter - some more refinements are needed here.
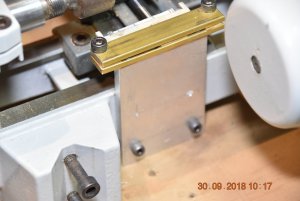
The pattern holder is attached to the lathe bed (no holes are drilled in the bed!)
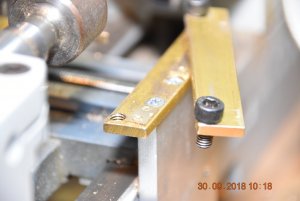
The pattern holder in open position. Note the inserts, identical in thickness to the pattern plates, to provide proper grip on the plates.
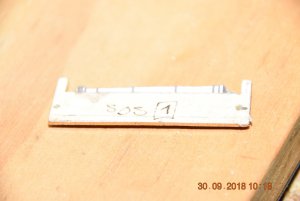
The pattern plate (1 mm brass plate) which is cut and filed to te required shape. Note the notches at both ends which represent the axis position.
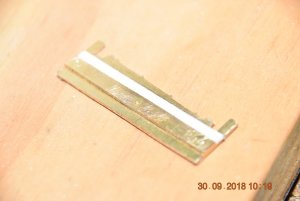
The bottom view of the pattern plate. Note the strip the edge of which is parallel to the axis and when inserted, is pushed against the froward edge of the pattern holder's front edge.
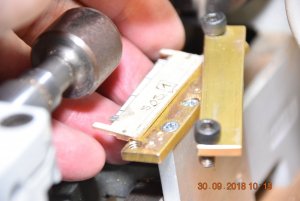
The pattern plate goes into the holder. Note the arrangement of the plate's bottom strip to the holder's bottom plate forward edge.
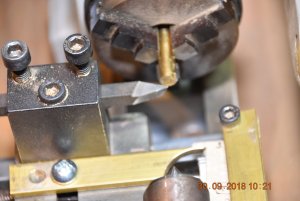
The position of the cutter in the tool holder is established using the pattern's reference notch at the rear...
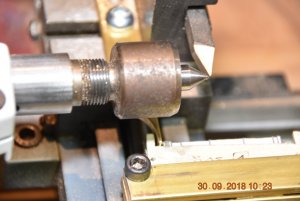
And at the front, using the live centre.
And so it goes. V-L emphasizes which is very true, that nothing automatic is in the device. It is a fully manual operation, needs patience and feeling, and experience. As indicated, I intend to make some betterments to it - watch this space.
Janos
https://www.shipsofscale.com/sosfor...78-bashed-to-death-kit-from-janos.1125/page-7
...but here are a few more details.

The lathe is an EMCO Unimat 3 which is perfect for this purpose as well as for others... I made some attempts to make a duplicator on the Chinese wonder AL-30 and on the Unimat 1 (which is a bad joke in itself) but to no avail. All it needs is a chuck, the live centre and the tool holder.

The pattern 'reader' is attached next to the tool holder. The tip of the reader supposed to be smaller to follow the shape of the cutter - some more refinements are needed here.

The pattern holder is attached to the lathe bed (no holes are drilled in the bed!)

The pattern holder in open position. Note the inserts, identical in thickness to the pattern plates, to provide proper grip on the plates.

The pattern plate (1 mm brass plate) which is cut and filed to te required shape. Note the notches at both ends which represent the axis position.

The bottom view of the pattern plate. Note the strip the edge of which is parallel to the axis and when inserted, is pushed against the froward edge of the pattern holder's front edge.

The pattern plate goes into the holder. Note the arrangement of the plate's bottom strip to the holder's bottom plate forward edge.

The position of the cutter in the tool holder is established using the pattern's reference notch at the rear...

And at the front, using the live centre.
And so it goes. V-L emphasizes which is very true, that nothing automatic is in the device. It is a fully manual operation, needs patience and feeling, and experience. As indicated, I intend to make some betterments to it - watch this space.
Janos


