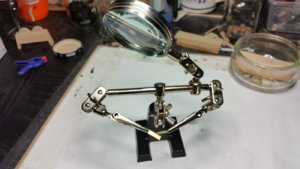
A bolt fitted with a ring through its eye, used for securing, running, rigging, etc. - called Ringbolt
Greetings folks. This type of ship element freely available thru many different model builder suppliers, and included with every kit. For the most part, they are OK to use 'as is', but... some could be oversized\undersized for the given scale. This dilemma can be easily overcome by fabricating our own, from scratch! It is not that difficult and doesn't require power tools. So...
There many ways to make ringbolts and each of us has its own taste and preference. I will show one of the ways I like most. IMHO they look pretty authentic on the model and doesn't require a lot of effort. But you are the ones to judge... Without any fuss or delay, let's start
Depending on the scale and desk position, I use two types of wires when making ringbolts: steel and brass. Each material has its own cons and pross.
- Steele: my favorite, very strong and doesn't require blackening. The only drawback, I can NOT manage to solder it (any suggestion Welcome!!!). Because of this, I use this only as decorations and don't use for functional rigging where you need to put some pressure.
- Brass: very soft to use, can be soldered with hard solder (silver-based) but require a blackened solution to make black. Yet, I didn't archive 100% satisfaction with a blackening solution.
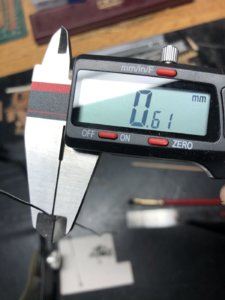
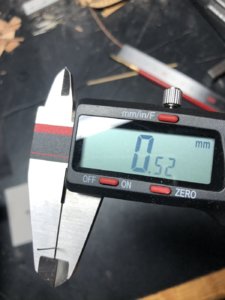
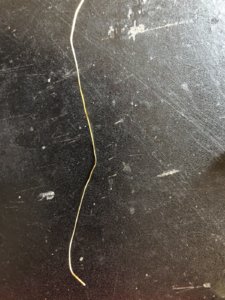
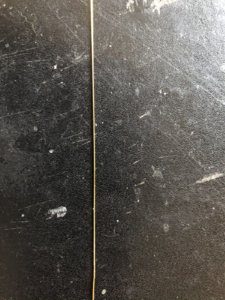
Today we will talk about steel ringbolts. What do we need for this exercise? Steel wire 0.50mmø for eye ring and 0.60mmø for the ring. This is inexpensive\utility wire I bought in a hardware store. It is anodized and looks bright.
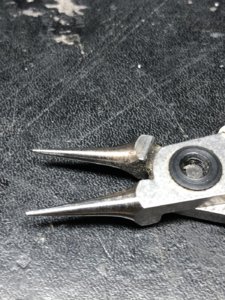
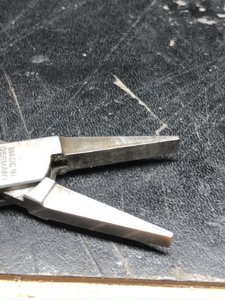
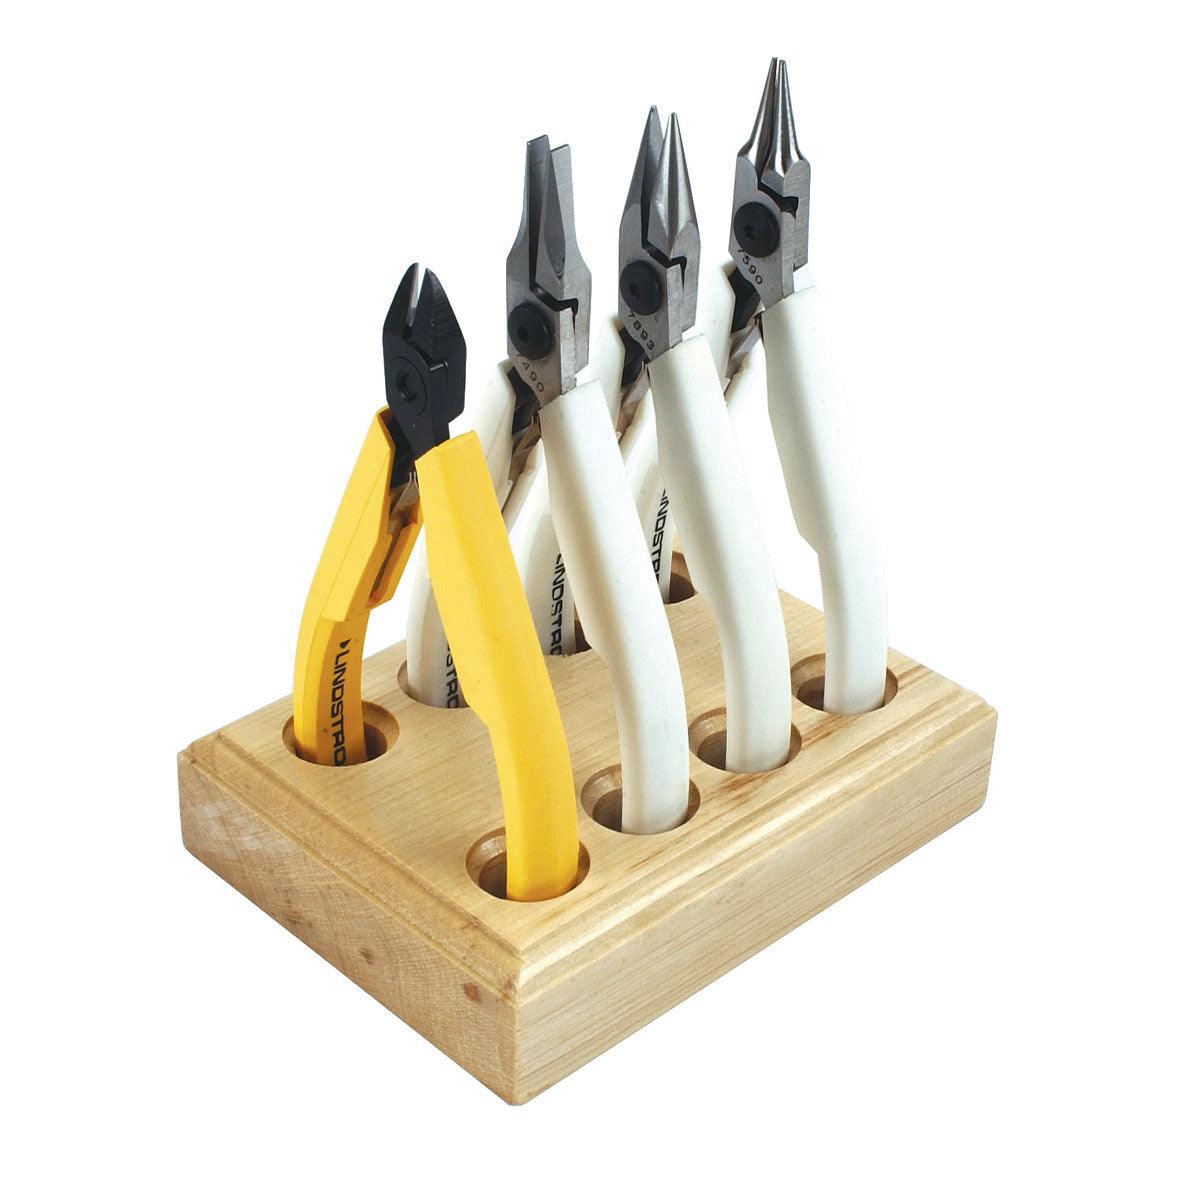
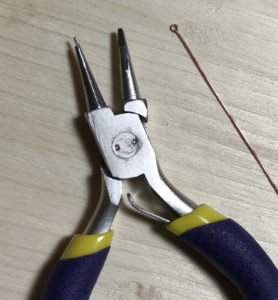
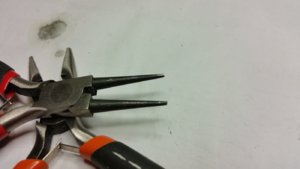
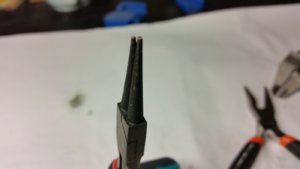
We will also need two types of pliers: Flat and round nose
We also will need a soldering torch and drill bit. The wire MUST be softened using the soldering torch. Once it is cool down, we start forming an eye bolt. The picture might not be as sharp as I wanted, but this is something I will have to learn (hopefully in this world)
PART1: an eye bolt
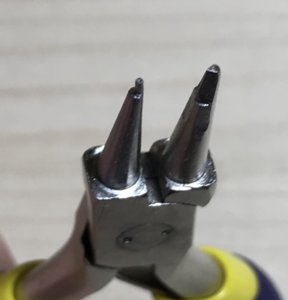
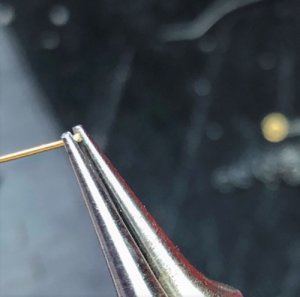
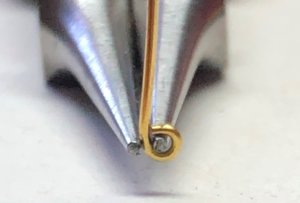
Put the 0.50mmø wire between the end tips of the round nose. Generally, this should be dictated by the inside diameter of the eyebolt. The closer to the end, the smaller the inside diameter will be.
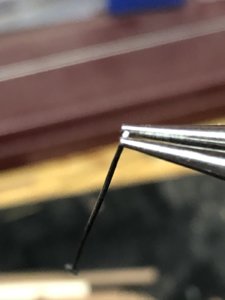
While holding pliers and wire tight, turn the pliers (either way) to form a loop. Try to do it as a single path, so it
has not left marks. Also, make sure there is a minimum gap between the and point.
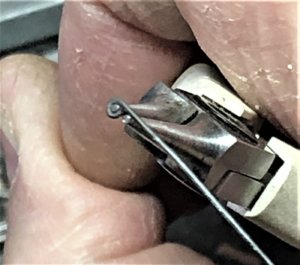
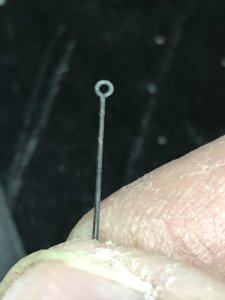
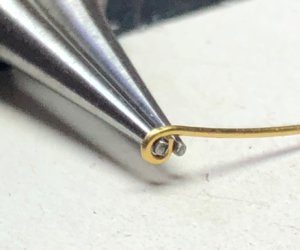
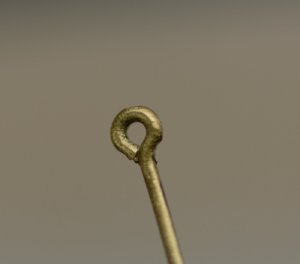
You should have similar to this
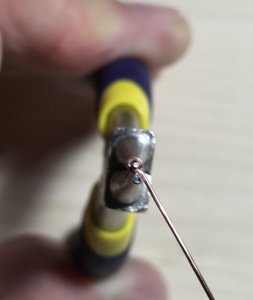
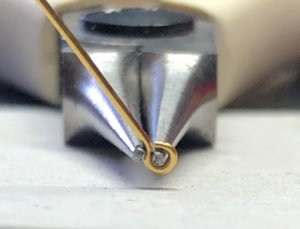
For the next step, hold the pliers close to the end loop like on the picture below. It is important pount to hold in that place, else it will not form round eye.
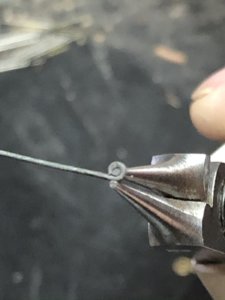
While holding the wire close to the loop, turn the pliers opposite direction of the loop forming
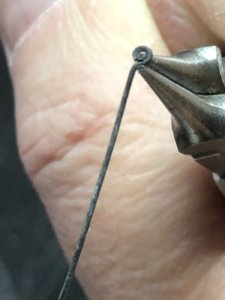
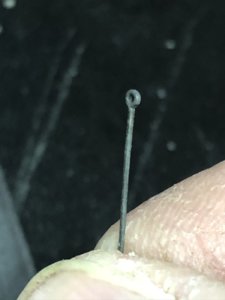
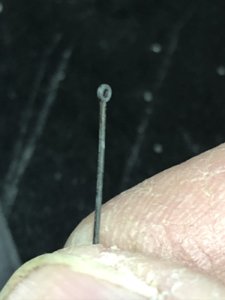
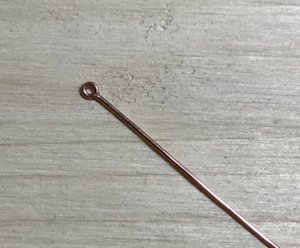
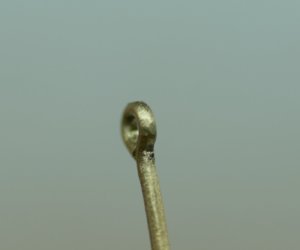
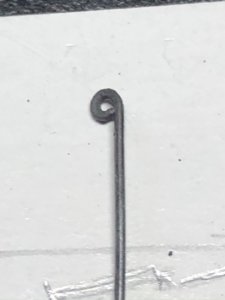
This should do it! But...if you still have a large gap and the eye-head is not round, twist opposite to close the gap. It should look like this
Hey...We just finished one of the elements of the ringbolt - an eyebolt. When it comes to repetitive work, you have to think about a process to simplify it. Hence, I cut about 10 pieces of wires by 50mm each and form an eye-bolt from both ends. I don't cut an eyebolt until the entire ringbolt completed.
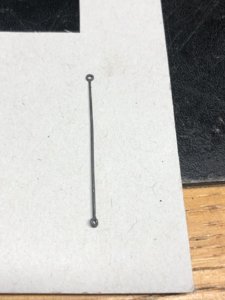
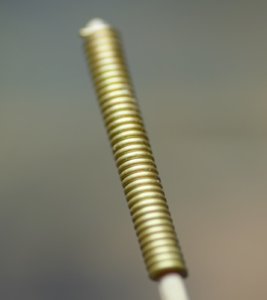
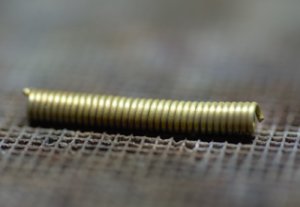
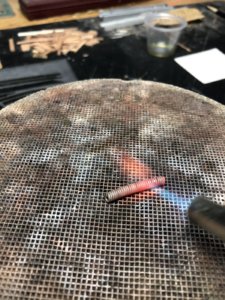
Using 0.60mmø wire we form the rings. Recall, We must anneal the wire in order to make it easier to work with. Using the drill bit like the former twist (like spring) the wire.
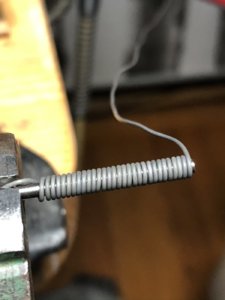
While twisting the wire, it gets harder again. So the heat will needed to make it softer. We use a soldering torch for this
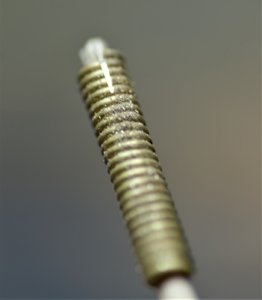
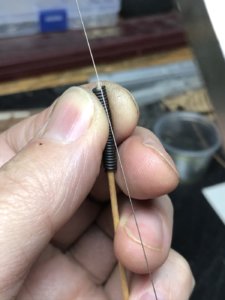
Once it is completely cool down, it is time to cut rings. In my opinion, this is the trickiest part. While some of us prefer to use cutters, I use jewelers saw. You have to be really careful and patient. If you cut it wrong, then the ring will not form well. So what is the trick? Use the thinnest blade you have, I use 8/0 by Contenty brand. The thinnest blade, the invisible gap will be. Cut the wire spring along, releasing few rings in time. Use a toothpick dowel to hold the spring while cutting.
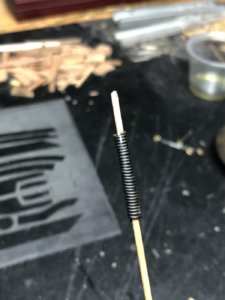
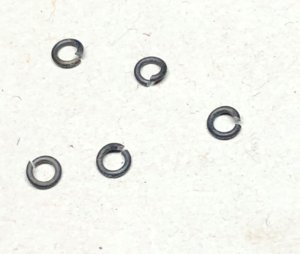
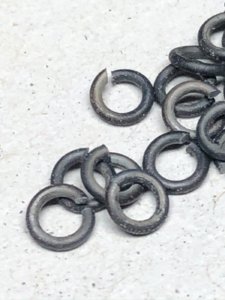
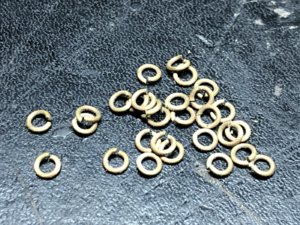
The results are beautiful rings the same size and most importantly clean cut. This cut is a MUST if we want to archive a nice closed-loop without the much visible gap.
Below picture just so you know what size of ringbolts we are making.
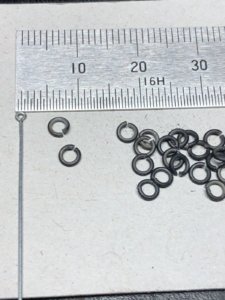
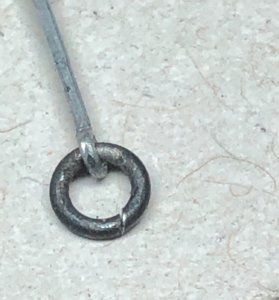
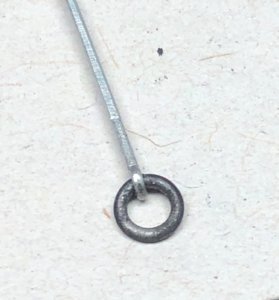
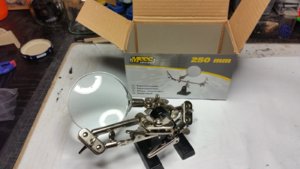
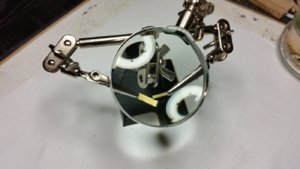
Finally, we have to pass the ring through the hole in the eyebolt and carefully close the ring. As you see on the left magnifying picture the gap is not much visible, but we can completely hide it by turning the cut into the eyebolt head (right picture)
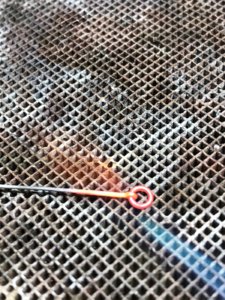
We are almost done. The next step is to blacken it. We use heat and oil. Using the torch I heat the entire ringbolt and while it is hot put is in the oil. The result is black\metalish look
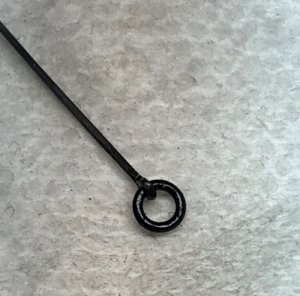
I must mention @janos for the tip using the graphite on guns. I use the graphite rub on top of the ringbolts to made them look truly metallic. But you are only the judges!!!
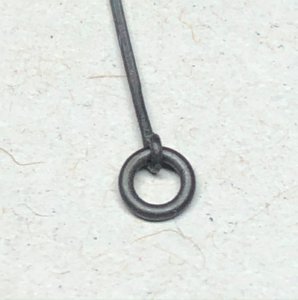
I hope this will be informative and help you in the future. Many thanks for the interest . Next time we will make ringbolts from brass wire, so stay tuned
Greetings folks. This type of ship element freely available thru many different model builder suppliers, and included with every kit. For the most part, they are OK to use 'as is', but... some could be oversized\undersized for the given scale. This dilemma can be easily overcome by fabricating our own, from scratch! It is not that difficult and doesn't require power tools. So...
There many ways to make ringbolts and each of us has its own taste and preference. I will show one of the ways I like most. IMHO they look pretty authentic on the model and doesn't require a lot of effort. But you are the ones to judge... Without any fuss or delay, let's start
Depending on the scale and desk position, I use two types of wires when making ringbolts: steel and brass. Each material has its own cons and pross.
- Steele: my favorite, very strong and doesn't require blackening. The only drawback, I can NOT manage to solder it (any suggestion Welcome!!!). Because of this, I use this only as decorations and don't use for functional rigging where you need to put some pressure.
- Brass: very soft to use, can be soldered with hard solder (silver-based) but require a blackened solution to make black. Yet, I didn't archive 100% satisfaction with a blackening solution.
Today we will talk about steel ringbolts. What do we need for this exercise? Steel wire 0.50mmø for eye ring and 0.60mmø for the ring. This is inexpensive\utility wire I bought in a hardware store. It is anodized and looks bright.
We will also need two types of pliers: Flat and round nose
We also will need a soldering torch and drill bit. The wire MUST be softened using the soldering torch. Once it is cool down, we start forming an eye bolt. The picture might not be as sharp as I wanted, but this is something I will have to learn (hopefully in this world)
PART1: an eye bolt
Put the 0.50mmø wire between the end tips of the round nose. Generally, this should be dictated by the inside diameter of the eyebolt. The closer to the end, the smaller the inside diameter will be.

While holding pliers and wire tight, turn the pliers (either way) to form a loop. Try to do it as a single path, so it
has not left marks. Also, make sure there is a minimum gap between the and point.

You should have similar to this

For the next step, hold the pliers close to the end loop like on the picture below. It is important pount to hold in that place, else it will not form round eye.

While holding the wire close to the loop, turn the pliers opposite direction of the loop forming

This should do it! But...if you still have a large gap and the eye-head is not round, twist opposite to close the gap. It should look like this
Hey...We just finished one of the elements of the ringbolt - an eyebolt. When it comes to repetitive work, you have to think about a process to simplify it. Hence, I cut about 10 pieces of wires by 50mm each and form an eye-bolt from both ends. I don't cut an eyebolt until the entire ringbolt completed.

PART 2 - RingsUsing 0.60mmø wire we form the rings. Recall, We must anneal the wire in order to make it easier to work with. Using the drill bit like the former twist (like spring) the wire.

While twisting the wire, it gets harder again. So the heat will needed to make it softer. We use a soldering torch for this

Once it is completely cool down, it is time to cut rings. In my opinion, this is the trickiest part. While some of us prefer to use cutters, I use jewelers saw. You have to be really careful and patient. If you cut it wrong, then the ring will not form well. So what is the trick? Use the thinnest blade you have, I use 8/0 by Contenty brand. The thinnest blade, the invisible gap will be. Cut the wire spring along, releasing few rings in time. Use a toothpick dowel to hold the spring while cutting.


The results are beautiful rings the same size and most importantly clean cut. This cut is a MUST if we want to archive a nice closed-loop without the much visible gap.
Below picture just so you know what size of ringbolts we are making.

Finally, we have to pass the ring through the hole in the eyebolt and carefully close the ring. As you see on the left magnifying picture the gap is not much visible, but we can completely hide it by turning the cut into the eyebolt head (right picture)
We are almost done. The next step is to blacken it. We use heat and oil. Using the torch I heat the entire ringbolt and while it is hot put is in the oil. The result is black\metalish look


I must mention @janos for the tip using the graphite on guns. I use the graphite rub on top of the ringbolts to made them look truly metallic. But you are only the judges!!!

I hope this will be informative and help you in the future. Many thanks for the interest . Next time we will make ringbolts from brass wire, so stay tuned


