Mamoli Le Coureur help with rigging anchors

Joined
Oct 21, 2020
Messages
17
Points
48

Location
Arlington VA
My issue is with Mamoli sketchy instructions. There is no belaying pin available to attach the anchor rope to.
I have a picture below of what I could do to free up a belaying pin.
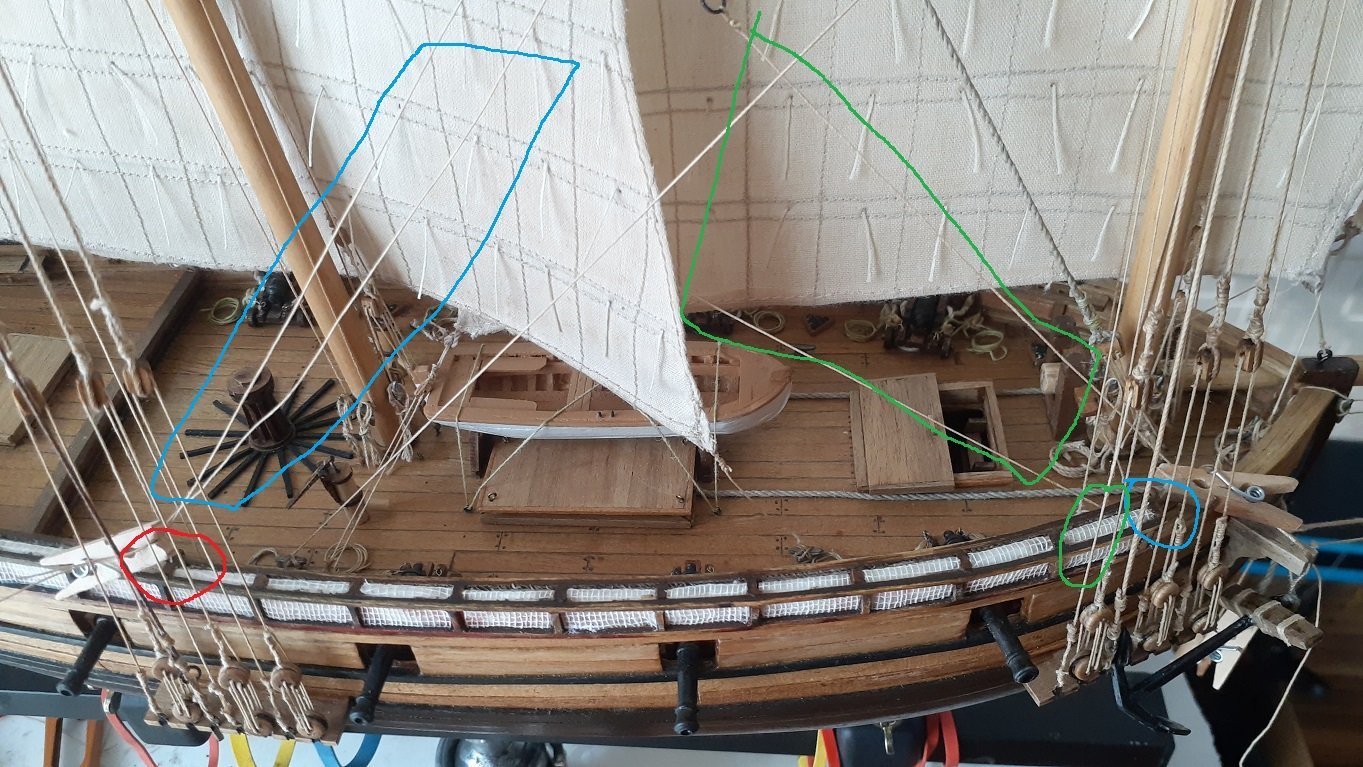
1360279589_belayingpins.jpg.1f81ee60b830291dcc01582ebaa43139.jpg

Here is my thinking but it could be heresy: the two ropes in the green box have to be tied together on belaying pin 3 (green circle) and the two ropes in the blue box are supposed to be tied to belaying pin 4 (blue circle), next to pin 3. To free up pin 4 for my anchor, could I tie the two ropes in the blue box to the free pins under the red circle? There are a couple of pins available there. (Note that the laundry pins are only temporarily holding the lines in place.)
Thank you in advance for any help!
PC
 
Usually two different ropes were not tied to only one single belaying point. I do not fully recognize which ropes are now marked with green (function or task of the rope) but it is necessary to use a rope of the running rigging individual without hindrances by another rope which is belayed on the same cleat.
Why do you not install an additional cleat where you have place and it would make sense for belaying the anchor ? The shipwright would do it in the same way. If they needed an additional belaying point -> the made one!
BTW: Your model is looking very good
Do you have space along the rails to add a snatch block or cleat below and slightly to the side of an added belaying pin using your own judgment and artistic license if you are not trying for high accuracy? Rich (PT-2)
 
Thanks for the suggestions. Indeed I am puzzled by the fact that two ropes could be tied to one belying pin however besides being the instructions, there is no room for additional belaying pins.

As for adding a cleat for the canchor i believe there is room enough. I'll try.

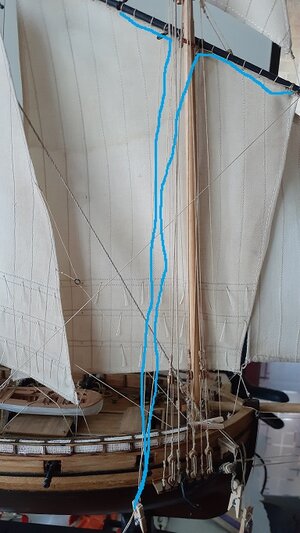
Since Uwek asked the ropes control the hauling of the sail. Here is a picture:

ropes.jpg

Thanks again.
 
My issue is with Mamoli sketchy instructions. There is no belaying pin available to attach the anchor rope to.
I have a picture below of what I could do to free up a belaying pin.1360279589_belayingpins.jpg.1f81ee60b830291dcc01582ebaa43139.jpg
Here is my thinking but it could be heresy: the two ropes in the green box have to be tied together on belaying pin 3 (green circle) and the two ropes in the blue box are supposed to be tied to belaying pin 4 (blue circle), next to pin 3. To free up pin 4 for my anchor, could I tie the two ropes in the blue box to the free pins under the red circle? There are a couple of pins available there. (Note that the laundry pins are only temporarily holding the lines in place.)
Thank you in advance for any help!
PC
Hallo @PC52
we wish you all the BEST and a Happy Birthday
Birthday-Cake
 
Hallo @PC52
we wish you all the BEST and a Happy Birthday
Birthday-Cake
Cables for anchors typically lead down a hatch to a cable locker below. When the anchor is secured on the gunrail adjacent pins are used. If it is hanging from the cathead for either lowering or raising the cable would be to a capstan or winch as they were very heavy. I see all manners of how anchors and cables are presented on models so it is usually a matter of how the builder wants to see those and not always the working arrangement.

An excellent book by John Harland, Seamanship in the Age of Sail, provides extensive and very detailed information and for anchors/anchoring in general pp 201-277 will guide you to how you may want to make your decision. For serious model building I highly recommend this book as it covers everything that I can think of related to the ships and their functions. It is an investment that gives a large return to the reader, builder and student. Rich (PT-2)
 
Back
Top