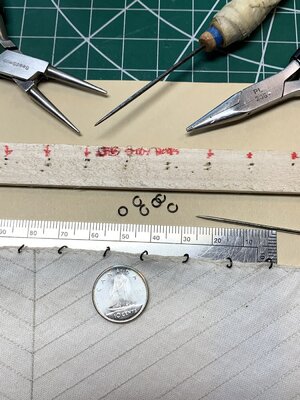
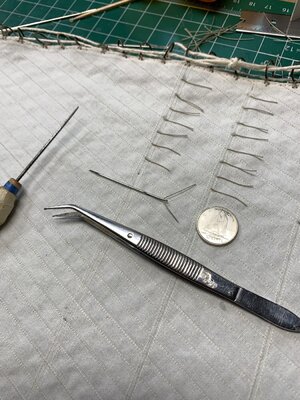
I will in the near future put up a series of phots and short text showing the method that I am using on my BN MS2130. It will not include the final steps of shaping the sails though as I am not going to do that for some time when they are all bent and spars stepped with running rigging mostly in place.
Rich
Here is the series of steps that I use in making sails for the BN2130. These of the Jib are the smallest on the model and a good starting/learning point for me to progress to the larger/longer edges of the main and for sails. I hope that I can get these in order as I am not sure how to shuffle the deck if one is out of sequence.
First are the lines drawn from the sail plan which was the stbd view of both the canvas panel sewing guide lines and those of the edges for the cut, fold, and hem lines
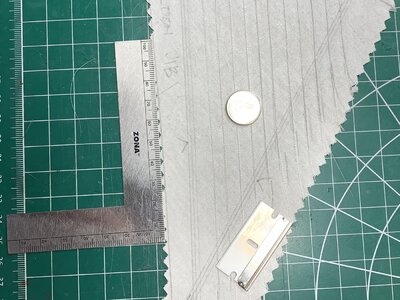
Then using a fresh razor blade for clean cut with a metal straight edge and the fabric weighted in place I begin the first edge cut
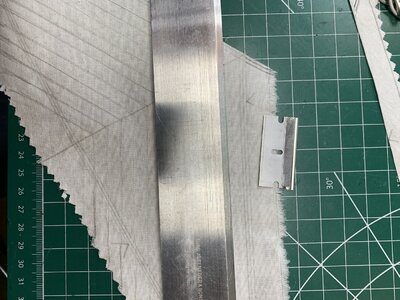
As the hem need to be on the port side, I use the marker pen which I trimmed the felt tip at an angle for a fine line to transfer the hem edge to the port (opposite) side of the cloth.
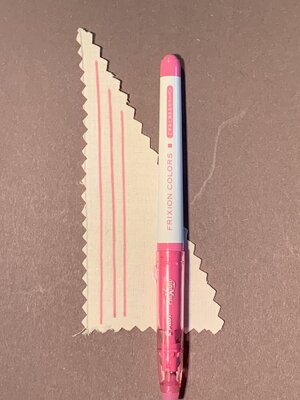

This is the pen and as are wider lines before I made the angle cut and now on to the port/back side where I moisten the fabric with water beside the metal straight edge
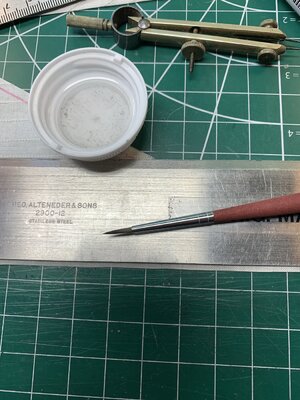

After a few minutes as the fabric moistens I use a pallet knife to gently lift the fabric up an slide a thin metal edge (back of a ruler upwards) sliding it under the fabric which will be folded up 90 degrees
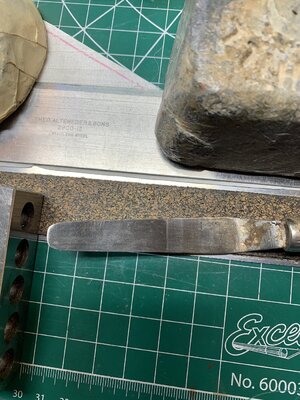
Then placing the edge of a drafting triangle beneath the ruler I transfer the fabric onto the triangle edge in preparation to push the triangle against the metal edge folding the fabric upwards to 90 degrees
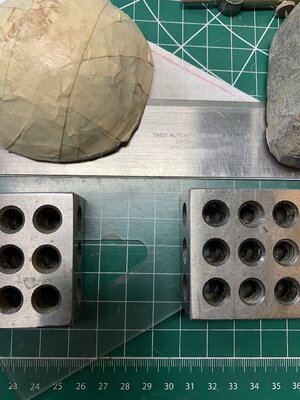
Secure things in place to let the fabric take the fold for some time before proceeding to open things up
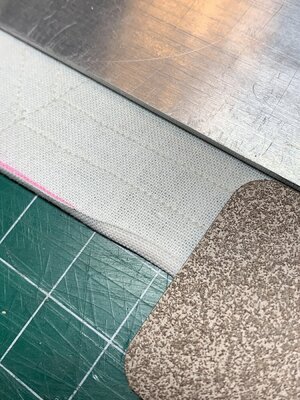
then beginning to fold this over I secure it as I go with another metal blade (back of a long sanding blade) to hold the "hem" fold which is then weighted down and allowed to set. The objective here is to have an edge that is as close in thickness as I can produce to the scale of the model and sail itself. Rolle and sewn hems are too thick and out of scale for my 1:64 schooner.
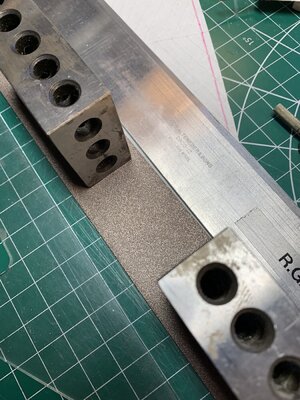
When all of the sail edges have been brought to this stage I use a cloth elastic cord from a name cord and some alligator clips to grasp and pull tension the two ends of the edge that I need to sew the bolt rope onto.
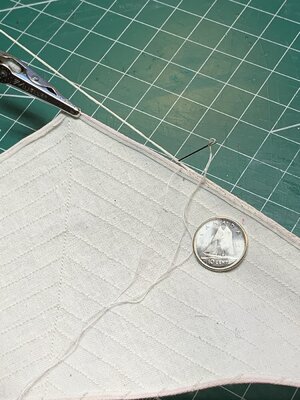
And now with my head magnifier and LED I begin to sew the bolt rope cord, through it and come back up from the underside over and over. Eyes are formed at the corners by taking care to be sure that the rotation is coordinated with the twist of the line. If it is not in the right direction the fibers in that line will open up! A small touch of CA secures my starting and ending points of the sewing. Corner blocks and links are added afterwards and then the reef lines sewn through on those double sewn cross lines. Not sure yet but I may delay the reef lines until after I moisten and set a "full sail" curvature to the sails so as to net get them messed up but hanging downwards neatly . . . or possibly blown a bit aft if the tack into the wind.
Your models and sails may likely take you on a different tack but this is how I am progressing with the BN schooner and first attempt at making sails, realizing that these are in the order of 16" x 18" in size for the main. My pier remains open for any and all suggestions or recommendations for sails of this order.
Rich (PT-2)
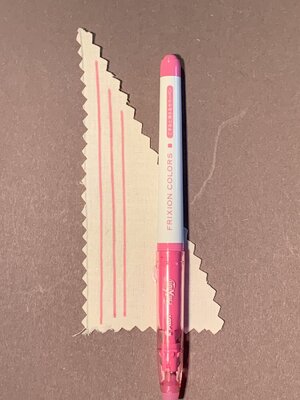 FriXion marking pen, a PIlot type, which provides a line tht is easy to see and with a warm iron totally is removed. You can see the lines and then ironed gone below the pen. It may be available in other colors but I have not checked. I wish that I had know of this before hand and highly recommend the use. Rich (PT-2)
 FriXion marking pen, a PIlot type, which provides a line tht is easy to see and with a warm iron totally is removed. You can see the lines and then ironed gone below the pen. It may be available in other colors but I have not checked. I wish that I had know of this before hand and highly recommend the use. Rich (PT-2)


