You are using an out of date browser. It may not display this or other websites correctly.
You should upgrade or use an alternative browser.
You should upgrade or use an alternative browser.
Matthew 1497 1:48 scale by Mike 41 [COMPLETED BUILD]
- Thread starter Mike41
- Start date
- Watchers 27
-
- Tags
- completed build matthew
- Joined
- Dec 1, 2016
- Messages
- 5,128
- Points
- 728

If your framing is historically correct, why do you want to cut out every top timber to make the model more like the replica? Not a problem just curious.
well good point
i am thinking the framing is still historically correct just those last top timbers can be changed and not affect the rest of the hull framing. I need to give it a little thought.
- Joined
- Dec 1, 2016
- Messages
- 5,128
- Points
- 728

all the North American ships used southern yellow pine for decking. i was reading letters from the naval yards when the first frigated were being built and they all called for southern yellow pine for decking and live Oak for the frame floors
- Joined
- Aug 10, 2017
- Messages
- 1,646
- Points
- 538

- Joined
- Aug 10, 2017
- Messages
- 1,646
- Points
- 538

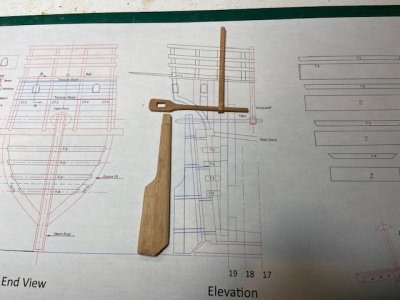
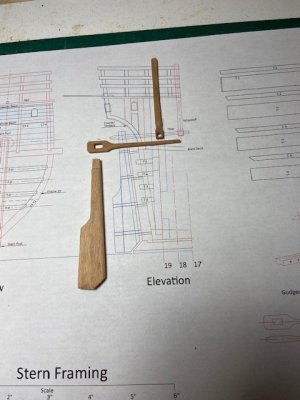
Whipstaff
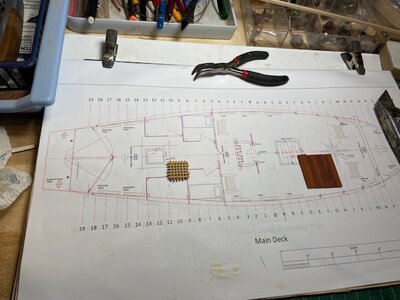
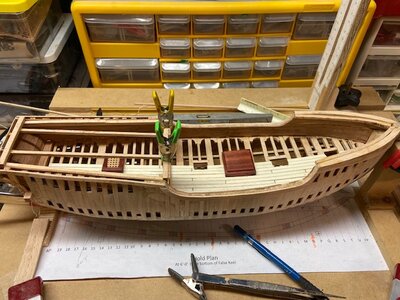
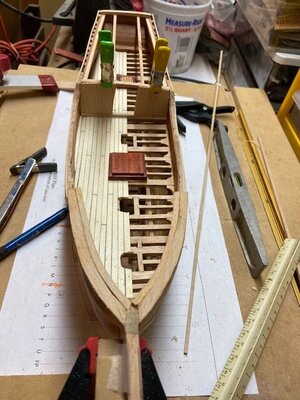
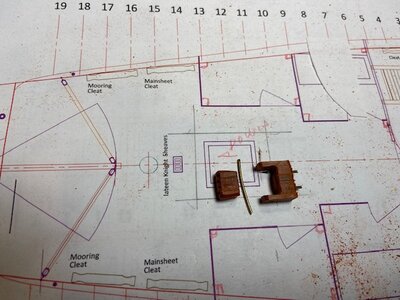
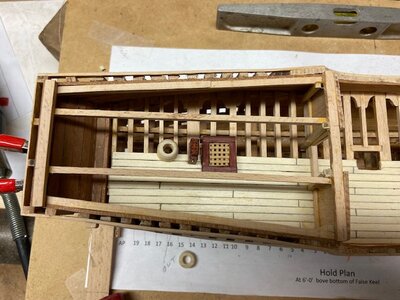
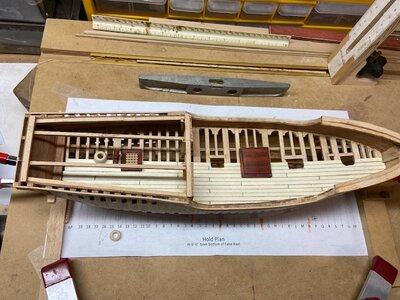
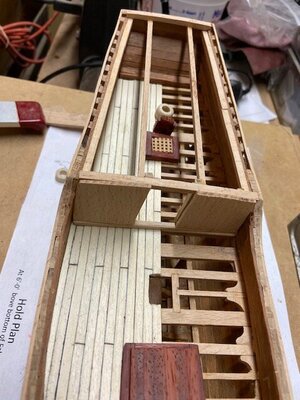
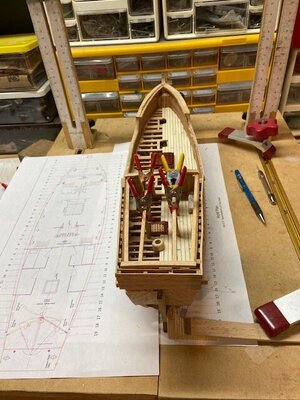
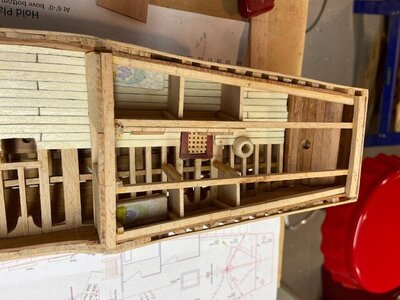
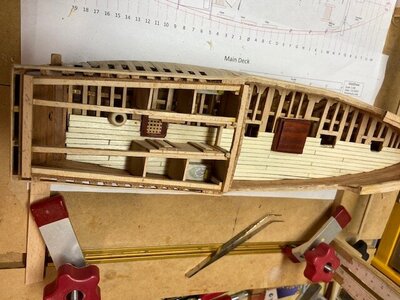
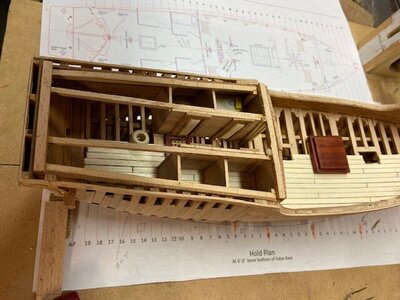
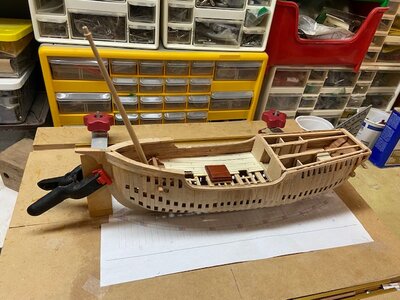
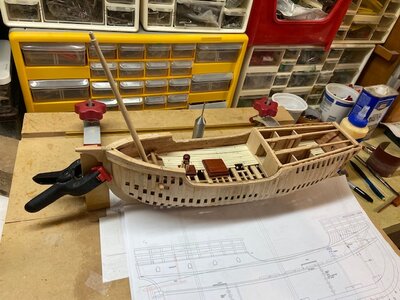
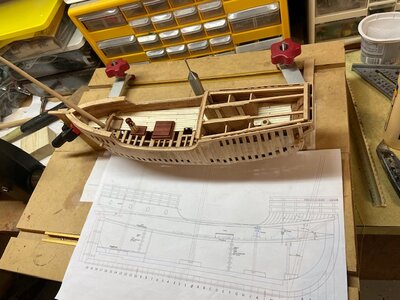
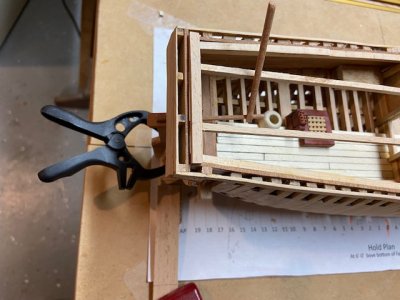
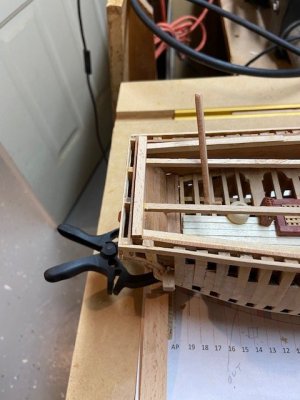
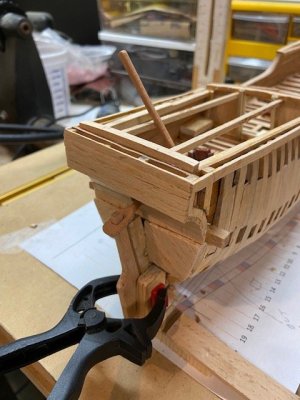
The helmsman uses a whipstaff for steering on this type of vessel. I decided to make one to see if it will fit between the deck beams in the correct location. I do not want to install the rudder until the exterior planking is finished so it is currently held to the stern post with a clamp. I located the whipstaff temporalty in position and removed it to work on the cabins and storage rooms.
Progress photos.


GREAT DETAIL MIKE, ARE THESE KIND OF DETAILS GOING TO BE PART OF KIT OR CAN WE ORDER SEPERATLY. GOD BLESS STA SAFE YOU AND YOURS DON
- Joined
- Aug 10, 2017
- Messages
- 1,646
- Points
- 538

Hi Don, the parts will be laser cut, you will need to sand the edges of some of the parts, but it is easy to do with a small drum in a Dremel tool. I made the rudder, tiller and whipstaff from scratch in a couple of hours.
BEAUTIFUL WORK MIKE GREAT CRAFTMANSHIP A BEAUTY. GOD BLESS STAY SAFE YOU AND YOURS DON
- Joined
- Aug 10, 2017
- Messages
- 1,646
- Points
- 538

Bitt Beam
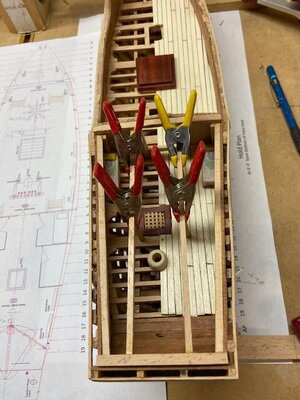
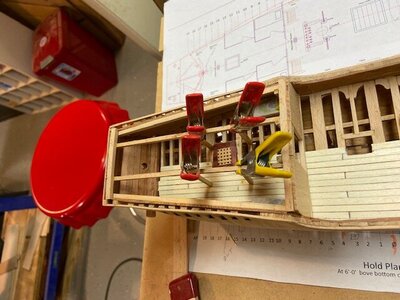
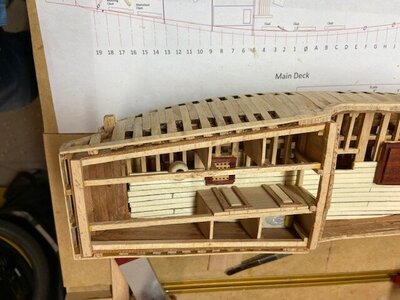
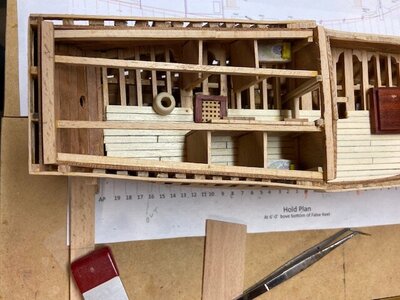
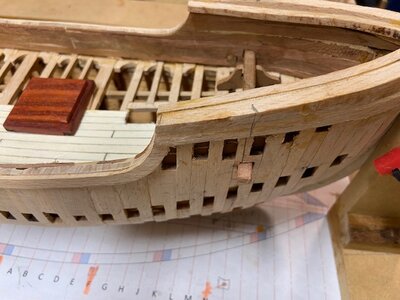
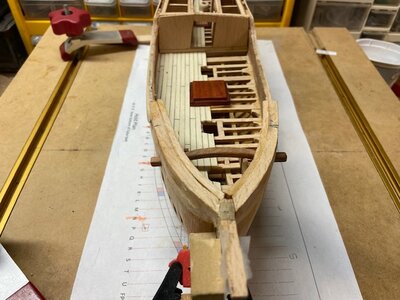
I was getting tired of the back of the boat thought I would try something on the pointy end. There is a Bitt beam that will be located under the fore castle deck this would be a good time to look at it.
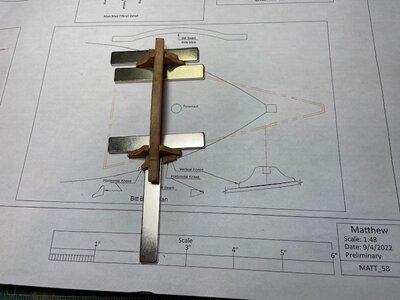
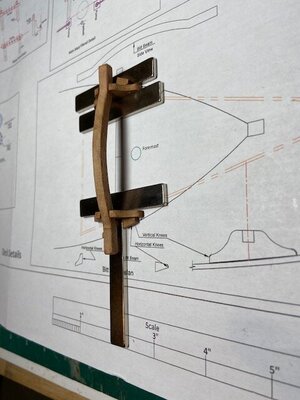
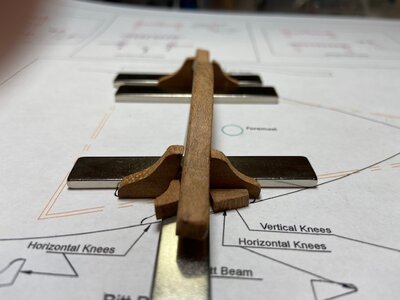
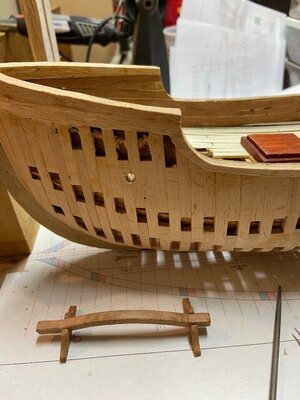
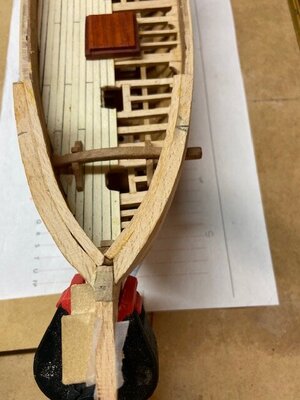
The beam assembly consists of nine pieces, two vertical knee supports, four horizontal knees and the beam. The beam penetrates hull on the port and starboard sides. I used Myrtle wood for all the parts to make it stand out from the Beachwood.
This is a few photos of the process showing the parts and how they are assembled. I tried out my new magnets that Dave recommended, they are a lot stronger than my old ones a little too strong for what I used them for.
None of the parts are glued, this is a dry run.


WHAT IS MYRTEL WOOD I LIKE THE COLOR DAVE S DO YOU HAVE THIS WOOD, IF NOT WHERE DID YOU GET IT MIKE. GOD BLESS STAY SAFE YOU AND YOURS DON
- Joined
- Aug 10, 2017
- Messages
- 1,646
- Points
- 538

Hi Don, Myrtle trees are common in South Carolina, I have three small ones in my yard. About three or four years ago a hurricane came through here and knocked down a lot of trees, people used chain saws to cut them up placed them at the curb so the city would pick them up. I happen to see a chunk of Myrtle about 18” diameter 24” long that wanted to come home with me. I used a chain saw to cut it into billets panted the ends and let them dry for three years. When I cut some small boards and ran them through my planner they shattered, something about the grain makes it hard to plane. I must run the boards thru my surface sander, and they work great.
Dave can probably get some for you, you can search the web for myrtle wood for sale, there is a lot of places that sell it.
Dave can probably get some for you, you can search the web for myrtle wood for sale, there is a lot of places that sell it.
- Joined
- Aug 10, 2017
- Messages
- 1,646
- Points
- 538

Bitt Beam Continued
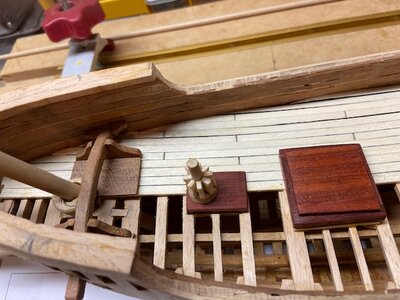
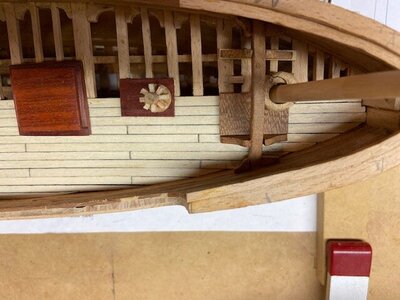
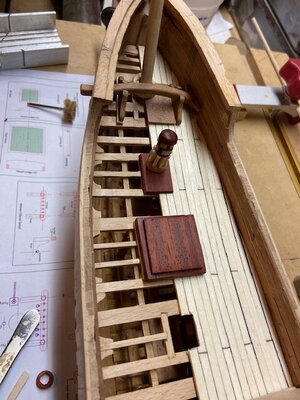
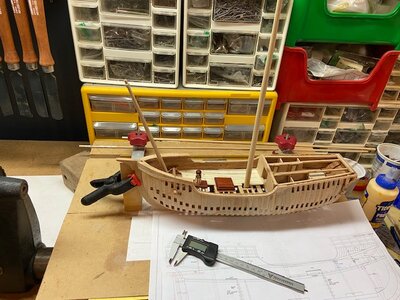
I added a baseplate for the foremast coat, The foremast sets at a vertical 79-degree angle from the keel, using an angle vise to hold a one-inch square block at eleven degrees I drilled a ¼” starter hole and finished with a 3/8”. Using a 60-degree ellipse template marked the outside of the mast coat, using the band saw rough cut the outer shape and finished sanded it. I used a 5/16” dowel to turn the foremast. The capstan will be next.
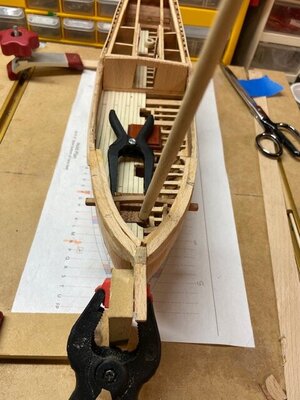


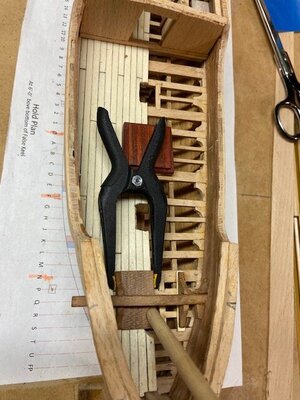
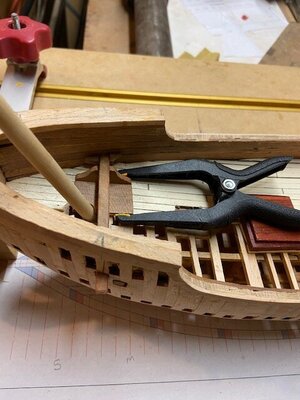
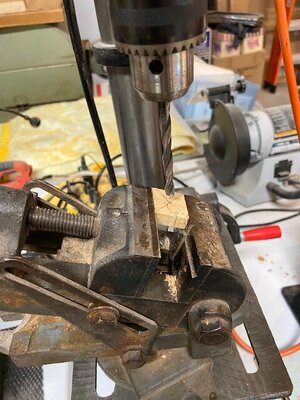
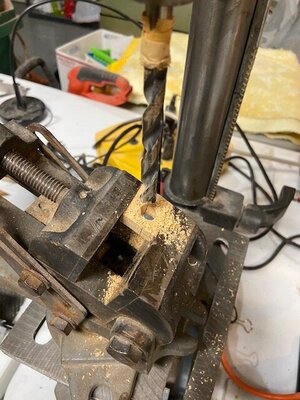
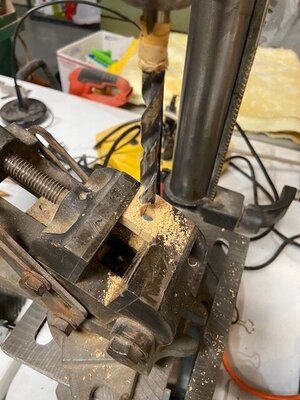
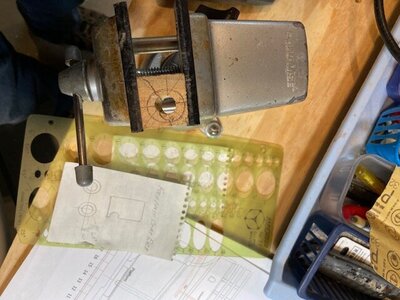
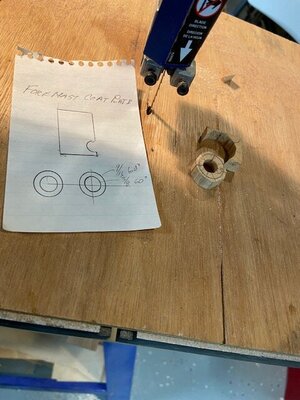
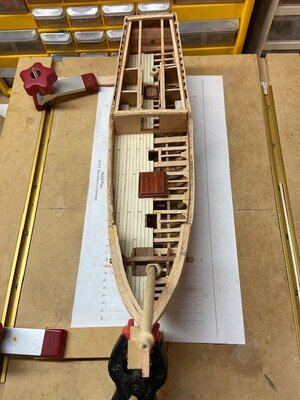
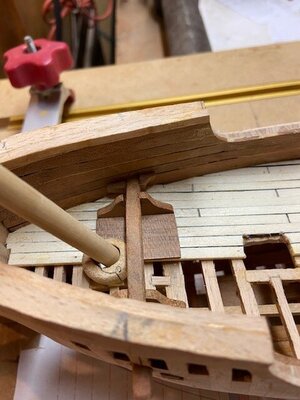
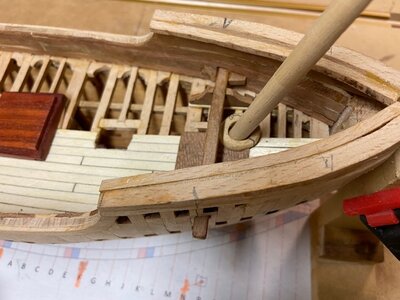
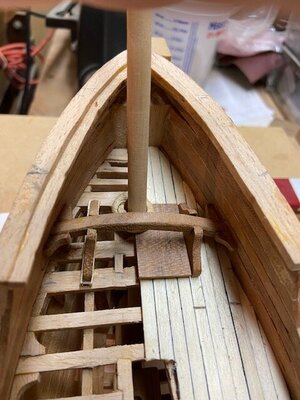
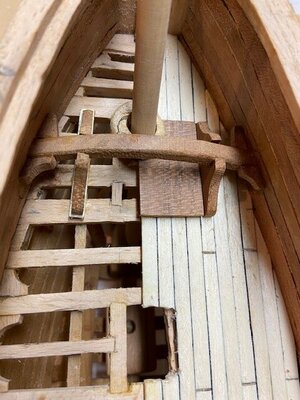
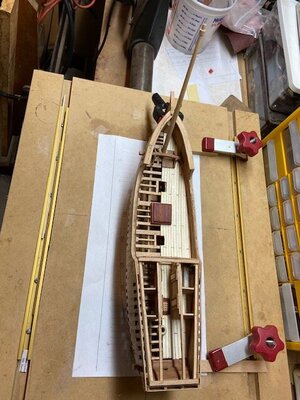
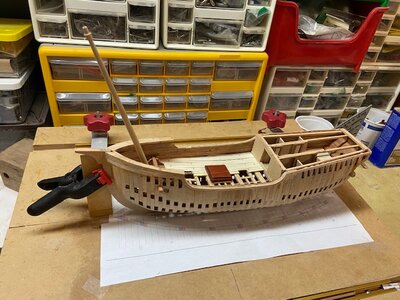
I added a baseplate for the foremast coat, The foremast sets at a vertical 79-degree angle from the keel, using an angle vise to hold a one-inch square block at eleven degrees I drilled a ¼” starter hole and finished with a 3/8”. Using a 60-degree ellipse template marked the outside of the mast coat, using the band saw rough cut the outer shape and finished sanded it. I used a 5/16” dowel to turn the foremast. The capstan will be next.


- Joined
- Dec 1, 2016
- Messages
- 5,128
- Points
- 728

nice work Mike
right now i am on hold waiting for the laser parts for the deck beams and parts. By now i could have made my own parts but the point is to check the laser cutting for a kit.
right now i am on hold waiting for the laser parts for the deck beams and parts. By now i could have made my own parts but the point is to check the laser cutting for a kit.
- Joined
- Aug 10, 2017
- Messages
- 1,646
- Points
- 538

Kurt Konrath
Kurt Konrath
Looks like getting the beam thru both sides of the hull and on top of supports was a tricky task.
Wood contrast looks outstanding.
Wood contrast looks outstanding.
- Joined
- Aug 10, 2017
- Messages
- 1,646
- Points
- 538

Thanks Kurt, I made the holes in the hull the correct size to pass the beam through, but when I got to the hump it stuck. I filed out the starboard hole enough to get the hump through then add a small shim to level the beam. The gap will be covered by the planking and a small reinforcing plate. Once the beam is in place the vertical knees lying flat will slide under the beam, rolled up vertical and moved in placed. When they are secured, the horizontal knees can be glued in, and she is ready to paint.
- Joined
- Aug 10, 2017
- Messages
- 1,646
- Points
- 538

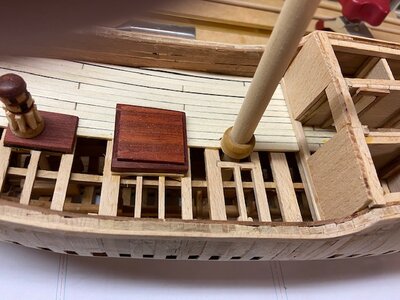
Main Mast Coat
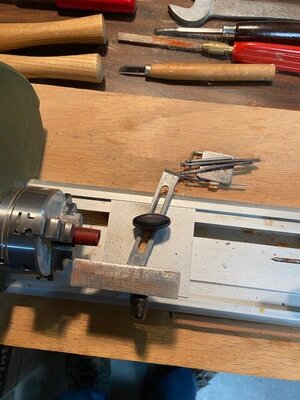
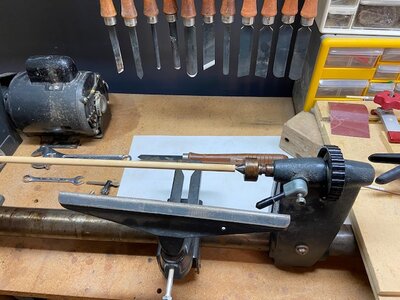
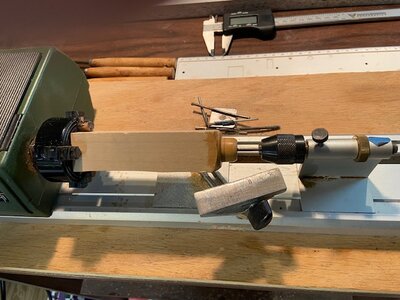
The main mast was too long to fit in my Proxxon lathe, I dusted off my old Craftsman I bought in 1972 and turned the mast. The lathe shows a little wear and tear but still works fine. I did not have a dowel rod with a large enough diameter, so I used a block of boxwood in the Proxxon.
Progress photos


