Mercedes WW I Aero Engine (Model Airways - 1:16) [COMPLETED BUILD]

Joined
Aug 1, 2020
Messages
727
Points
298

20221111

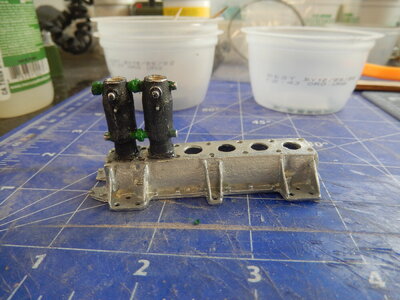
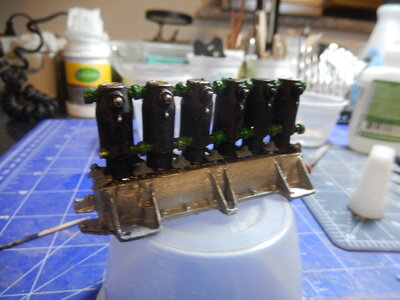
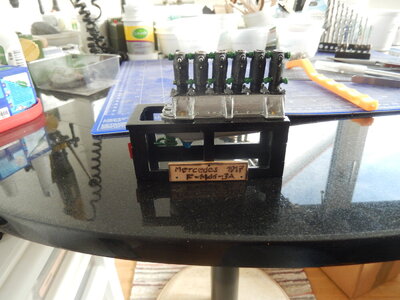
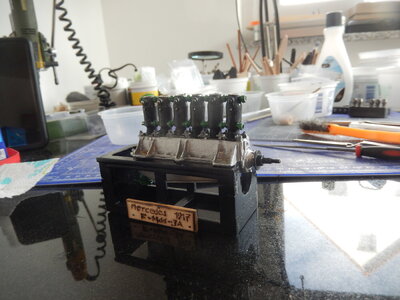
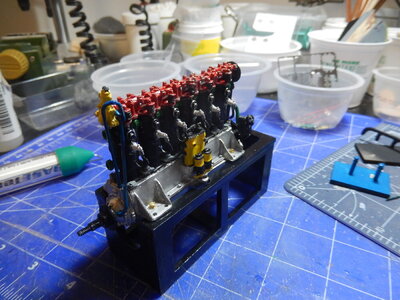
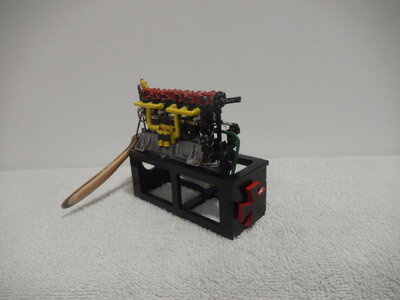
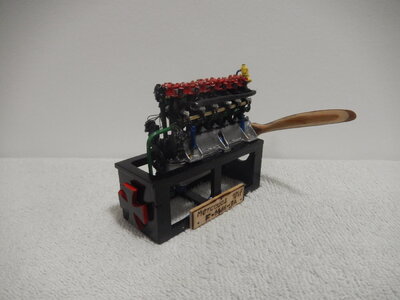
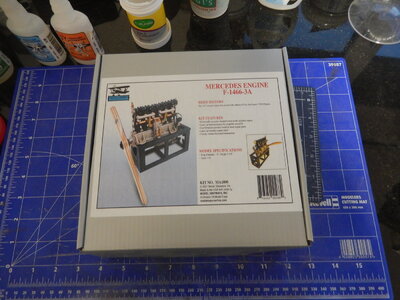
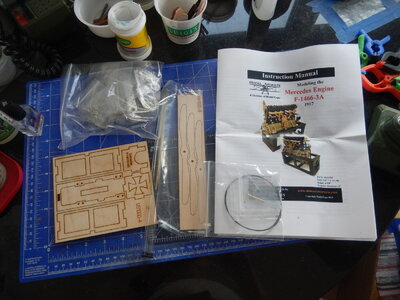
Started work on the 3rd of the Model Airways WW I aero engines – the Mercedes 1917 F-1466-3A; a 6-cylinder in-line used on the Albatross.

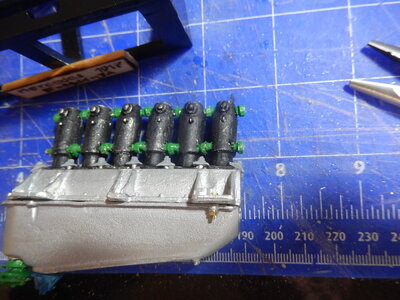
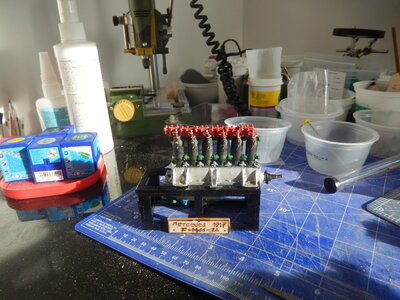
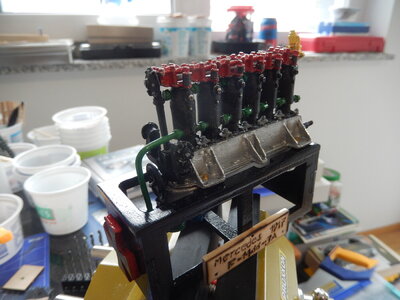
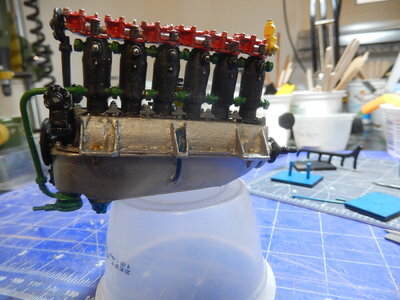
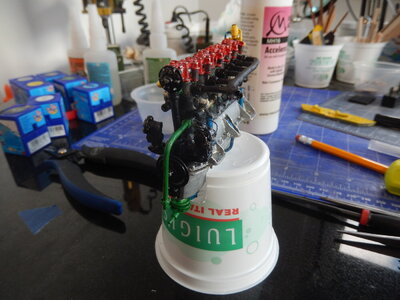
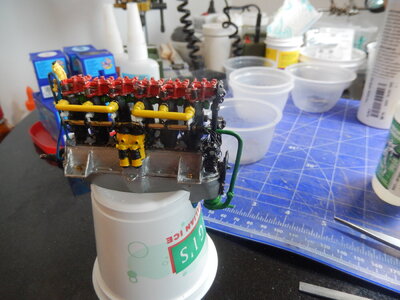
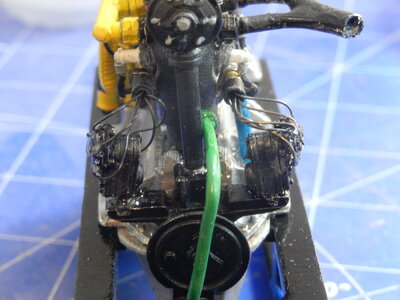
Work actually began a couple of weeks ago but along with being sporadic I’ve been taking my time to paint the model as I go. I decided that I would build the model as a ‘teaching’ engine so the various major components are being painted in colors: oil system blue, water (coolant) system green, cylinders black, rocker bases/arms red, engine block/crankcase in silver (didn’t have any aluminum-colored paint in my stock), carburetor/intake system bronze. I also decided to paint the engine stand black.

Getting all the parts to fit properly has meant lots of file work. To paraphrase something I saw about Rolls-Royce back in the 1930s-40s - 'file it until it fits'.

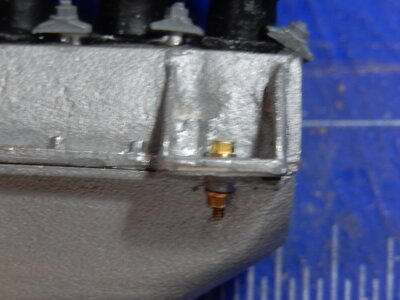
The engine block/crankcase is in two parts that are held together by 00-90 bolts/washers/nuts. Very small threaded hardware; I used my locking tweezers as wrenches to tighten everything up. After I had the first two bolts in I thought (very briefly) that I maybe I should have tried to recreate the gasket that is between the two halves. It was just a thought that I tossed out. Once I had all the bolts in place and tightened, I added a drop of CA on the bolt of each one to keep them in place.

With the engine now sitting on the stand, work will turn to ancillary components – carburetor, air intake, rocker bases/arms, transmission, remaining parts of the coolant system, spark plugs…still a long list before getting to the propeller.
DSCN8736.JPGDSCN8721.JPGDSCN8737.JPGDSCN8738.JPGDSCN8741.JPGDSCN8742.JPGDSCN8743.JPGDSCN8744.JPGDSCN8745.JPG
 
Seems that you like these type of kits very much - after f.e. your Oberursel..... I agree - they are highly interesting
I will follow with big interest
 
Seems that you like these type of kits very much - after f.e. your Oberursel..... I agree - they are highly interesting
I will follow with big interest
Mechanical 'things' have always been an interest so these kits intrigued me when I saw them. As I'm moving back to the US mid-next year, smaller models will be easier to pack & ship. The kit I'm looking forward to in future is a big one - USS Constitution; it will wait until the wife & I figure out where our retirement home will be. In the meantime, I have another small boat (pinnace) and a couple of plastic airplane models (Spitfire & Dauntless) to work on - I hope to get one done before I have to pack everything up for the move.
 
20221120

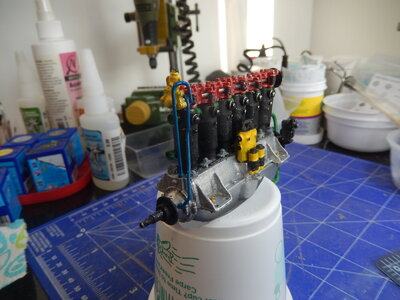
Installed the rocker bases/arms on the cylinder tops. The springs on the rocker arms were made from 28-gauge steel wire wrapped around a 5/64-in (2 mm) drill bit and then cut to the appropriate length. The camshaft is an aluminum rod that fits through the rocker assemblies and is connected to the air pump (engine front) and transmission column (engine rear). The water line from the pump to the upper connection on the rear cylinder and the oil lines at the front of the engine were formed from the supplied brass rods.

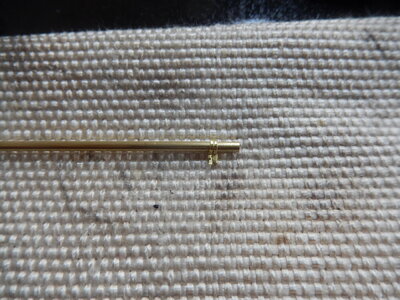
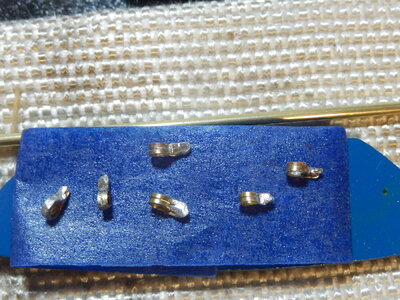
The retaining attachments that hold the park plug wire support tubes to the engine cylinders are supposed to be made from 1/16-in (1.6 mm) flat brass strip. The flat brass strip supplied with the kit is half that width (1/32-in; 0.8 mm) and the first retaining attachment formed looked out-of-scale (too narrow). Knowing how long (due to the distance and vagaries of the mail) it would take to get the correct material from Model Expo I dug around in my collection of leftovers to see what might be suitable. I had a length of flat brass the same size (length/width/thickness) as was in the kit and one that was too wide. I decided to use the two thin strips to form the retaining attachments by cutting appropriate lengths of the material and then soldering them edge-to-edge to form wider pieces. A little sizing work with the file and the first 6 retaining attachments are completed and ready for painting. Still have 6 retainers to go; something to do tomorrow evening (along with painting the sparkplugs).

There are still parts to assemble to the cylinders (spark plugs, support tubes, intake & exhaust manifolds, spark plug wires) and the propeller to carve. The propeller nut was missing from the bag of parts so I picked up a small M3 nut from the hardware store; it fits the treads on the end of the propeller shaft and is about the right dimensions overall (if necessary, the file is ready to be used).

I expect to have the engine completed next weekend.

DSCN8746.JPGDSCN8749.JPGDSCN8751.JPGDSCN8752.JPGDSCN8753.JPGDSCN8756.JPG
 
20221126

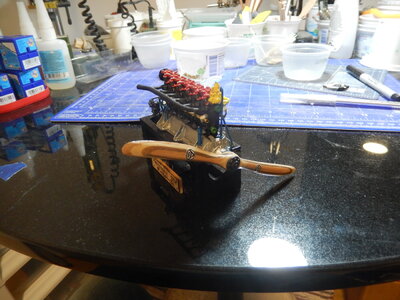
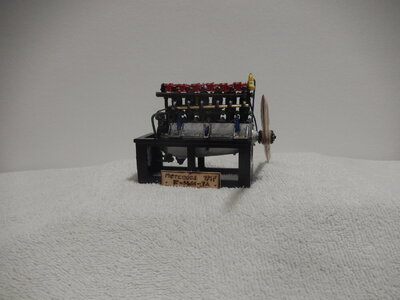
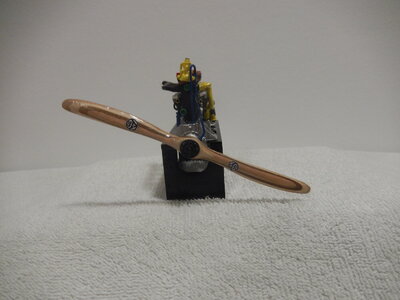
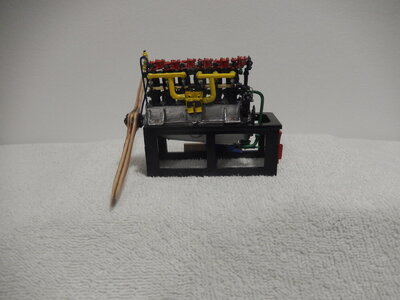
Engine complete.

Nice addition to the other WW I aero engines.

The details were interesting and the minor difficulties encountered (things not, initially, fitting quite right; dropped small part; CA not working quite right at times) just made the work more interesting. The exhaust manifold needed to be coaxed into place and, along with one of the magnetos, glued in place using epoxy in place of CA. One of the spark plugs fell off while I was coaxing the exhaust manifold into place. I searched all over but was unable to locate it (it is only about 4 mm in length) so I fashioned one out of a small from a round toothpick. The next day I found, without looking for it, the missing spark plug.

DSCN8757.JPG

DSCN8762.JPG

DSCN8763.JPG

DSCN8768.JPG

DSCN8769.JPG

DSCN8770.JPG

DSCN8771.JPG

DSCN8772.JPG

DSCN8774.JPG

DSCN8775.JPG
 
My Congratulations
a very fast project - well done
 
Mechanical 'things' have always been an interest so these kits intrigued me when I saw them. As I'm moving back to the US mid-next year, smaller models will be easier to pack & ship. The kit I'm looking forward to in future is a big one - USS Constitution; it will wait until the wife & I figure out where our retirement home will be. In the meantime, I have another small boat (pinnace) and a couple of plastic airplane models (Spitfire & Dauntless) to work on - I hope to get one done before I have to pack everything up for the move.

Where in the US do you plan to move back to, retiring from job in Germany?
 
20221111

Started work on the 3rd of the Model Airways WW I aero engines – the Mercedes 1917 F-1466-3A; a 6-cylinder in-line used on the Albatross.

Work actually began a couple of weeks ago but along with being sporadic I’ve been taking my time to paint the model as I go. I decided that I would build the model as a ‘teaching’ engine so the various major components are being painted in colors: oil system blue, water (coolant) system green, cylinders black, rocker bases/arms red, engine block/crankcase in silver (didn’t have any aluminum-colored paint in my stock), carburetor/intake system bronze. I also decided to paint the engine stand black.

Getting all the parts to fit properly has meant lots of file work. To paraphrase something I saw about Rolls-Royce back in the 1930s-40s - 'file it until it fits'.

The engine block/crankcase is in two parts that are held together by 00-90 bolts/washers/nuts. Very small threaded hardware; I used my locking tweezers as wrenches to tighten everything up. After I had the first two bolts in I thought (very briefly) that I maybe I should have tried to recreate the gasket that is between the two halves. It was just a thought that I tossed out. Once I had all the bolts in place and tightened, I added a drop of CA on the bolt of each one to keep them in place.

With the engine now sitting on the stand, work will turn to ancillary components – carburetor, air intake, rocker bases/arms, transmission, remaining parts of the coolant system, spark plugs…still a long list before getting to the propeller.
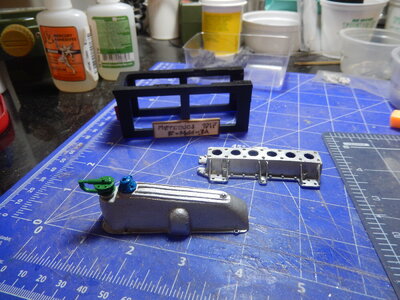
View attachment 339935View attachment 339936View attachment 339937View attachment 339938View attachment 339939View attachment 339940View attachment 339941View attachment 339942View attachment 339943
Hallo @JohnR
we wish you all the BEST and a HAPPY BIRTHDAY
Birthday-Cake
 
Back
Top