• Win a Free Custom Engraved Brass Coin!!!
    As a way to introduce our brass coins to the community, we will raffle off a free coin during the month of August. Follow link ABOVE for instructions for entering.

Midwest Muscongus Bay Lobster Smack - Completed Build

Joined
Jan 11, 2025
Messages
82
Points
88

Location
Lexington, KY
I started my third build at the end of April and although it has been completed, I decided to go ahead and create this build log. Previously I built the Model Shipways Lowell Grand Banks Dory, and the Norwegian Sailing Pram. Due to my error when ordering this kit to complete the three-boat series, I got the Midwest version of the Lobster Smack. The construction of this kit is different than the Model Shipways version, the biggest difference being the planking of the hull. I'll discuss that later. The end product (boat) appears basically the same.

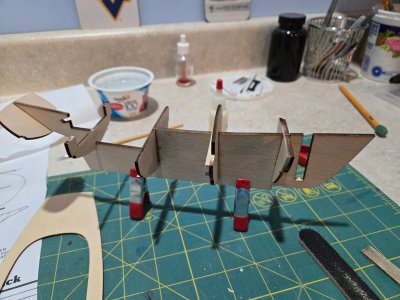
Here is your basic frames glued to the keel. This model only has four frames and the transom compared to I believe nine frames on the MS version.
20250423_144314.jpg

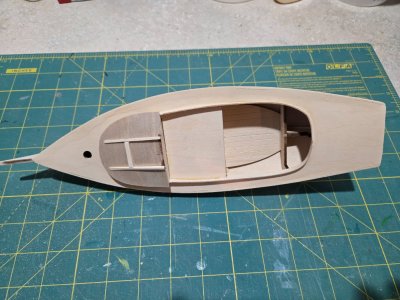
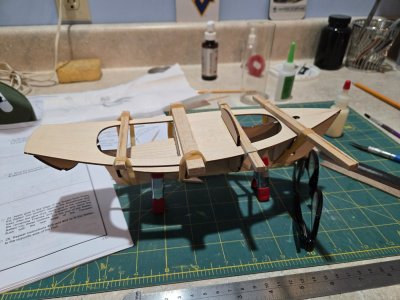
Added the cockpit floor and the deck. Notice I put grooves on the cockpit floor based on idea from Olha Batchvarov who has done a video series on this kit.
20250423_185937.jpg

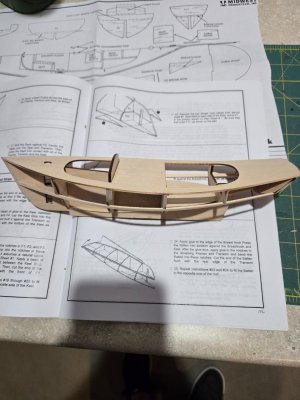
Added battens to the sides. There will be two planks on each side, one above and one below the batten. The MS version uses nine planks each side which is more traditional.
20250425_160105.jpg a

More to come...
 
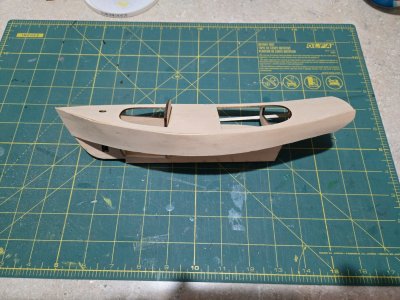
Here I have attached the top plank on the port side of the boat. It overlaps both the deck and the batten. I did not have any good clamps to hold it in place so I did it by hand. I took the boat into the next room and listened to music for about a half hour while I squeezed the parts together until my thumbs cramped. It held together. After allowing some additional drying time, I used an Exacto blade to trim the plank along the deck and along the batten.

20250426_162720.jpg

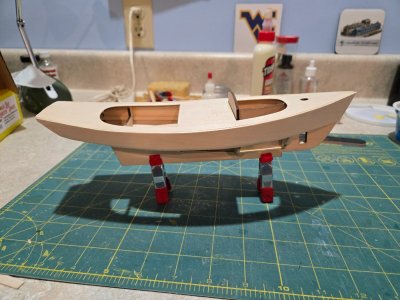
Here is the second side after trimming.
20250502_194628.jpg

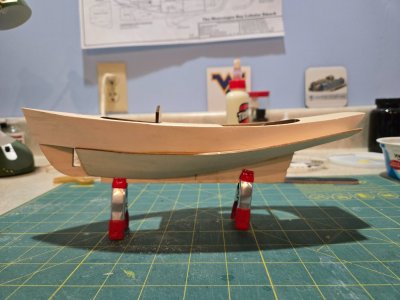
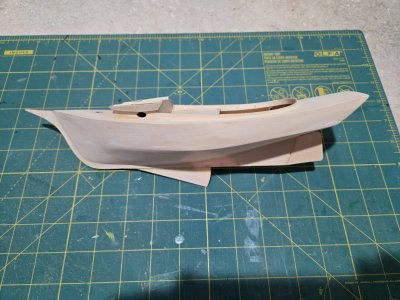
After trimming the bottom edge of the top plank, I had to fair the bottom edge to match the angle of the bottom of the frames. I then attached the bottom plank using the "listen to music for half hour while hands cramp" method. Notice how it overlaps the top plank and looks kind of ugly. The front of the bow will receive a balsa block to be carved to shape.
20250502_194649.jpg

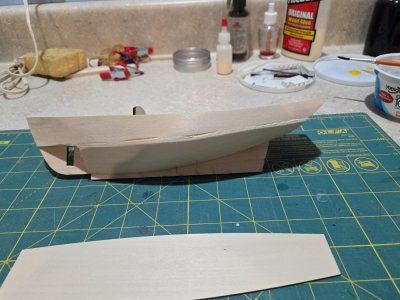
Here is what the joint between the two planks look like after some sanding. Also notice the bottom plank for the other side waiting to be installed.
20250503_105053.jpg
 
I like this kit and have built two of them. Great care will be needed fairing the two planks into a smooth curve. It can be done, but the hull will be very thin in places.
 
I didn't have too much of a problem. I did have to use some wood filler but after painting it looks pretty good. This is a completed build so I'll be showing more pictures in a while.
 
I didn't have too much of a problem. I did have to use some wood filler but after painting it looks pretty good. This is a completed build so I'll be showing more pictures in a while.
;) Guess I should have paid closer attention to the title of the thread
 
After completing the planking, I added the balsa blocks in the bow, whittled them to shape and sanded the hull. I also added the coming around the cockpit area, added the cabin roof and hatch frames. I then attached the cutwater, center board, and rudder pieces to the keel.
20250510_145313.jpg20250510_145326.jpg
 
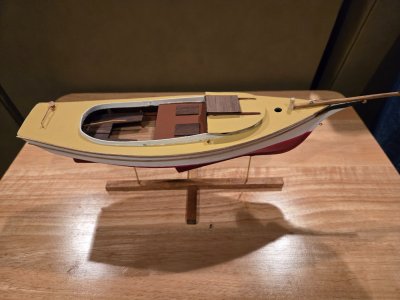
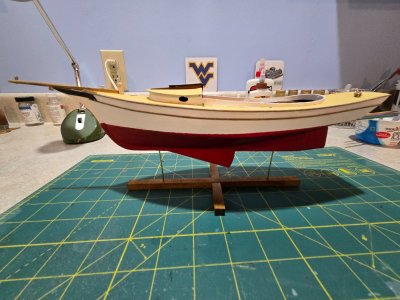
I primed and painted the boat and built the stand for it. Also, I attached the bowsprit and samson post along with the hatches and various hardware elements. The seat and supports were not assembled per instructions. Instead I glued the two seat halves together, and then built the supports on the bottom of the seats. That made inserting the seats into the cockpit a little tricky. I had to find just the right angle to squeeze them in.

20250516_161013.jpg

If I had had the proper painting tape, the waterline would have been a little crisper. Maybe I'll fix that later.
20250516_163001.jpg
 
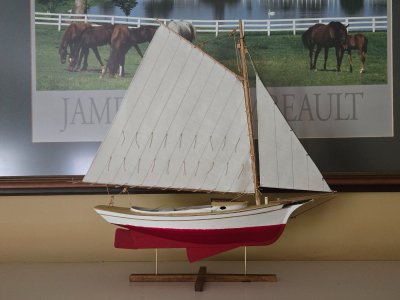
Finally, I shaped the mast, boom, and gaff. I installed all of the blocks, cleats, and other hardware. The sails were made by stretching the sailcloth and painting diluted white glue on them. I learned lessons from the Norwegian Sailing Pram to not do it on a cookie sheet, and not to allow the glue to puddle. The pram's sail had a rust spot on it and shiny places where the glue puddled. Once dry, the pattern was traced onto the cloth along with the seam lines with a pencil. After cutting out sail, the reef lines were added on each side with a drop of glue. Finally all of the rigging of the main sail and the jib sail was done.

Now the Lobster Smack is sitting proudly on my mantle over the fireplace. Will probably get a shelf for all three boats, Dory, Pram, and Smack to be displayed on.

My next project is the Occre Albatros kit which I have just started. I will try to do a better build log for that project.
20250520_105813.jpg
 
Back
Top