- Home
- Forums
- Ships of Scale Build Logs
- Super Detailing Static Models / Other Genres
- Historical Trailways, Guns, Aircraft, and Cars
You are using an out of date browser. It may not display this or other websites correctly.
You should upgrade or use an alternative browser.
You should upgrade or use an alternative browser.
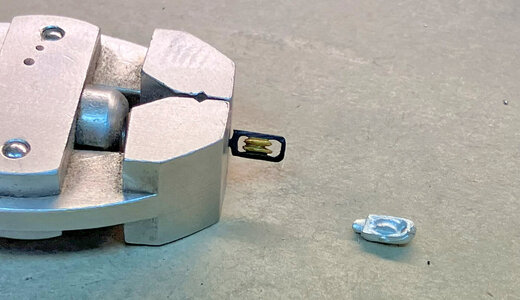
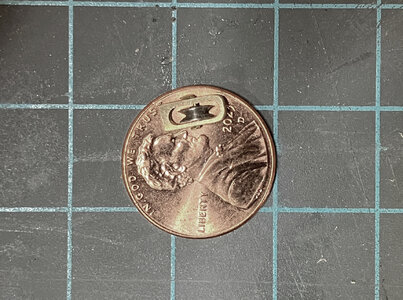
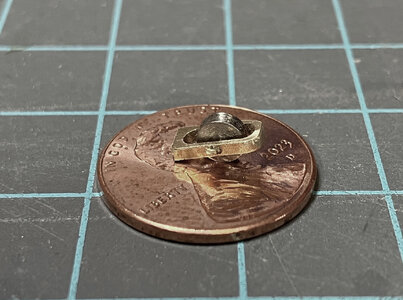
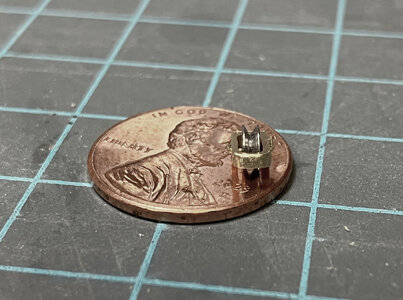
I decided to abandon the "fake" pulleys - so - I decided to make my own, but a working pulley. Brass and Steel.
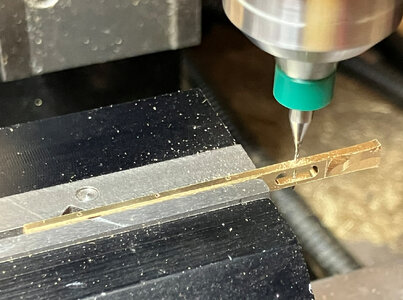
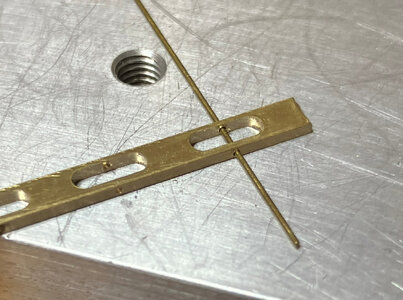
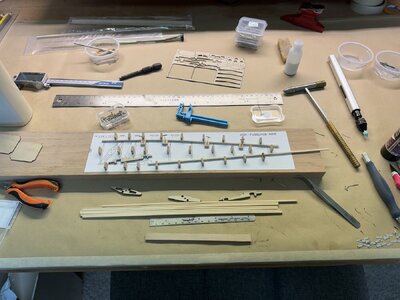
I realized that unfortunately, I did not take a photo of the Mill and End Mill (2mm) cutting out the slots. The slots are 4 x 2mm and the holes for the pulley shaft is about .3mm
I used a jeweler's saw to separate them.
I realized that unfortunately, I did not take a photo of the Mill and End Mill (2mm) cutting out the slots. The slots are 4 x 2mm and the holes for the pulley shaft is about .3mm
I used a jeweler's saw to separate them.
Thank you all for the likes - greatly appreciated !!
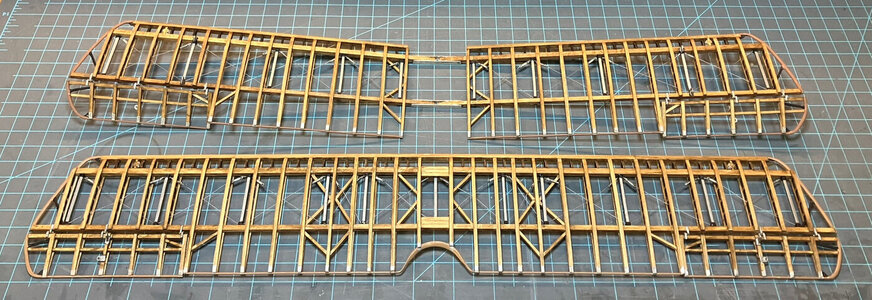
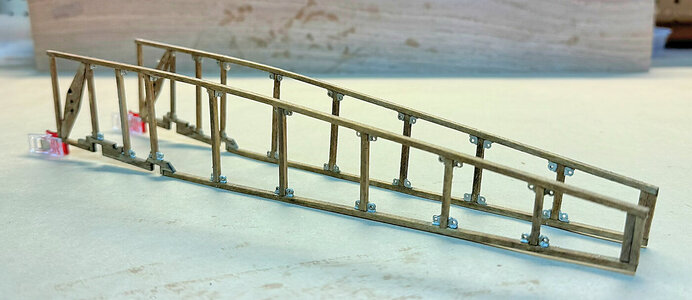
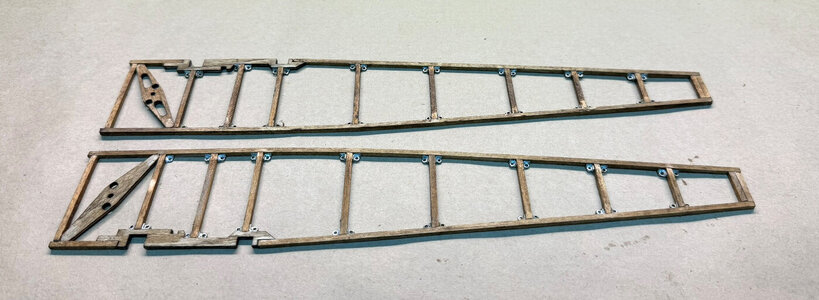
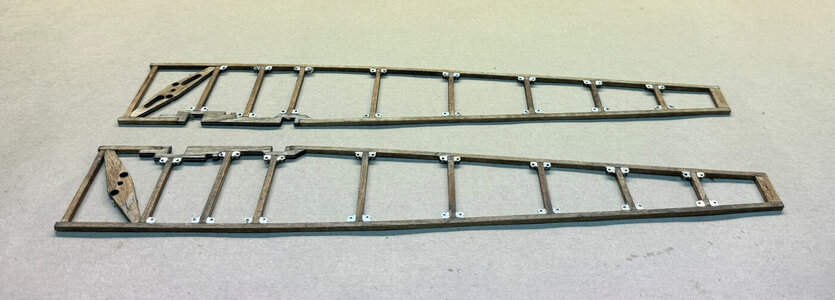
Well, it was time to install the compression bars - HA - I am missing two - the ones that go on the ends of the wings. I turned my shop almost upside down and could not find them. I emptied my shopvac, vacuum cleaner, and trash bucket in the shop.
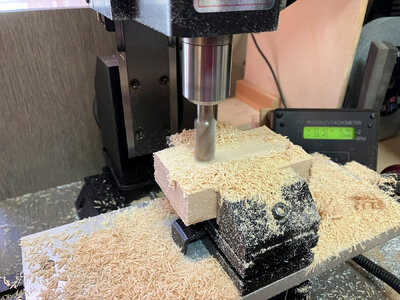
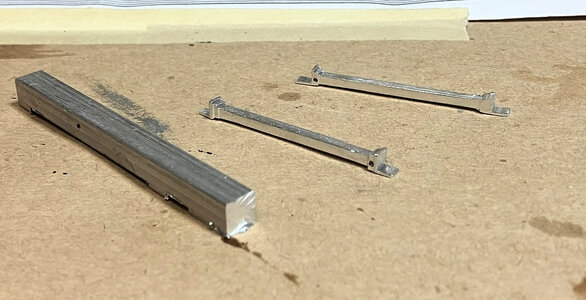
I think that I just thought I had the right number of bars, but the more I thought about it, I thought I was just missing them from the box (missing parts). SIGH - so, instead of ordering two of them from M.E. - I just decided to go ahead and try to make them using my Mill and some 6mm square aluminum. Well, aluminum comes in various grades and apparently, the grade I have is not the best as it 'tears' and splinters - not the best stuff - well, it's all I had so here we go.
I wanted to take a video of the process and even got my tripod and cam set up - but between trying to make these things with very few measurements, and trying to get the Cam to work right with a good angle - I ditched the video - so you all will have to just take my word for it that I made them. It was about an hour for each one. They are crude - but they work and they fit like they are supposed to. Next paint them and install the turnbuckles and hopefully no one will know !!!
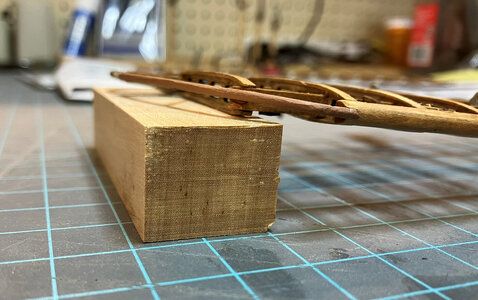
The raw stock aluminum is shown.


Also without ‘the proof’, you made some nice tiny parts, Donnie. My respect for your milling skills.Thank you all for the likes - greatly appreciated !!
Well, it was time to install the compression bars - HA - I am missing two - the ones that go on the ends of the wings. I turned my shop almost upside down and could not find them. I emptied my shopvac, vacuum cleaner, and trash bucket in the shop.
I think that I just thought I had the right number of bars, but the more I thought about it, I thought I was just missing them from the box (missing parts). SIGH - so, instead of ordering two of them from M.E. - I just decided to go ahead and try to make them using my Mill and some 6mm square aluminum. Well, aluminum comes in various grades and apparently, the grade I have is not the best as it 'tears' and splinters - not the best stuff - well, it's all I had so here we go.
I wanted to take a video of the process and even got my tripod and cam set up - but between trying to make these things with very few measurements, and trying to get the Cam to work right with a good angle - I ditched the video - so you all will have to just take my word for it that I made them. It was about an hour for each one. They are crude - but they work and they fit like they are supposed to. Next paint them and install the turnbuckles and hopefully no one will know !!!
The raw stock aluminum is shown.
View attachment 430790
View attachment 430791
Regards, Peter
ARRRGGG !!!!! 
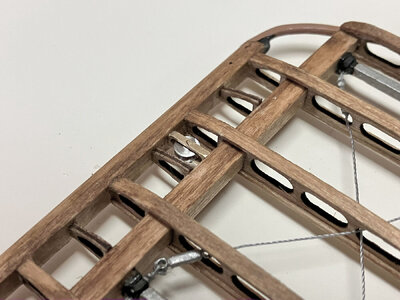
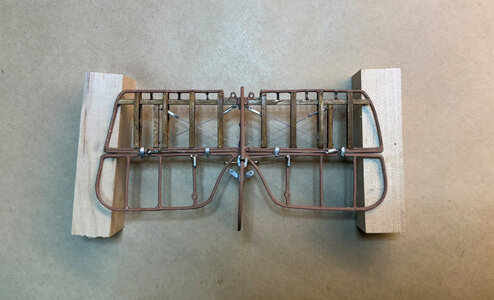
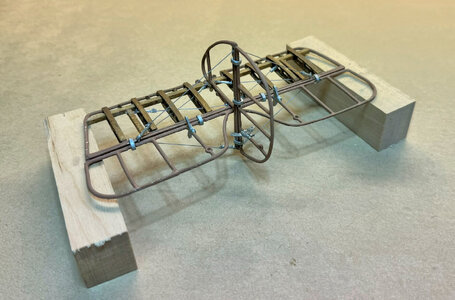
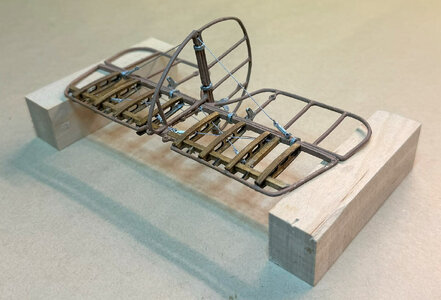
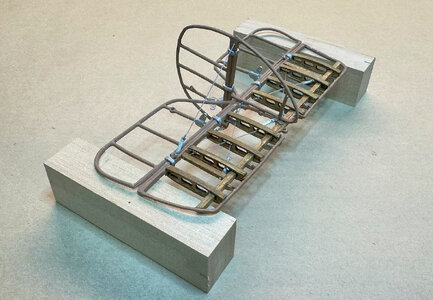
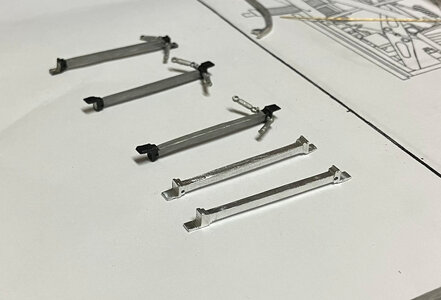
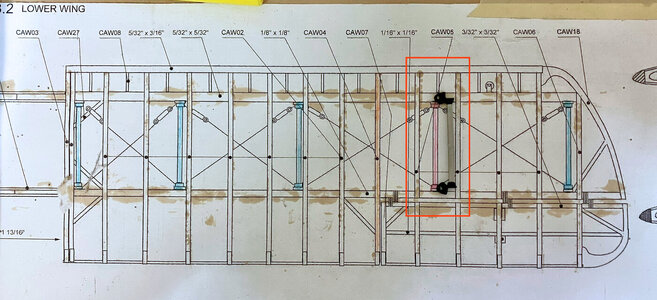
I started to install the other two compression bars that have the lower hoops in them - and then - it hit me - that I made those other compression bars in vain - oh well, I guess it was just a good experience I guess. You will see in this image that the real bars are supposed to go into the red-colored area.
Haste makes Waste as they say and I got into a hurry or was distracted I guess. It was when I started to install the CORRECT bar is when I noticed my mistake.

Wow - great metal works - well done
- Joined
- Nov 6, 2022
- Messages
- 197
- Points
- 88

I have been trying to make two door hinges for the last two weeks. One broke and one went sailing in the wind. Found one in my shoe heel sometime later. If and only if I could produce a part that was half as good as I see here between you and YT I could enjoy my time a little better. Endeavor to persevere. What the heck, salmon season has arrived, and the steelhead run is looking great. Time to see if one of my 1:1 ratio boats will cooperate.
Wow, fascinating to follow your progress.
Jan
Jan


