MODEL SHIPWAYS 18TH CENTURY LONGBOAT Build Log-1:48 SCALE

  • Thread starter Thread starter DavyJ.
  • Start date Start date
  • Watchers Watchers 9
Joined
Aug 1, 2024
Messages
15
Points
28

Location
Texas
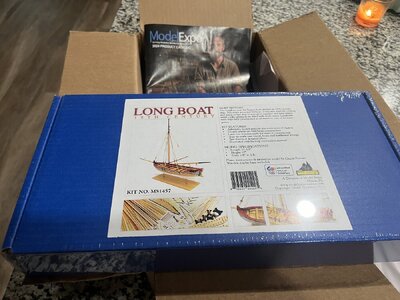
I am brand new to the world of shipbuilding. This will be my first build and log. I have basic tools and will gather supplies as I work through this project. Any advice is much appreciated. I'm beginning with an 18th-century longboat. Wish me luck!

P.S.

Huge shout out to @The Gavel for introducing me to the world of model ship building

David J.
LB7.jpg

LB4.jpg

lb12.jpg

lb11.jpg
 
Last edited by a moderator:
I have not built this model, but my advice applies to all model building. Unfortunately I don’t often follow it myself!

When you make a mistake and we all do, don’t try to fix it immediately. Put the model aside and do something else. Give yourself time to think through the problem to come to a solution.

I have seen examples of the completed model “in person.” The kit builds a handsome little vessel.

Roger
Roger,


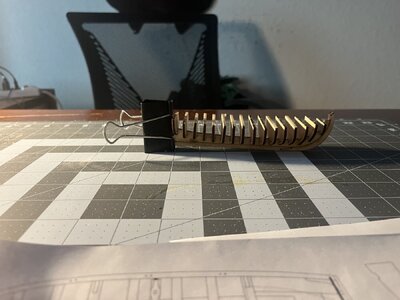
Thank you for that advice. I already had a hiccup when gluing my bulkheads. I had to pull out an X-acto knife fix my mistake. Luckily, I was able to salvage the piece.


David J.
 
Use the search function to check out others build logs or comments on the kit, review of what others had issue with and how they fixed them often save you time!

Looks like off to a good start, make sure to keep bulkheads square to centerline. Several methods out there, like measuring outside edges of bulkheads to keep space even, or use Lego blocks as mini squares to hold parts inline as glue dries. A square frame makes all the difference in smooth planning down the road.

Also check out the many help topics on home page, they offer lots of good advise.
 
I first and very good and important step to make a good model is done - you started a building log

We will try to help and assist as much as possible, necessary and requested
 
Use the search function to check out others build logs or comments on the kit, review of what others had issue with and how they fixed them often save you time!

Looks like off to a good start, make sure to keep bulkheads square to centerline. Several methods out there, like measuring outside edges of bulkheads to keep space even, or use Lego blocks as mini squares to hold parts inline as glue dries. A square frame makes all the difference in smooth planning down the road.

Also check out the many help topics on home page, they offer lots of good advise.
Kurt,

I luckily have small children and access to Legos LOL. Thank you for that tip.

David J.
 
Roger,


Thank you for that advice. I already had a hiccup when gluing my bulkheads. I had to pull out an X-acto knife fix my mistake. Luckily, I was able to salvage the piece.


David J.
Welcome David!

For pieces you glued with PVA like you have, 99% isopropanol (IPA) is your friend. Using it to break up the glue is a lot less brutal than a knife for the parts, especially surfaces you will se in the finished model. It takes some time soaking (soak the part, apply to paper towel soaked in IPA and wrap the part covered with plastic wrap, fresher glue might respond to a stream from a solvent bottle), but the glue gets gummy, lets go with some gentle wiggling and scraping of excess glue, and can be scraped off the parts cleanly for a perfect repair. I have been at it for a few years and this is a life saver. 99% isopropanol is better than 70% because less water is easier on the grain, avoids potential warping, and loosens the glue faster, but both will work.

Fixing a mistake is just another cool challenge and you always understand what you are doing better when you're done.
 
Back
Top