You are using an out of date browser. It may not display this or other websites correctly.
You should upgrade or use an alternative browser.
You should upgrade or use an alternative browser.
Very, very nice indeed.
- Joined
- Mar 27, 2019
- Messages
- 817
- Points
- 403

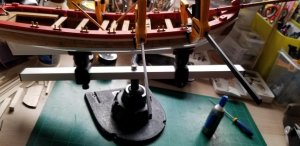
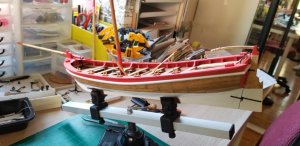
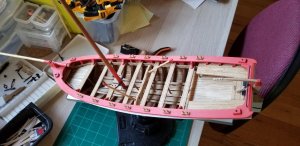
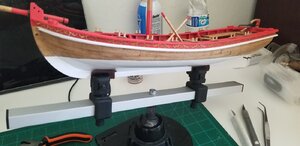
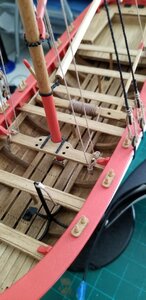
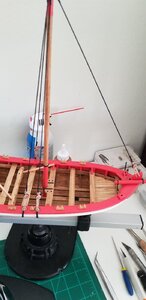
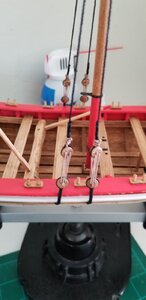
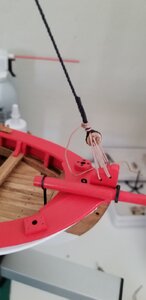
Shrouds and fore stay installed. I really like the tan rope (.63mm) from Chuck P. It looks extremely realistic but it's tough to cinch down tight. It took me the better part of two hours alternating between the four shrouds tightening a bit here then a bit there. 4 clove hitch knots finish up each deadeye.


- Joined
- Mar 27, 2019
- Messages
- 817
- Points
- 403

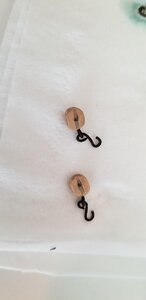
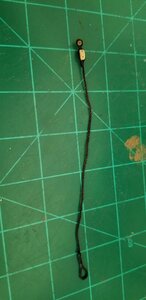
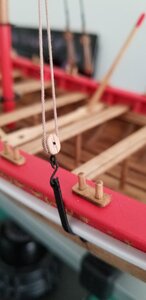
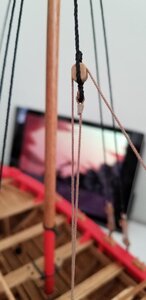
Working on the mast back stay pendants. For the anchor points down at the cap rail internally stropped blocks are best. I neglected to order the right size so I just modified the large Passaro blocks I have on hand. A hole drilled in the end to accept either an eye or a hook: back stays have eyes where the hook for the chain plate will attach. Those for the boom and gaff will have hooks. Then a hole drilled laterally and a pin inserted to simulate the iron supports running internally.


- Joined
- Mar 27, 2019
- Messages
- 817
- Points
- 403

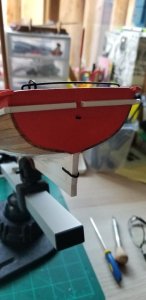
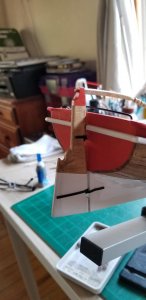
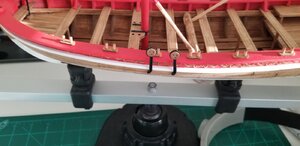
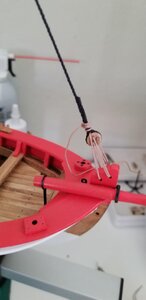
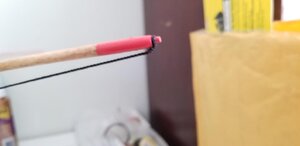
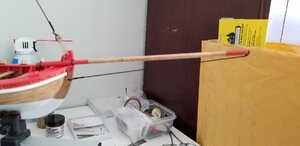
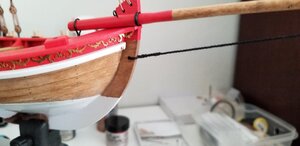
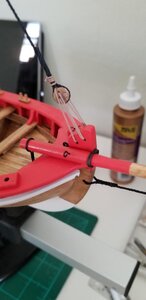
Bowsprit stay. I thought this would be a snap but as soon as I started putting tension on the line the bowsprit started retreating like a turtle's head into his shell. The bowsprit brace and post are way too delicate the way I...ahem...installed them so I needed another way to solidly anchor the bowsprit. I ended up settling on drilling a hole through the bowsprit dowel into the bow post then blackening and inserting a long eye bolt. It's not on the plans but the eye bolt will serve nicely as a fairlead for the traveler ring as the line runs back and gets secured to the bench seat.


- Joined
- Mar 27, 2019
- Messages
- 817
- Points
- 403

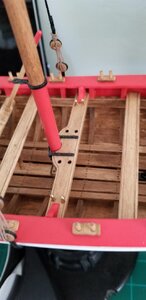
Four belaying pins in total on this boat, for the boom and gaff rigging. I'm leaving them brass. Up until now I've always painted my pins either black or brown. I did some research and:
"A belaying pin is a solid metal (brass or bronze) or wooden device used on traditionally rigged sailing vessels to secure lines of running rigging."
These are nicely formed and big and I want a little more shiny on this model. So brass it is.
"A belaying pin is a solid metal (brass or bronze) or wooden device used on traditionally rigged sailing vessels to secure lines of running rigging."
These are nicely formed and big and I want a little more shiny on this model. So brass it is.

hi TAKAM, I AM GETTING READY TO DO MY LONGBOAT, already started, cutting the massive plans into smaller bits those plans the size of them can not find aything other then a wall that will fit, other modifications will be done hope you do not mind if i ask you questions. GOD BLESS STAY SAFE don
Hi TKAM, I will take pictures tomorrow, of the plans and how i cut them into useable sections as i plan to use them as patterns, i ordered 3 more sets from model expo, should be in any day now, going over the details so far looks pretty good the last 3 kits i got from them have been greatly improved from the past especially the instructions a far cry from the old ones where there were numerous pages of general descriptions and scant pages dealing with the model that you were doing, it seems like they are taking the new normal seriously not depending on 30 or 40 year old models, the problem that I STILL HVE WITH THERE KITS IS THERE USE OF BASSWOOD, it is a very soft BASSWOOD and i always upgrade the materials. GOD BLESS STAY SAFE Don
- Joined
- Mar 27, 2019
- Messages
- 817
- Points
- 403

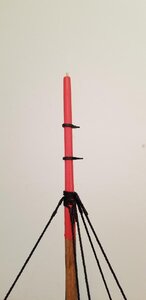
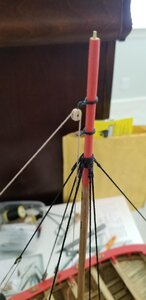
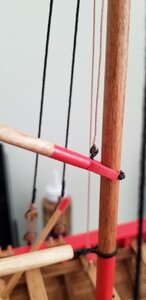
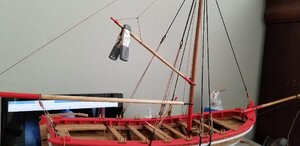
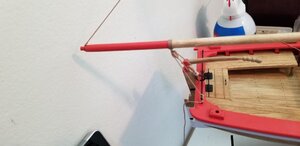
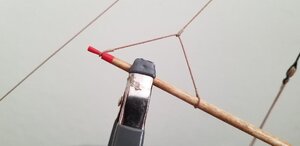
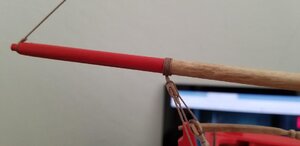
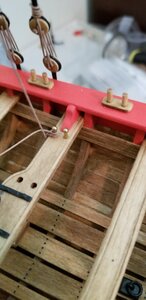
Previously fabricated boom and gaff installed. Went pretty smoothly although I did have to trim a bit from the inside of the gaff jaws, I failed to take into account the thickness of the several coats of paint. Once I trimmed a bit it fit nice and snug. I also had to remove the ball cap that I had already glued on. What was I thinking?
Instead of simple clove hitches for all the rope connections I did proper stropping (?is that the correct term?) for any rope that connects to the boom or gaff without a block.
All four belaying pins are now full so any future rigging will be simply wrapped around bench seats. The jib rigging in particular.
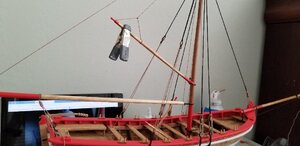


Looking very good 

- Joined
- Mar 27, 2019
- Messages
- 817
- Points
- 403

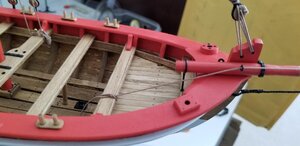
Jib rigging complete. This is the last of the running rigging. Small model so not a whole bunch of rigging. If you're going to do this model I highly recommend getting premium blocks and thread, it makes the final product so much better. Chuck Passaro blocks and rigging thread is the way to go.
Also added rope coils to the jib in-haul and the boom tie down rig. And of course tied up rope coils for the four belaying points using belaying pins.
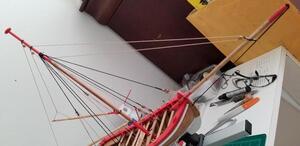
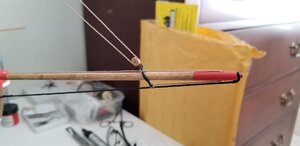
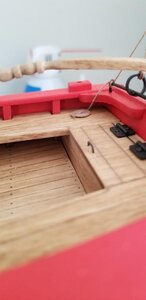
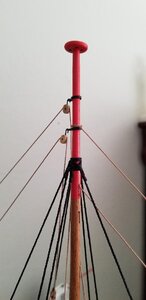
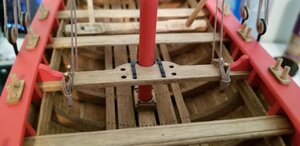
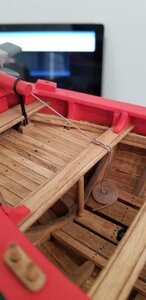
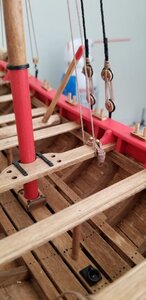
Also added rope coils to the jib in-haul and the boom tie down rig. And of course tied up rope coils for the four belaying points using belaying pins.


- Joined
- Mar 27, 2019
- Messages
- 817
- Points
- 403

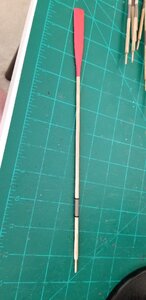
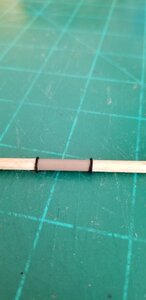
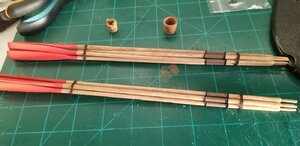
All 12 oars are finished. Lots and lots and lots of sanding required to get them from square shaped just out of the laser cut sheet to a realistic shape. The practicum is pretty good at explaining how to do this. Red at the paddle end and brown (to simulate a leather sheath) about 1.5 inches from the handle end. Then I wrapped some black cord at the borders of the leather section, this is where the oars would be secured to the oarlocks.
