- Joined
- Nov 16, 2023
- Messages
- 89
- Points
- 88

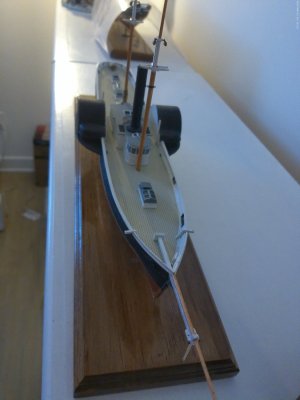
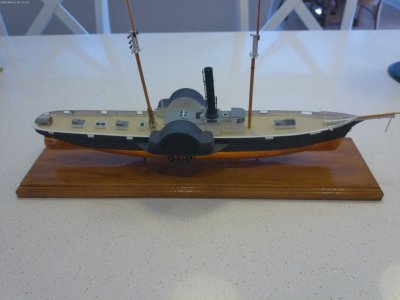
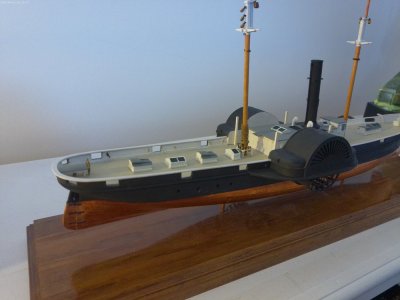
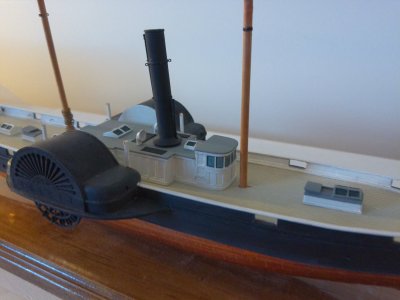
I had been building Model Shipways Kate Cory (build log on this site) but placed the build on hold once my wife and I decided to relocate. After packing up and moving, setting up a new work area, I found I lost motivation to restart Kate. So, I thought if I start a smaller less complicated build it will get me organized and motivated again. After some research I decided on Model Shipways Harriett Lane (got a good deal on Ebay). This is the first reissue of the original solid hull kit. My goal was to finish the kit within three months, I'm now two months in. I never intended to start a Build Log but after starting the build and experiencing the "challenges" with this build I thought my experience may help some other shipwright.
Unfortunately, there are not many completed builds of Harriett Lane on the internet for reference and I found little research documentation. This kit has two sheets of plans (dated 1965) and the instruction manual contains basic detail. I didn't realize the kit was rated as "Advanced" which I assume is not because of modeling skill but the amount of scratch building and lack of detailed plans. I did get access to the newly reissued Model Shipways kit instruction booklet which has been helpful. But oftentimes there are discrepancies in detail between the two kits.
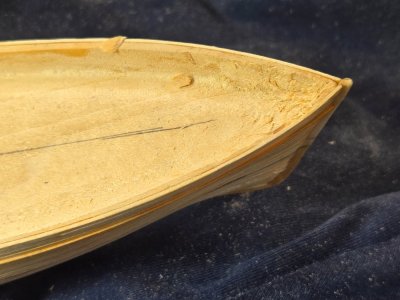
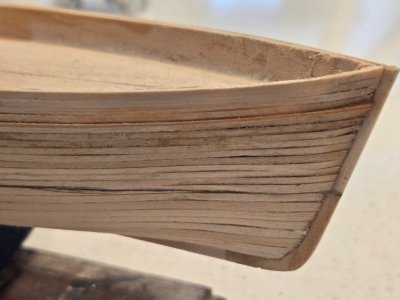
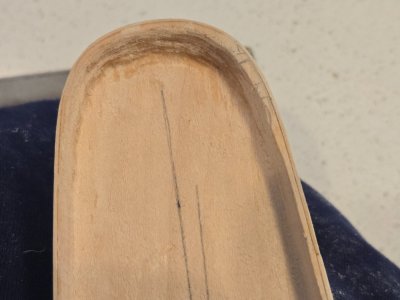
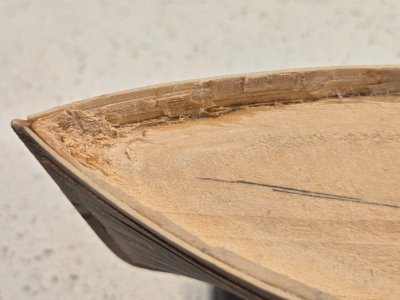
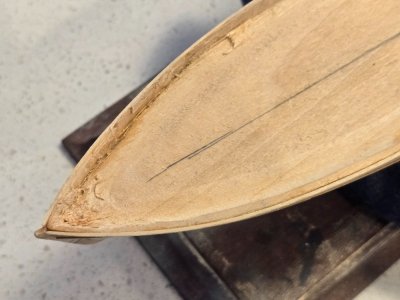
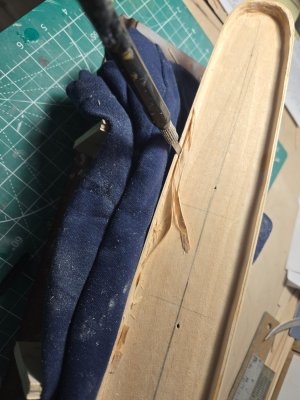
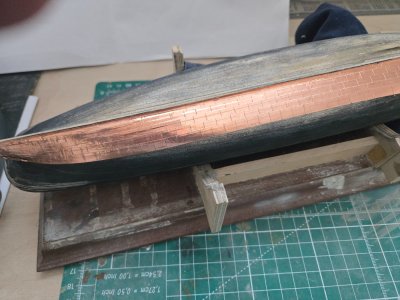
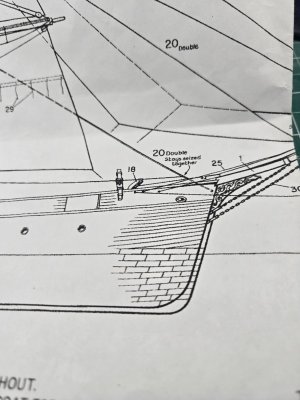
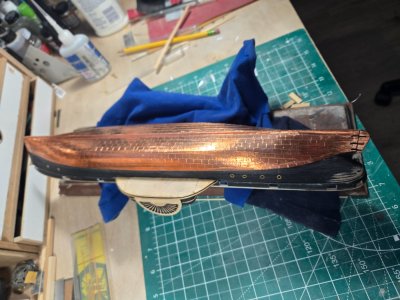
My kit has the basic solid hull which I shaped according to the profiles. Once that was completed, thinned the bulwarks, added the keel, stem and stern pieces. Next planked the hull. Copper tape was included with the kit and the biggest challenge to coppering the hull was etching the plates to scale. Note photo of plans containing coppering detail. This is the first time I used "tape" versus applying plates individually using contact cement. I was unsure how the tape would adhere so after sealing the area to be coppered I applied a coat of contact cement. I then brushed the copper tape with contact cement and applied it to the hull. I am happy with the results.
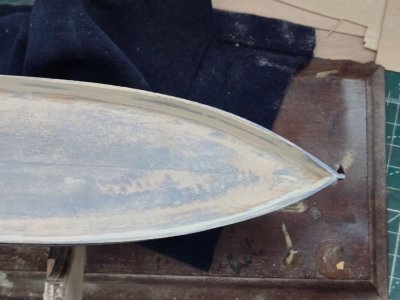
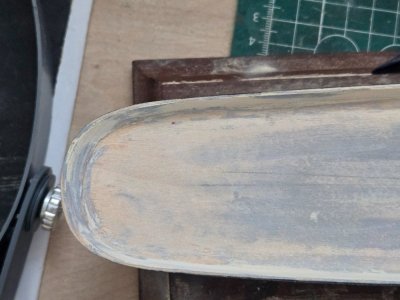
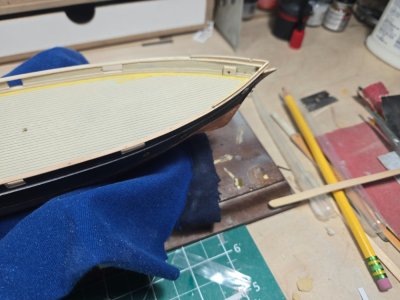
Next step was to add the deck which I used the kit supplied scribed sheet. Instructions for adding the waterways is contradictory, one example shows the traditional horizontal flat piece while another shows it vertical along the bulwarks! I decided to opt for the style shown in the most recent kit version.
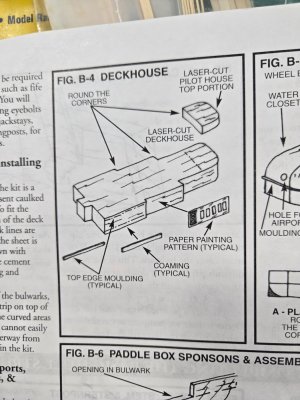
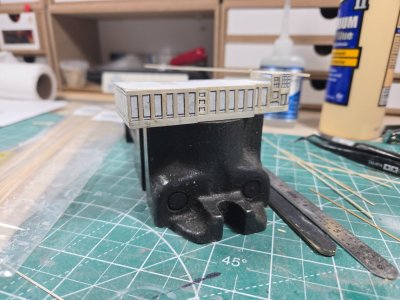
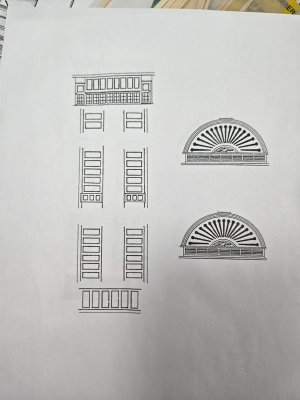
Once I clean and paint the hull, will add the paddle box sponsons and start the deck structures.


