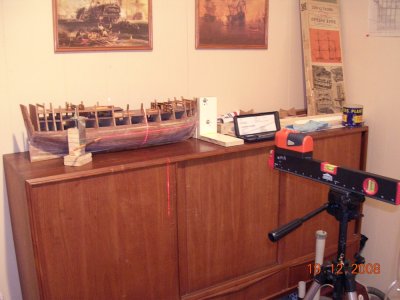
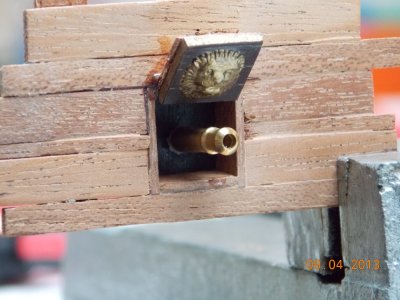
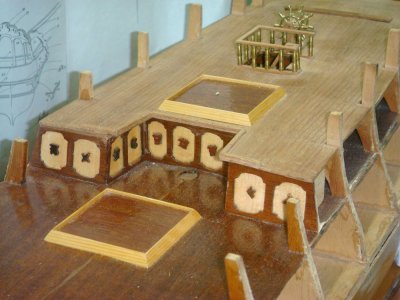
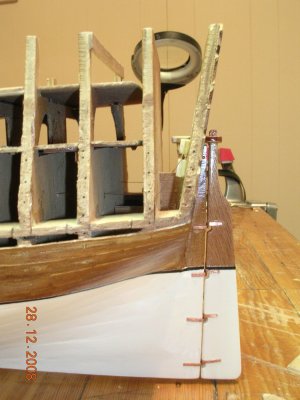
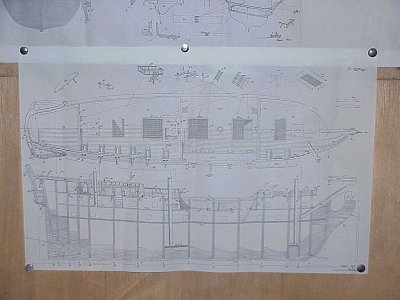
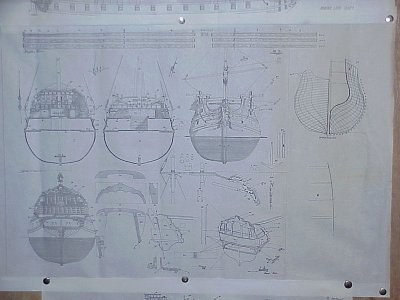
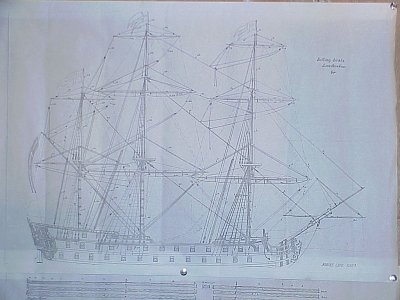
Norskelove 1765 scale 1:75 , Plans by Billings from 1970. Not an easy build, some of the kit materials created extra work due to wood aging, so I used scrap wood and Birch Spatulas for all the white components. Wood Stains (water base) where by Saman #111 and #206. Gold and White Acrylic paints. Glues were standard yellow for carpentry, White Elmer's School glue and very little CA.
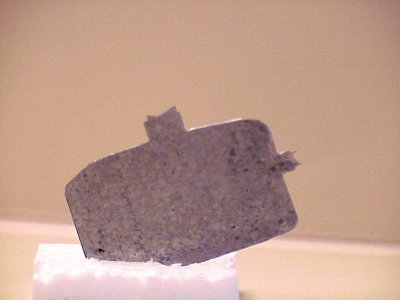
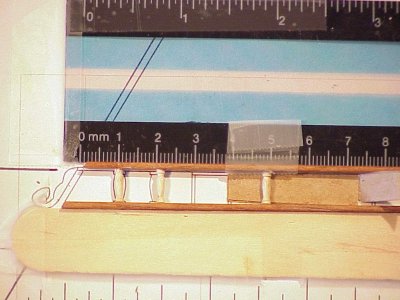
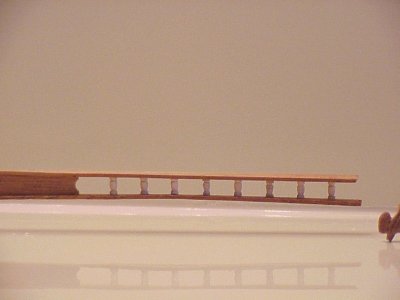
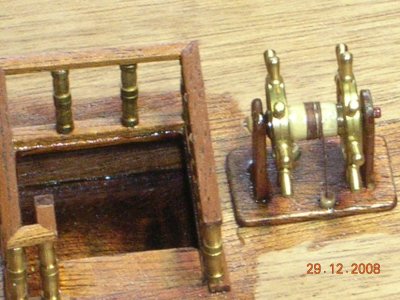
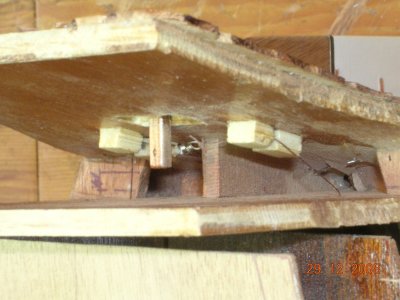
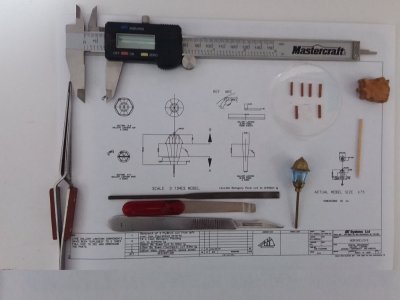
The tools used were by Dremel, Surgical Scalpel #11, many different machinist hand files, and a small model hand saw. Finishes were hand sanded using 200, 300, 1000, and 2400 grit metal sand paper, with cosmetic hand files reshaped to reach hard to get to places. Created modified Dental Spatulas and scrapers again for hard to reach places. Made construction templates for guns, hand rails, King Pins, Gun Tackle and 2 different Single, Double Pulleys. For an extra challenge I built moving helm and Rudder, just because!
This was my first scratch build, to date in excess of 2500 hours, which includes internet and book research . Next is to start on the Masts and Yards.
Not sure if I have posted this correctly, will welcome directions for future posts, cheers Richard.


Norskelove 1765 scale 1:75 , Plans by Billings from 1970. Not an easy build, some of the kit materials created extra work due to wood aging, so I used scrap wood and Birch Spatulas for all the white components. Wood Stains (water base) where by Saman #111 and #206. Gold and White Acrylic paints. Glues were standard yellow for carpentry, White Elmer's School glue and very little CA.
The tools used were by Dremel, Surgical Scalpel #11, many different machinist hand files, and a small model hand saw. Finishes were hand sanded using 200, 300, 1000, and 2400 grit metal sand paper, with cosmetic hand files reshaped to reach hard to get to places. Created modified Dental Spatulas and scrapers again for hard to reach places. Made construction templates for guns, hand rails, King Pins, Gun Tackle and 2 different Single, Double Pulleys. For an extra challenge I built moving helm and Rudder, just because!
This was my first scratch build, to date in excess of 2500 hours, which includes internet and book research . Next is to start on the Masts and Yards.


All reactions:
The tools used were by Dremel, Surgical Scalpel #11, many different machinist hand files, and a small model hand saw. Finishes were hand sanded using 200, 300, 1000, and 2400 grit metal sand paper, with cosmetic hand files reshaped to reach hard to get to places. Created modified Dental Spatulas and scrapers again for hard to reach places. Made construction templates for guns, hand rails, King Pins, Gun Tackle and 2 different Single, Double Pulleys. For an extra challenge I built moving helm and Rudder, just because!
This was my first scratch build, to date in excess of 2500 hours, which includes internet and book research . Next is to start on the Masts and Yards.
Not sure if I have posted this correctly, will welcome directions for future posts, cheers Richard.


Norskelove 1765 scale 1:75 , Plans by Billings from 1970. Not an easy build, some of the kit materials created extra work due to wood aging, so I used scrap wood and Birch Spatulas for all the white components. Wood Stains (water base) where by Saman #111 and #206. Gold and White Acrylic paints. Glues were standard yellow for carpentry, White Elmer's School glue and very little CA.
The tools used were by Dremel, Surgical Scalpel #11, many different machinist hand files, and a small model hand saw. Finishes were hand sanded using 200, 300, 1000, and 2400 grit metal sand paper, with cosmetic hand files reshaped to reach hard to get to places. Created modified Dental Spatulas and scrapers again for hard to reach places. Made construction templates for guns, hand rails, King Pins, Gun Tackle and 2 different Single, Double Pulleys. For an extra challenge I built moving helm and Rudder, just because!
This was my first scratch build, to date in excess of 2500 hours, which includes internet and book research . Next is to start on the Masts and Yards.


All reactions:
10Chance Liebrecht, Chelsea Liebrecht and 8 others


