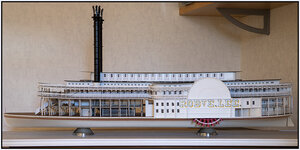
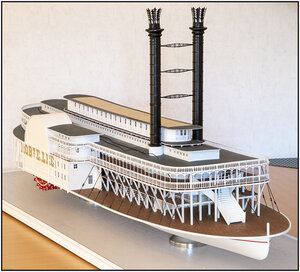
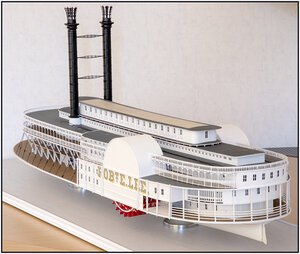
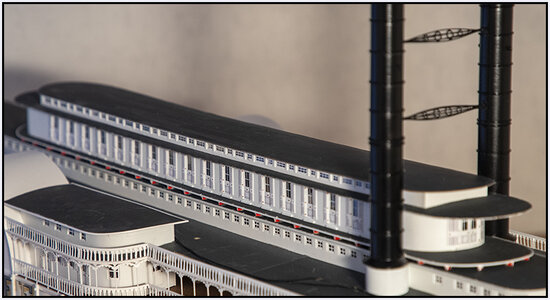
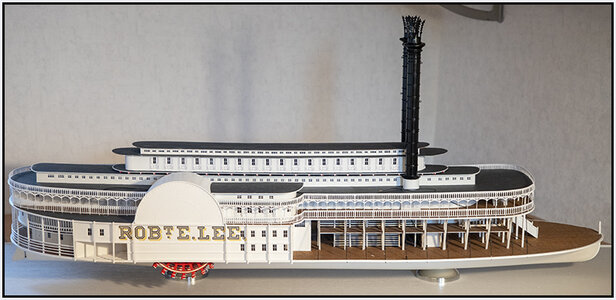
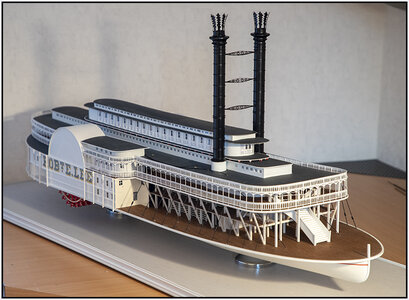
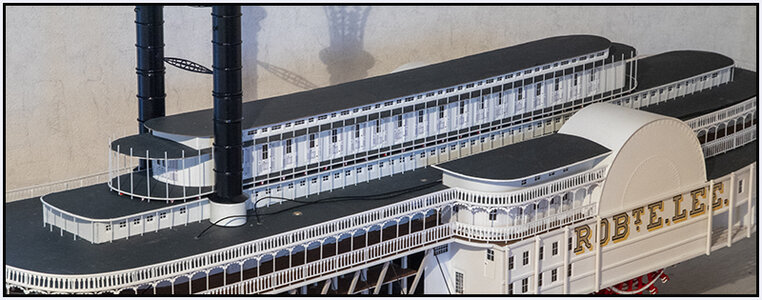
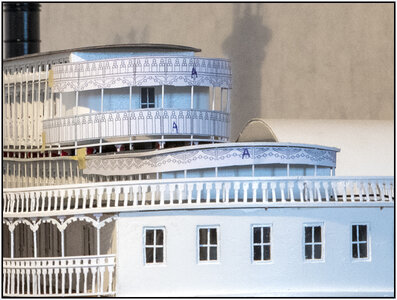
Paddle Steamer Robert E. Lee, scale 1:96, scratch build by the Alan L. Bates drawings [COMPLETED BUILD]

Sometimes turn off your mind and keep going ...... production time ……..

Still step 21:
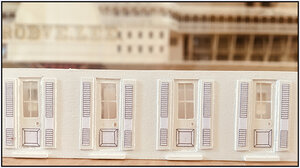
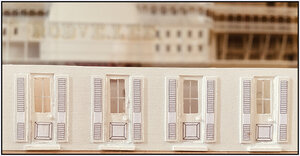
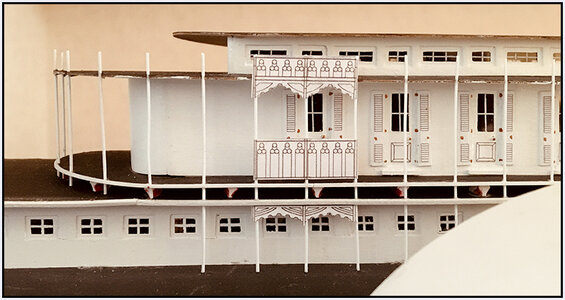
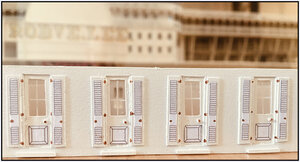
Eventually all the panels and louvres placed:
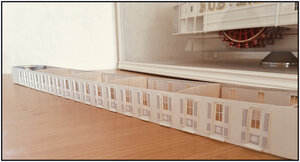
143 Texas27.jpg
And the double wide doors at the front:
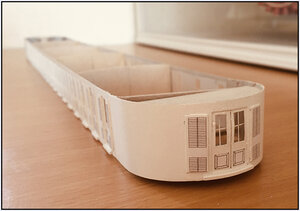
144 Texas28.jpg
Macro-pictures are unforgivable! More to come .... ;)
22:
Holes drilled for......
145 Texas29.jpg
23:
...... the doorknobs.
146 Texas30.jpg
24:
And some 'copper batter' affixed to the doorknob of the door, as louvre-doorsknobs and each door also equipped with 3 hinges.
147 Texas31.jpg
25:
And then the Texas can be in place. With wood-glue that takes a while to harden.
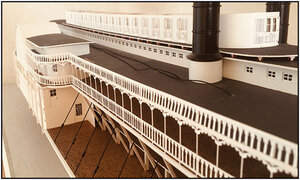
148 Texas32.jpg
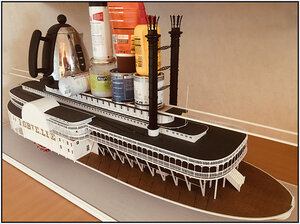
And finally by this 25-steps-Texas, the roof on it!
Both pieces under pressure. So they can put themselves in places with the 2 curves: the sheer and the camber.
149 Texas33.jpg
At the front and back an Evergreen rod is placed to align the roof with the pre-drilled holes in the length direction and at odds with the waterline. With left and right, front and rear also a brass rod placed to align the roof well during the gluing.
The 2 length strips on the sides of the roof, bridge the weights and press the roof into its camber.

Tomorrow, when everything is dry, I will make by daylight some pictures with the Canon on the tripod.
Regards, Peter
 
Last edited:
Hello Peter, She stand Proud and gorgeous!
Jim, it's nice that you're talking about a “She”.
In a Dutch forum I cited a link about the correct use of the Dutch language.
In the Dutch grammer, a ship is unsided. It can become feminine if the ship has a female name. But Lee is a man, so to me as a Dutch, this ship is a 'He'. ;)
But a lot of Dutch proverbs are actually always talking about a she.
I don’t know how it is in English.
Peter

The Royal Navy has always gloried in its traditions, none more so than the tradition of naming ships. A ship’s name, motto and badge serve as a great source of pride for its crew and a historic pride in the tradition of ships’ forebears. Names such as Ark Royal, Queen Elizabeth, or Invincible have often been repeated in British naval vessels since the days of the age of sail.

Today ships of the Royal Navy are usually named either in terms of royalty such as Prince of Wales, or Royal Sovereign or with martial terms such as Astute, Daring or Defiant. Medium ships such as cruisers have also been traditionally named after British cities such as Glasgow, Cardiff or Belfast. British tradition differs somewhat from other major navies, such as the US, French or Russian which often name major warships after named historic figures.

Another tradition is to consider ships as female, referring to them as ‘she’. Although it may sound strange referring to an inanimate object as ‘she’, this tradition relates to the idea of a female figure such as a mother or goddess guiding and protecting a ship and crew. Another idea is that in many languages, objects are referred to using feminine or masculine nouns. This is less common in English which tends to use gender neutral nouns, however referring to ships as ‘she’ may refer to far more ancient traditions.

*information taken from iwm.org.uk
 
Just a little explanation for the further construction.
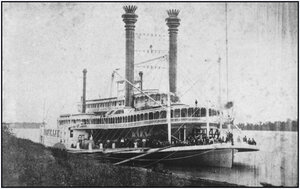
In my post #43, I mentioned the photo I found at the Madison Libraries at the University of Wisconsin. With pretty visible details. But..... without the along-stagging.
This photo gives a nice impression of the construction with the rods for the railing and drapery that come for the Skylight of the Main Cabin, the Texas and its Skylight.
UWDC.jpeg
The Feathers on the chimneys are different, too. But I'll leave them like that. Was also quite a fiddle to make it.
Regards, Peter
 
Looking forward to your pictures and updates, Peter.
At your service: All in all it's just another brick/window in the wall. Free to Pink-Floyd ;)

Cutting out 2x37 windows out of the triplex walls was already done (see post 57, step 4), drawing the outside and inside lines on the 120gr paper and cutting out the window to get the windowframes:
153 TexasSky1.jpg
And a little bit of updating and fitting:
154 TexasSky2.jpg
Photos made with my iPhone. The walls curved more in the middle.
Next step is drawing the white window styles on the transparant.
Regards, Peter
 
Last edited:
Hello again,
After a month of other activities, get back to work with 'The Lee'.
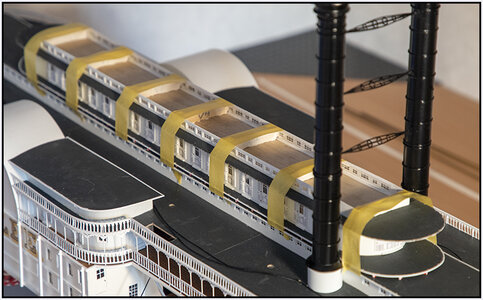
I had made the decision to build the Texas and its Skylight differently from the Main Cabin and its Skylight. So not with continuous interior walls that poke through the deck and form the Skylight.
Which has its advantage and disadvantage.
The advantage is that I didn't have to make a roof that was exactly right on the cab and tight to connect the walls of the Skylight. And also no narrow strips of roof that wanted to bend straight, not holding the camber of the decks.
So now on the exterior walls of the Texas a continuous roof that easily keeps its shape glued to all the between walls.
With the disadvantage that I now had a Skylight of exterior walls of 1 cm high and almost 45 cm long and over the entire length equipped with window holes. Very fragile and easily deformable. The outside walls also provided with partitions, with as an extra some angle reinforcements.
The Skylight in the base paint:
155 TexasSky3.jpg
Sprayed:
156 TexasSky4.jpg
Equipped with glass with window styles:
157 TexasSky5.jpg
Fixated on the roof of the Texas:
158 TexasSky7.jpg

The roof with the cover, the sandpaper P800 with 2 layers of transparent paint.
The advantage if you stick that with wet wood glue on the 1mm plywood, it automatically warps and gets the camber itself a bit.
159 TexasSky6.jpg
Equipped with its own roof:
160 TexasSky8.jpg

In terms of decks, the Lee is now at altitude.
161 2020-okt-11-1.jpg
162 2020-okt-11-2.jpg

In hight to do: Only the Pilot-House on top of it.
But that won't come until I've equipped the Texas and its Skylight with the railings and ornaments. That's a big job that needs his time.
Regards, Peter
 
Last edited:
Railings and Ornaments:
Let's have a glimpse into a part of the design process.
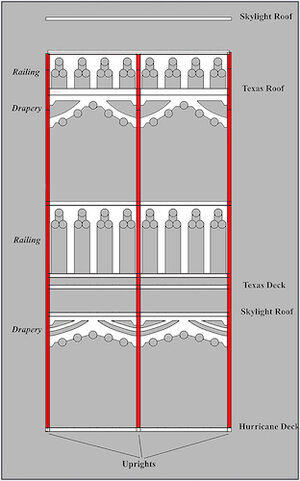
For around the Skylights below and above the Texas I had made this design (#44):
163 RailingOrnament  kopie.jpg
But then it has to be right in practice.
Therefore, first some uprights were placed to see if the drilled holes were properly aligned. And whether the railings and ornaments came into its own.
A test piece:
164 RailingOrnamentDemo.jpg
(I still have to straighten the connection between 2 list parts ;-)

With all the previous decks I had already installed the white frames when making those floors/roofs. That's so easy to model if you can keep the deck between your fingers and keep the frame exactly in place while gluing. Especially at the round front and back. Only the then application of the railing and the hanging of the ornaments become difficult. To get it nicely hooked up against the inside edge of that list. As I did and showed at the Hurricane Deck (#43). That's why here too: advantages against disadvantages.

At the Texas, I'm doing things differently now. The small (ornament) railing and the ornaments I now make from 1 piece and glue on it / in between the decorative frame and hand railing. Gives extra firmness when cutting out all the cutouts and spraying it as a whole.
Also with the ornaments that still come around the roof of the Skylight of the Texas. Also there between the top and bottom ornament the list.
The free-hanging railing of the Texas gives less trouble. Only like the other parts, do give the sheer and the camber and all the bars perpendicular to the waterline.

I am satisfied with the design, now draw everything in Photoshop, paste and give the curves.
Oh, even this upright still to paint. I don't need these to discolor over time. As in the beginning of the construction with pieces of Evergeen that were later discolored and still had to get a coat of paint.
Regards, Peter
 
Thank you for your update on the design process.
Will you be updating how you cut the intricate shapes?
Thanks John for the likes and your reply.
And all the otters also thanks for the likes Okay

The cutting of the shapes will be mostly the same as show in my post #33.
Partly under the micro USB-camera with the hollow-point and with the scalpel with extra glases on my nose.
I made it myself a little bit more triggy by adding more tiny cutouts.
But setting the bar higher over and over again keeps it challenging.
I will make some extra pictures during the tiny steps.
Regards, Peter
 
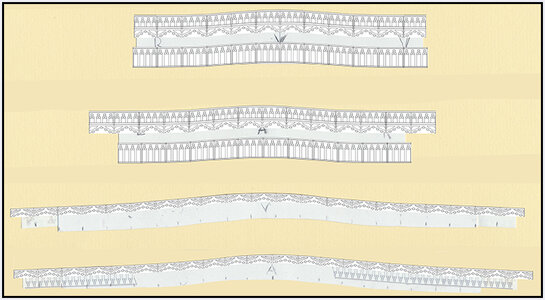
In Photoshop been busy.
First some old molds of the Main Cabin cut in shape of the curves.
It scanned at the correct resolution.
Then from my design always a piece copied, pasted and then deformed in such a way that it started to follow the rounding of the scanned mold.
166 RailingOrnament2.jpg
Print, cut and fit.
167 RailingOrnament3.jpg
With the drilling of the holes for the uprights, some pieces of the deck lists have come loose. I'll straighten it out, along with the dyeing of all the uprights.

Also suitable molds for the front.
Now the two long sides make the molds.
Then printing on the 120g paper and cutting can begin.
Regards, Peter
 
Back
Top