Planking on deck for the Trotamares

Joined
Mar 30, 2020
Messages
133
Points
113

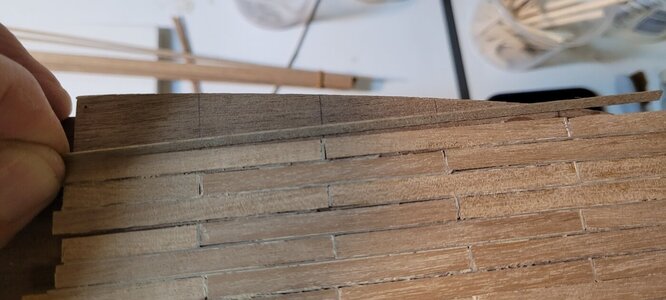
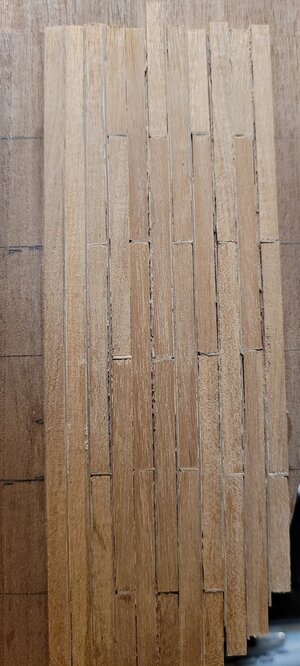
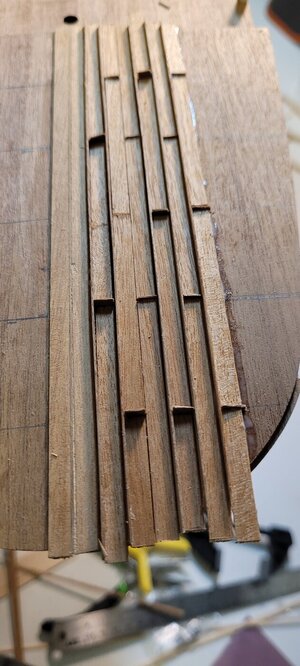
Following the instructions it says to plank with strips 1.5X5mm and space with0.5mm strips. I glued in place, then as per instructions cut off excess spacers that were above the planks. After cutting off I then proceeded to sand, After sanding I noticed that I had not done a very good job of gluing the spacers. Now there are large gaps where the spacers fell out.
Not sure what to do at this point. As you can see I haven't made much progress.

Photo #1 shows the spacers and planks glued
Photo #2 shows a spacer with planks
Photo #3 large gaps where the spacers fell out

Not sure what to do at this point. I used white glue, I'm thinking about trying to remove the planks and spacers by soaking with water. Then gluing planks in place with no spacers then pencil line in spacers.

Any advice?

Thanks,
David

,Photo #1.jpegPhoto #2.jpegPhoto #3.jpeg
 
Are you using water based wood glue, than you can remove the planks with water soaking - otherwise you will have problems and you will brake the planks
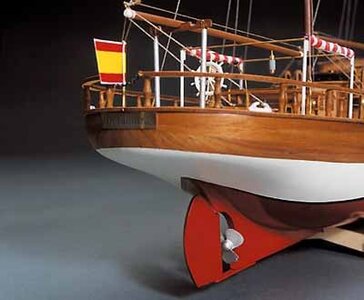
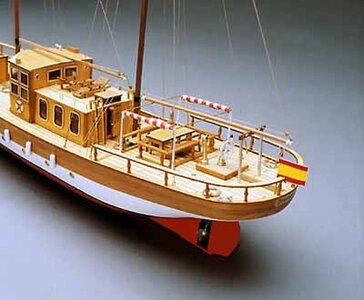
I just checked some photos of finished models of the Trotamares and they are all having these spacers to imitate the caulking.

Maybe it is helping to use more wood glue, when laying the planks and spacers, so that the spacer at the butt joints will be better fixed. and also maybe it could help, when you fill afterwards some gaps from the top with glue (surplus glue will be later on removed with sanding)
Sanding (or scraping) only when the glue is really hardened, so earliest after some hours.

Maybe you make some test area not on the deck but on a spare board - only to test the best procedure -> I hope you have enough material of planks and spacers....

These I write only to start some brain storming .....
Thanks for the reply, I did use a water base glue. From opening the kit I've doubted that I'd have enough material. Not sure what I'm going to do.
 
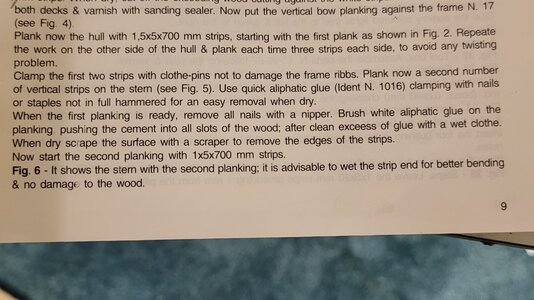
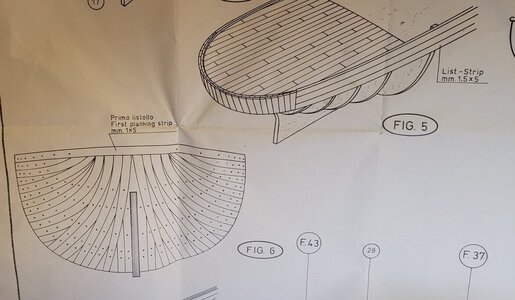
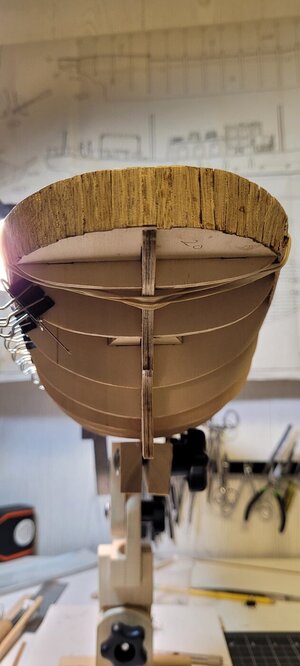
Not sure of what to do. The instructions says to do a second planking on the stern. Any advice as to how to start the stern planking. I've included photos of the instructions, plans and the stern of my model.


Instructions.jpegPlans.jpegStern .jpeg
 
I understand this in such a way, that the second planking should start only after you finished the first planking and you have a full closed hull with the first planking done

you can see, that the second planking is covering everything
p_5_2_7_527-Trotamares.jpg p_5_2_8_528-Trotamares.jpg
 
Back
Top