Pocher 1:8 scale Lotus 72 [COMPLETED BUILD]

Joined
Sep 26, 2020
Messages
5,482
Points
738

Location
Missouri City, Texas
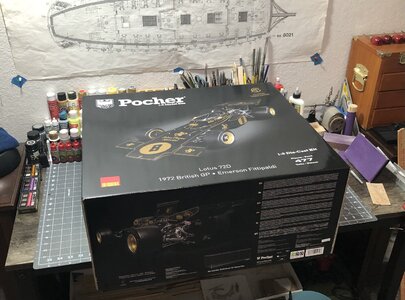
I have been waiting for this kit to be available, and I just found it on sale…so I couldn’t resist!
So the Brabham will get pushed back, along with my airplane builds.
I am still working on my ship, but once this kit arrives, I will be working on both.
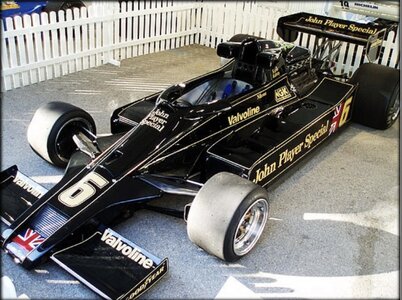
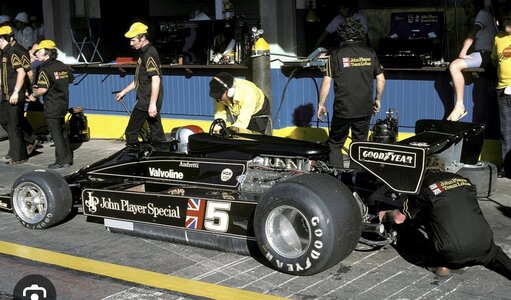
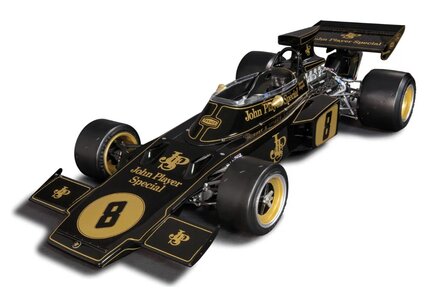
This is probably my favorite Formula One car of all time. I was very excited when I learned that Pocher was going to make this kit.

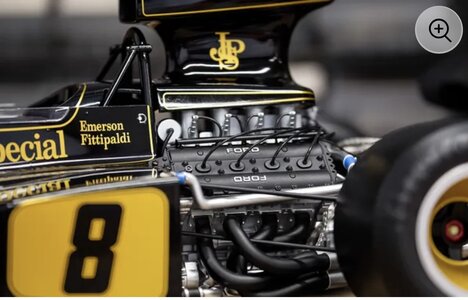
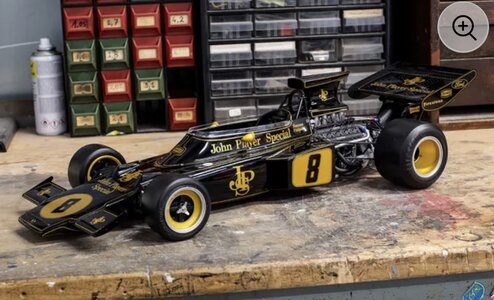
Here is a few pics, which don’t come close to doing it justice!
IMG_1014.jpegIMG_1016.jpegIMG_1015.jpeg

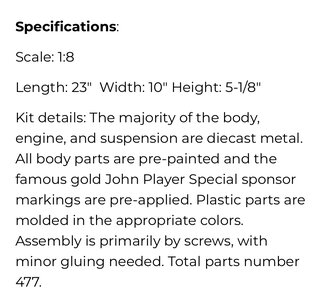
Here is a brief description:
IMG_1017.jpeg

After looking at a few builds online, and reviewing the online instructions, there is probably as much gluing as there is screws.
And although some pieces are pre-painted and it looks great out of the box, I will definitely be modifying it.
I will paint all pieces, other than the body panels, and I will be adding details with dry brushing and washes.
I will also add some additional wiring, etc.
At this scale, it is really going to be fun to add detail. So who knows how far I will take it! ;)

I will report back once the kit arrives…
 
Last edited:
nice new project - I am surprised, that this kit in scale 1:8 has less than 500 parts
I am looking forward to see your kitbashing works ......
At one point during development, they claimed it would be around 600-800 parts, but the kit says 477 parts. However that doesn't include all the individual wires, hoses, seatbelts, etc. that come from a roll of material. I think they count a roll of wire, hose or seatbelt material as one part. For example... when you cut all the individual parts from the roll of tubing for the plugs and injectors, 1 part becomes 17 (8 plug wires, 1 coil wire, 8 injector hoses) . So once cutting individual pieces from the rolls, I am certain the total individual part count goes above 500.
In addition, I will be adding the wires and wire harness for the instrument panel and a few other things that were left off the kit. ;)
 
Also my favourite F1 car, and from a time when drivers were personalities and not fashion statements with an agenda. Please keep us posted on your build.
 
Also, I should mention that I love the Lotus 78 that was driven by Mario Andretti, who won his Championship in a Lotus.
It was of course Emerson Fittipaldi who won the championship in the Lotus 72.
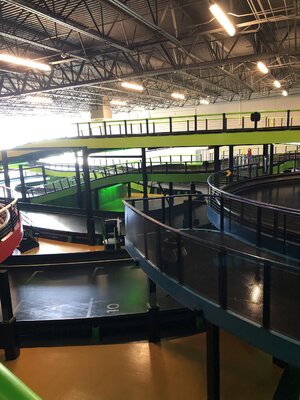
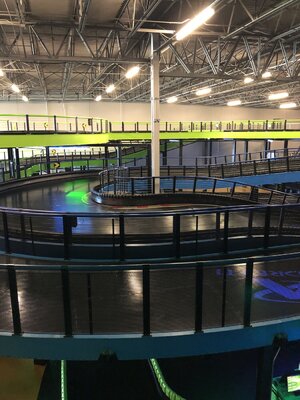
So today we had a 10 year anniversary celebration for one of my coworkers, and it was chosen to be at the Andretti Kart track in Katy Texas.
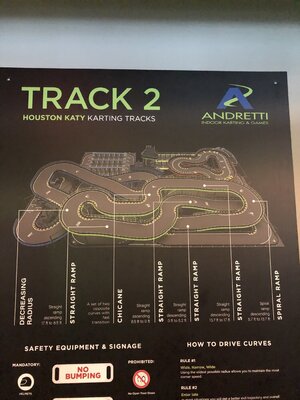
Here is a pic of the track…
IMG_1062.jpeg
Elevation changes make it more challenging.
A few pics of the actual track…
IMG_1065.jpegIMG_1064.jpegIMG_1063.jpeg

Me getting ready to race…
IMG_1069.jpegIMG_1071.jpeg

I got lucky number 13, which is actually my lucky number. ;)

I got second place out of 15 people. Not bad for my first time there.

IMG_1078.jpeg

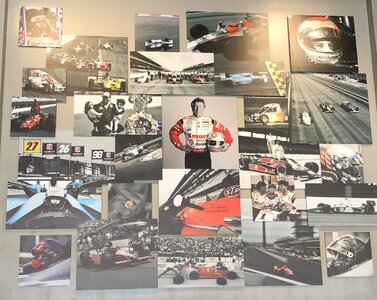
Here is a wall with pics…
IMG_1066.jpeg

It was a lot of fun! Will definitely be going back there! ;)

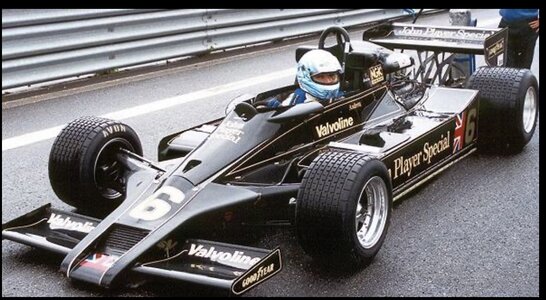
For reference, here is the Lotus 78…
IMG_1086.jpegIMG_1085.jpegIMG_1084.jpeg

I would definitely build a 1:8 scale kit of the 78 as well. ;)
 
Last edited:
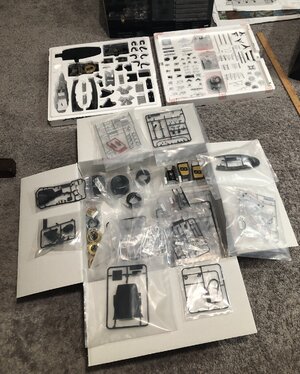
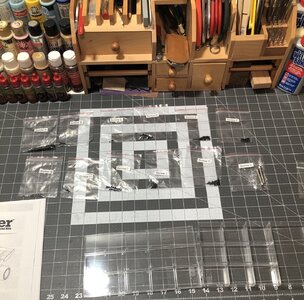
The kit is boxed in 3 parts, 1 cardboard box of plastic parts and tires, and 2 styrofoam boxes with die cast pieces. And of course many bags full of screws, hoses, belts, etc.
View attachment 375037

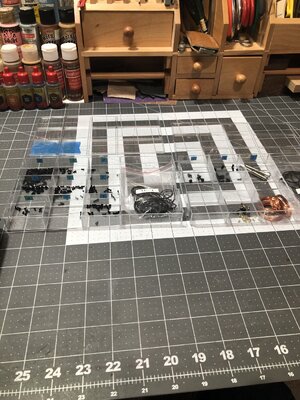
Sorting out screws first to help facilitate assembly. It’s the logical first step! ;)
View attachment 375038
Great to see the start: opening the BIG box. Looking the same like the Duc.
I am sure you will have a lot of fun with the build.
Regards, Peter
 
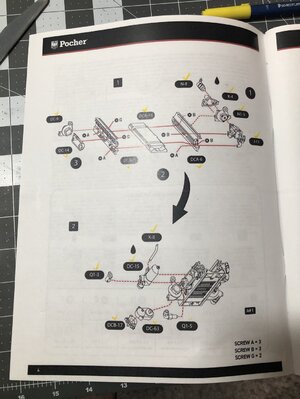
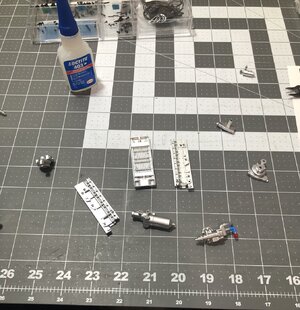
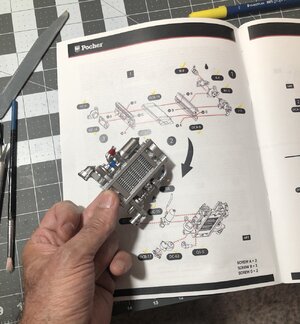
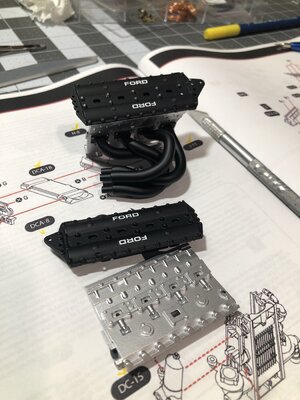
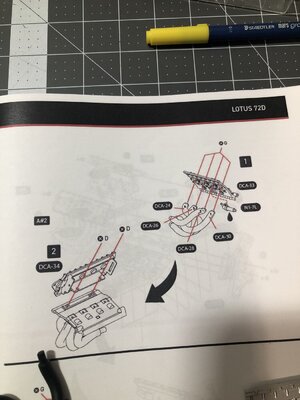
Step one and two go together to build the bottom of the motor…
IMG_1108.jpeg

Then it was time to start digging for all the parts…it was a mix of mostly die cast parts, with some plastic parts.
IMG_1096.jpeg

The die cast parts are screwed together and the plastic parts are typically glued.
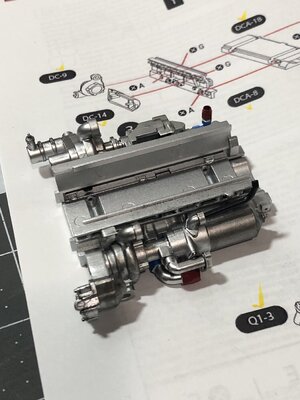
They are painted well, but every thing is the same color silver. Not realistic, so some things I painted and others I used a wash. Overall it’s looking promising…
IMG_1107.jpeg
IMG_1109.jpeg

Complaints thus far…screws are really difficult to install and I had to add some wax to the threads and turn until it got difficult and then back out some and thread in again and repeat. I think some people actually tap the threads, but that really shouldn’t be necessary…sigh! So I will hope for the best moving forward. This is my first Pocher kit.

Next will be the sides of the motor with the valve covers and header exhaust manifolds… ;)
 
The kit is boxed in 3 parts, 1 cardboard box of plastic parts and tires, and 2 styrofoam boxes with die cast pieces. And of course many bags full of screws, hoses, belts, etc.
View attachment 375037

Sorting out screws first to help facilitate assembly. It’s the logical first step! ;)
View attachment 375038
Upon starting reading this new blog of yours, my initial thoughts were: how difficult can that be.
Now, having seen this post, it's more like Pandora's box ("Any source of great and unexpected troubles") to me.
Regardless, I'll follow your journey (or is it race?) with great interest, but from a safe distance.
Welcome to pit row Johan!
While waiting on the kit to arrive, I started reading some online build logs. Let me tell you, this kit comes with many challenges! Tiny screws, poorly tapped holes, poor instructions that leave you guessing and doing research, needing four hands at some points during assembly…etc., etc.
Luckily I found a very informative build log that exposed all the pitfalls and short comings. And I must have read it 5 times…lol. But you’re never really prepared for actually doing it! Dealing with the tiny parts, screws, and getting to them. ;)
 
Last edited:
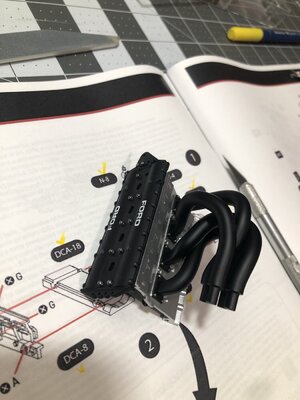
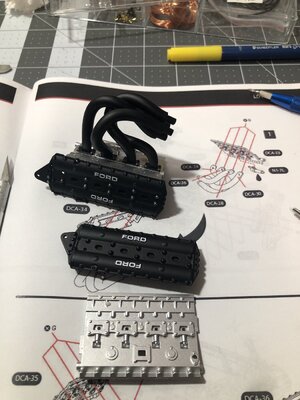
Step 3…one side of the upper motor…
IMG_1112.jpeg

Completed with detail painting…
IMG_1114.jpeg

For comparison, the other side I have to repeat this on. You can see the header flanges were silver! So I painted them black and painted the bolts heads. On the valve cover, I painted the mid bolts and nuts to match what I have seen on the real cars. Some were black and some were silver. I like the silver. In addition I added a little grey on the bolts around the perimeter. I will add a wash once the motor goes together more.
IMG_1117.jpegIMG_1116.jpeg
Now to repeat on other side… ;)
 
Back
Top