- Joined
- Mar 25, 2017
- Messages
- 36
- Points
- 68

Hi All,
It is time to start a new challenge for me in this hobby. I have been looking for a scratch build model for a while now. One of our club members gave me the plans for the Rattlesnake using the Hahn Harold method. After looking at the plans and reading about this ship, I decided to jump into it.
Here are the fully rigged model dimensions:
Length: 37"
Breadth: 12"
Height: 24 5/8"
Some history
HMS Cormorant was probably launched in 1780 at Plymouth, Massachusetts. She was commissioned as the Massachusetts privateer Rattlesnake in 1781. The Royal Navy captured her shortly after she set out on a cruise and purchased her. In November 1781 she carried to England the first news of General Cornwallis’s defeat. The Royal Navy registered her under the name Cormorant. In 1783 the navy renamed her Rattlesnake and paid her off and sold her in 1786. Rattlesnake was probably drawn by John Peck of Boston, Massachusetts, and probably built at Plymouth in 1780. She was very lightly built and was reputedly very fast. Rattlesnake had the appearance of a miniature frigate, with detached quarterdeck and forecastle. Rattlesnake was commissioned on 12 June 1781 under the command of Mark Clark (or Clarke). She had barely begun her first cruise when she
encountered the 44-gun frigate HMS Assurance, Captain James Cummings commanding. Assurance captured Rattlesnake on 17 June. He sent her into New York, where she arrived
on 8 July. The Royal Navy purchased her on 28 July at Boston. (Wikipedia).
For the past few months, I have been asking a lot of questions to my club experienced builders, read a few books, and studied the plans.
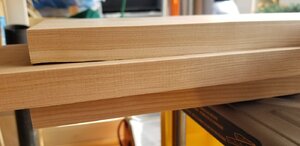
I had decided to use Cherry for the frames.
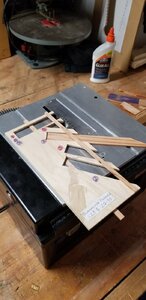
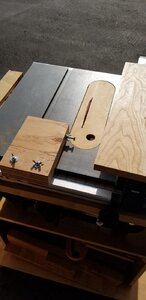
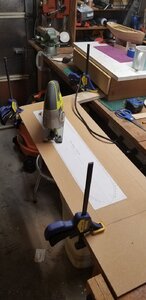
First, I created the jig to handle the frames. I used a jigsaw to remove most of the waste.
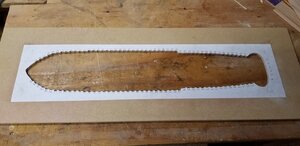
Finishing the cuts with the scrollsaw.
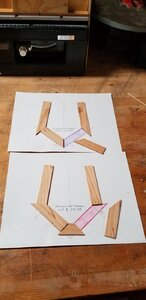
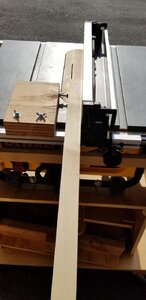
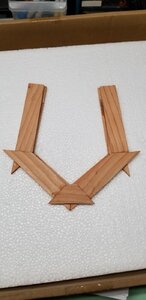
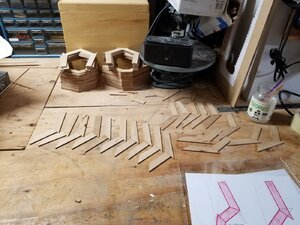
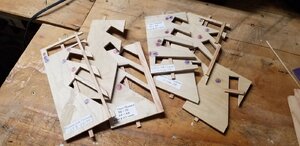
Jigs are cutting all the frame components. A lot of them but all angles and lengths are covered
 I will need around 450 pieces to make them.
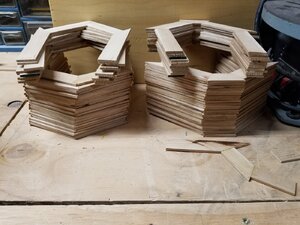
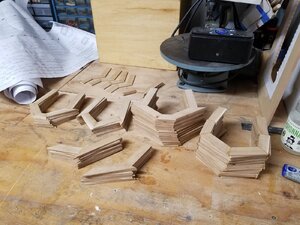
To practice and test, I made some billets made of pine (2by4). Here is the jig in action.
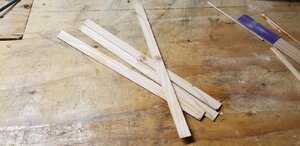
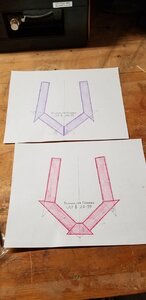
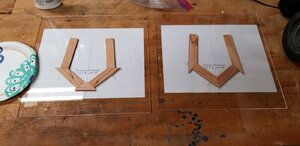
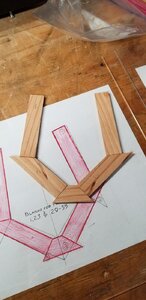
Colored the frames for use of locating where each of the parts is going.
Next step, preparation of the cherry billets. Pictures to come...
It is time to start a new challenge for me in this hobby. I have been looking for a scratch build model for a while now. One of our club members gave me the plans for the Rattlesnake using the Hahn Harold method. After looking at the plans and reading about this ship, I decided to jump into it.
Here are the fully rigged model dimensions:
Length: 37"
Breadth: 12"
Height: 24 5/8"
Some history
HMS Cormorant was probably launched in 1780 at Plymouth, Massachusetts. She was commissioned as the Massachusetts privateer Rattlesnake in 1781. The Royal Navy captured her shortly after she set out on a cruise and purchased her. In November 1781 she carried to England the first news of General Cornwallis’s defeat. The Royal Navy registered her under the name Cormorant. In 1783 the navy renamed her Rattlesnake and paid her off and sold her in 1786. Rattlesnake was probably drawn by John Peck of Boston, Massachusetts, and probably built at Plymouth in 1780. She was very lightly built and was reputedly very fast. Rattlesnake had the appearance of a miniature frigate, with detached quarterdeck and forecastle. Rattlesnake was commissioned on 12 June 1781 under the command of Mark Clark (or Clarke). She had barely begun her first cruise when she
encountered the 44-gun frigate HMS Assurance, Captain James Cummings commanding. Assurance captured Rattlesnake on 17 June. He sent her into New York, where she arrived
on 8 July. The Royal Navy purchased her on 28 July at Boston. (Wikipedia).
For the past few months, I have been asking a lot of questions to my club experienced builders, read a few books, and studied the plans.
I had decided to use Cherry for the frames.
First, I created the jig to handle the frames. I used a jigsaw to remove most of the waste.

Finishing the cuts with the scrollsaw.

Jigs are cutting all the frame components. A lot of them but all angles and lengths are covered

To practice and test, I made some billets made of pine (2by4). Here is the jig in action.

Colored the frames for use of locating where each of the parts is going.
Next step, preparation of the cherry billets. Pictures to come...


