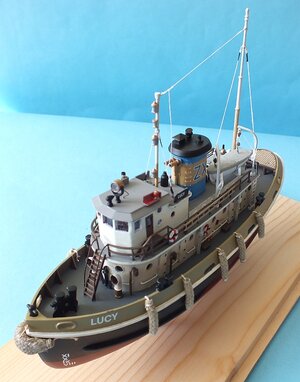
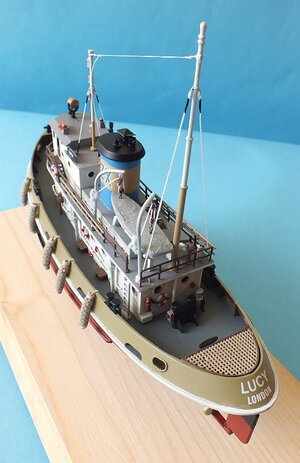
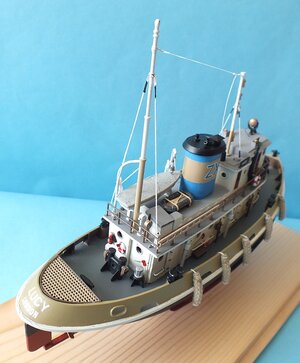
Revell's Harbour Tug in 1:108 scale [COMPLETED BUILD]

Hi Will. Nice to read your comments. Actually I forgot to mention the door - that's what happens when you're in a hurry.

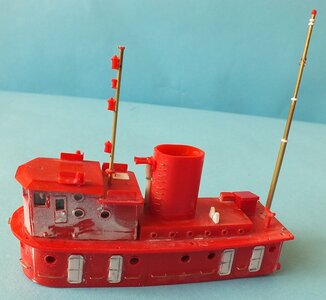
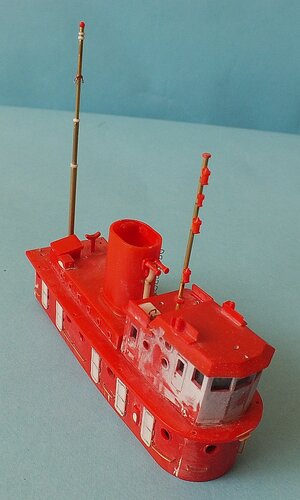
I made my own front mast using a piece of brass tube and pieces cut from the original kit mast (the red ones). Kit masts are usually very flimsy and when the rigging is stretched they bend, which does not look very aesthetic. Therefore I prefer to spend some time and make stiffer masts. The effect achieved is much better. You can see the effect of my efforts in the picture:
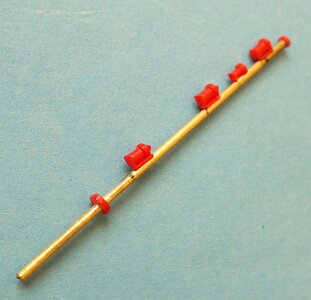
32.jpg

In the meantime I made some equipment to the bridge, as it was kind of empty. Compass, steering wheel, machine telegraph and voice tube will find a place on the bridge. This is how it looks before assembly:
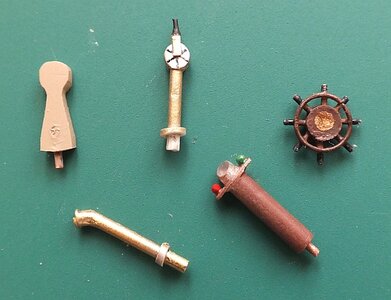
35.jpg

And this is how the mentioned equipment looks after being mounted in its proper place:
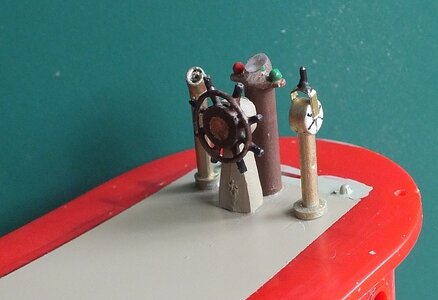
36a.jpg

I hope you enjoy this building report.

Best Regards,
Edmund
 
Love the bridge furniture (that’s what deck fixtures is referred by). Great job. Noe my question for the day is “am I correct in that your not going to paint the red.”
 
Hi Will. I can inform you that neither the hull nor the superstructure will be red. For a simple reason - I would not like them. You will have to be patient. In a few days, if it goes well, I will show the hull painted according to my idea. I hope you will like it.

Best Regards,

Edmund
 
Hi Will. I can inform you that neither the hull nor the superstructure will be red. For a simple reason - I would not like them. You will have to be patient. In a few days, if it goes well, I will show the hull painted according to my idea. I hope you will like it.

Best Regards,

Edmund
I’m sure I’ll like the colors bases on the work so far
 
It has been a while since my last post, as I have been a bit busy finishing building two tanks - an Anti Air British Centaur Mk. I and a Japanese Type 95 Ha-Go Light Tank.

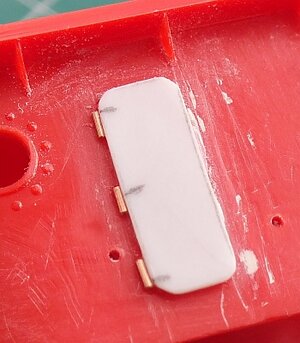
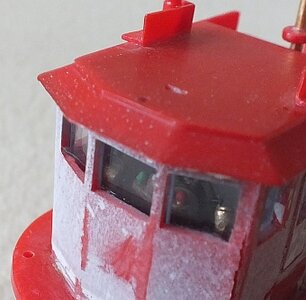
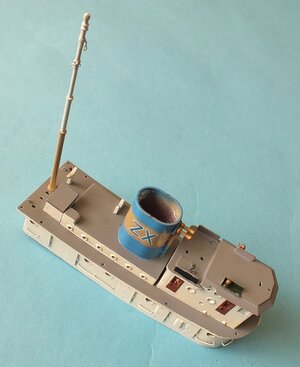
But now I can show the superstructure put together. You can see the railings around the lower part of the "house" as well as the door hinges. The superstructure was also given glass windows, through which, if you look hard enough, you can see the interior fittings installed early on.

37.jpg37a..jpg38.jpg39.jpg

In the next post I think I will show how I painted the hull. I only have to take a picture tomorrow if the weather is fine...
Best Regards,
Edmund
 
Hi Will. I look forward to the start of your USS Indianapolis with longing. When you need any assistance, you can count on me to help.

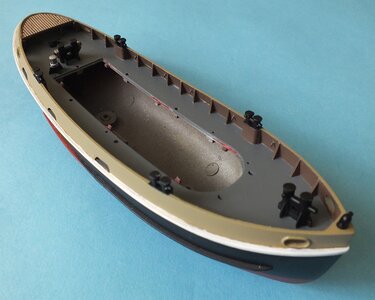
I managed to paint the hull of my tug. It was a bit of work, mostly with masking. I had to use a lot of tape to get the desired effect. I think it came out pretty good. I hope the superstructure will be painted as well. By the way - I have painted the hull with Tamiya spray paints...

41.jpg

Best Regards,
Edmund
 
Hi Will. I look forward to the start of your USS Indianapolis with longing. When you need any assistance, you can count on me to help.

I managed to paint the hull of my tug. It was a bit of work, mostly with masking. I had to use a lot of tape to get the desired effect. I think it came out pretty good. I hope the superstructure will be painted as well. By the way - I have painted the hull with Tamiya spray paints...

View attachment 314701

Best Regards,
Edmund
OMG Edmund. What wonderful colors and the contrast between them is fantastic. Just a great job the deck to bulwark, the bulwark to hull and the white strip amazing. Please post more pictures.
 
Hi Will. I'm glad you like my work.

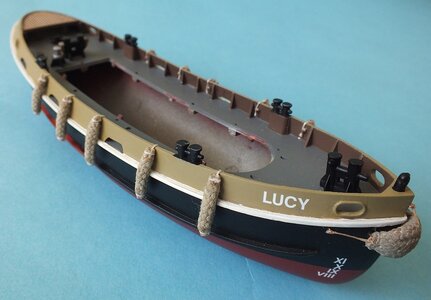
As for the colors, before I decided what colors to paint the tugboat with, I looked through a lot of photos of both original ships and their models. Believe me, there is a huge amount of it on the Internet. After reviewing the reference material, I decided on the presented color scheme. I like it. That is why one more photo of the hull from a different perspective and with some deck equipment added.

42.jpg

Best Regards,
Edmund
 
Time to finish the superstructure, which in the meantime has been painted with several colors and also using a lot of masking tape. I usually use Tamiya masking tape. And paints are as usual Tamiya sprays. I can see that I will have to make a few corrections.
43.jpg

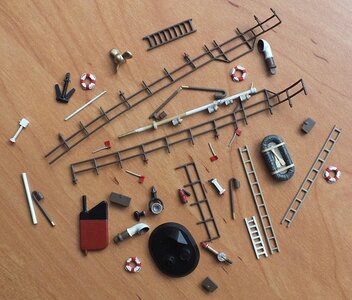
The most laborious work is ahead of me. I have to place all this stash where it is needed.

44.jpg

And this also has to be placed on the model.

45.jpg

Tough job...

Best Regards,
Edmund
 
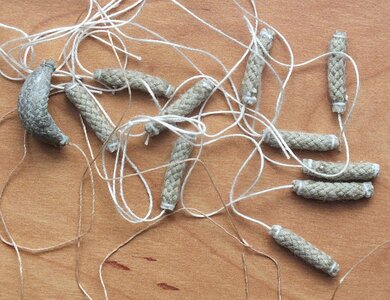
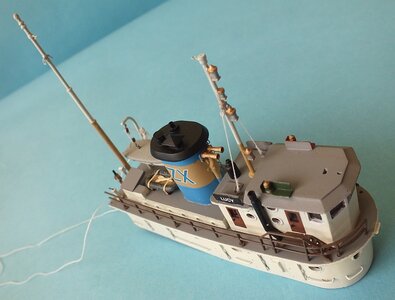
The work has picked up speed. I have to finish this tug very soon. Other models are waiting impatiently in the queue. I have mounted on the bulwark the fenders which I made earlier. I made them from pieces of a shoelace. I also applied a decal with the name "Lucy" on it. The original name was "Lucky", but there are so many Luckies on the internet that I decided to change the name to Lucy. Why? I will explain it in the final post. It was easy to redo the decal - I cut the "k" out of the middle, combined the "Luc" with the "y" and done:

46.jpg

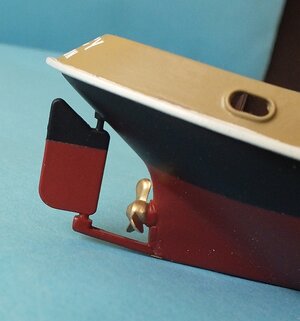
I also glued on the propeller and rudder. Here's how it looks:

47.jpg

Best Regards,
Edmund
 
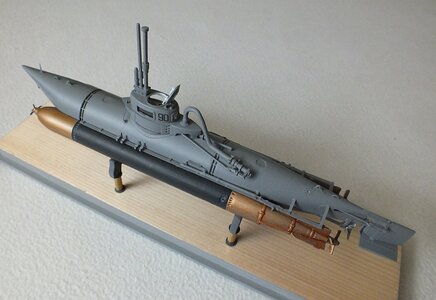
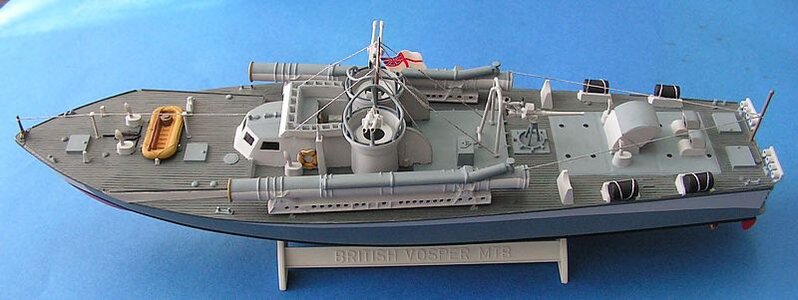
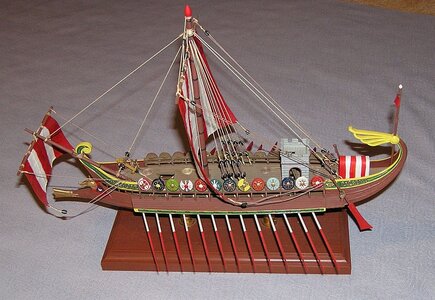
Thank you Will, for enjoying my work. I do the best I can. It does not always turn out the way I would like, but I think there is no shame. I am posting you a few pics of my work. You can see more in the "Submit Images of Completed Models Here" section.


1.jpg2..jpg3a.jpg16..jpg33.jpg53..jpgRoman warship 011.jpg

Best Regards,
Edmund
 
Nice work. Thanks for showing and I'll look at your finished this evening. I'm going to start a plastic build as soon as I get the Sirens standing rigging finished. My last plastic model was built in 1953. Don't remember the model though. I'll be modeling the USS Indianapolis by Academy with photo etch upgrades. I hope I can do it justice.
 
Hi Will.

In 1953 I was not even thinking about modeling yet. I got hooked in 1962, the first one was a cardboard model of the French cruiser "Surcouf". And then it went downhill. Still making models of different kinds. On the other hand I am looking forward to start building your USS Indianapolis.

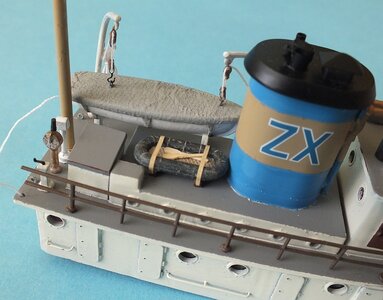
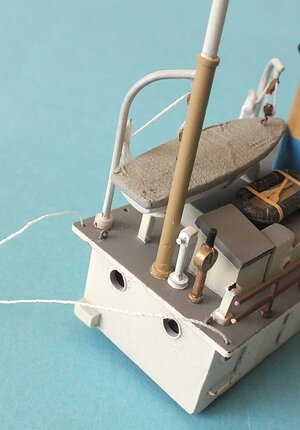
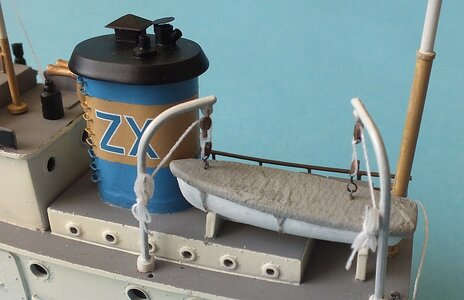
I dressed up the superstructure a bit with various gadgets and now it looks like in the pictures. In the next post I think it will be in the finished version.

48.jpg49.jpg50.jpg51.jpg

Kind Regards,
Edmund
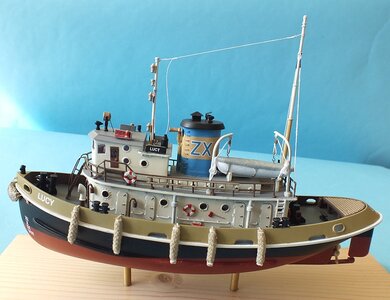
 
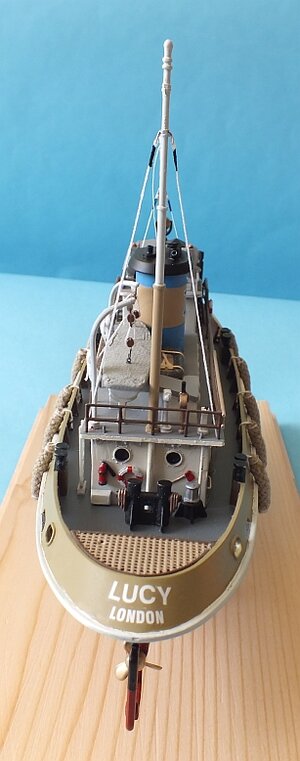
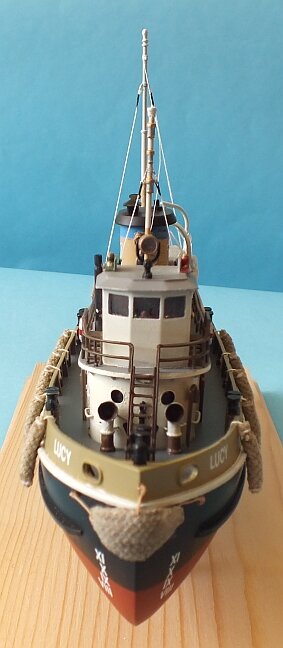
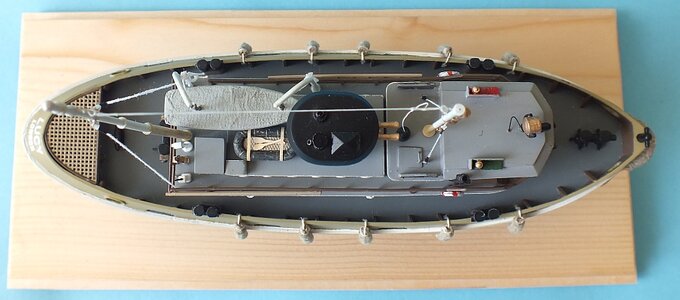
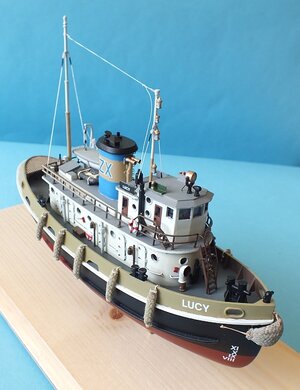
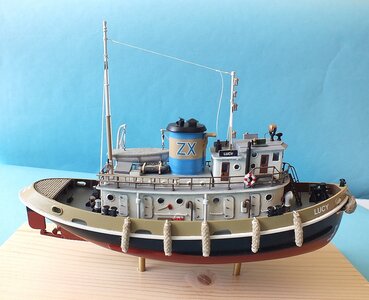
And here we have reached the end of the building report. All pieces of the puzzle are now in their place. There is nothing more to do but to present the final gallery. I had a great time building this neat tug. If you enjoyed it too, I may open another report. I don't know what it would be, but something will come up.


52.jpg53.jpg54.jpg55.jpg56.jpg57.jpg58.jpg59.jpg60.jpg

With Kind Regards,
Edmund
 
Congratulations for finishing your tug boat
Very well done Thumbsup
I am looking forward to follow your next project
 
Back
Top