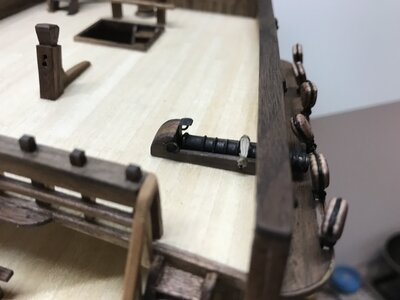
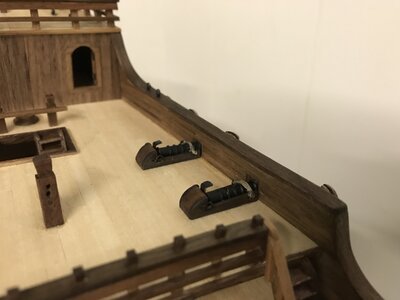
You are using an out of date browser. It may not display this or other websites correctly.
You should upgrade or use an alternative browser.
You should upgrade or use an alternative browser.
Santa Maria 1492 - Artesania Latina - scale 1:65 [COMPLETED BUILD]
- Joined
- Oct 11, 2021
- Messages
- 710
- Points
- 403

2nd layer of hull planking job - part 1
Hi friends,
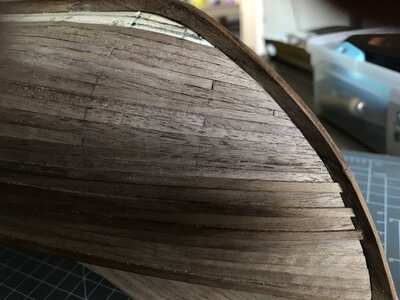
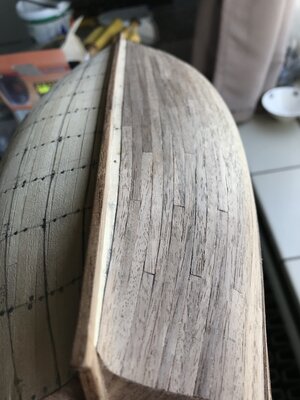
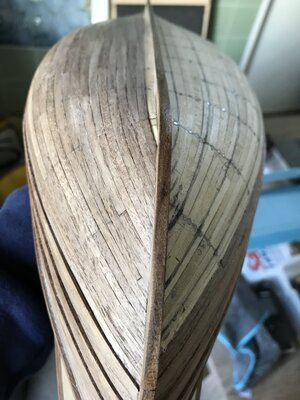
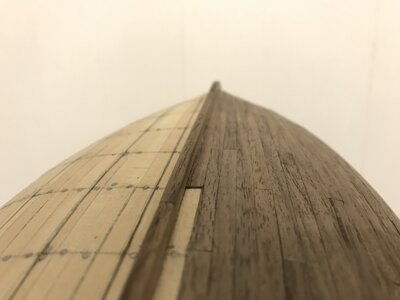
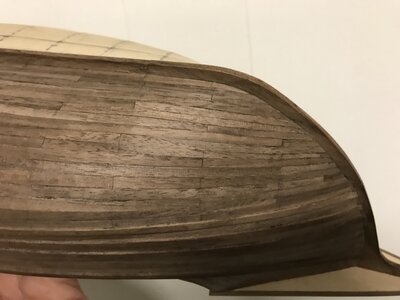
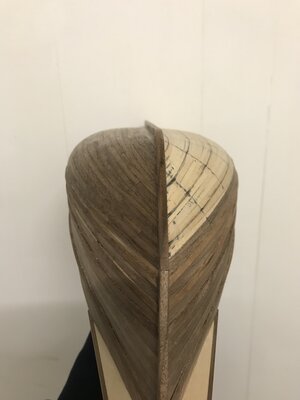
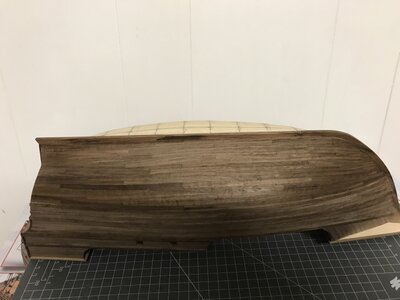
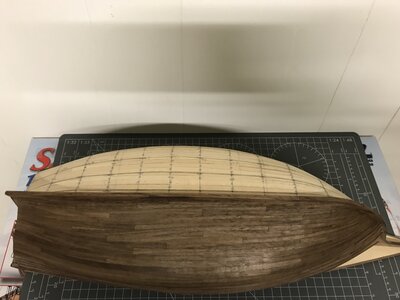
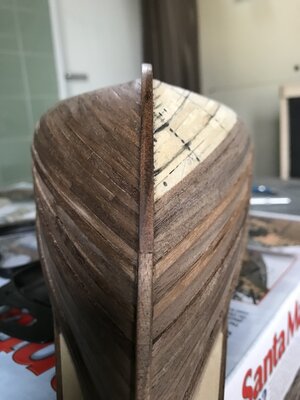
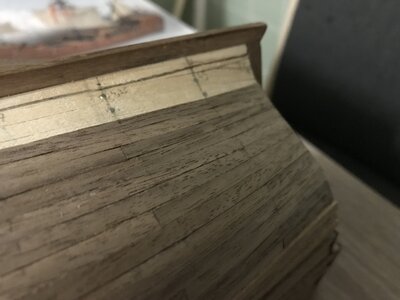
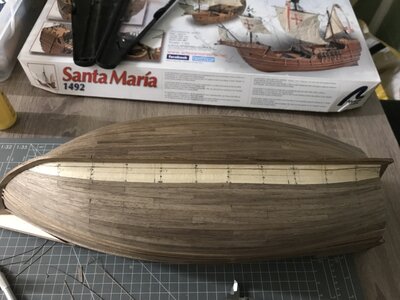
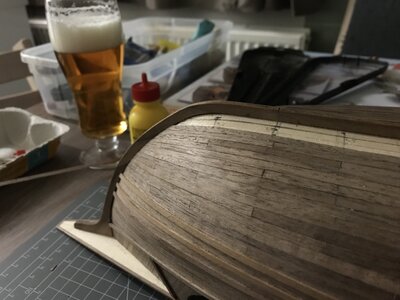
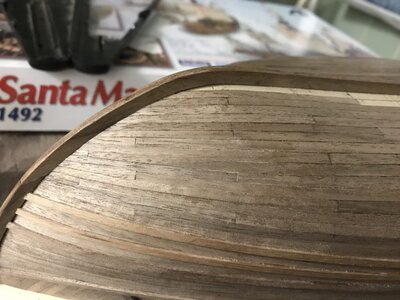
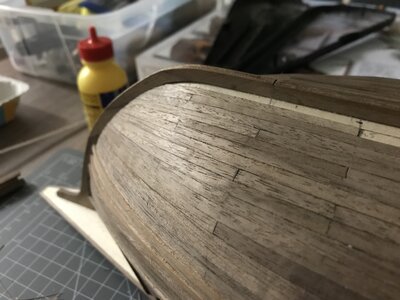
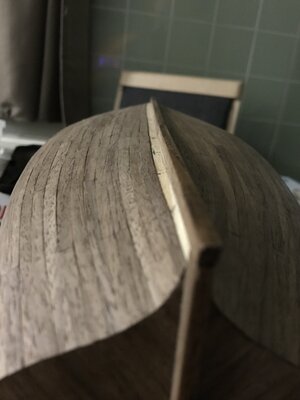
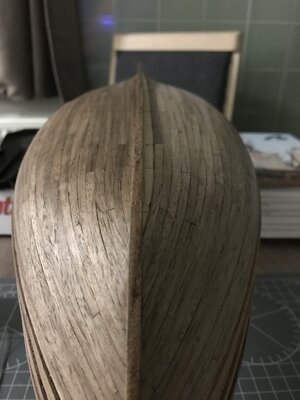
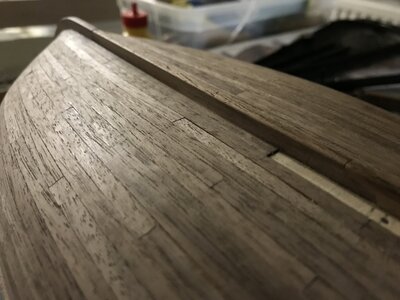
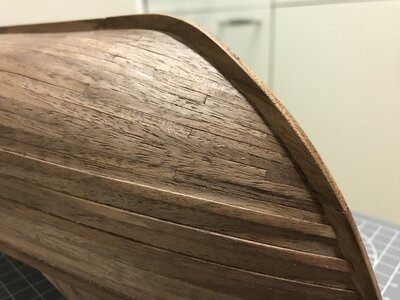
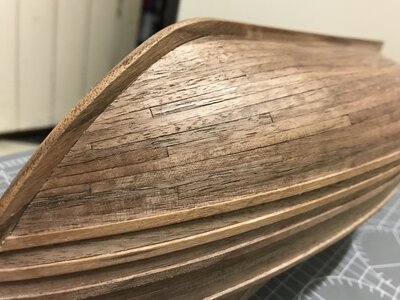
I would like to share my progress so far on the second layer of hull planking.
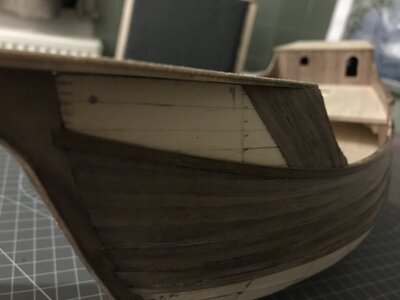
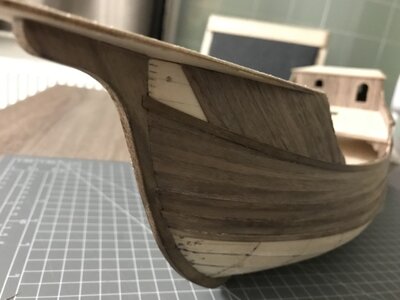
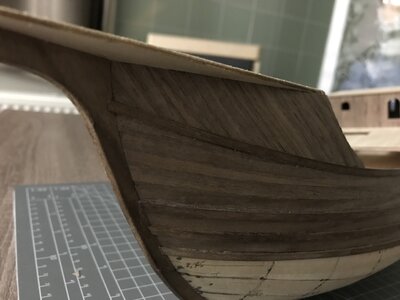
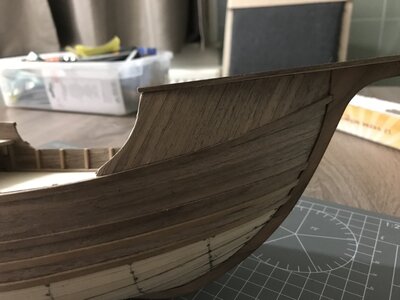
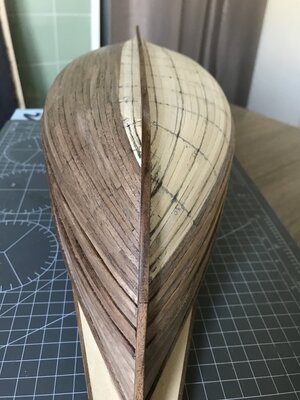
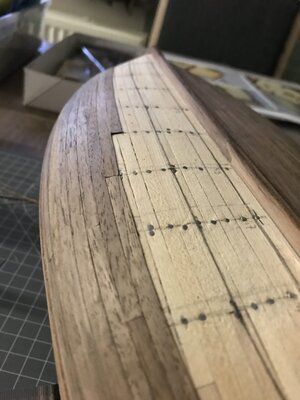
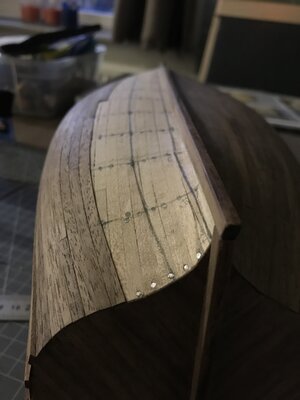
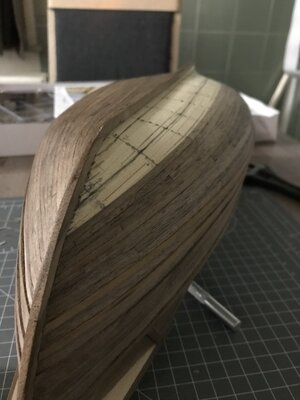
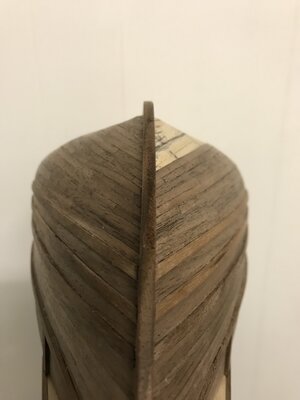
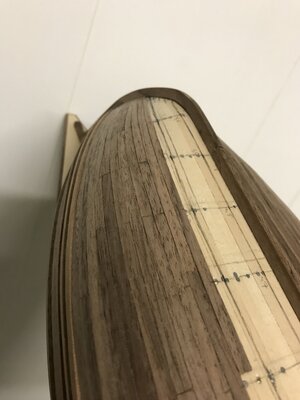
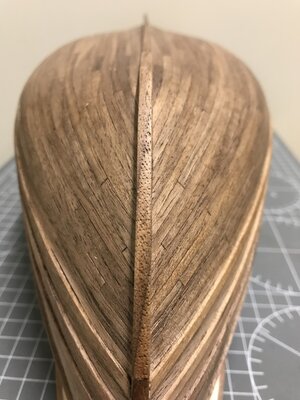
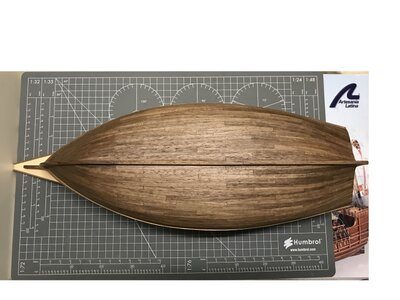
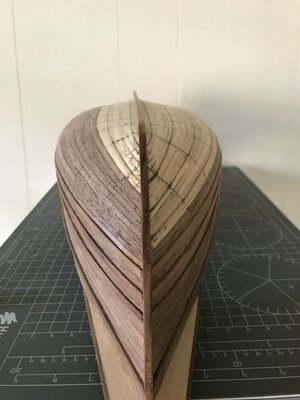
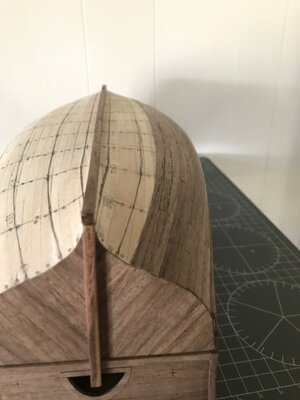
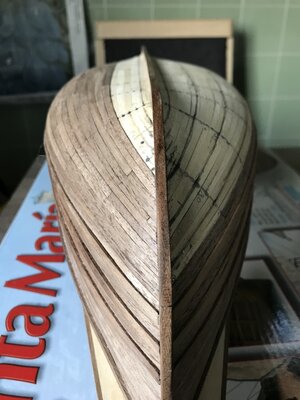
As mentioned in my previous update, these are my preparations before I start with the planking job. I think I spend more time on the preparations than on the actual planking job itself. I've done my measurements more than once, and finally drawn the lines on the hull and divided the hull into 4 equal parts and 1 sandstroke / board. I left the sandstroke separate because it's the plank I can play with a little bit to correct any mistakes along the way.
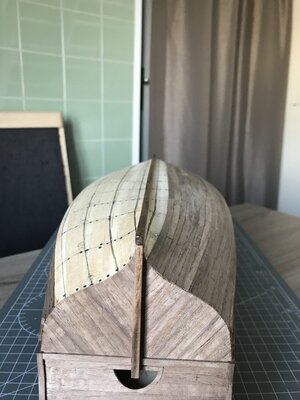
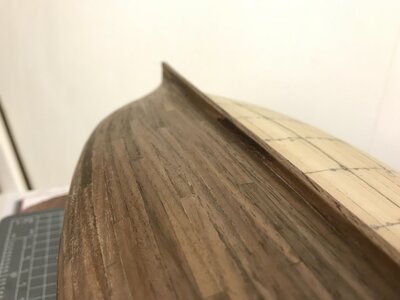
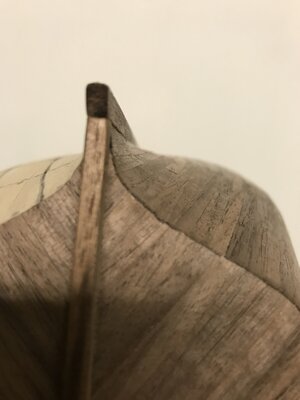
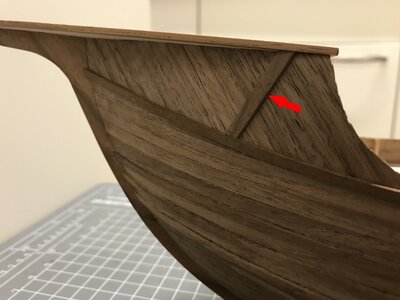
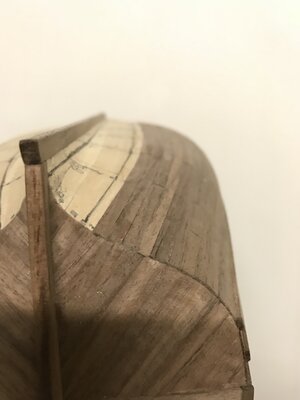
As you can see, I placed the wales first and all the board below the bottom wale will be tapered. So this is my reference point to the keel. Above the wales and the wales itself are not tapered.
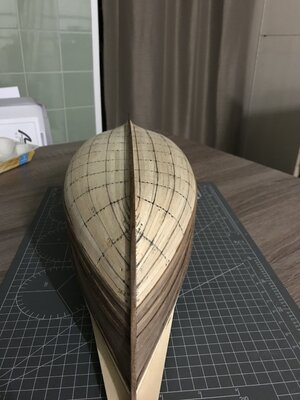
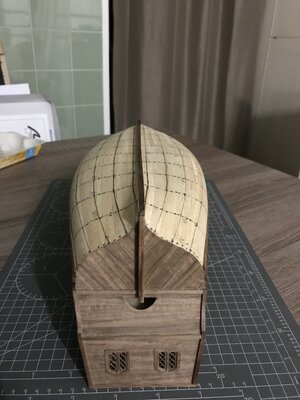
After this, I cut all my planks into equal lengths and made a bundle.
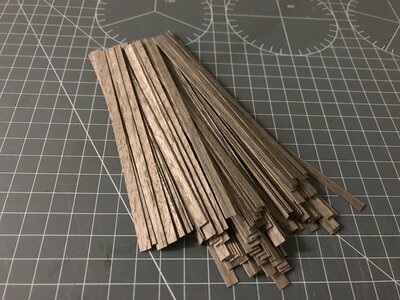
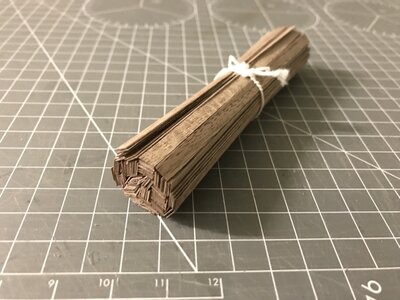
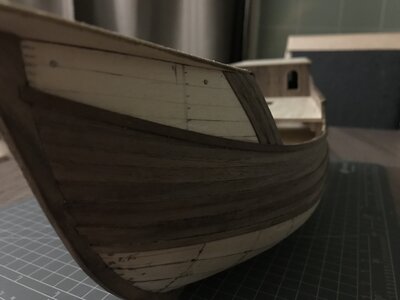
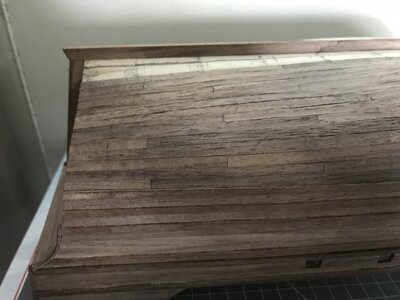
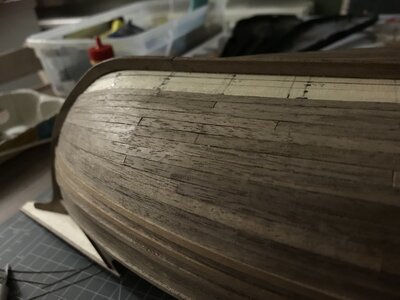
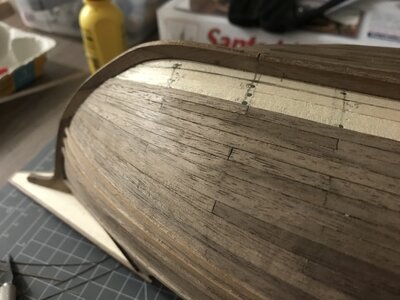
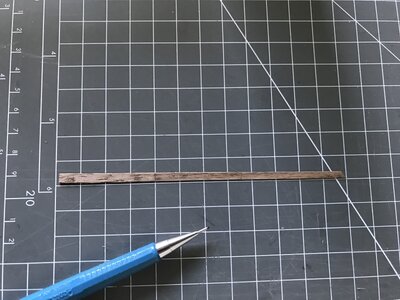
Preperations done, let's start laying the first plank. I take a strip of walnut and taper it to the correct dimensions. I use a steel ruler and a Exacto knife to taper the plank. After that it's dryfitting and when correct, glue it on the hull. I don't use full length strips, because I like the pattern of independed boards.
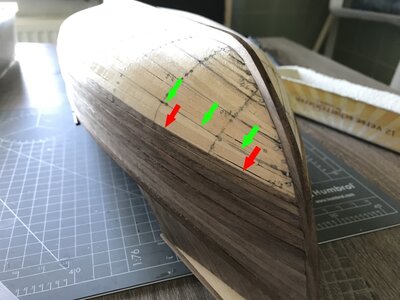
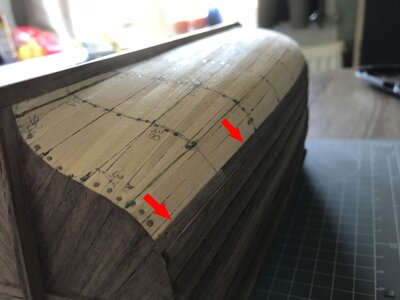
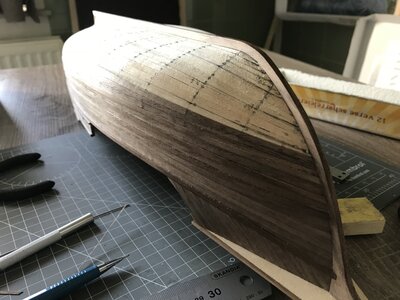
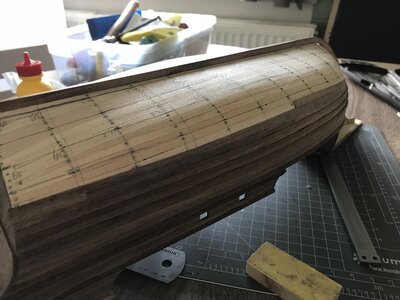
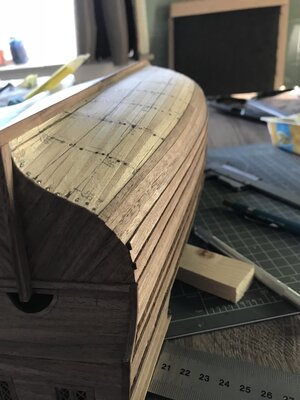
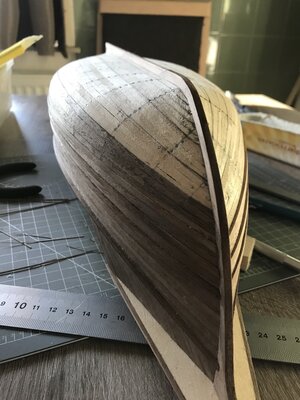
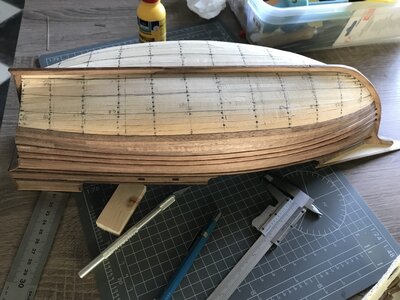
So, the first 4 strokes are placed and I've come to the first line. For me the 4 lines are crucial reference point and I work towards these lines so I know I'm on track so to say. After this I'll repeat the process to the next line, and the next till I'll reach the sandstroke.
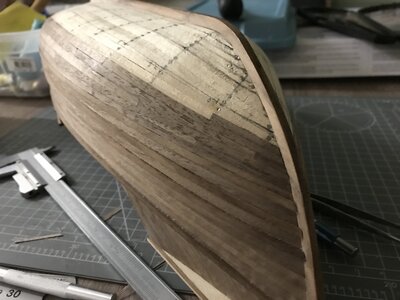
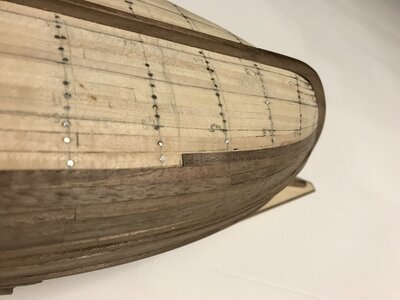
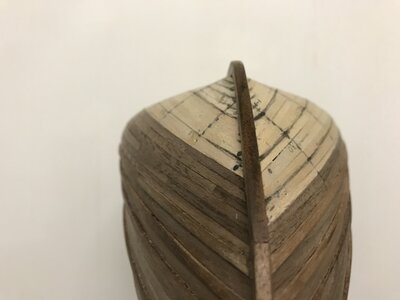
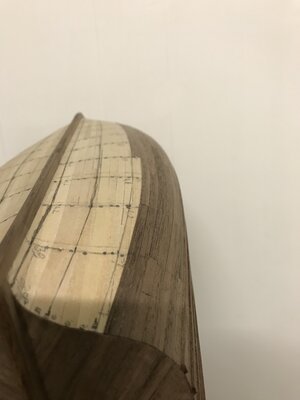
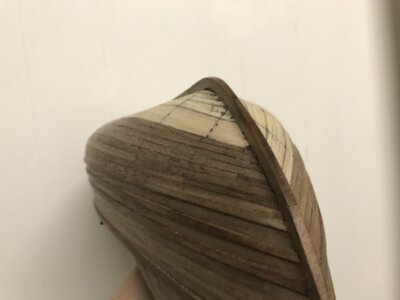
2nd line reached, on to the third!
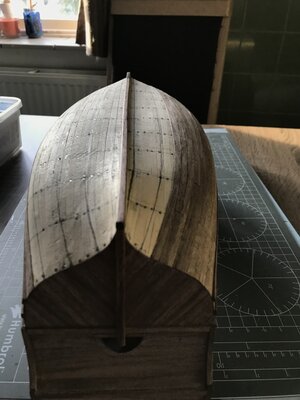
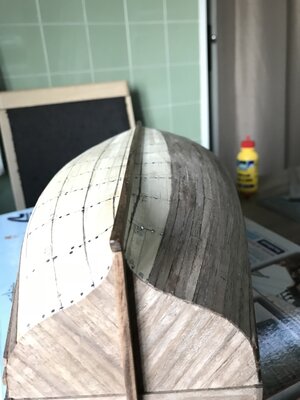
Hi friends,
I would like to share my progress so far on the second layer of hull planking.
As mentioned in my previous update, these are my preparations before I start with the planking job. I think I spend more time on the preparations than on the actual planking job itself. I've done my measurements more than once, and finally drawn the lines on the hull and divided the hull into 4 equal parts and 1 sandstroke / board. I left the sandstroke separate because it's the plank I can play with a little bit to correct any mistakes along the way.
As you can see, I placed the wales first and all the board below the bottom wale will be tapered. So this is my reference point to the keel. Above the wales and the wales itself are not tapered.


After this, I cut all my planks into equal lengths and made a bundle.


Preperations done, let's start laying the first plank. I take a strip of walnut and taper it to the correct dimensions. I use a steel ruler and a Exacto knife to taper the plank. After that it's dryfitting and when correct, glue it on the hull. I don't use full length strips, because I like the pattern of independed boards.


So, the first 4 strokes are placed and I've come to the first line. For me the 4 lines are crucial reference point and I work towards these lines so I know I'm on track so to say. After this I'll repeat the process to the next line, and the next till I'll reach the sandstroke.


2nd line reached, on to the third!


- Joined
- Oct 11, 2021
- Messages
- 710
- Points
- 403

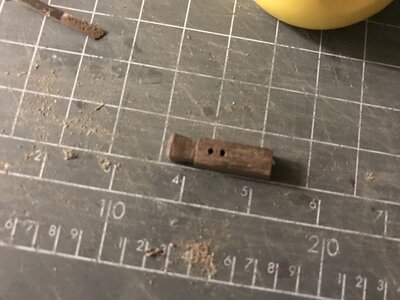
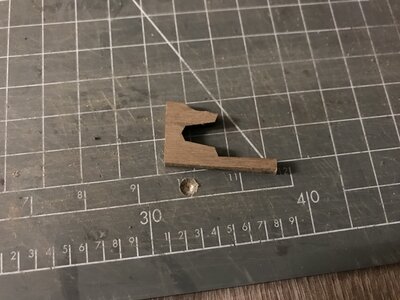
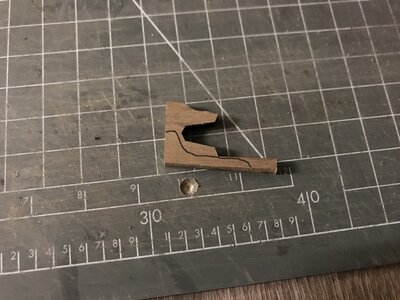
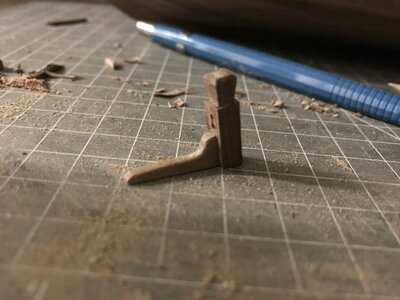
Modifying the rudder
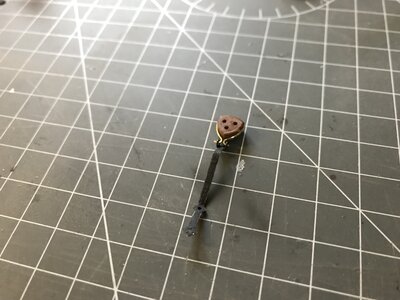
Back towards the rudder then. It comes with the kit pre-made from walnut and all I had to do is some sanding to get rid of the laser burns.
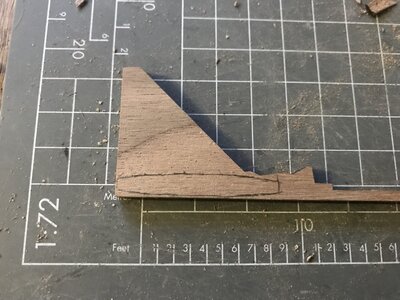
I didn't liked the thickness of the wood, it felt to bulky to me and I was wondering what was wrong. So after a while I decided to taper the end part of the rudder.
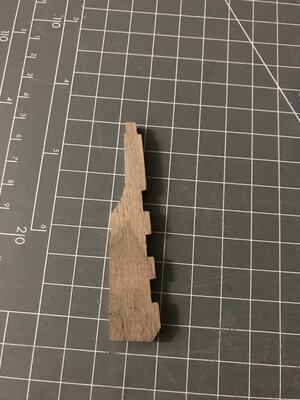
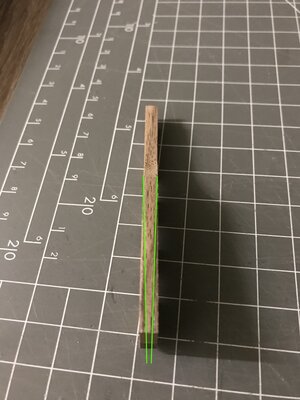
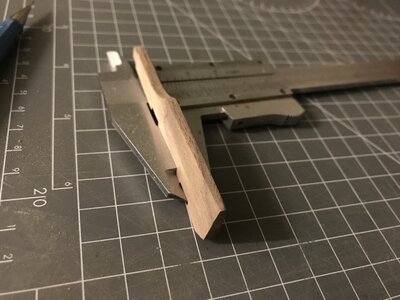
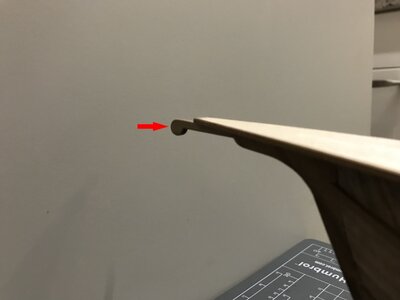
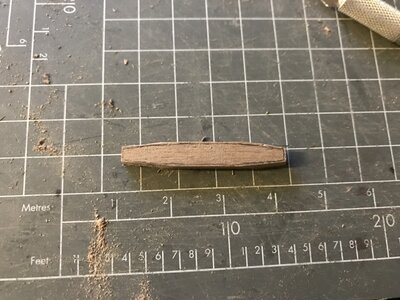
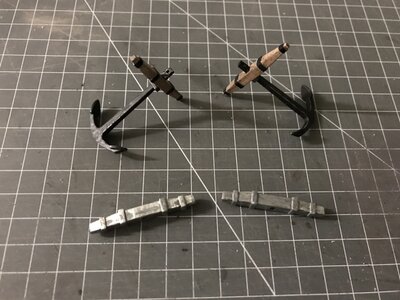
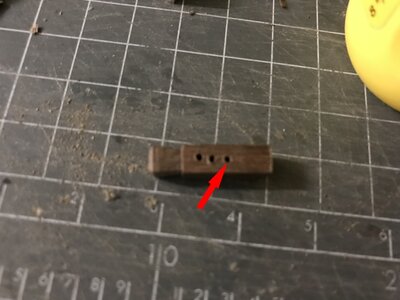
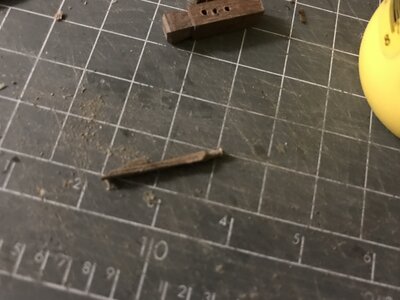
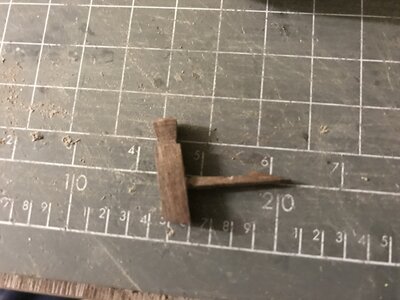
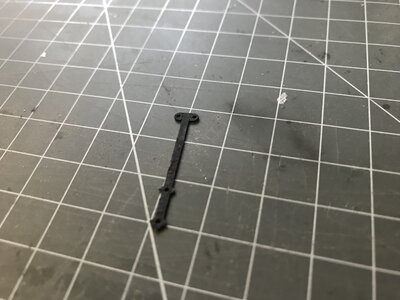
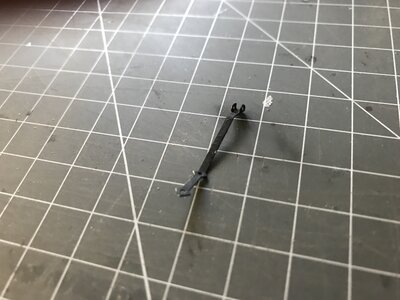
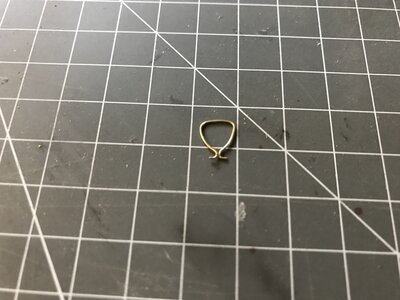
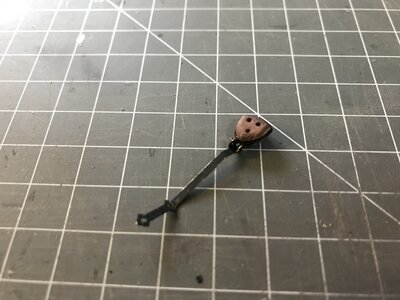
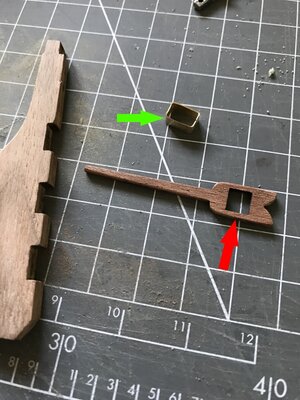
So in the next picture, I'll show some parts. The rudder, the helm(stick) (red arrow) and a metal band which is made from a strip of brass. (green arrow)
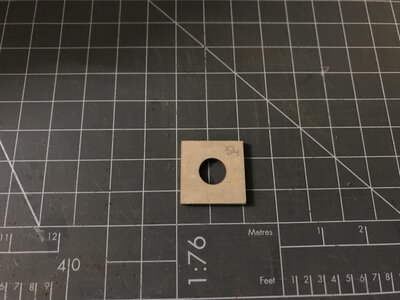
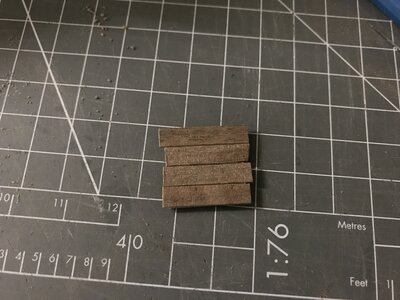
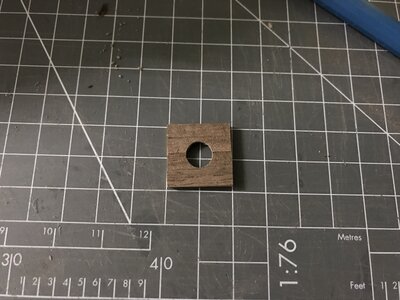
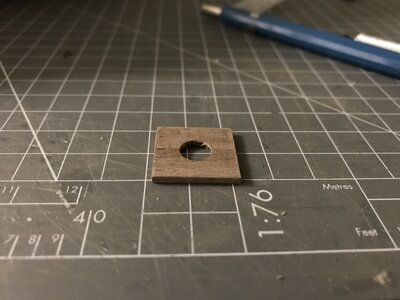
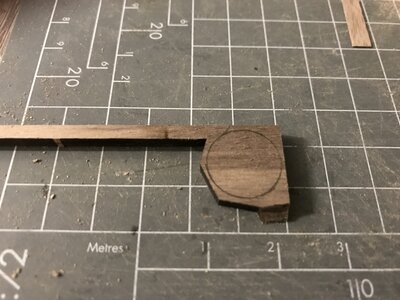
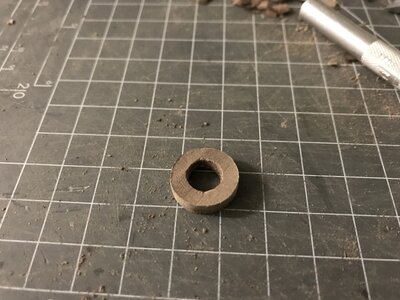
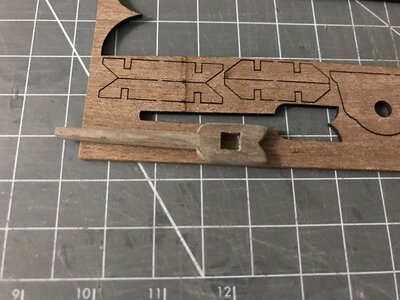
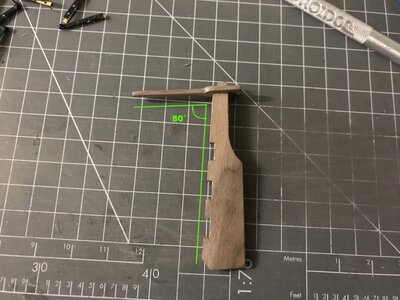
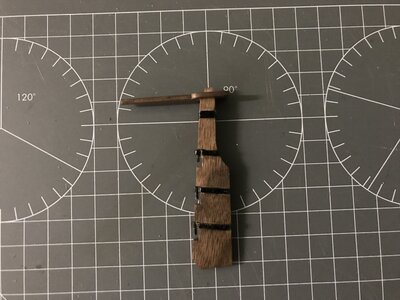
I decided to use some walnut veneer to cover the sapeli wood because I didn't like the color. Also the hole is too large for the rudder to fit so I changed that as well and made it smaller.
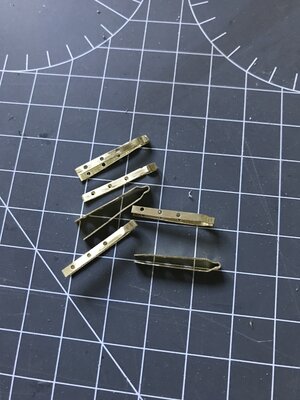
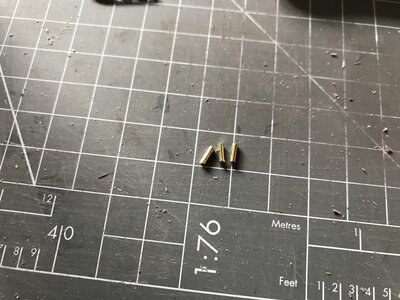
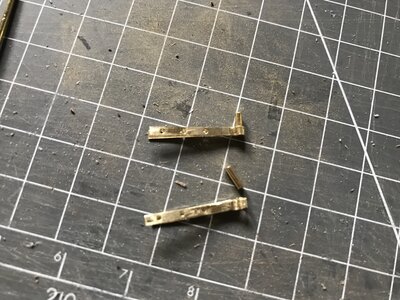
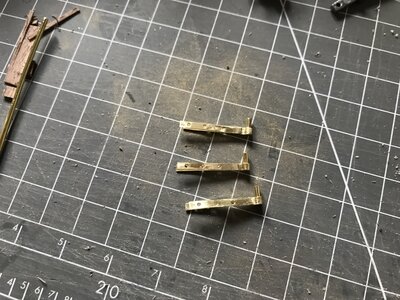
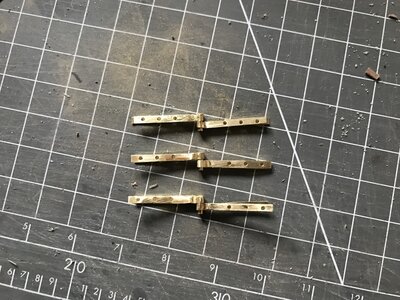
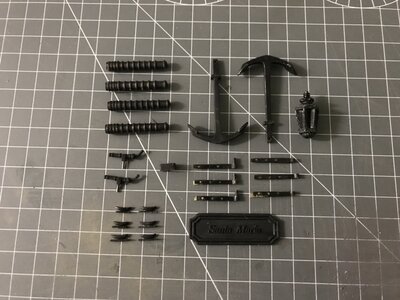
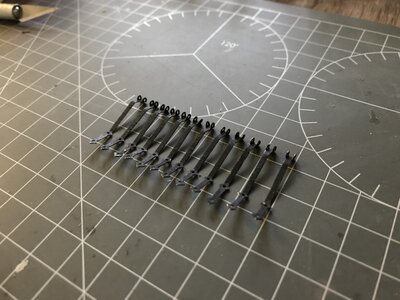
Normally I would use Brass Black of B&C to for the bluing effect. As I was out of stock, I used black paint instead.
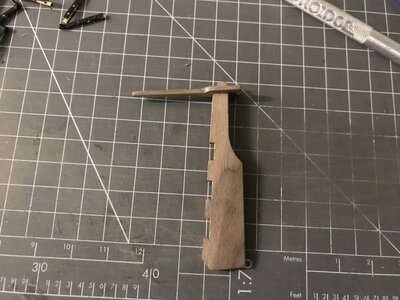
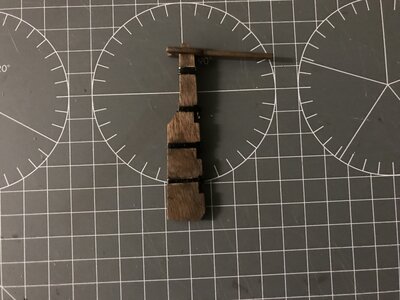
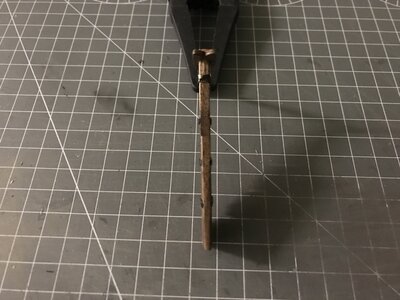
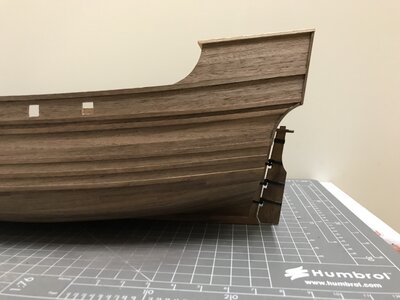
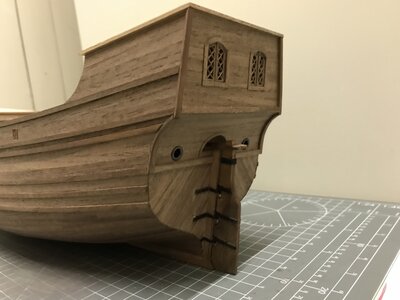
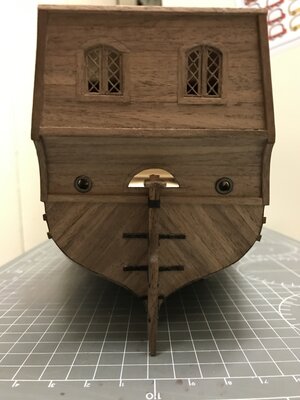
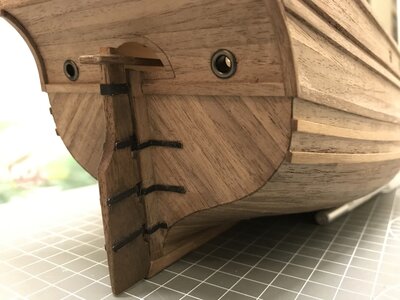
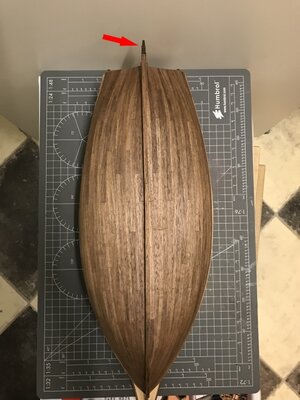
Back towards the rudder then. It comes with the kit pre-made from walnut and all I had to do is some sanding to get rid of the laser burns.
I didn't liked the thickness of the wood, it felt to bulky to me and I was wondering what was wrong. So after a while I decided to taper the end part of the rudder.


So in the next picture, I'll show some parts. The rudder, the helm(stick) (red arrow) and a metal band which is made from a strip of brass. (green arrow)
I decided to use some walnut veneer to cover the sapeli wood because I didn't like the color. Also the hole is too large for the rudder to fit so I changed that as well and made it smaller.


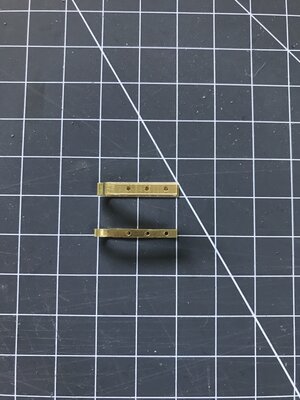
Normally I would use Brass Black of B&C to for the bluing effect. As I was out of stock, I used black paint instead.


- Joined
- Oct 11, 2021
- Messages
- 710
- Points
- 403

Railings
I wanted to change the railings and do them differently than the kitmaker suggested.
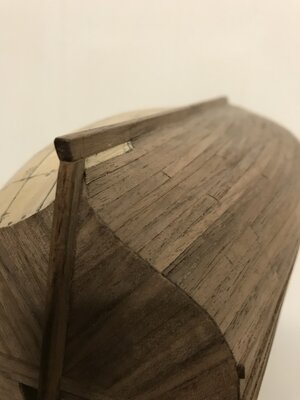
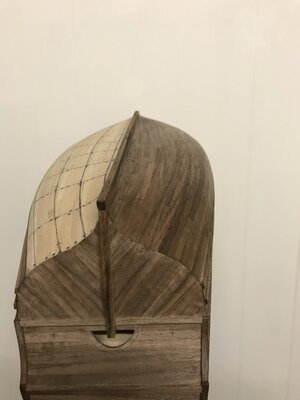
This was a tough job , I wanted to make them out of a solid strip of walnut instead of constructing them from small parts and then glued together.
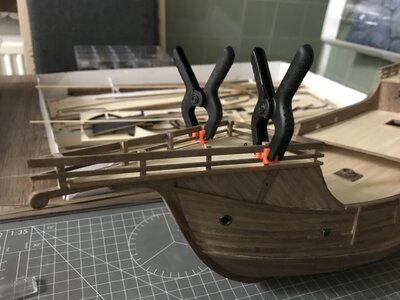
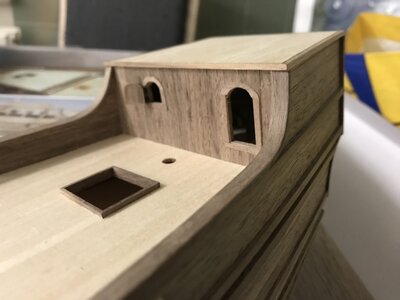
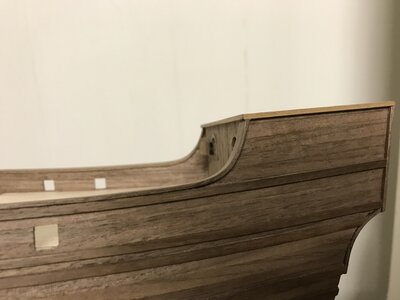
For the upper railings I did the following. I took some boiling hot water and placed the strip of walnut into the water. I plied the wood in the water until in curved in the correct curve. I took the strip out of the bowl and placed it wet on top of the bulwark and shaped the strip in the needed form and clamped it in place so the soaked wood can dry...
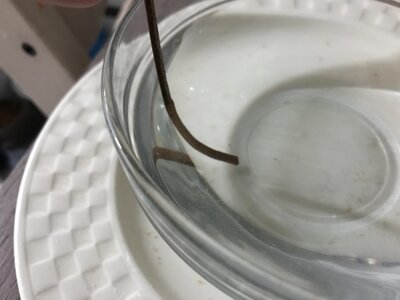
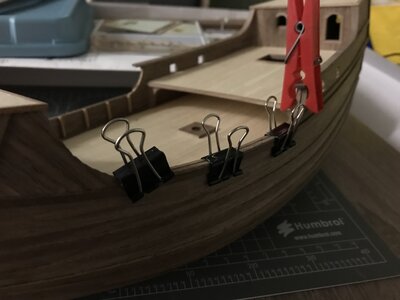
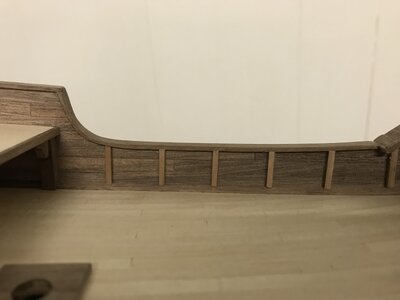
Time to move on to the bottom railings. I used the same technique of the boiling water to curve the wood into the right shape, placed the wet on the ship and let it dry. This time the railings consists out of two smaller strips of walnut. This is done so it can follow the curve of the hull. When glued together, you can hardly see the difference between the upper and lower railings.
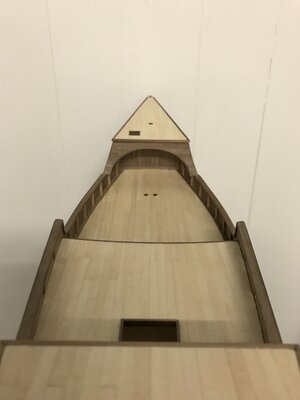
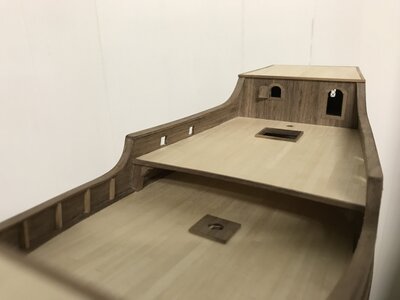
This completed another task and quest for me. Time to move on to the sides of the ship.
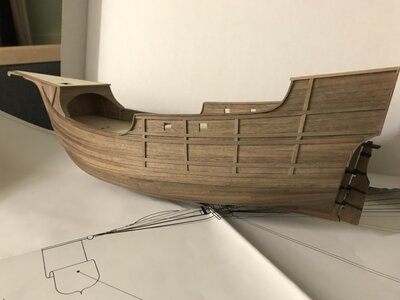
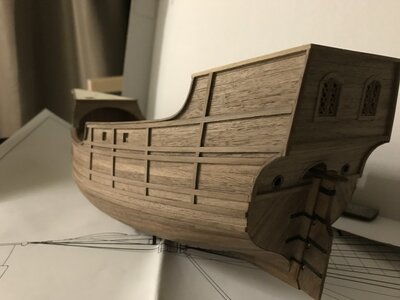
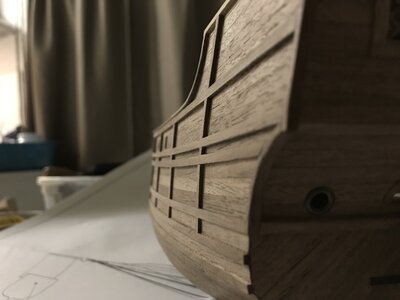
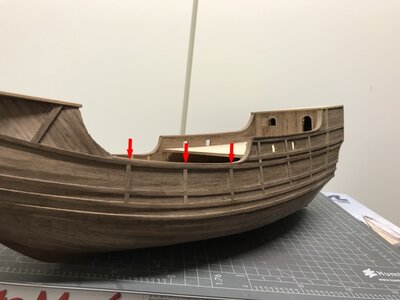
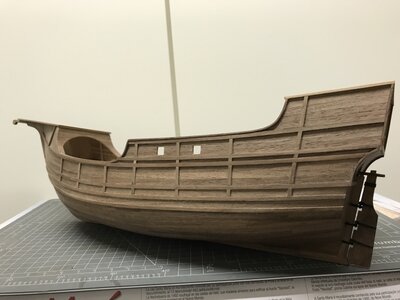
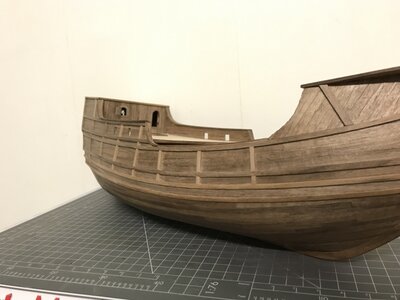
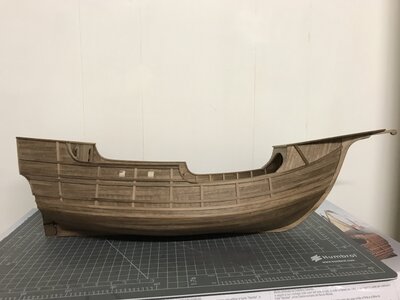
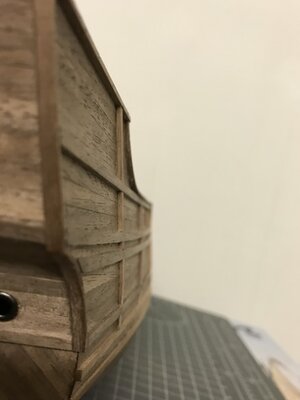
The second layer is glued on top of the first.
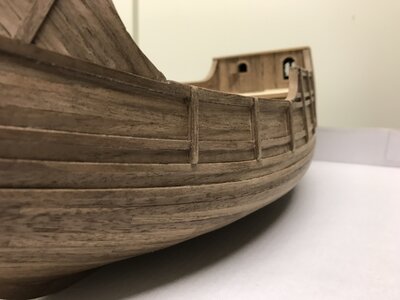
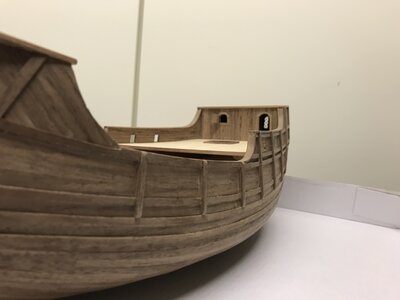
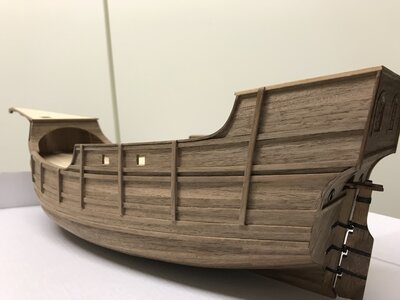
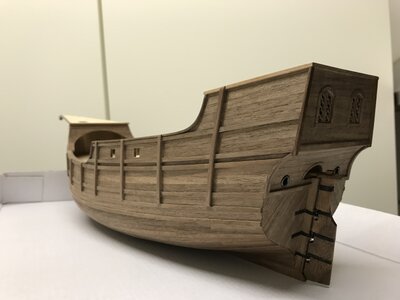
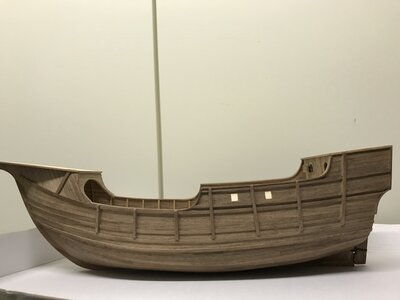
I wanted to change the railings and do them differently than the kitmaker suggested.
This was a tough job , I wanted to make them out of a solid strip of walnut instead of constructing them from small parts and then glued together.
For the upper railings I did the following. I took some boiling hot water and placed the strip of walnut into the water. I plied the wood in the water until in curved in the correct curve. I took the strip out of the bowl and placed it wet on top of the bulwark and shaped the strip in the needed form and clamped it in place so the soaked wood can dry...


Time to move on to the bottom railings. I used the same technique of the boiling water to curve the wood into the right shape, placed the wet on the ship and let it dry. This time the railings consists out of two smaller strips of walnut. This is done so it can follow the curve of the hull. When glued together, you can hardly see the difference between the upper and lower railings.


This completed another task and quest for me. Time to move on to the sides of the ship.


The second layer is glued on top of the first.


- Joined
- Oct 11, 2021
- Messages
- 710
- Points
- 403

Simulated Bolts
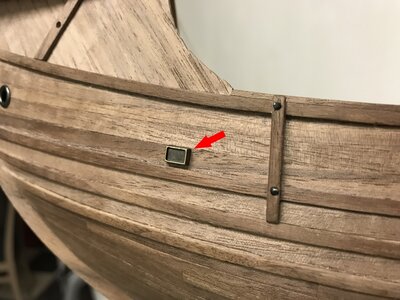
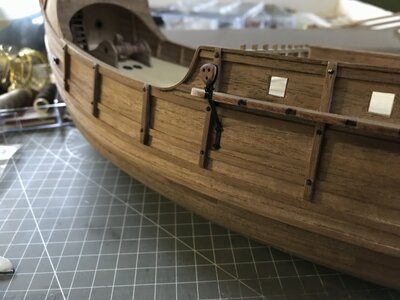
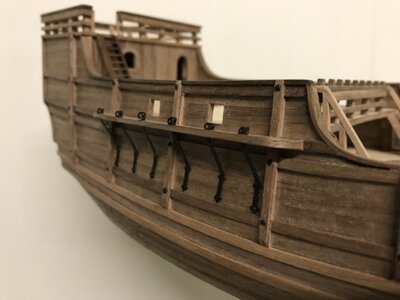
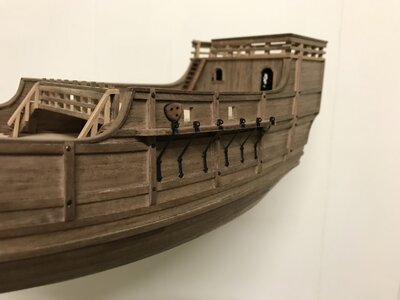
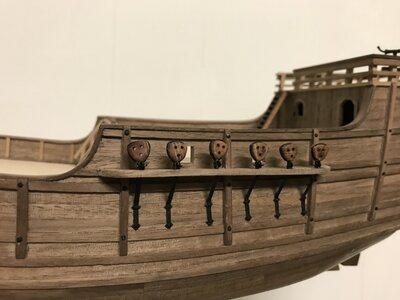
To fasten the vertical reinforcements I tried to simulate some bolts. I drilled some holes first and then painted the nails black. I used some pliers to push the nails into the wood. Usually I don't simulate nails because they always look out of scale. For this experiment I think it's fitting nicely.
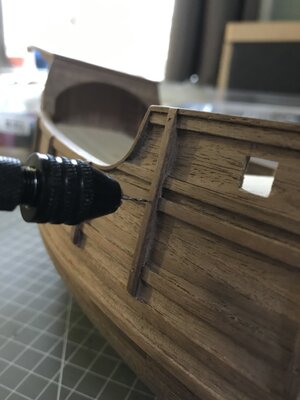
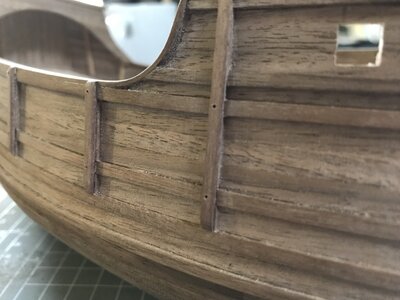
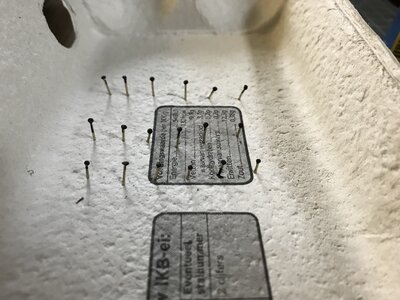
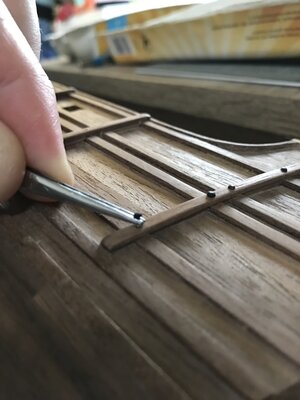
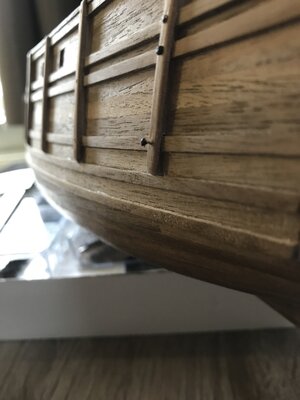
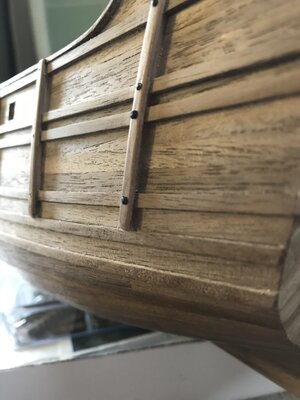
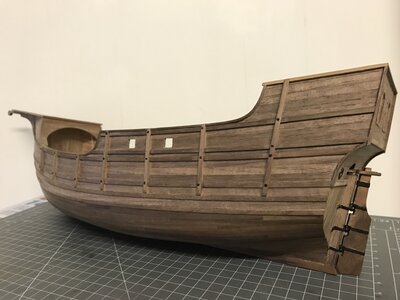
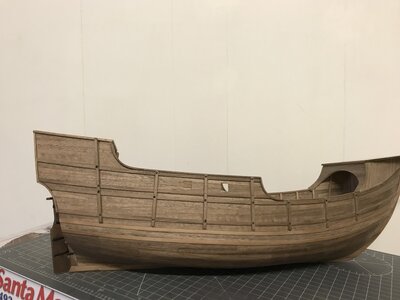
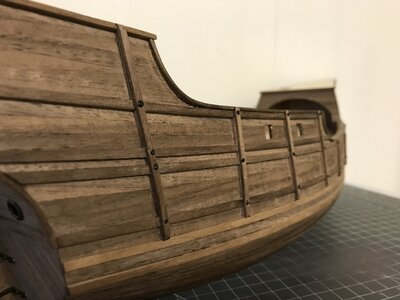
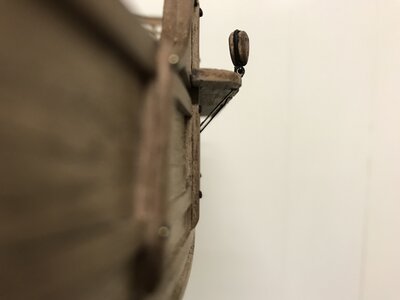
So, nails finished. Going forward with the planks that holds the dead eyes. I believe the correct term are Channels?!
I wanted to let them curve a bit in the direction of the wales. So I used some nails to fixate them in the right place.
But first I had to use some veneer to cover the sapeli wood.
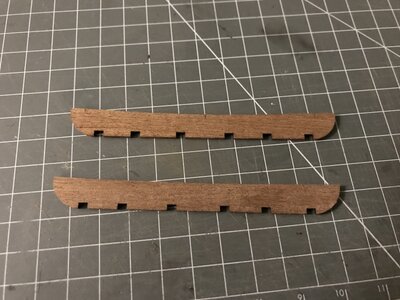
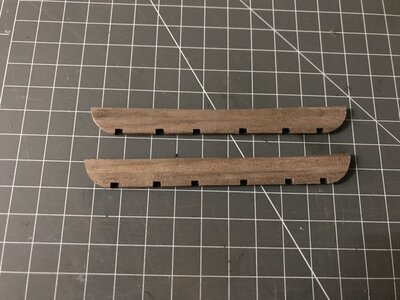
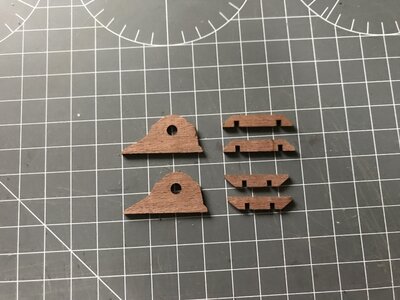
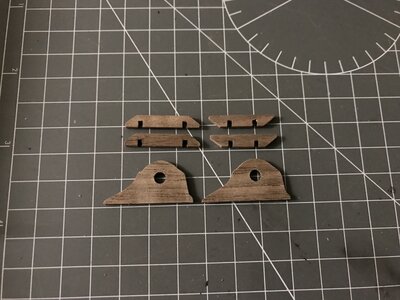
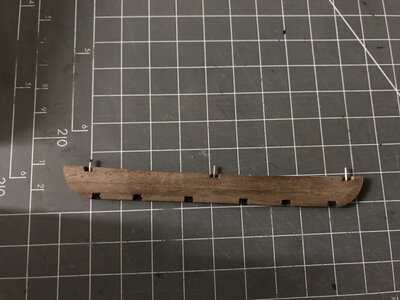
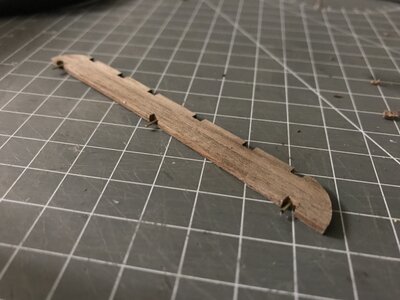
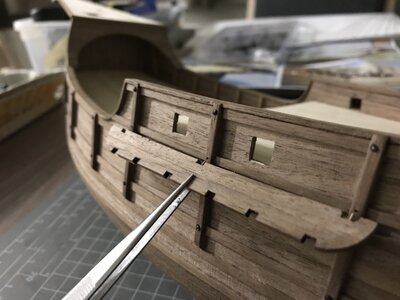
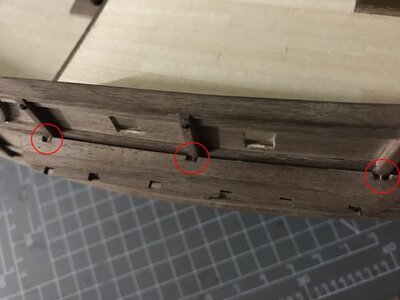
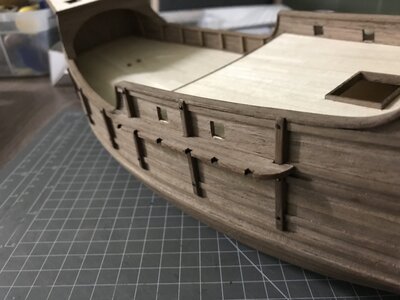
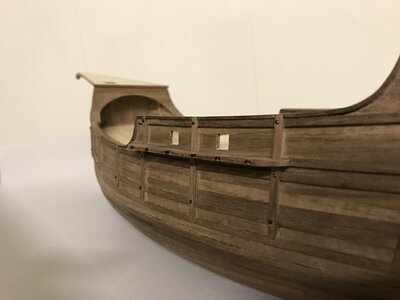
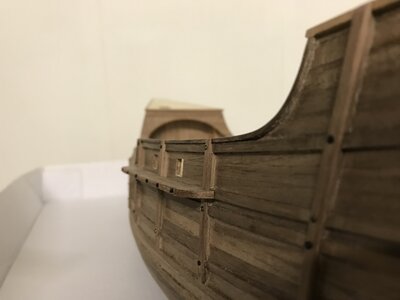
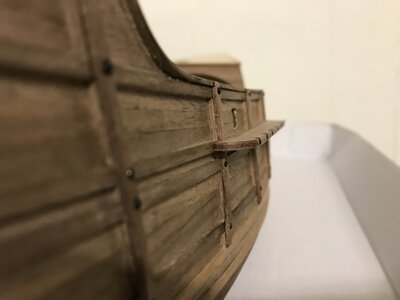
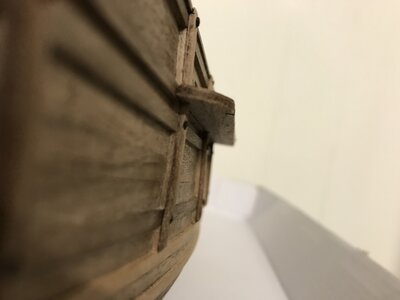
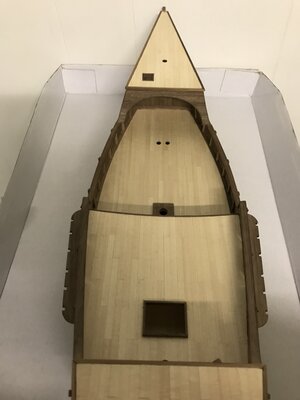
To fasten the vertical reinforcements I tried to simulate some bolts. I drilled some holes first and then painted the nails black. I used some pliers to push the nails into the wood. Usually I don't simulate nails because they always look out of scale. For this experiment I think it's fitting nicely.


So, nails finished. Going forward with the planks that holds the dead eyes. I believe the correct term are Channels?!
I wanted to let them curve a bit in the direction of the wales. So I used some nails to fixate them in the right place.
But first I had to use some veneer to cover the sapeli wood.


- Joined
- Oct 11, 2021
- Messages
- 710
- Points
- 403

The little things matter
The next update is all about the "little things" on a ship. Things that matter because they compliment the ship and thus gives the overall appearance a boost.
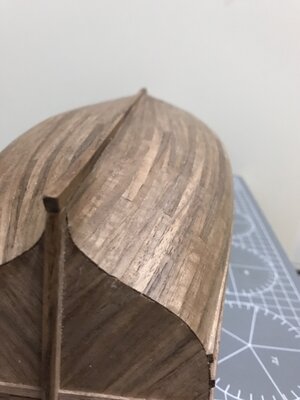
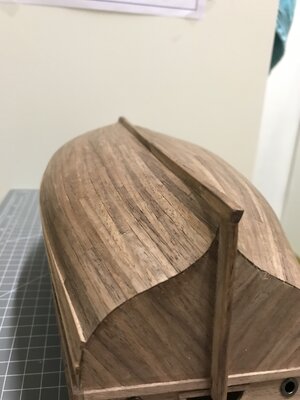
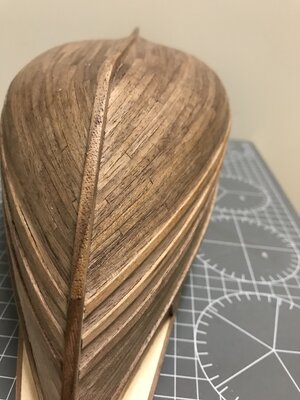
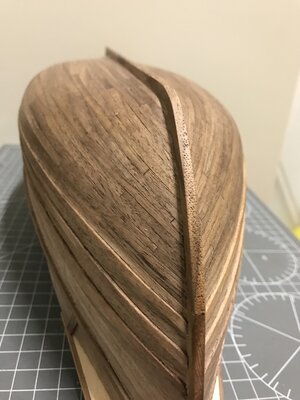
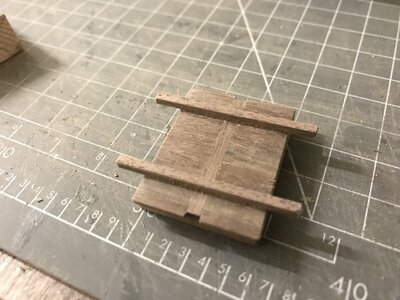
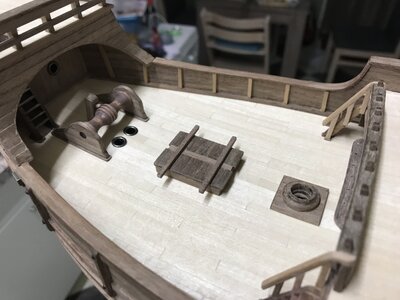
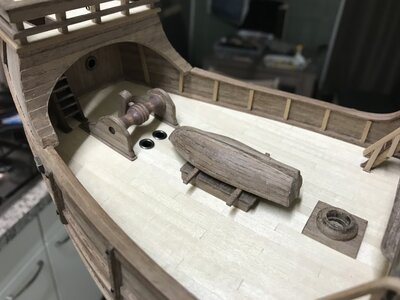
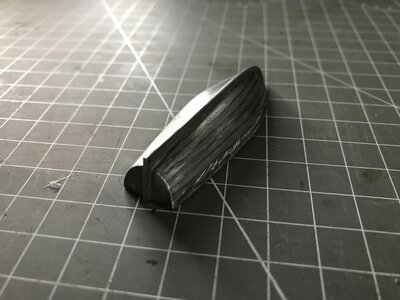
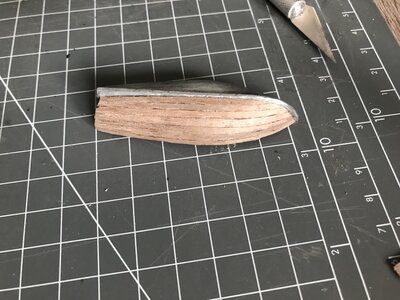
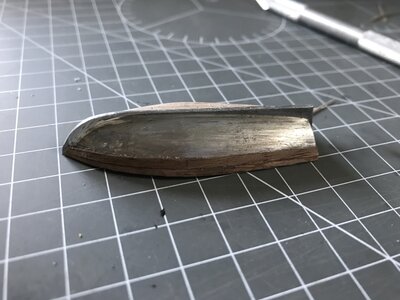
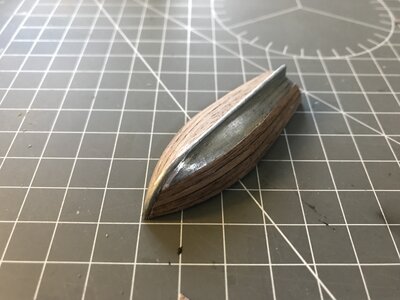
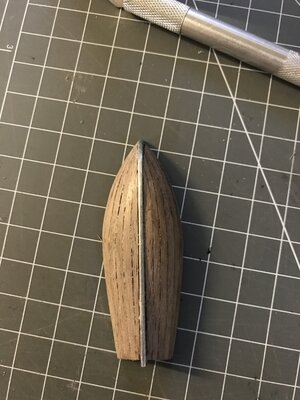
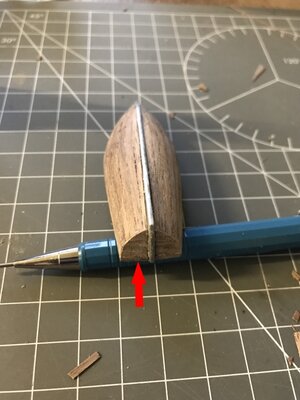
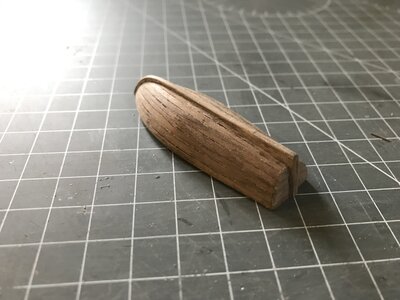
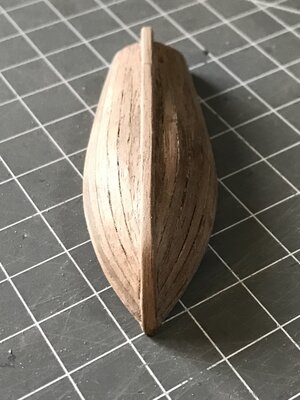
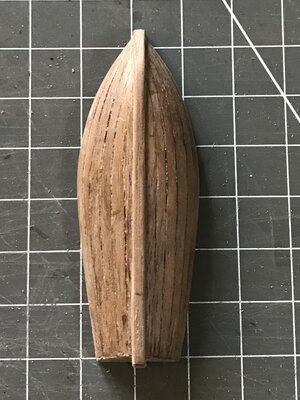
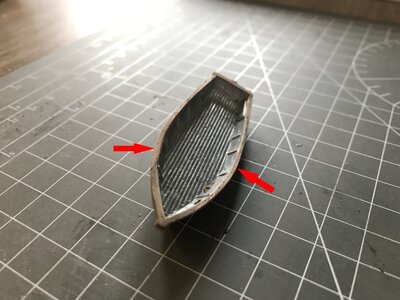
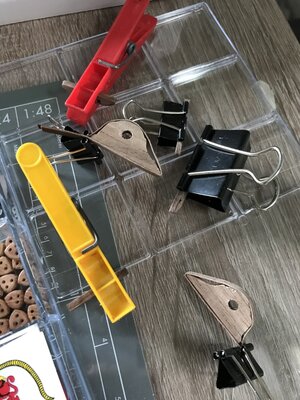
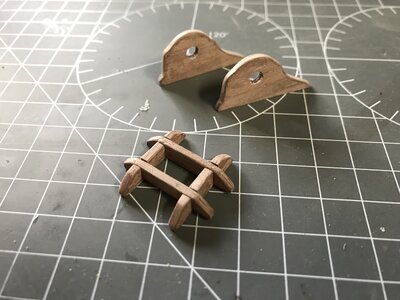
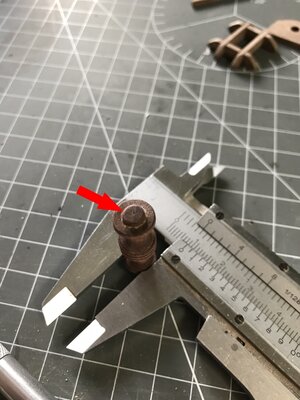
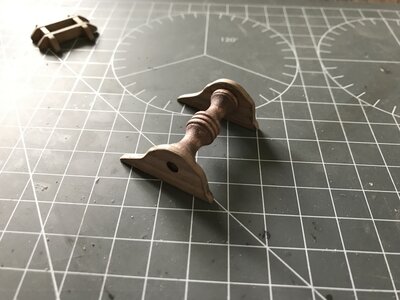
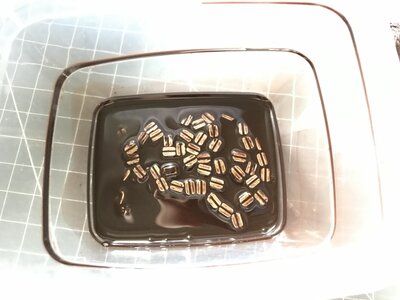
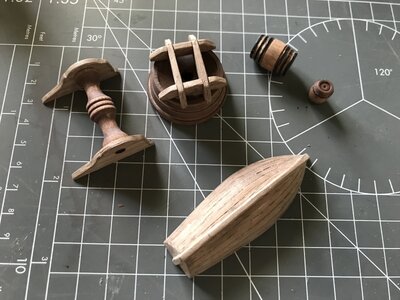
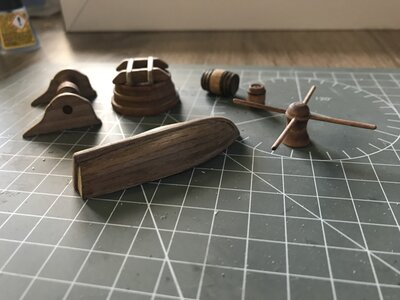
I'll start with the little boat that should be placed on deck somewhere. The kitmaker AL provides a cast metal one which isn't to bad. AL suggests to paint the hull of the boat. I decided to plank the hull with walnut veneer. I used CA gel glue to stick the wood to the metal. It's not the best glue for the job, but it worked.


- Joined
- Oct 11, 2021
- Messages
- 710
- Points
- 403

The little things matter - part 2
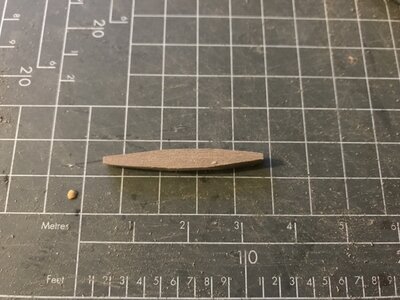
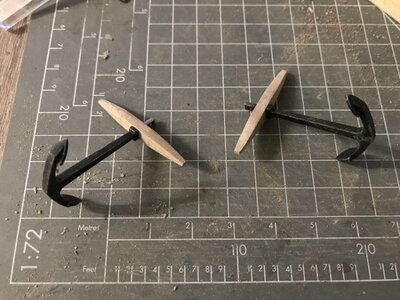
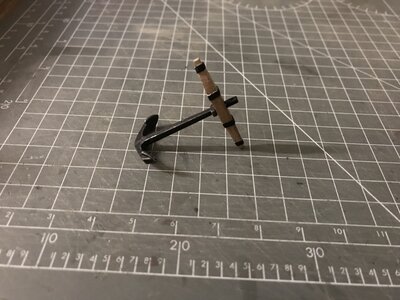
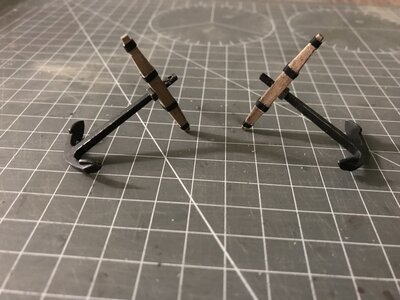
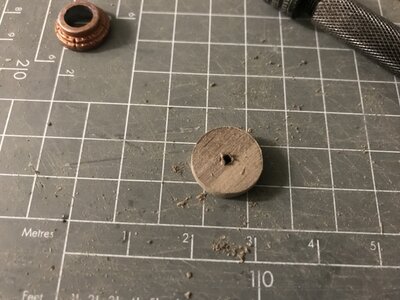
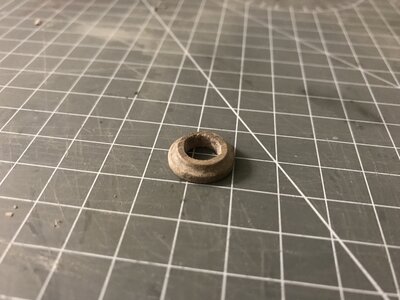
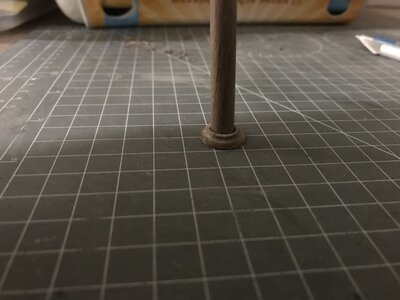
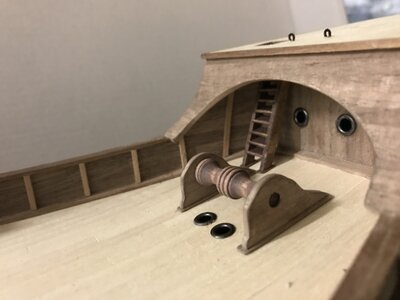
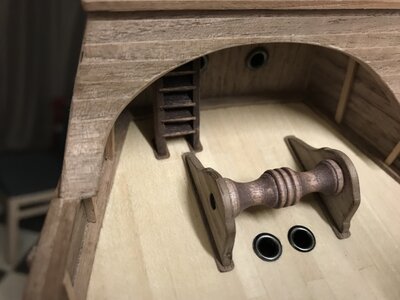
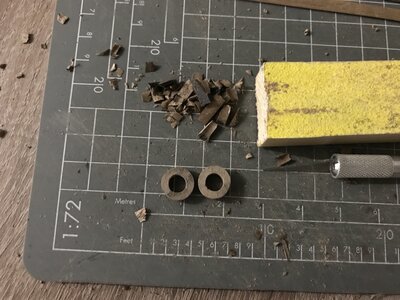
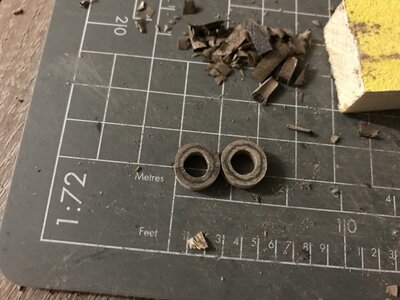
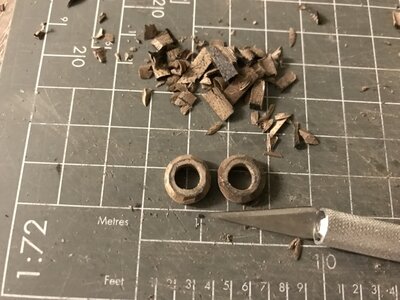
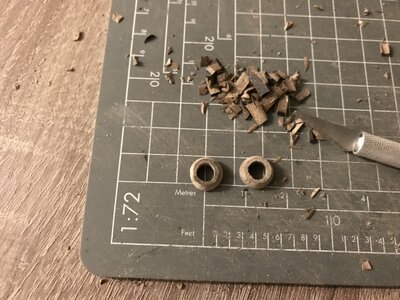
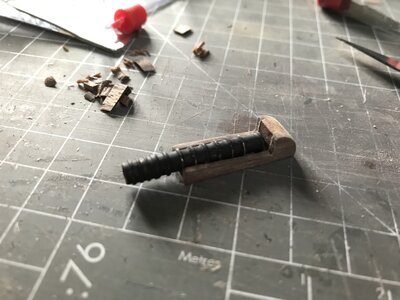
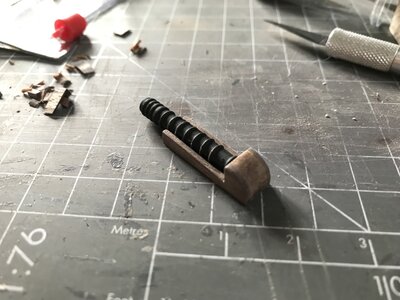
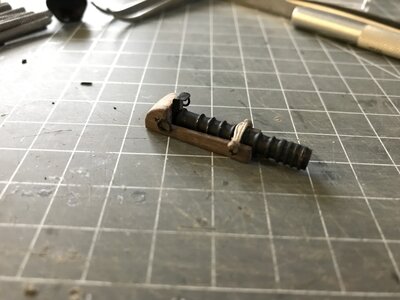
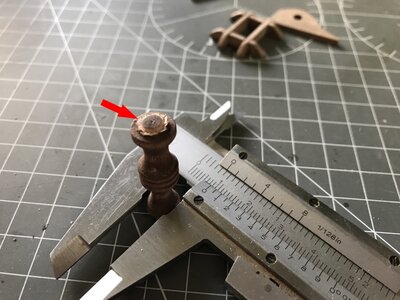
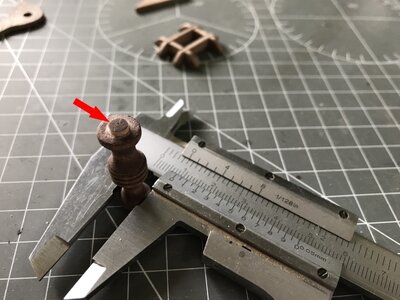
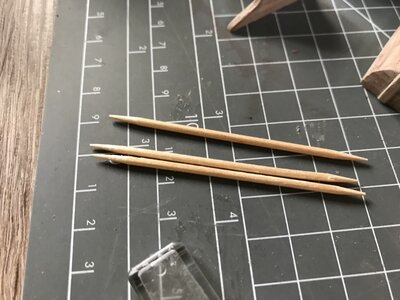
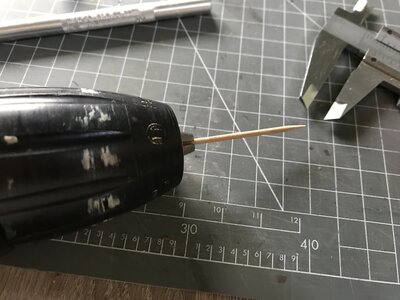
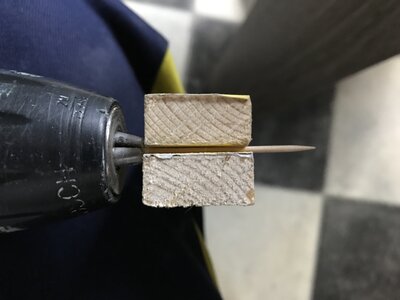
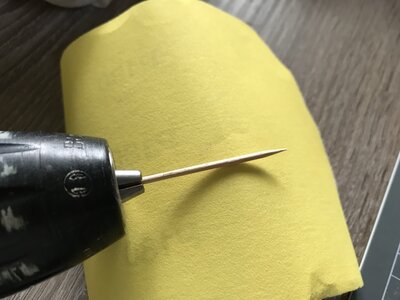
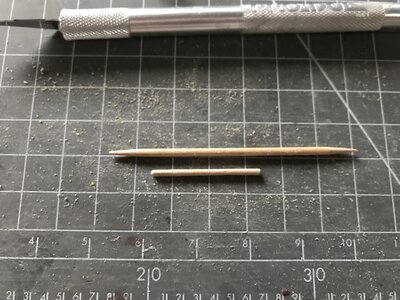
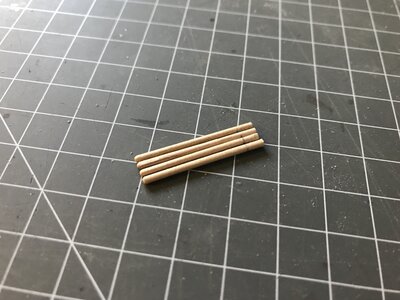
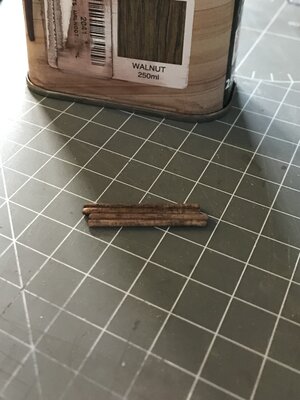
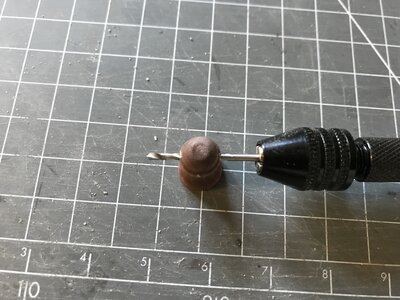
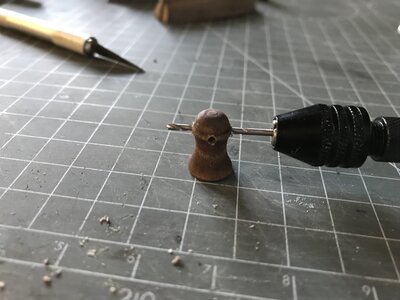
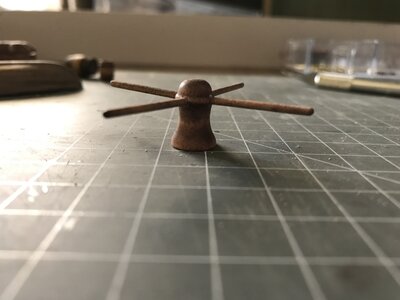
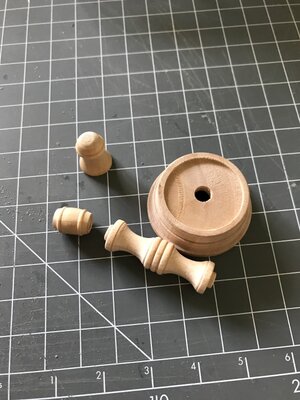
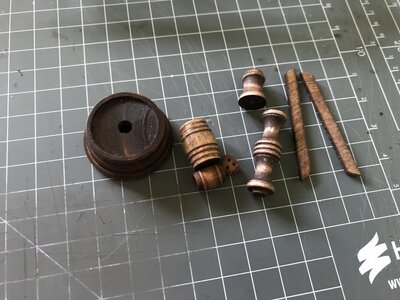
Next, I'll started on the capstan. I did not want to use the brass roundbar included in the kit for the handles. So I decided to use toothpicks instead.
however, the toothpicks are too thick, so I needed to sand them smaller. I have no lathe so I use my drill and some sandpaper. It did the job just fine.


- Joined
- Oct 11, 2021
- Messages
- 710
- Points
- 403

- Joined
- Oct 11, 2021
- Messages
- 710
- Points
- 403

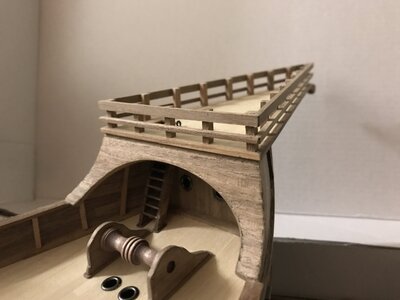
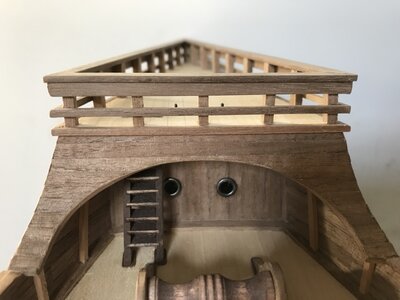
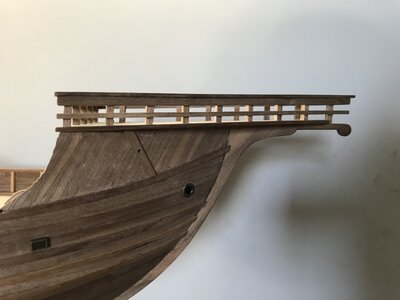
Top railings design change - part 1
It's time to start on the upper railings off the stern castle.
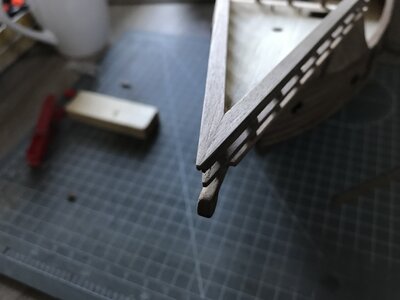
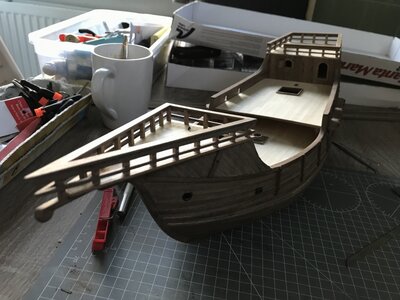
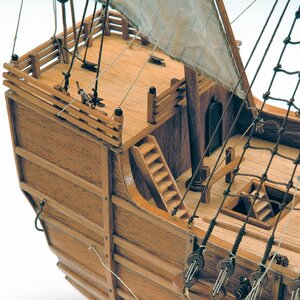
First, let me show you how AL had designed the railings of the stern castle. It's okay, but I think it can be done a bit better with little extra effort.
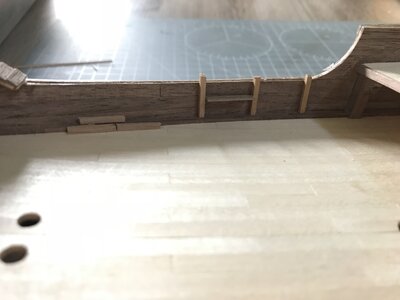
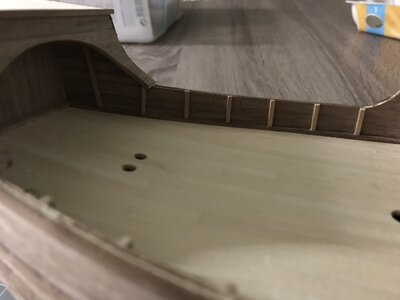
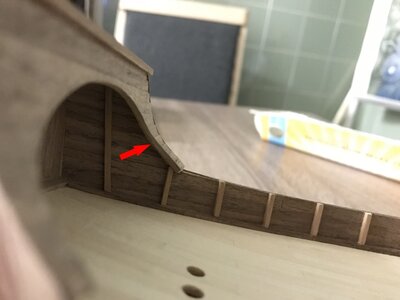
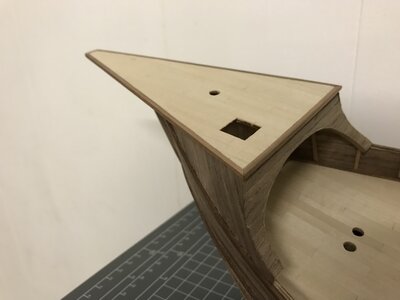
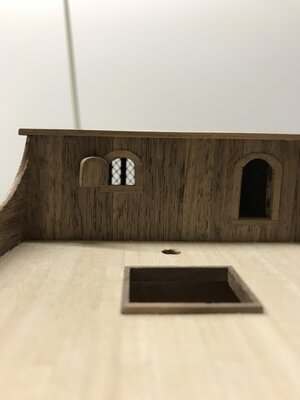
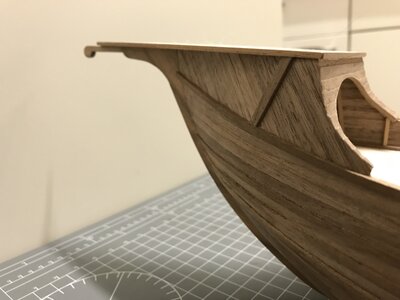
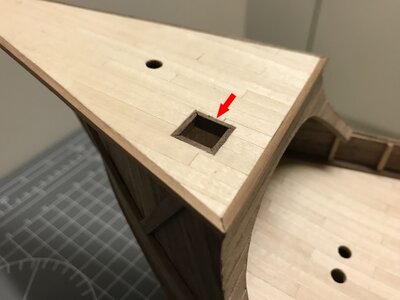
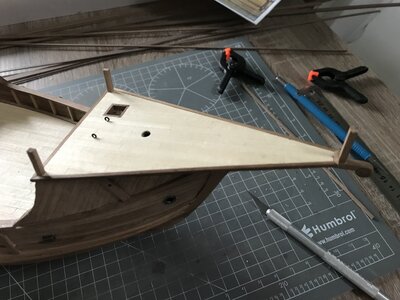
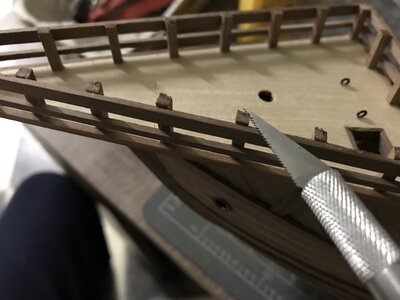
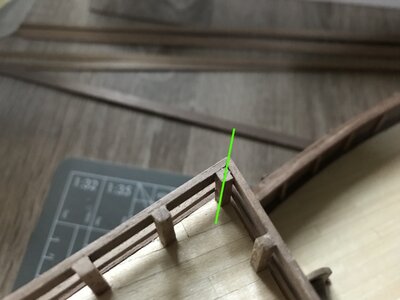
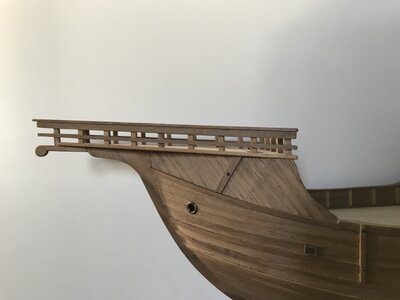
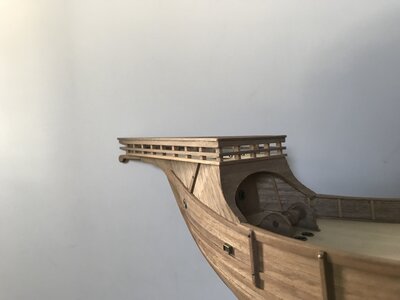
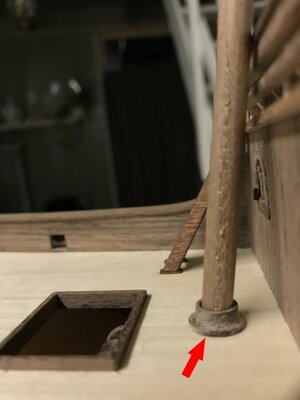
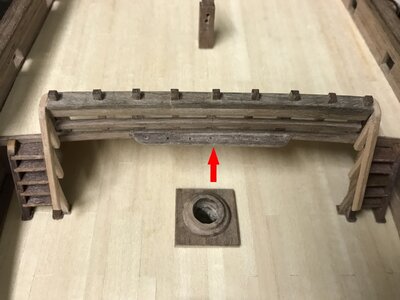
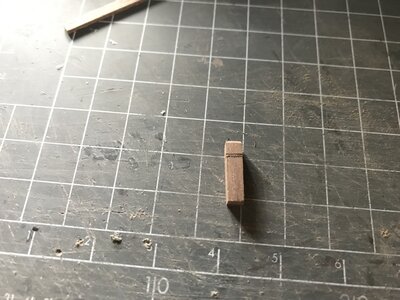
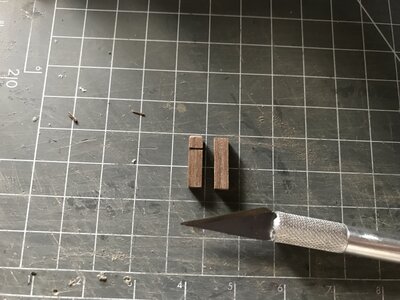
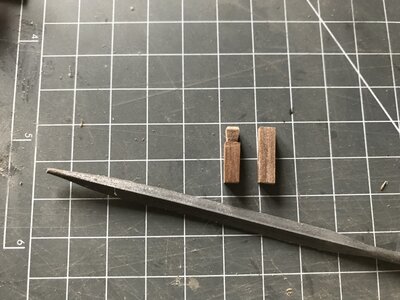
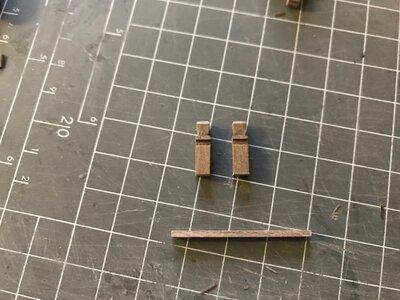
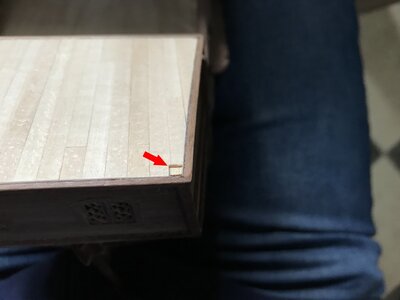
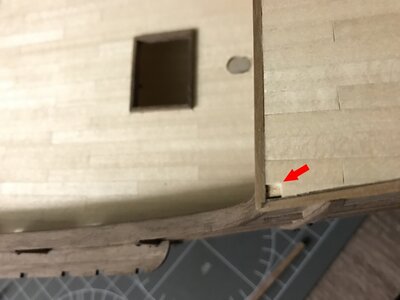
I made some sketches of a new design and made a decision. I had some extra wooden walnut strips, but needed to order some more to get the job done. Having the design ready, now I needed to figure it out how to construct it. The first "challenge" was to construct a solid base and to do this I needed to place the vertical parts first. These parts are lined up in two different angles compare to the deck surface. It's like building a trapezium shaped box. To glue the pieces onto the deck itself, it didn't had the best effect. The angle of these parts and the small glue surface wasn't going to work. I decided to cut away a small part of the deck so I could stick the parts into the deck instead of gluing it on the surface of the deck. This worked perfectly!
Next is to dryfit the vertical studs.
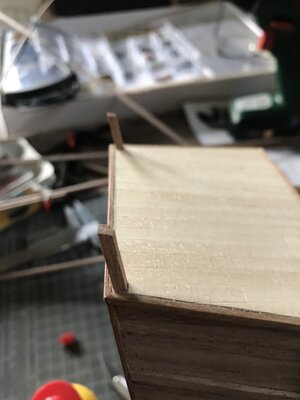
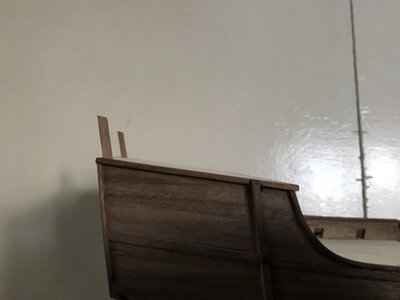
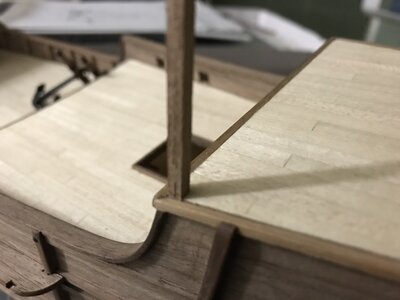
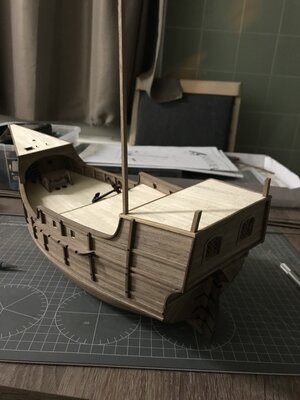
On the last photo, the long vertical piece of walnut holds on it's own without glue. So I knew this would become a solid base structure when glued.
Next step is to glue the horizontal pieces.
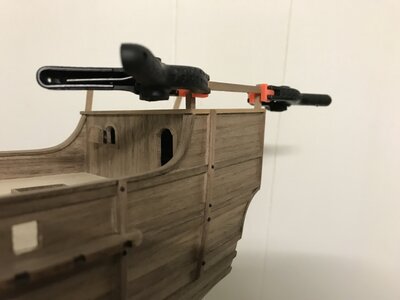
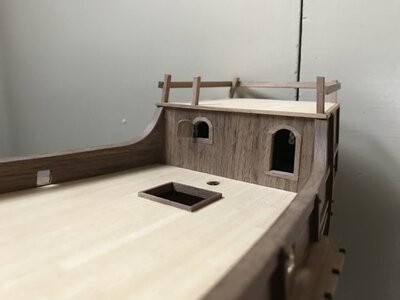

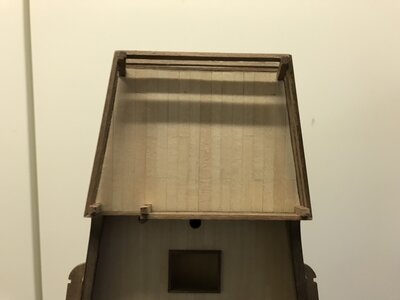
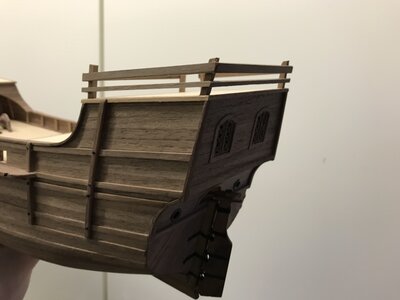
Now the construction is solid and I can place more vertical parts to make it even stronger. These can be glued onto the surface of the deck.
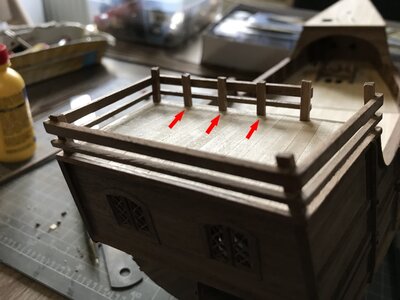
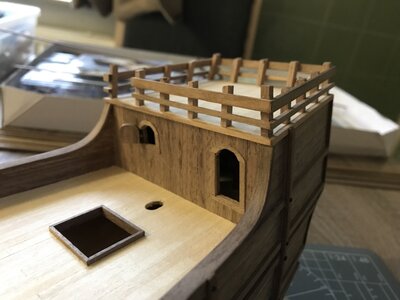
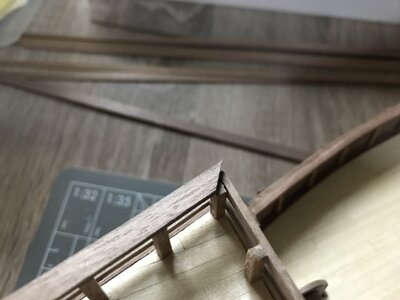
After all the parts were placed, It's time to cut away the excess.
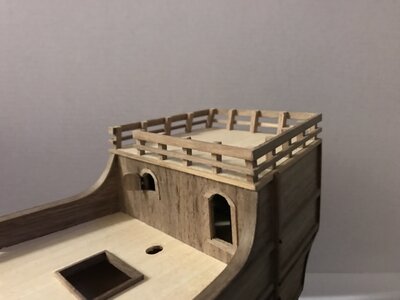
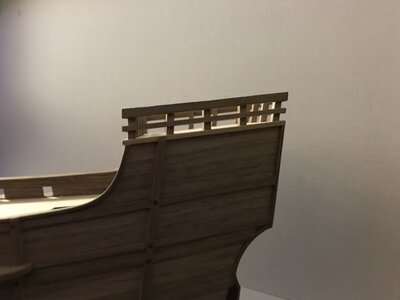
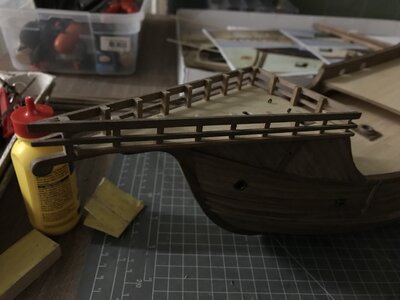
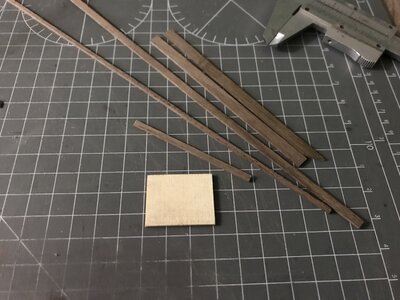
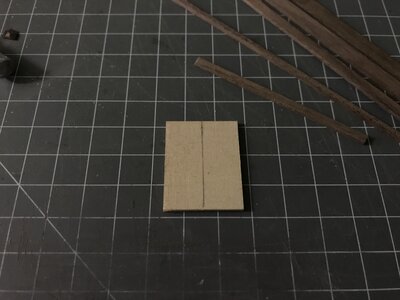
The last part of the design is to place a horizontal board on top of the complete construction. For this I ordered some extra walnut strips, but they were too wide. I used my knife / ruler method to make it smaller.
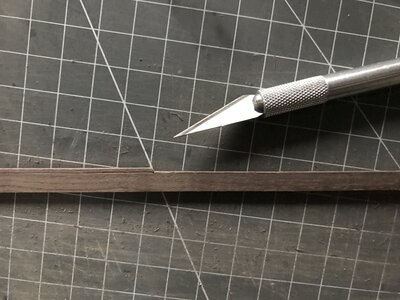
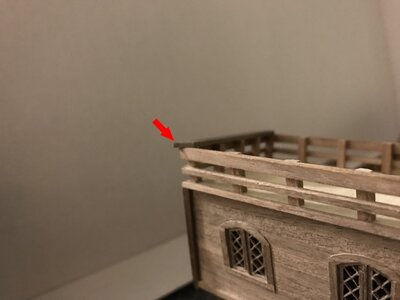
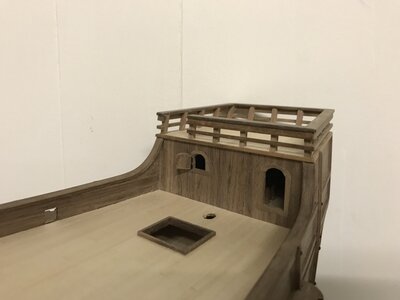
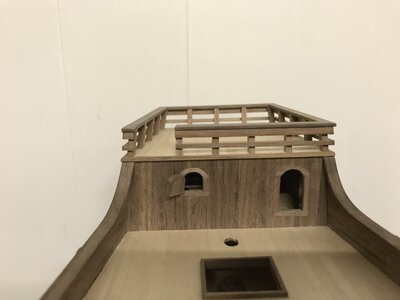
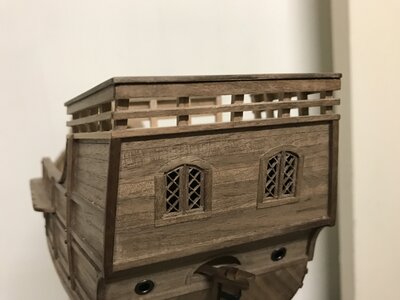
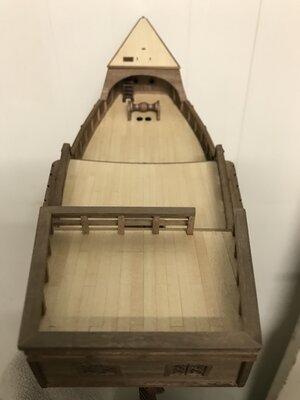
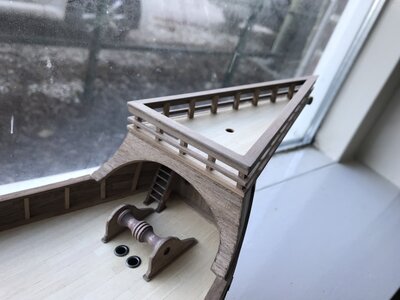
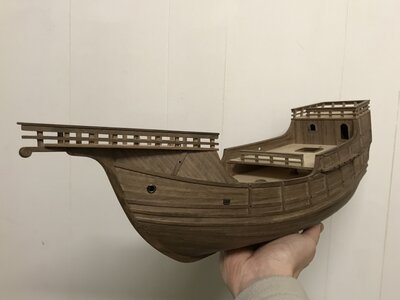
With a little creativity and effort this was in my opinion a nice upgrade compare to the original but also keep the original thought of the kitmaker intact.
until next update,
Pter
It's time to start on the upper railings off the stern castle.
First, let me show you how AL had designed the railings of the stern castle. It's okay, but I think it can be done a bit better with little extra effort.

I made some sketches of a new design and made a decision. I had some extra wooden walnut strips, but needed to order some more to get the job done. Having the design ready, now I needed to figure it out how to construct it. The first "challenge" was to construct a solid base and to do this I needed to place the vertical parts first. These parts are lined up in two different angles compare to the deck surface. It's like building a trapezium shaped box. To glue the pieces onto the deck itself, it didn't had the best effect. The angle of these parts and the small glue surface wasn't going to work. I decided to cut away a small part of the deck so I could stick the parts into the deck instead of gluing it on the surface of the deck. This worked perfectly!


Next is to dryfit the vertical studs.


On the last photo, the long vertical piece of walnut holds on it's own without glue. So I knew this would become a solid base structure when glued.
Next step is to glue the horizontal pieces.


Now the construction is solid and I can place more vertical parts to make it even stronger. These can be glued onto the surface of the deck.


After all the parts were placed, It's time to cut away the excess.


The last part of the design is to place a horizontal board on top of the complete construction. For this I ordered some extra walnut strips, but they were too wide. I used my knife / ruler method to make it smaller.


With a little creativity and effort this was in my opinion a nice upgrade compare to the original but also keep the original thought of the kitmaker intact.
until next update,
Pter
- Joined
- Oct 11, 2021
- Messages
- 710
- Points
- 403

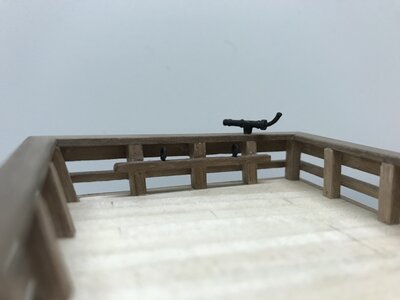
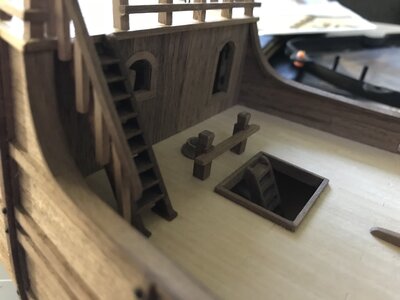
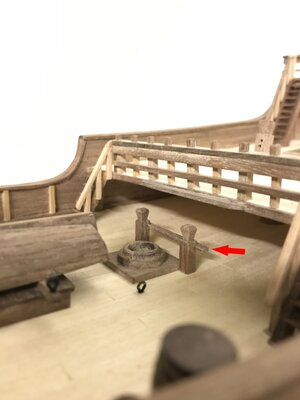
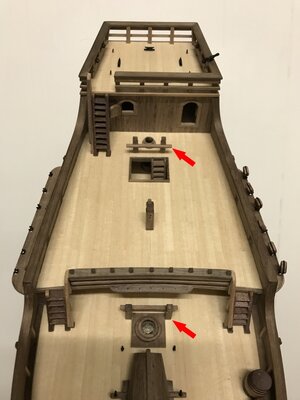
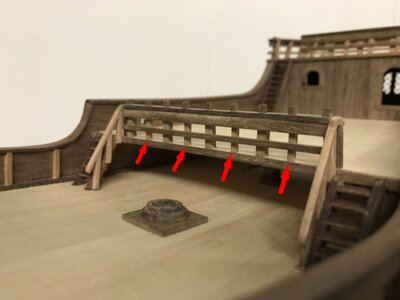
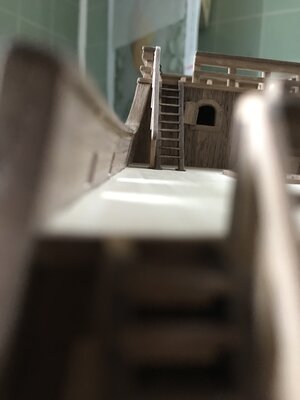
Quarterdeck center railing
Al wants me to make the center deck railing like this: (106 & 107 in picture below)
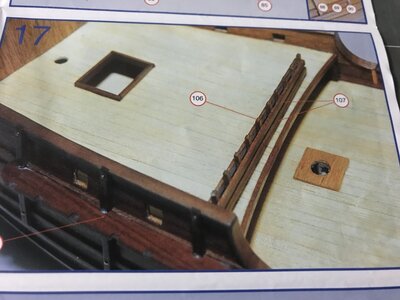
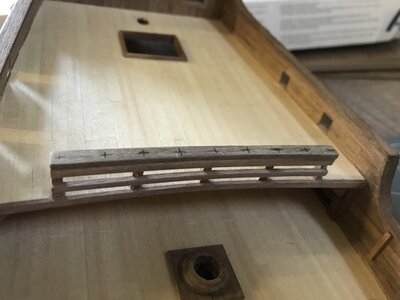
So I like to continue the style and design I have chosen ofr the top railings, so here we go, and oh....it will give me some issues later on when I need to start rigging the ship. But we will cross that bridge when we get there....
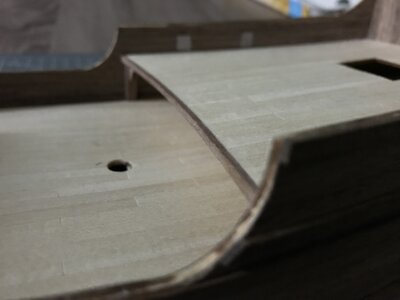
The line of the deck has a curve into it. I want to follow that curve for my railing. The top plank has al little curve in it and that's an issue to make when the boards I use is to small to cut out the curvature. It's better to use the spilling plank technique, but I do not have the proper lumber to do that trick. I need to soak, bend and pray it will hold!
Soaking first, just boiling water, nothing special.
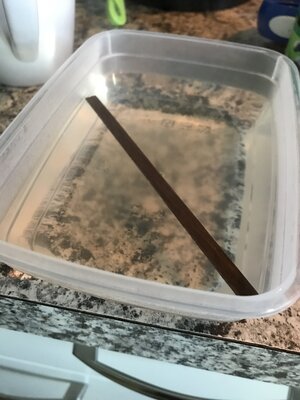
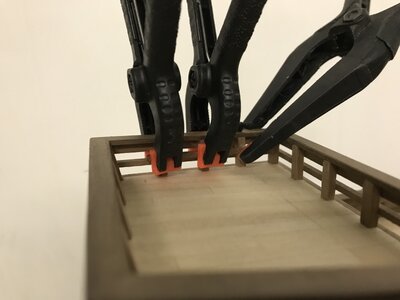
Then I used the curvature of the deck-end to "mold" the top plank into shape. I let the wet plank dry for 24 hrs. On the picture it looks easy but I can tell you that the plank gave some resistance and I had to use a few clamps to keep it in place.
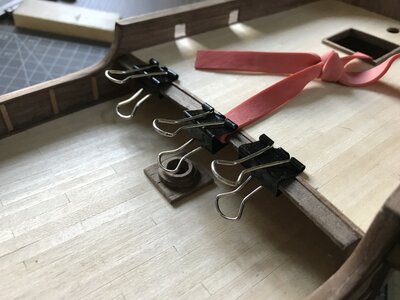
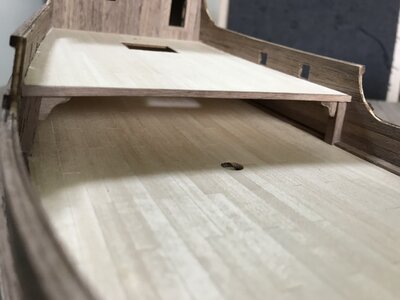
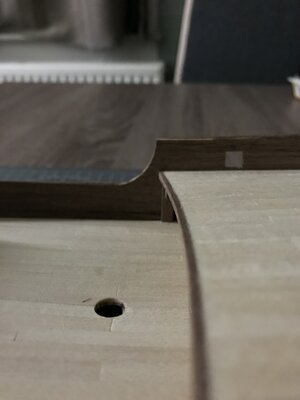
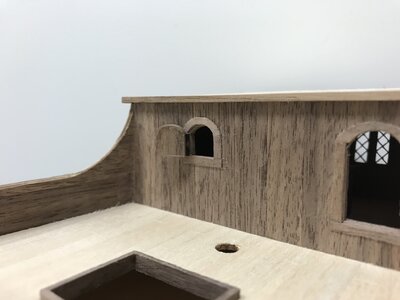
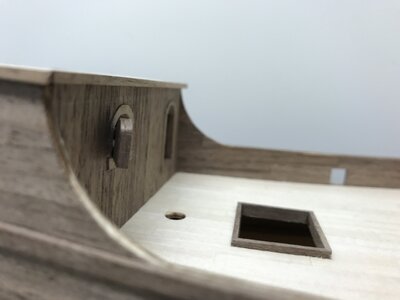
After drying has done, I place the main vertical pieces. Same technique as I did with the other railings. I cut out a part of the deck and glued the vertical pieces into place.
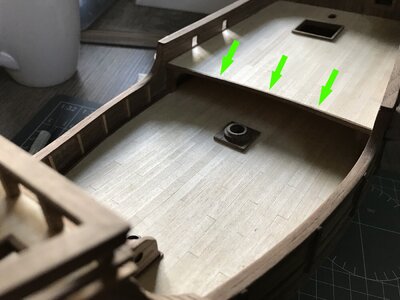
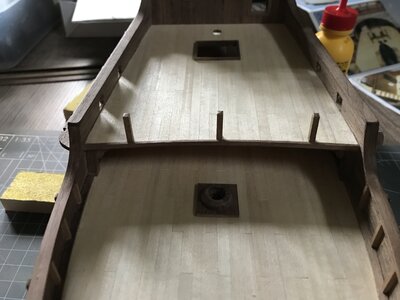
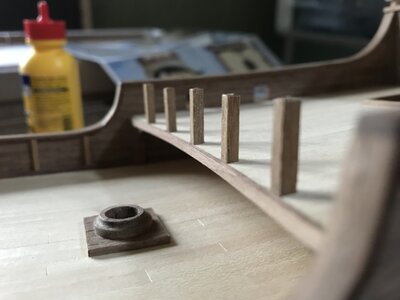
After that I glued the horizontal pieces and the top board.
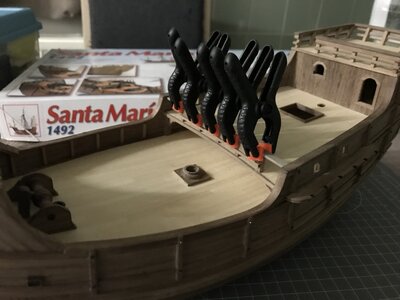
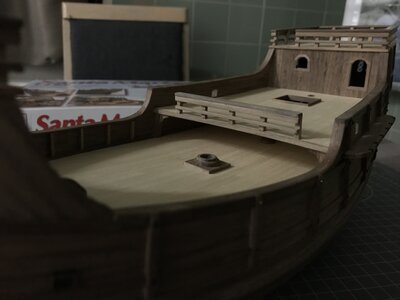
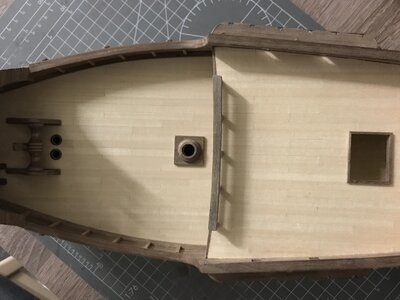
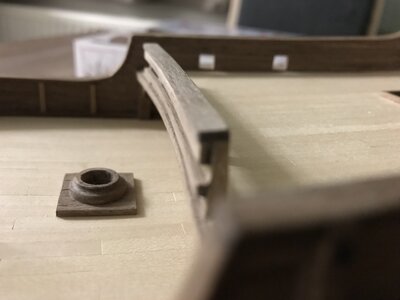
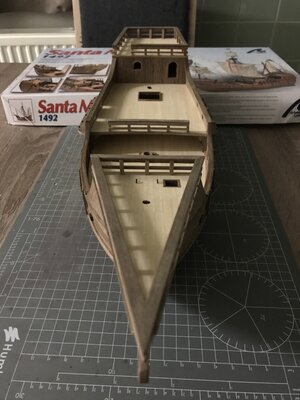
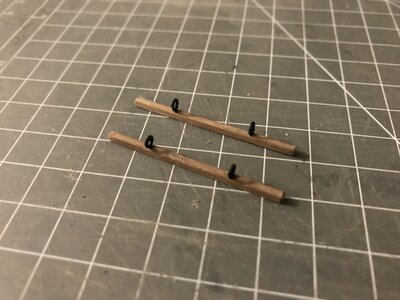
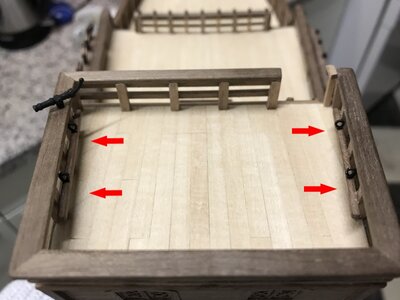
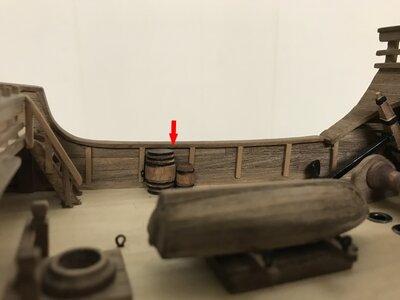
Next are the pins on top of the railing so the rigging can be attached later.
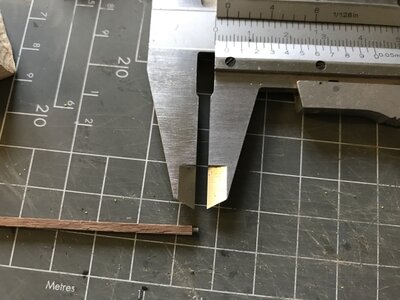
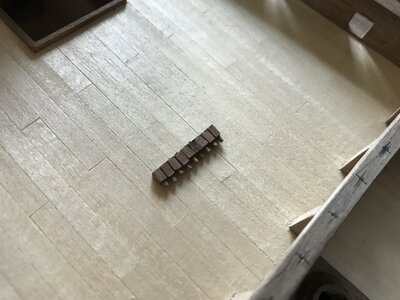
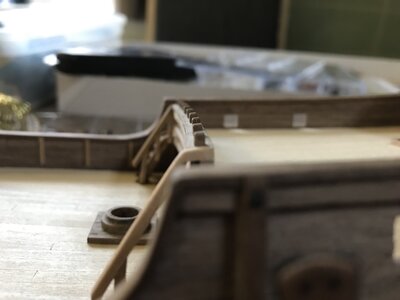
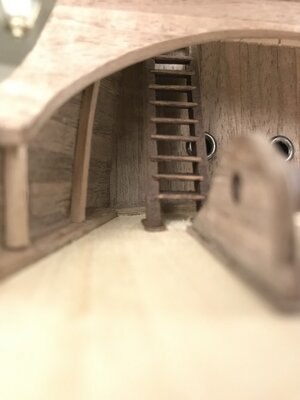
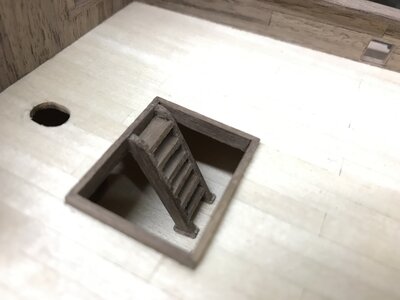
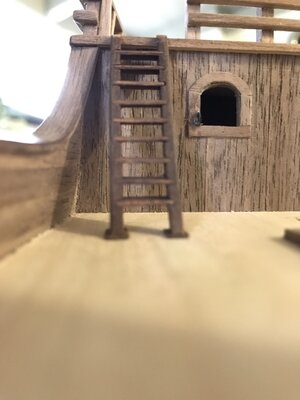
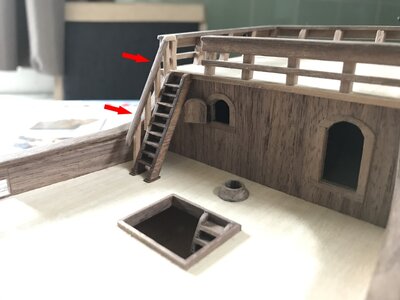
And I made the stairs with handrails...it may not be accurate for the time period. I believe they use a rope in that period of time, but I liked the wooden rails better.
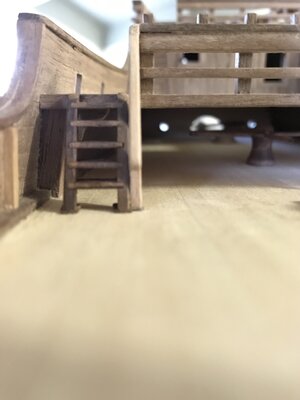
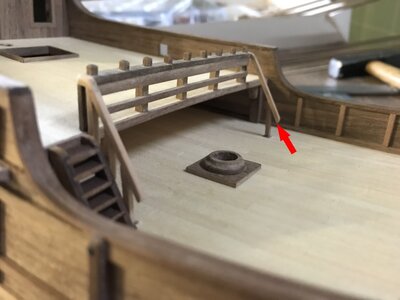
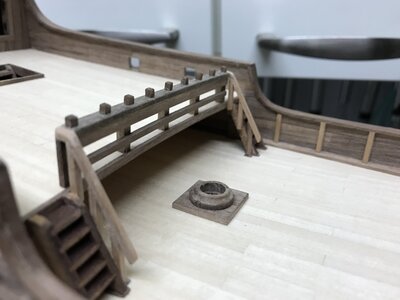
Al wants me to make the center deck railing like this: (106 & 107 in picture below)

So I like to continue the style and design I have chosen ofr the top railings, so here we go, and oh....it will give me some issues later on when I need to start rigging the ship. But we will cross that bridge when we get there....
The line of the deck has a curve into it. I want to follow that curve for my railing. The top plank has al little curve in it and that's an issue to make when the boards I use is to small to cut out the curvature. It's better to use the spilling plank technique, but I do not have the proper lumber to do that trick. I need to soak, bend and pray it will hold!
Soaking first, just boiling water, nothing special.

Then I used the curvature of the deck-end to "mold" the top plank into shape. I let the wet plank dry for 24 hrs. On the picture it looks easy but I can tell you that the plank gave some resistance and I had to use a few clamps to keep it in place.

After drying has done, I place the main vertical pieces. Same technique as I did with the other railings. I cut out a part of the deck and glued the vertical pieces into place.


After that I glued the horizontal pieces and the top board.


Next are the pins on top of the railing so the rigging can be attached later.


And I made the stairs with handrails...it may not be accurate for the time period. I believe they use a rope in that period of time, but I liked the wooden rails better.


Last edited:
Very good workmanship - really very good
This will get a very interesting building log - better to say: It is already a very interesting building log
Many Thanks for sharing with us your progress
This will get a very interesting building log - better to say: It is already a very interesting building log
Many Thanks for sharing with us your progress
- Joined
- Oct 11, 2021
- Messages
- 710
- Points
- 403

Thank you for the compliments Uwe, I'm glad you like the build of SM. I'm still consider myself a "beginner" when it comes to ship modeling, but I learn every day.Very good workmanship - really very good
This will get a very interesting building log - better to say: It is already a very interesting building log
Many Thanks for sharing with us your progress

