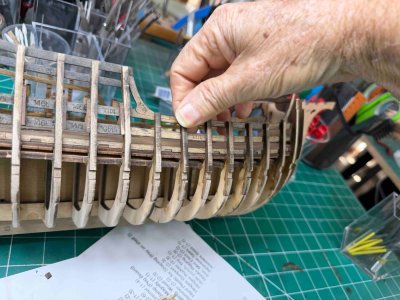
I started this ship a few months ago. Then stopped for a while. I've managed to get some more work done on it this week. I'm hoping I can complete this nice looking ship.
I'll not in include the kit contents. They are shown in this fine build log. build log
Pavel has a build log on youtube here that also shows the kit parts : build log
The builds sequence in the youtube build log and the kit instruction booklet don't match up. I tend to look at both as I am building. There are some things added in the kit instructions that should be added at a later time. I put more of my building emphasis on watching the youtube videos as they show more of what is being done.
I don't have too much done yet and haven't taken very many photos I'm at about Step 12 "inner side boards). I went back today and rewatched some previous videos to make sure I've done everything. I also reviewed previous steps in the kit instructions. So far I've found in "Step by Step #8 Power frame Part 6" the bulkheads were 'faired' I missed this and working on this now. I've having a little trouble following the instructions (my fault not the instructions) as my skills aren't too good anymore. I find I make as many mistakes as I do getting things right. But I try to keep moving along.
I got all the framing finished. I had to wait a couple months for parts for the slipway. The slipway kit included duplicate parts sheets and was missing some parts sheets. So couldn't build the slipway until the parts arrived.
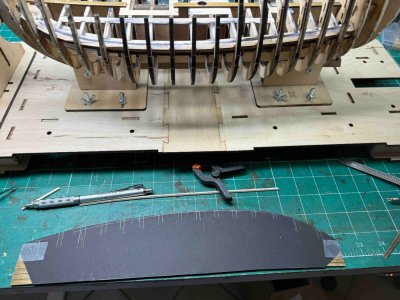
I put the main deck together in two large pieces and slipped them into place. The deck pieces don't go all the way to the bulkhead bulwarks. Theres a small strip that is cut to fit this missing area. It's called the 'waterway' in the youtube video. I measure the exact are that need to be covered and added it before slipping the two deck halves into place.
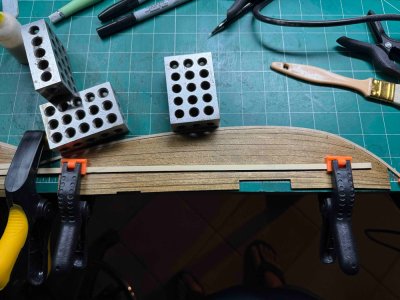
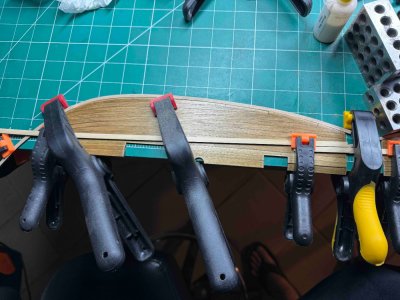
While I was building the main deck, I went ahead and built the smaller decks.
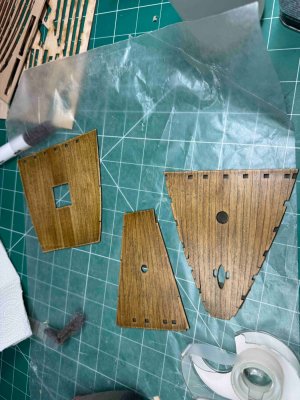
The deck template I made must have been pretty accurate (luck on my part) as the two pieces slid right into place and the center seam matched perfectly.
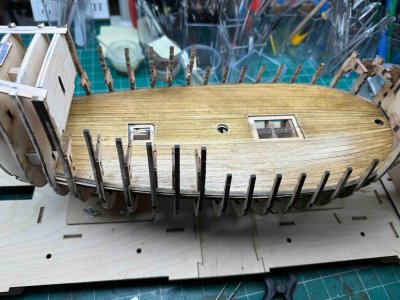
Don't remember for sure, but think the youtube video add the inside timbers next. Some of the upper decking timbers were added in the video before installing the inner side boards. But I left these off. They tend to be in the way and are now needed now. I cut small 'scuppers' in the bottom inner board. The instruction don't do this. I also sanded and airbrushed the bulwarks as they can been seen through the inner side boards.
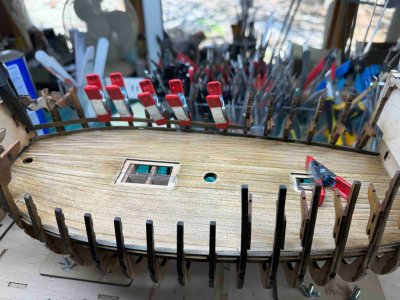
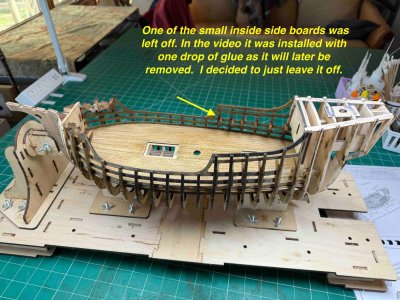
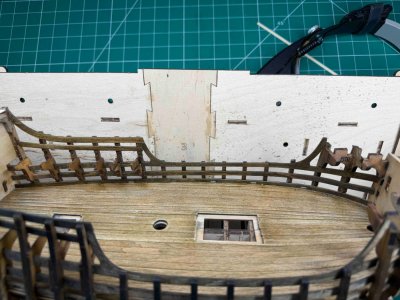
I shifted the ship on the slipway so I can 'fair' the frames. Not one of my favorite things to do. But I'll take my time.
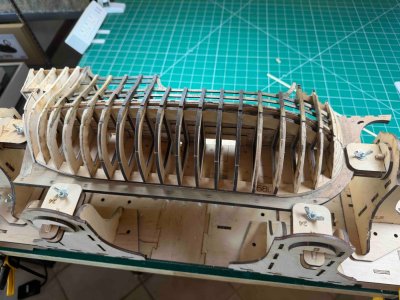
That's it for right now. After fairing the frames I'll go back over the videos/instuctions to see if I had forgotten anything else. If not, looks lie the wales are next.
I'll not in include the kit contents. They are shown in this fine build log. build log
Pavel has a build log on youtube here that also shows the kit parts : build log
The builds sequence in the youtube build log and the kit instruction booklet don't match up. I tend to look at both as I am building. There are some things added in the kit instructions that should be added at a later time. I put more of my building emphasis on watching the youtube videos as they show more of what is being done.
I don't have too much done yet and haven't taken very many photos I'm at about Step 12 "inner side boards). I went back today and rewatched some previous videos to make sure I've done everything. I also reviewed previous steps in the kit instructions. So far I've found in "Step by Step #8 Power frame Part 6" the bulkheads were 'faired' I missed this and working on this now. I've having a little trouble following the instructions (my fault not the instructions) as my skills aren't too good anymore. I find I make as many mistakes as I do getting things right. But I try to keep moving along.
I got all the framing finished. I had to wait a couple months for parts for the slipway. The slipway kit included duplicate parts sheets and was missing some parts sheets. So couldn't build the slipway until the parts arrived.

I put the main deck together in two large pieces and slipped them into place. The deck pieces don't go all the way to the bulkhead bulwarks. Theres a small strip that is cut to fit this missing area. It's called the 'waterway' in the youtube video. I measure the exact are that need to be covered and added it before slipping the two deck halves into place.


While I was building the main deck, I went ahead and built the smaller decks.

The deck template I made must have been pretty accurate (luck on my part) as the two pieces slid right into place and the center seam matched perfectly.

Don't remember for sure, but think the youtube video add the inside timbers next. Some of the upper decking timbers were added in the video before installing the inner side boards. But I left these off. They tend to be in the way and are now needed now. I cut small 'scuppers' in the bottom inner board. The instruction don't do this. I also sanded and airbrushed the bulwarks as they can been seen through the inner side boards.


I shifted the ship on the slipway so I can 'fair' the frames. Not one of my favorite things to do. But I'll take my time.

That's it for right now. After fairing the frames I'll go back over the videos/instuctions to see if I had forgotten anything else. If not, looks lie the wales are next.
Last edited:


