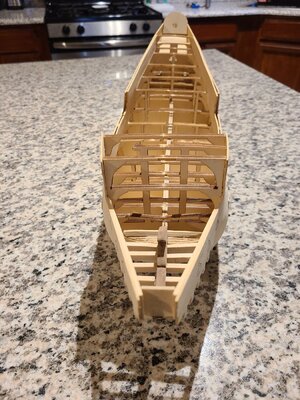
Santiago de Compostela-Disar Model 1:72

Joined
Aug 27, 2021
Messages
390
Points
278

Location
El Paso, Texas
Here I start my first ship build, and a log to document it.

Edit: I want to let everyone know that in this log all comments are welcome. All types of comments such as suggestions, advice, criticism, humor, friendly banter or whatever you wish to contribute is encouraged.

20210827_194447.jpg

First a bit about myself. I've always had a fascination with the old sailing ships. As a kid I loved Treasure Island and really enjoyed going to the Matinee to watch Pippi Longstocking. I recall drawing ships while my friends were drawing cars and such.

I build my first ship as a teen, the USS Constitution plastic model that I finished, rigging and all. A while later an uncle asked me to finish a Cutty Sark he had started. He had the plastic model put together with only a couple of rigging lines tied. I spent a summer on the rigging. Then I discovered RC planes. Here I am 40 years later and back to sailing ships...

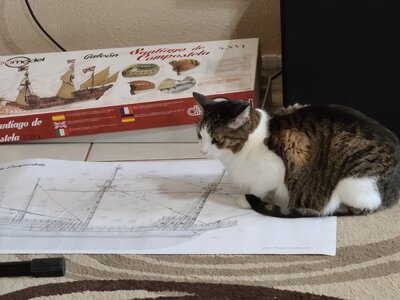
After looking through the forums, shopping around comparing various kits vs. price I finally decided on this ship, the Santiago de Compestela by Disar. I knew I wanted a Galleon but didn't want an English ship-not sure why but they just didn't appeal to me. This being my first wood model I'm not overly concerned about historical correctness, I'm building it simply because I want to build a wood ship. The fact these are not well documented is a plus for me-gives lots of room for artistic interpretation.

There seem to be no build logs of this ship. Again I consider this a plus, it will require me to problems that may arise on my own. Even with the great abundance of knowledge and experience based assistance I see on this forum what is done to the ship will ultimately be up to me. I like this sort of challenge.
 
Last edited:
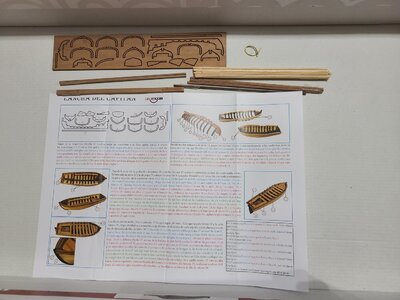
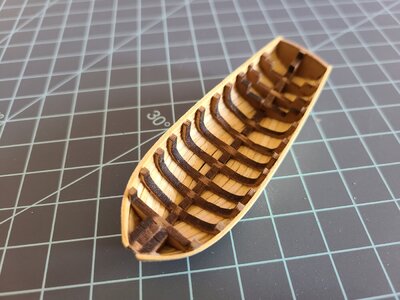
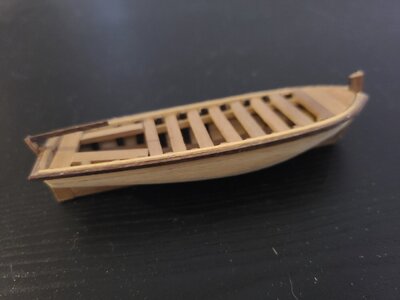
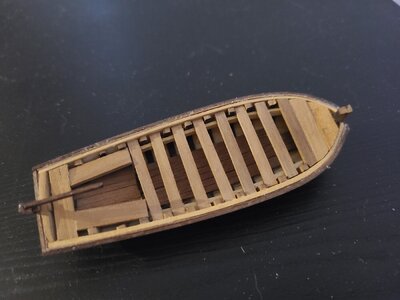
First up was the launch, a mini kit within the kit.

20210827_193237.jpg

This turned out to be a Plank on Frame build. Something I didn't like was the Cello Tape holding the stock into bundles-had to deal with the adhesive.

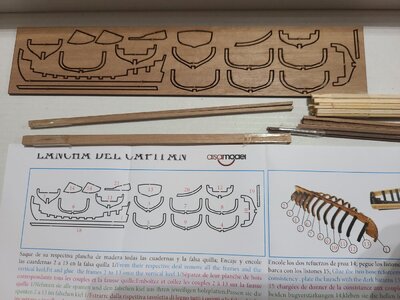
Starting with the false keel and frames, I discovered the first error.
20210827_193304.jpg

Look closely at the frame numbers listed for the sheet, then the numbers on the right pointing to the photo of the completed framework. Take the transom as an example-#13 on the sheet, but #2 on the photo. This had me scratching my head for a bit but I sorted it out.

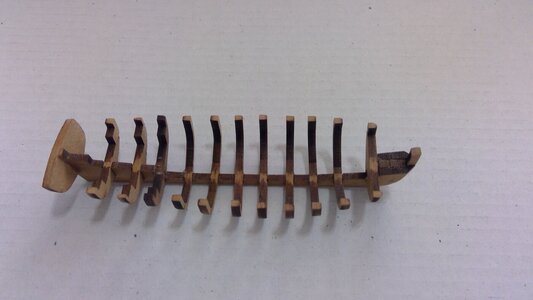
Here's the completed fish skeleton:
WIN_20210828_15_51_27_Pro.jpg

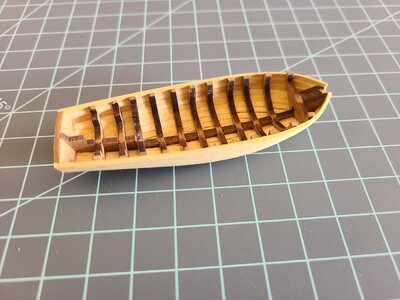
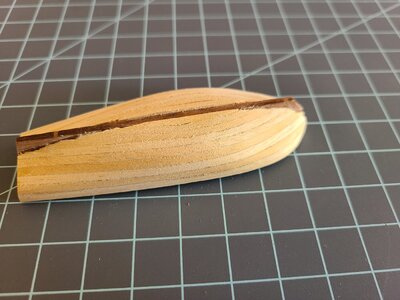
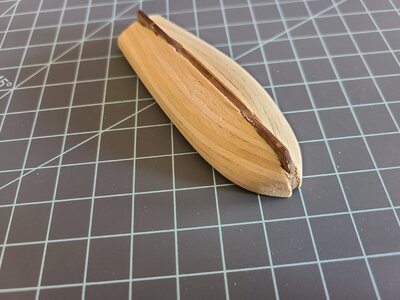
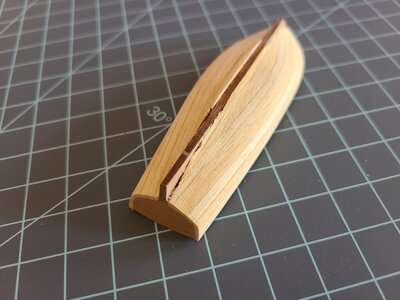
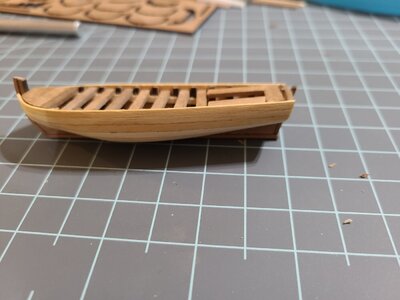
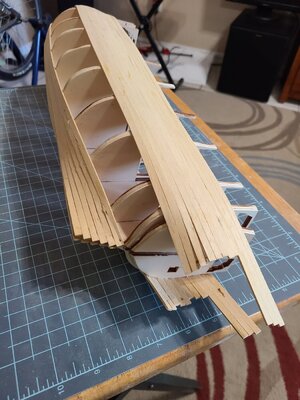
I didn't take photos until after I had planked the hull. My method was to soak the planks, use my round nose pliers to coax the required curve into the plank, then glue on the plank using PVA. Hellman PVA is what I'm using, I believe it came from Hobby Lobby. I did this over a period of evenings while watching TV with the Admiral, clamping the planks with my fingers until the glue took hold. I worked top to bottom, beginning at the stem taking 2-3 steps to glue each plank. One port then one starboard in an attempt to keep the keel as straight as possible.

20210830_171917.jpg
20210830_171925.jpg20210830_171939.jpg20210830_171949.jpg
20210830_172003.jpg20210830_172015.jpg

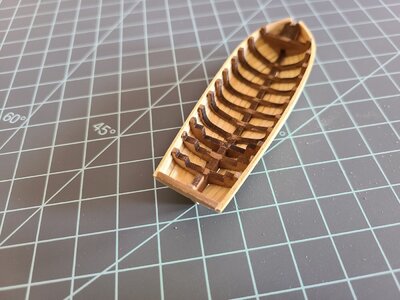
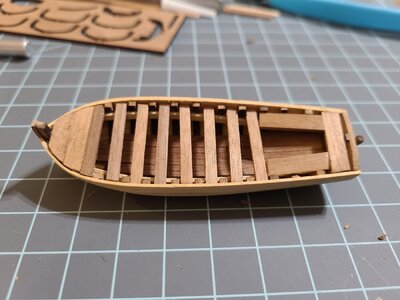
Next I added the keel, interior floor planking and seats. Not perfectly symmetrical but not too bad.
20210901_195001.jpg
20210901_194950.jpg20210901_195012.jpg

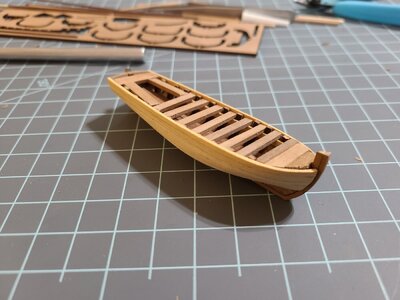
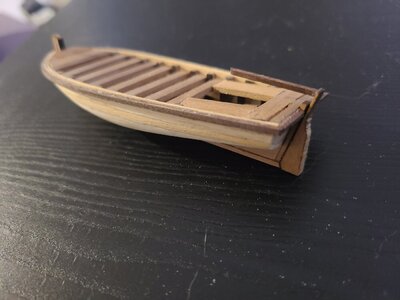
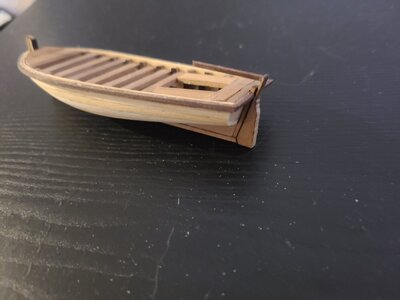
Finally the rub rails, rudder and tiller. The darker 1mm x 1mm outer rails gave me the most trouble on this small craft. The grain was diagonal so they wanted to splinter when I tried to bend them. I finally had success by soaking them for a full day, then placing them in hot (near boiling) water for a while (10-20 minutes). I finally got them to bend without splitting with just enough to finish.

20210903_200132.jpg20210903_200140.jpg20210903_200159.jpg

The only thing the instructions call for that I haven't done-and may not do-is add the oar locks using the small bit of 1mm brass wire.

I think I going to finish it with Danish Oil, but for now it will stay as-is while I start on the ship itself.

Thanks for looking,
Glenn
 

Attachments

  • 20210903_200152.jpg
    20210903_200152.jpg
    112.7 KB · Views: 17
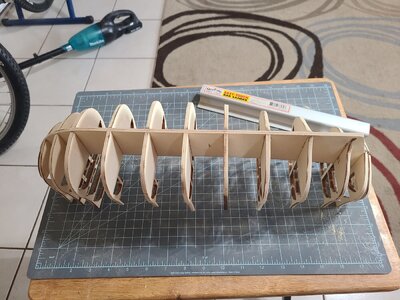
Over the past couple of days I have also worked on the ship too. I cut the false keel and bulkheads from the plywood sheets, fit them together then glued everything up. Today I sanded in preparation for planking.

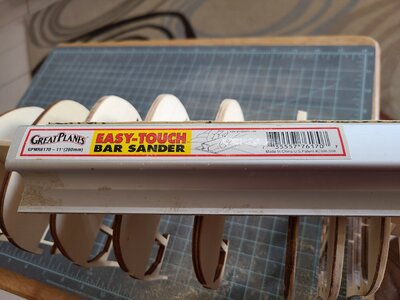
My preferred implement for sanding is my 11" sanding block I acquired and used for building RC airplanes. It is a piece of extruded aluminum with a roll of appropriately sized self adhesive sandpaper. I have 3 of these blocks with #80, #150 and #220 grit open coat sandpaper.
20210904_124602.jpg
20210904_151015.jpg

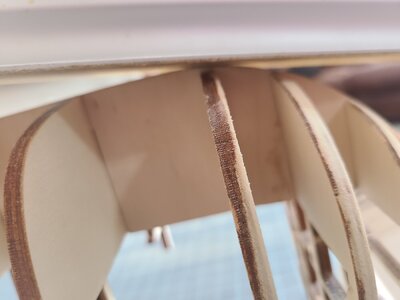
When I sand I am careful to keep this sanding block parallel to the direction the planking will run. For me, sanding two bulkheads at a time is working, I'll explain. I place the sander so it is contacting two bulkheads then begin to sand, moving the sander in a diagonal direction keeping it parallel to the direction the planking will go (in this case parallel to the keel). I draw it diagonally, both in the direction bow to stern and port to starboard, back and forth. Then I'll work it in the opposite direction diagonally, imagine drawing an "X".

When a friend was teaching me to do automotive bodywork; while I was sanding on a tank for a Harley Davidson, a compound curve. He told me "Make X's for O's". It worked and has always stuck with me, so I tried it here and sure enough, it still works for me so that's what I do.

Anyway, back to the topic at hand (sorry saw a squirrel...). I would sand two bulkheads at a time, working along until the burn residue from the laser cutting was mostly eliminated. This rough sanding was later easily fine-tuned using the method with a batten that is well explained elsewhere.

Another method I tried was to match the angle of the keel where it met the bulkhead. This worked too but I found that working on two bulkheads was easier to control the sander and quicker because I was sanding two bulkheads at the same time.

Matching the angle of the keel:
20210904_124557.jpg


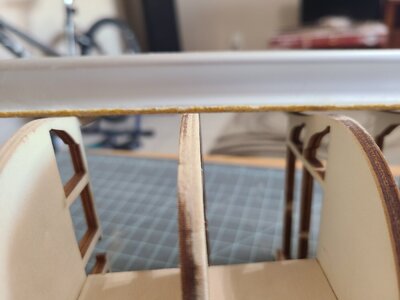
Using the sander as a straight edge is also useful. I found that bulkhead #9 didn't line up with the others, perhaps it would have it I had flipped it over. I was careful to face the bulkheads the same, placing their identifying numbers towards the bow but evidently this wasn't enough. Here is what I'm talking about.

On one side the bulkhead is proud, protruding above the other two (center bulkhead in first pic below). This in itself isn't necessarily an issue until one looks at the other side and it is lower than the other two (second pic).
20210904_134753.jpg

20210904_133812.jpg

It's well glued and sanded, so I'll live with it. I think it's one of those things 99% of the people that look at it won't even notice and it's not bad enough for me to worry about it.

This is my first wood ship so I expect it to be a learning experience; here is what I learned: I should have taken more time fitting up the bulkheads to the false keel. I also should have insured the keel was straight, both in curvature and twist (it has a minor twist in the back few bulkheads). On my next build I will take much more time pre-fitting the bulkheads to the false keel. I may even do some rough sanding of their edge profile prior to gluing everything up. Also more time will be given to the actual glue-up.

This has my log caught up to where I actually am in my build. I'll add more when I have it. Thank you for looking.

Glenn
 
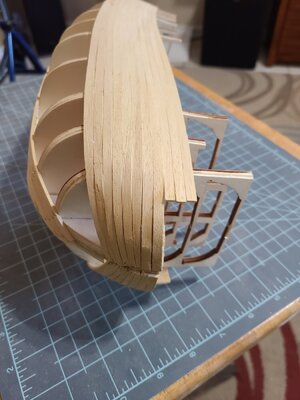
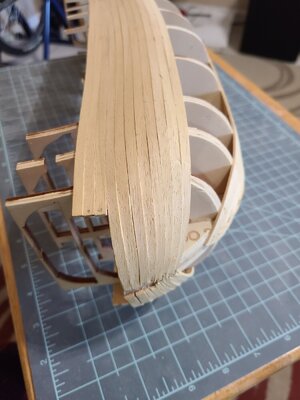
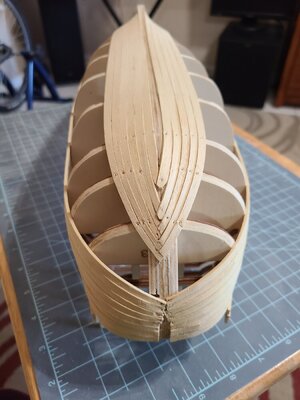
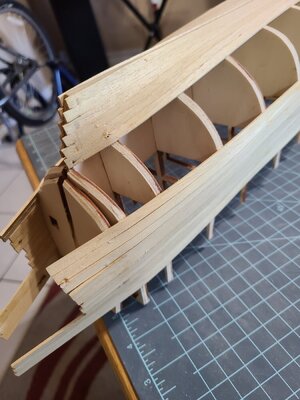
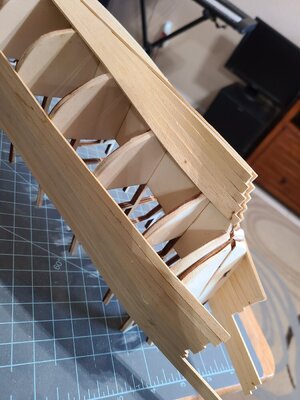
Quick update. Progress has been slow, planking the hull using PVA and clamps. I am only adding a nail at the bow to hold the plank as it is nearly impossible to clamp the planks.

So far I have followed the instructions closely with two exceptions. I am tapering the front of the planks where they meet the bow. I have also added two additional blocks one either side of the keel at the lower bow so I have something to glue the ends of the planks to.

Here are a few pictures of my progress.
20210908_185918.jpg

20210908_185924.jpg

20210908_185945.jpg


Comments are welcome.
Thank you for looking,
Glenn
 
Ahoy Glenn, surely for your first wood boat, you are going fast and also seems good, but as you pointed (I should have taken more time fitting up the bulkheads to the false keel. I also should have insured the keel was straight, both in curvature and twist (it has a minor twist in the back few bulkheads). You may find diferent tools that will help you to fix these. As you said it's a rare Spanish ship model that I will like to see finished.. Greetings
Hugo
 
Thanks Hugo.

Yes, I should have paid more attention to the glue up of the false keel and bulkheads. The false keel was flat and straight. I believe the problem was a combination of how the slots were designed and the tight fit of some of the bulkheads to the keel. The slots are cut deep on the keel leaving a narrow piece at the bottom. A few of the aft bulkheads had a really tight fit to these slots. I believe this tight fit caused the narrow piece to twist a bit misaligning the two sides of the slot in the keel. I could have corrected this by better fitting the bulkheads to the keel and paying more attention during the glue up. Lesson learned.

I keep telling myself out of the hundreds or thousands of the old wooden ship that were built surely not all were perfect; I'm just basing my model on one of the less than perfect ships ;)

Glenn
 
Glenn , If I may say (I keep telling myself out of the hundreds or thousands of the old wooden ship that were built surely not all were perfect; I'm just basing my model on one of the less than perfect ships) , I like to encourage you with this .. Practice makes pefection..surely you will
Hugo
 
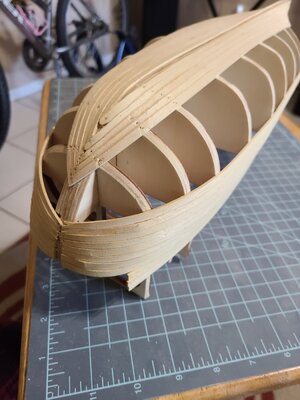
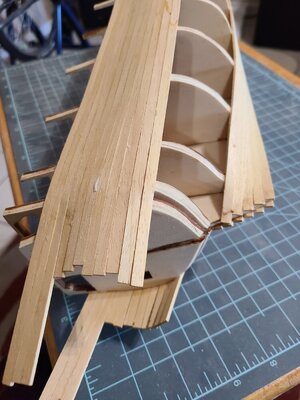
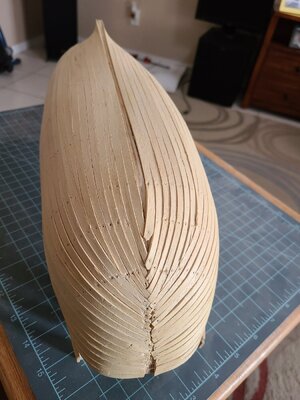
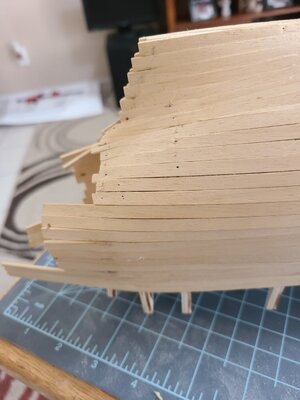
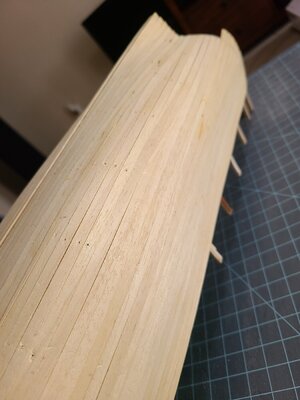
Some pictures of my progress. I am tapering the planking at the Bow only so far, may need to start to also taper towards the stern as well.

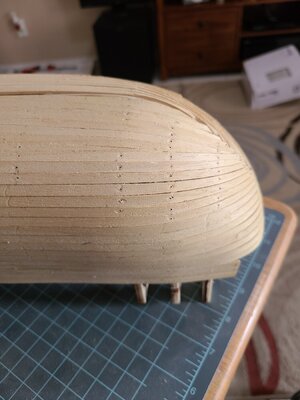
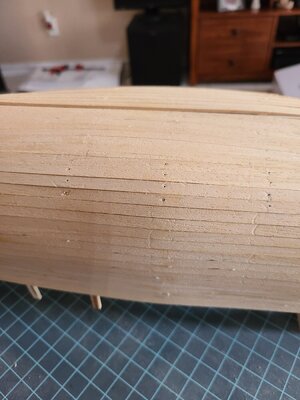
I was attempting to plank without any nails, but was unable to properly clamp it up. I am removing the nails once the glue dries. This is a single plank model, I'll figure out the finish as I go along. Wetting the wood around the holes after the nail is removed helps close them up, but not completely. I'll try various methods to fill them when the time comes-I've plenty of cutoffs to experiment on.

So far no heat has been used, only soaking the planks in water prior to shaping and installing. I've only used PVA, this is why progress has been so slow-often a single plank in the evening after I get off work.


20210918_090348.jpg

20210918_090402.jpg

20210918_090411.jpg

20210918_090423.jpg

20210918_090436.jpg

20210918_090454.jpg

20210918_090509.jpg

20210918_090522.jpg

It's not perfect but for my first planking job I'm happy with the way it is progressing.

Thank you for looking,
Glenn
 
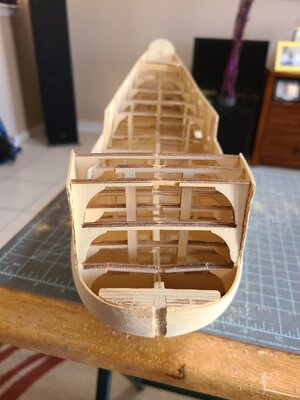
I've managed to get quite a bit done since my last post. Here are some pics of the planked hull. I think it would have come out better at the stem had I made the garboard shorter.

20210925_131509.jpg
A few gaps can be seen.
20210925_131516.jpg
20210925_131518.jpg

20210925_131527.jpg
20210925_131550.jpg
These were taken before I did more work to it. I'll give another update soon.

Thank you for looking,
Glenn
 
Last edited:
Timely post made in another thread as I'm in the process of laying out my gun ports. If not for this post I would never had thought to look far enough ahead to look also at the shrouds/dead eyes.
 
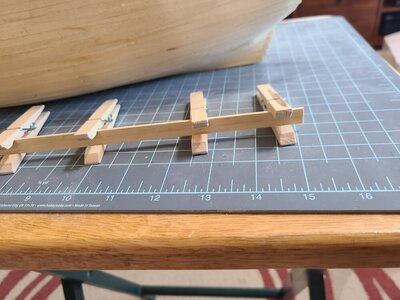
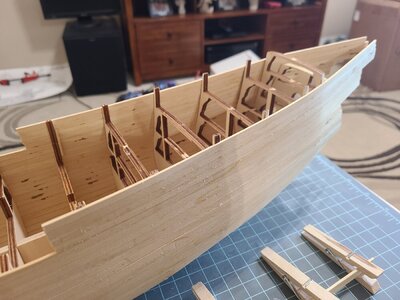
Continuing on. Finished planking to the top of the bulwark fore and after. On the aft it actually tapered, getting taller at the stern. This taper was wider than one plank. I solved this by edge gluing two planks using clothes pins as clamps. I then cut the taper prior to gluing in the top bulwark plank.20210926_103650.jpg
20210926_103717.jpg

After letting the PVA dry overnight I glued in piece 19A, I'm not sure what this is called. I had to bend the planking a fair amount. Fortunately the glue held, the planks didn't Crack or break, and they bent equally so the two sides are symmetrical.

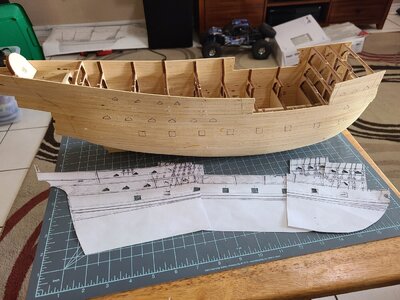
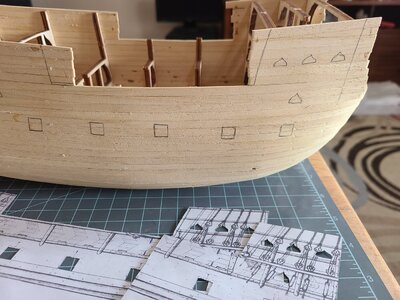
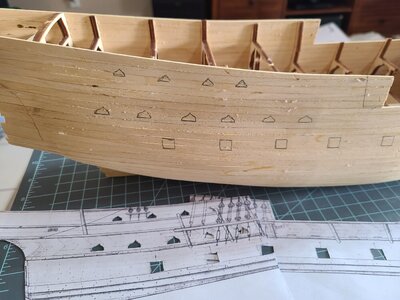
I also made some templates by copying the full size drawing, using them to mark the gun ports. I plan to cut out the ports prior to sanding the hull.
20210926_151048.jpg
20210926_151103.jpg
20210926_151108.jpg

Glenn
 
An update with no photos.

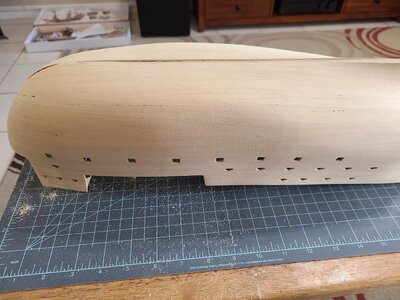
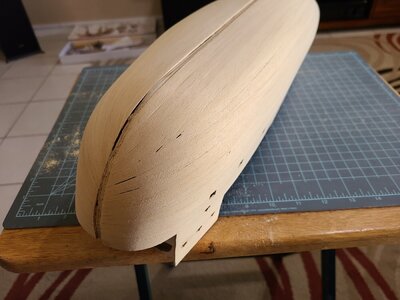
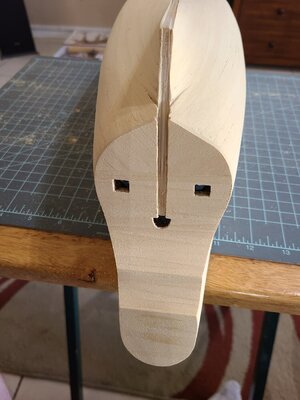
I planked the stern, trimmed and sanded this planking at its edges only. I had to resist the temptation to sand the entire hull. I also trimmed the planking for the keel, 2 cannon ports and the semicircular hole for the tiller.

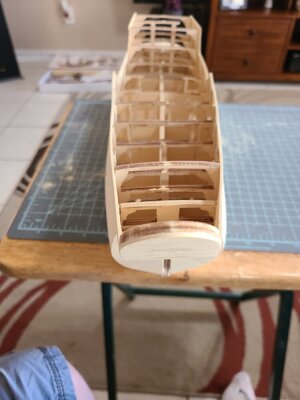
Something I haven't talked about yet-the upper bulkheads are fragile! I managed to break several while inserting nails for the lower planking. In hindsight I believe that if I had completed the full upper bulwark planking prior to the lower planking there would have been sufficient support that nothing would have broken.

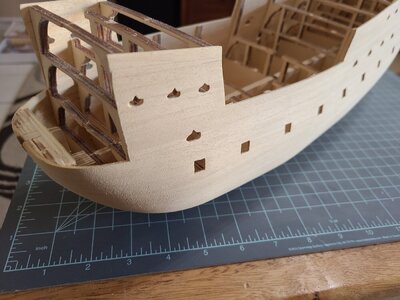
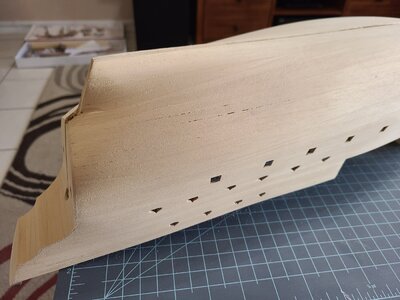
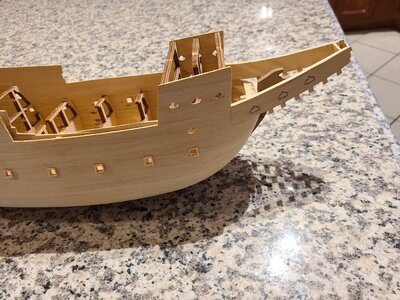
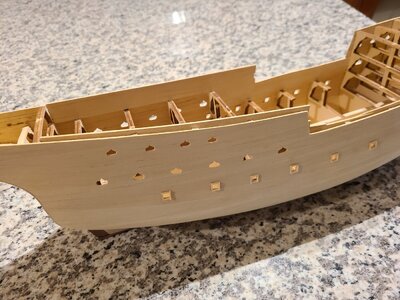
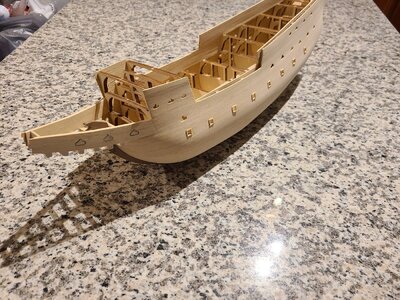
Next up will be cutting the cannon ports on the sides of the ship. After a closer look at what I layer out I didn't like them and re-did their layout. Some of the square ports were actually leaning, more of a diamond shape. The other, more decorative ports weren't consistent. Some were over bulkheads. Many weren't at the correct height above the various decks.

So I made a stencil with a single cutout of each type of port that will be used for consistency. I did lay them out and drew them again, but am still not sure I like them.

Other than the full sized drawing there is little information of these. The drawing represents the ship hull in 3d, so the curvature has some effect on the accuracy using the template method I improvised. It also has a few other inaccuracies I won't get into. This, to me, presents an opportunity to come up with a creative solution.

Here is my plan: First I'll make up a cannon of each size provided for the kit, measure these for height. Next I'll glue in a single deck board at each level at the outermost position. Then I'll determine where I want each port in the fore & aft direction. Finally I'll use this for/aft position, measure up the cannon height from the deck board, and us a pin to puncture a hole to mark the center of the port location.
Does this sound like a good plan? I'm open to suggestions.

I'll be sure to include photos in my next update.

Thank you everyone for all of the views and likes.
Glenn
 
Quick update sans photos again. Life has kept me from much progress. (Step)daughter got married! Formal affair, we all got dressed up (tuxedoes) and had a great time, nearly 200 people.

Current project is installing new kitchen sink in the admirals new granite counter tops. Kohler sink needs special clips...unable to locate clips locally and can't be without kitchen sink for days so...modeling skills for improvisation at work...

Did manage to work on the ship some. Sanded to #150. Installed bow. Installed frames in square gun ports. Pics to follow soon.

I need more 1.5x6x500 boxwood planks to replace some that I broke. These are actually used in more places than just planking. Contacted both Disar and Ages of Sail. AOS responded asking me to fill out a formal which I did. Haven't heard from AOS since, haven't heard back from Disar at all. I don't mind paying for them as the kit wasn't short-I am more curious about the customer service I receive and will report back here how it goes.

Glenn
 
Another update with no pictures. Haven't done much to the ship. Sanded the gun ports frames and started on the Wales.

Mostly I've been working on "honey-do's" (amdiral-do's?). As I posted before she had granite counter tops installed. I had the pleasure of removing the old ones along with the sink etc... I have been installing the new sink and associated plumbing. Also a new back-splash. I decided to do the back-splash myself after getting a few quotes. I saved enough to pay for a new Byrnes tool ;).

Even though I haven't actively worked on the ship, I have been giving a lot of thought to the order of operations I want to follow vs what the instructions suggest. I have found that I often need to look deeper in the instructions for better pictures of steps I'm currently working on. Thankfully there are plenty of pretty good photos.

Question: what is your preferred way to work on the ship once hull planking is completed? Leave it loose or attach it to a base? Or something else?

Glenn
 
I really need to take some pictures to post! I post during breaks at work...spend my time available for the ship working on it and never think to take pictures until I'm on break at work...

I've noticed I seem to only get likes on posts with pictures, do people only look at the pictures or do they actually read these words I'm writing? Hmmm.

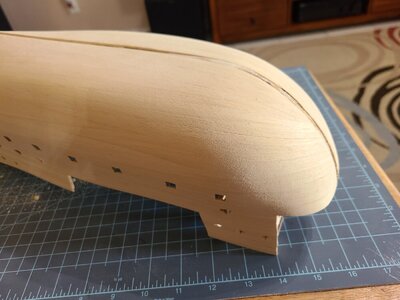
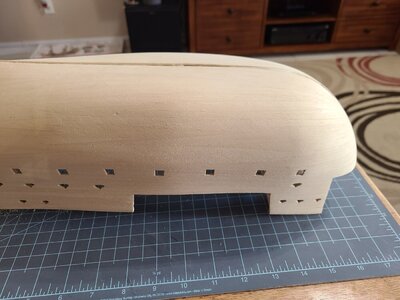
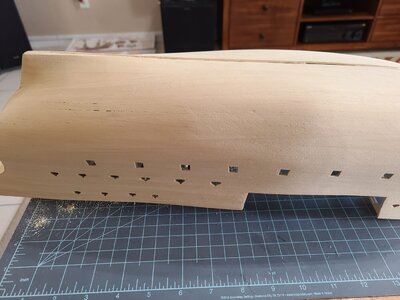
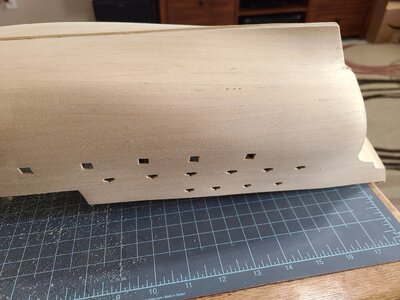
Finally got some time to work on the ship

:). Added the Wales and did a lot more sanding. Dug out my riffler files and was able to really detail clean the inevitable glue squeeze out as well as the smears from cleaning the squeeze out as it happened.

I switched glue. Now I'm using Gorilla wood glue. Looks similar to Tite Bond. Couldn't find the Helmar PVA I was using any more. I still haven't decided if I like it for shipbuilding yet although I'm sure it will be great for general woodworking.

Jason from Ages of Sails responded to my inquiry about the planking I needed more of. He provided a link to the product in their store. I'm satisfied with that as I'm short because of breakage. Good customer service as far as I'm concerned.

Placed an order for more wood straps with AoS. Need them for the bulwark top rails. I believe some of the bulwarks are thicker than they should be. It didn't occur to me to check this when I put in the inner bulwark planking. Another lesson learned. I'll install wider top rail and sand it to look the best I can make it.

I've made several rather large mistakes on this build so far. Have even considered cutting my losses and starting over because of the twist in the hull. Decided to continue with this build as I'm sure I have more lessons to learn and if I start over at every mistake I deprive myself of the opportunity to work through it and learn from it.

Thanks for reading,
Glenn
 
Back
Top