Schooner Booth Bay 65

Joined
May 9, 2024
Messages
1,061
Points
383

This a retro build log of the Boothbay 65, designed by naval architect Matthew Smith for Bristol Marine. It was to be set up to carry guests, including those in wheel chairs, on day sail trips. I was asked to build a model from the plans, some of which follow, but to my knowledge she has not yet been built. I recently contacted them to ask if it was still in the works but have not yet heard back. The model showed some changes were needed which was one of the purposes of the model project and was extremely interesting from start to finish.
Allan

The schooner
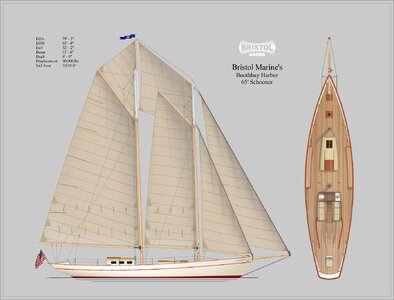
65-Schooner-med-res.jpg
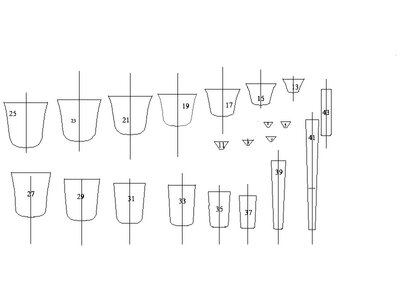
Lines and details were provided including the body plan from which I drew up and made the bulkheads. As time was of importance and the model was to be totally planked I chose POB rather than POF.
Body plan
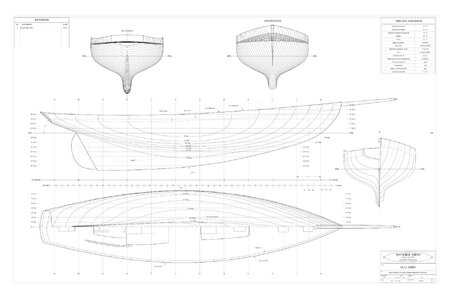
305-101(lines)r1 JPG.jpg
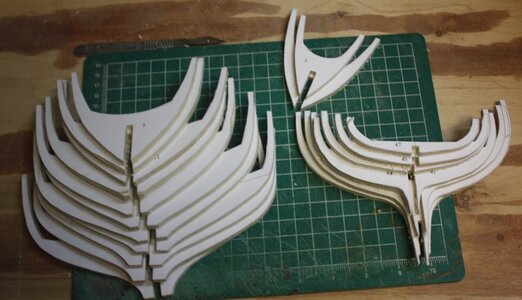
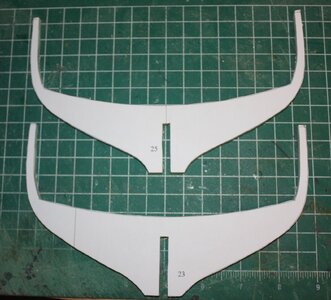
From this plan I redrew at scale and started with the bulkheads. Once the bulkheads, or frames when appropriate, are drawn I print them on label paper rather than on plain paper which then has to be glued to the wood. The label paper peels off the cutout part quite easily and leaves very little residue, if any.
Forward frames
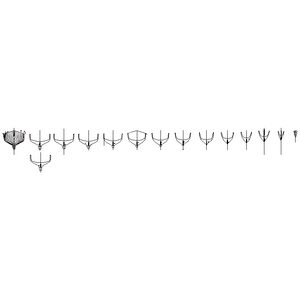
Forward frames.PNG
Assortment of cut out frames
Frames.jpg

Frame examples.jpg
 
Last edited:
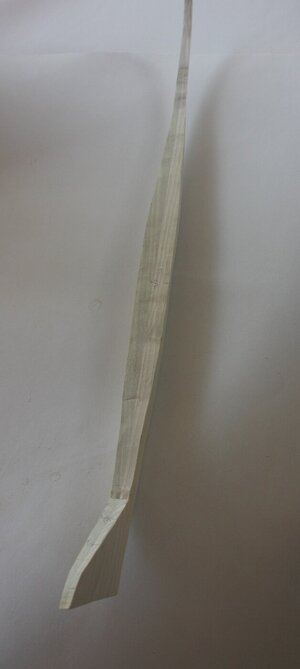
The keel has a very unusual shape compared to other schooners I have built in the past and was a real challenge. Fortunately the body plan shows the shape at the various stations so these helped to get it right. Making cardboard templates was a big help in the shaping process.
Allan
Body plan for keel templates.jpg
Keel templates 0.5 inch=1 foot.JPG
Keel 1.jpgKeel 2.jpgKeel 3.jpg
Keel 4.jpg
 
Last edited:
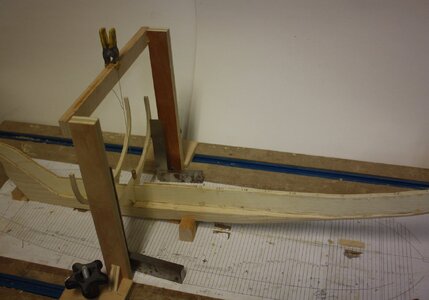
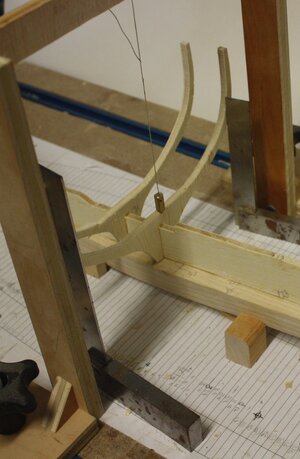
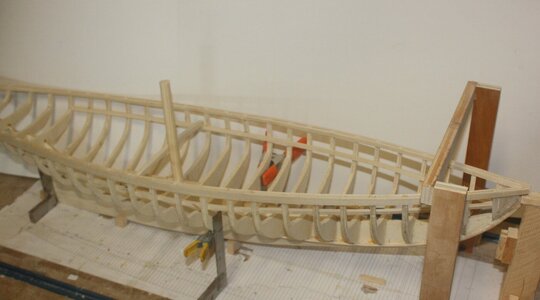
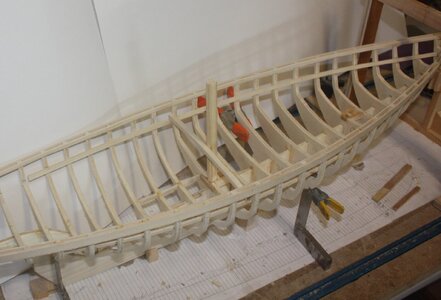
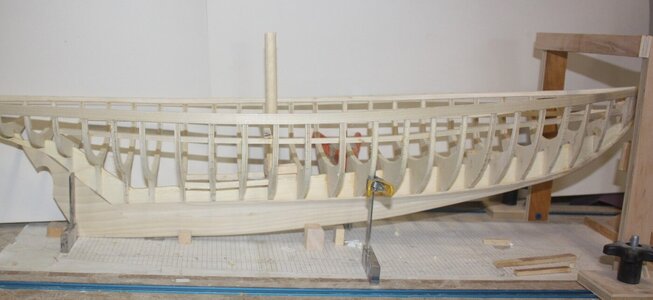
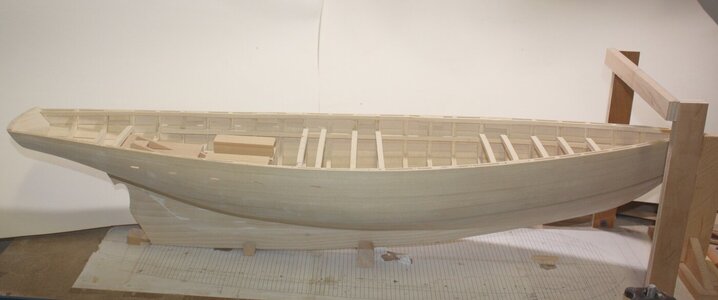
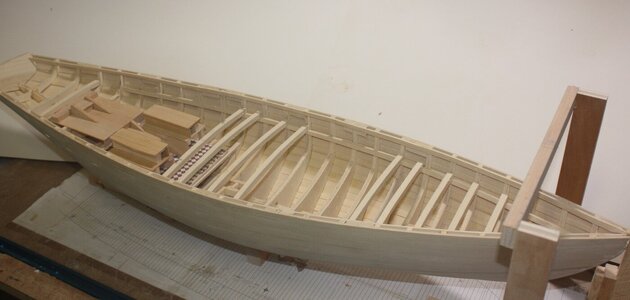
Once the frames were all erected several strakes of planking including the deck beam clamps were placed to hold things true during the fairing process. I made about twice the number of bulkheads found in most kits. This provided adequate landing surfaces for the planking without having to make filler blocks as stiffeners.
Allan
Framed hull `.jpgFramed Hull 2.jpgFramed Hull 4.jpg
 
A very interesting ship model - and very interesting also to see, how you solved some special problems
 
very interesting also to see, how you solved some special problems
Thank you kindly Karl, much appreciated.
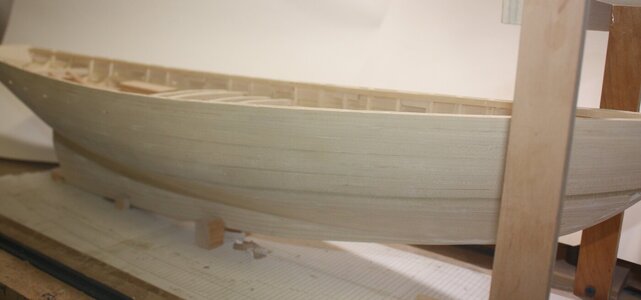
Because the hull was going to be painted I did not want to use expensive wood for the planking. I bought a board of poplar wood at a local hardware/lumber supplier and had enough wood for about $10.

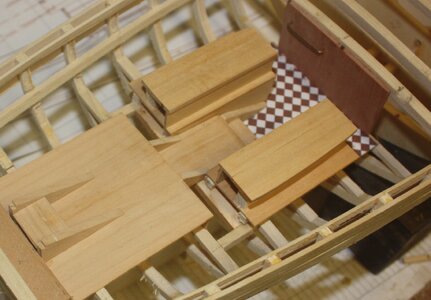
Some of internals were done just before the planking was completed. This included the wheel chair ramp and the benches that go inside the aft house.
Interior of main deck house with ramps and steps.jpg

Planked hull .jpg

Planked hull 1.jpg

Planked hull from above 1.jpg
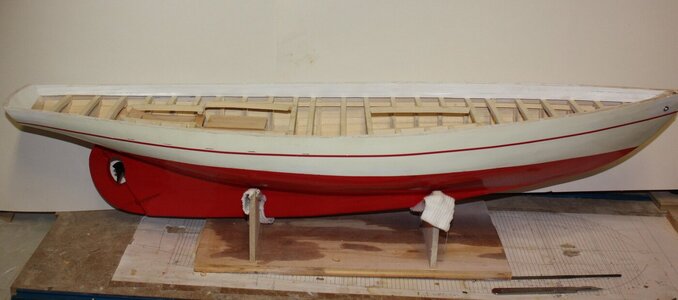
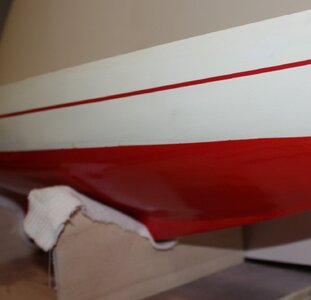
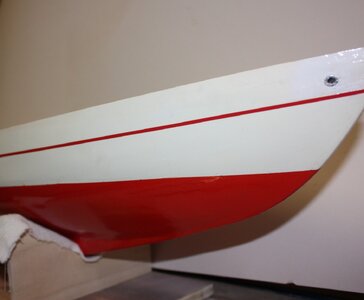
It was about at this point that I decided to paint the hull. The stripe was made using automotive pin striping from a local auto parts store. When painting the red bottom, in order to get a clean line, I paint the white first and go a little lower than needed then use masking tape to mark the line I want. Before painting the red I spray a clear coat on the tape to seal the edge so the red paint will not bleed under the tape. In retrospect, the red tape could have also been used at this border of red and white if desired. I used spray paint for both the white and the red giving several coats. Once the paint was dry I added four coats of a clear top coat.

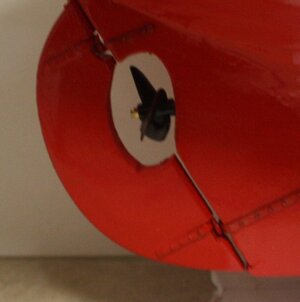
The photo below shows the propellor in place. This was from an aftermarket model supplier as it was the correct size otherwise it would have had to be a mini scratch project which I am glad I did not have to do.

Hull painted A.jpg
Hull painted B.jpgHull painted .jpg
 
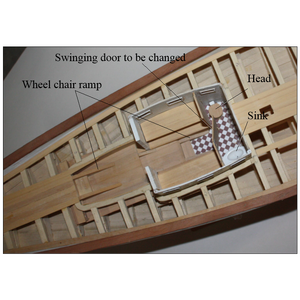
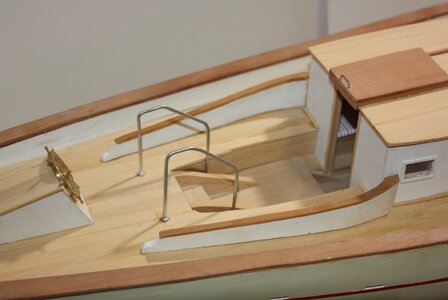
One of the things that the model turned up was that the swinging door into the head needed to be changed to a sliding door. In the photo it can be seen that a person could get in with the swinging door but a wheel chair could not. The shape of the aft house with the curved fore and aft bulkheads were an interesting project. Pre-bending did not work so carlings were made to the shape needed and the premade fore and aft bulkheads were bent to fit with no problems.

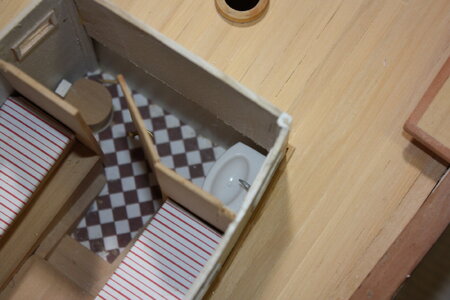
In the second photo the cushions in the deckhouse can be seen. These are no more than a pattern printed on paper using CAD and glued to wood "pillows"

The sink came from a doll house supplier that had such things at the scale I needed. In this case it was a long double vanity sink top which I cut down to one sink to fit.
Allan
Ramp and steps to head.PNG
Head and inside seating with cushions..JPG
 
The devil is in the details as the saying goes. This was the first "modern" schooner model I built so there were new things from start to finish. One example was the area of the rudder and the prop.
1723109698833.jpeg
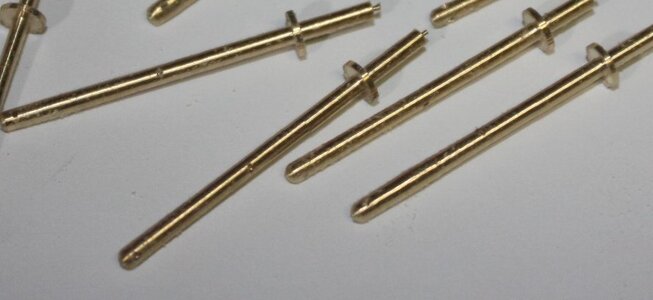
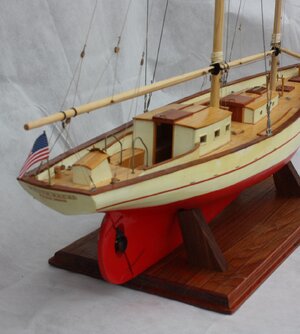
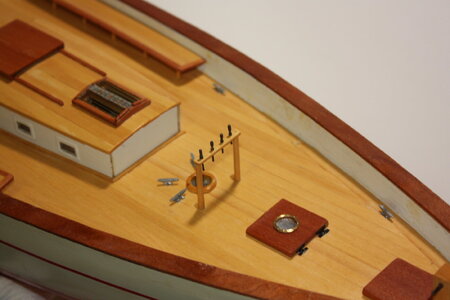
The vessel was designed for pleasure sailing rather than as a work boat such as the Gloucester fishing schooners so a different look including the cockpit area. The first picture is prior to the finish being applied. The second is more forward on the deck and the finish has been applied in this photo. It brings out the rich reddish color of the Swiss pear used for some of the woodwork. Note the size of the belaying pins and space between them. Too many times the pins supplied in kits are more like bowling pins and no room between them to work the lines.

1723110255334.jpeg
1723110305080.jpeg

Next up will be the many metal pieces that were a challenge at times. The stanchions for the pins seemed light to me but I used the sizes given on the architect's plans.

Allan
 
Last edited:
Thanks Herman.
One of the things I hate is to cover up the details that go inside the vessel. In this case the overhead of the aft house is removable so the seating and head can be seen. Turns out it was a critical feature.
Allan
 
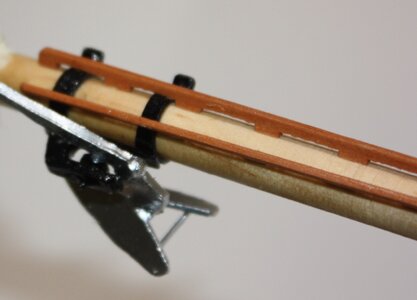
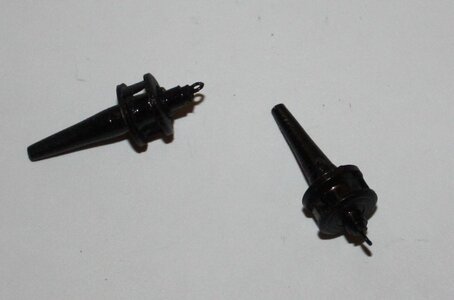
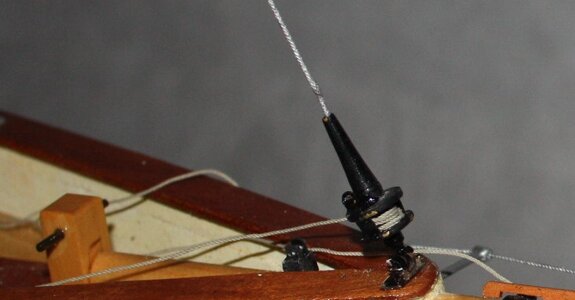
My metal working skills are not all that fine, but I do enjoy the challenge,,,,,,, most of the time. As this is a modern schooner, there were some new things to draw and make such as the sail furlers in the first pics. The others are self explanatory, I hope :)
Jib furlers.jpgJib furler rigged.JPG
Upper jib roller before blackening
Upper roller for jib furler.jpg

Brass belaying pins which were later blackened
.Belaying pin.JPG
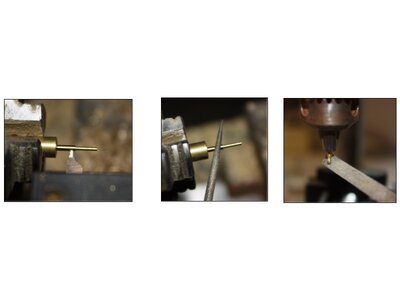
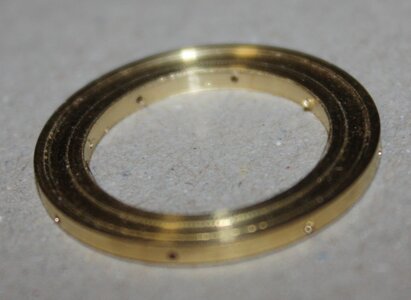
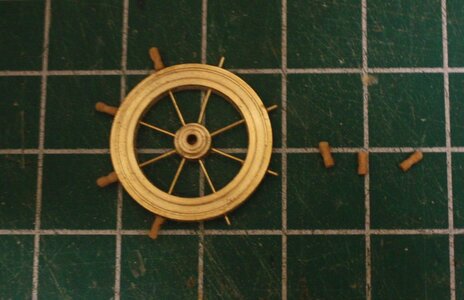
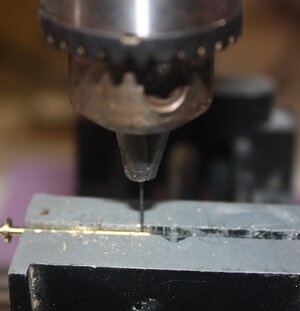
The wheel has a metal rim and spokes with wooden handles
Wheel rim drilled.jpgWheel rim with spokes.jpg
Plough anchor
Plough anchor.JPG
Plough anchor on anchor roller on the sprit
Plow anchor on anchor roller on sprit.JPG

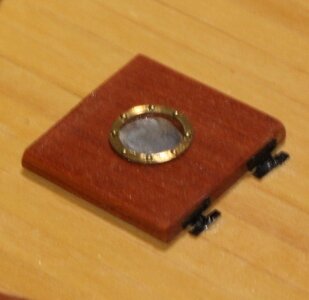
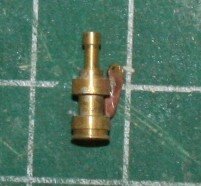
Deck hatch port light
Deck hatch port light.JPG

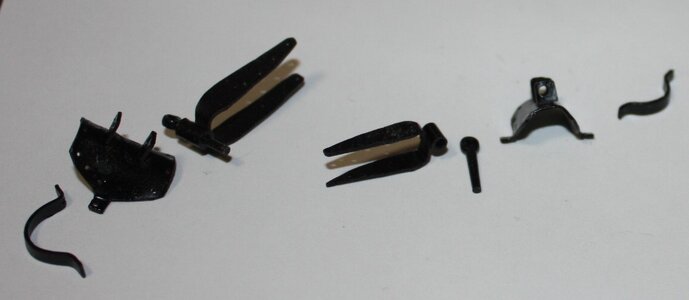
Boom Saddles
Boom Saddles and parts.jpg
Stanchions
Stanchion holes.jpg
Stanchions 2.jpg
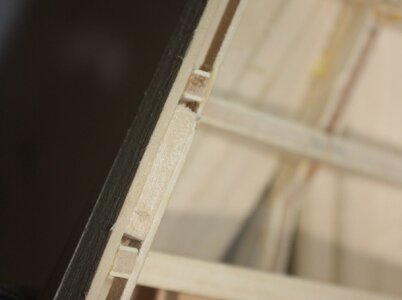
Filler pieces were needed between the frames to support some of the stanchions.
Stanchion filler piece.jpg
 
Last edited:
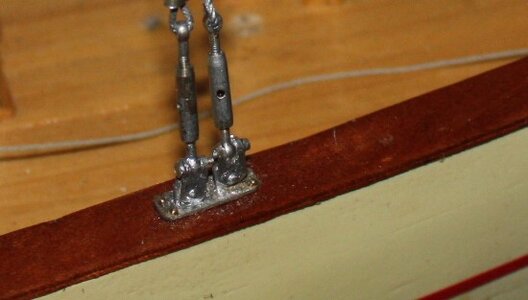
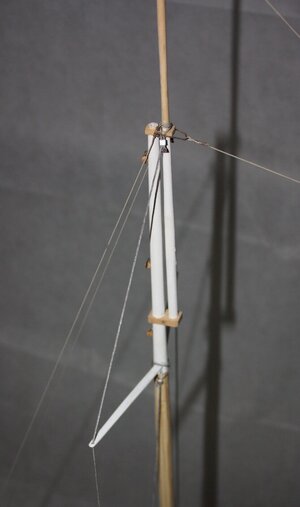
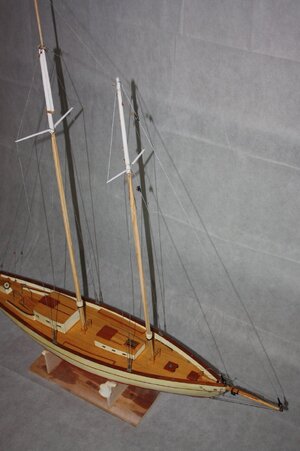
Masting and rigging was relatively simple compared to a square rigger. I did try using wire rope where appropriate and found it to be miserable to work with. I opted for miniature rope (not thread) and painted it a metallic silver. For the lines that were supposed to be wire I did use metal wire clamps as would have been used on real wire rope. Using working turnbuckles made tightening the various lines very easy.
Allan
Rigged turnbuckles

1723293545217.jpeg
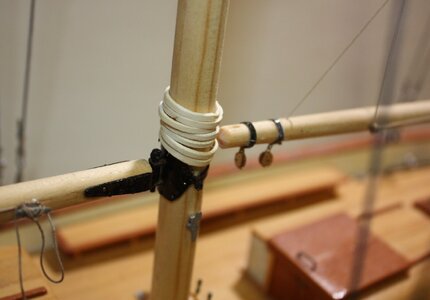
Lower mast and boom with sail/mast hoops made of holly
1723293635680.jpeg
Top mast
1723293729735.jpeg
Stern view of mast and standing rigging
1723293823070.jpeg
1723293884574.jpeg
 
Making sails is a huge question mark for many. Cloth sails sometimes look awful at scales smaller than 1/48 as there is no cloth with a thread count available that is to scale. Some get close enough to look good, but the material is expensive. The burlap appearance in many sails and unrealistic sewing is common because it is impossible to sew seams at scale. Assuming canvas has a thread count of about 100 per inch the cloth itself would have to have a thread count of 4800 at 1:48 scale. I have found cloth with a TC approaching 1000 but it is almost like satan so it is closer of scale but can sometimes be shiny. Stitches are a similar problem. For cotton and similar cloth the stitch length is typically 1.5 to 2mm. At 1: 48 that is 72mm, or more, which obviously would not hold the sail panels together very well. If I must use cloth high TC bed linen can work well at large scales but penciling panel seams and hand sewing bolt ropes works best for me. Reinforcement pieces are glued on rather than sewn, and the holes in the clues are reinforced with hand stitching.

As a result of all these finer points some, me included, have gone to silk span for making sails. There are three grades available from Sig manufacturing. They also make glass cloth but I have not tried it. If anyone here has this material, I would be interested in knowing more about it. Like the silk span I understand it comes in three grades but cannot find anything about the thread count or if it is a non woven glass cloth.

There is a good You Tube video on making silk span sails by Tom Lauria,
, and David Antscherl's booklet ($5) from Seawatch books is very useful. I found that a combination of the two work best for me, but that is just my own choice.

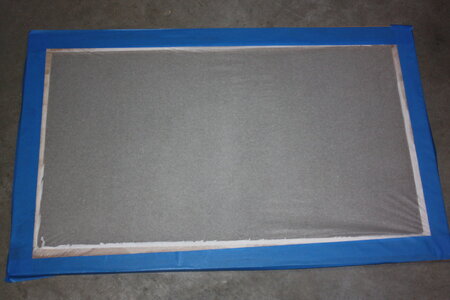
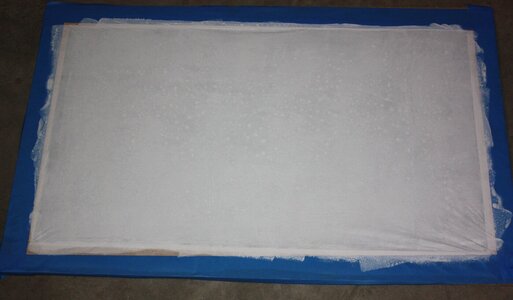
I made several sizes of frames to start. The silk span was taped to the frame then sprayed with water and allowed to dry, shrinking it tight.
1723368266046.jpeg
This was then painted with a small roller and allowed to dry.
1723368594068.jpeg
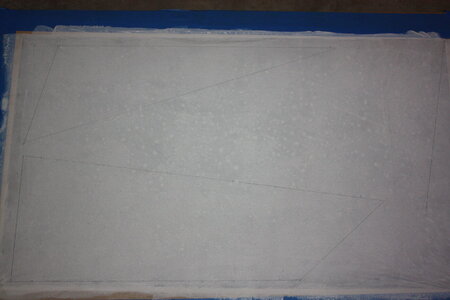
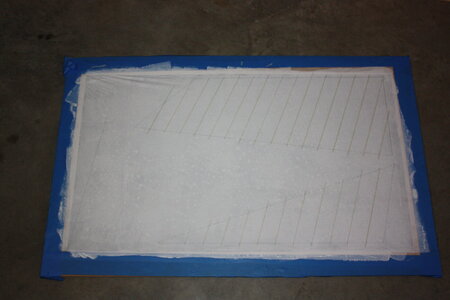
The next step was to draw the sails on the painted span.
1723368645122.jpeg

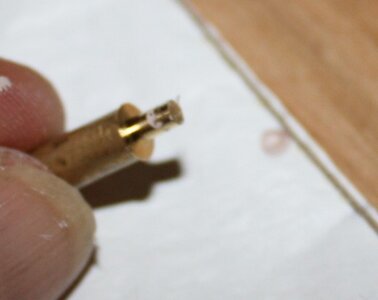
One of the things I tested was making the panel seams. I used a couple different paint markers to test the color, darkness and overall appearance and size. A scalpel was used to cut the applicator tip to the two inch lap of the panels to be sure they were not too large or two small, in this case 1mm.
1723368796138.jpeg
As the seams were actually part of the sail cloth, subtlety was key for me but to each his own in making a choice. The next photo shows the panel seams applied with the paint marker.
1723368945077.jpeg
The panel was then sealed with matte medium and once dried the sails were cut out.

Bolt ropes were then glued around the periphery using matte medium as the adhesive and reinforcing pieces were made and glued on with matte medium.

I painted the grommet holes where appropriate using a little hand made applicator so they were sized correctly and consistent.

1723369292529.jpeg
The below shows silk span sails compared to typical kit supplied cloth sails as well as homemade cloth sails I made for the schooner Columbia back in the day. For 1:48 scale some days I like the silk span the best, other days the high TC sails made from pillowcase cloth with penciled panel seams and hand sewn bolt rope stitching. For 1:64 or smaller I prefer silk span.
The choice, as always, is up to the builder.
View attachment 1723458296393.png

For baseboards I have gone to faux burl finishes as they look great on their own but do not take away from the model. It is easy to do but takes several steps. I followed the method on this video with great results

Allan
 
Last edited:
Back
Top