Scotland Corel kit #SM 56 (build 2013)

Joined
Aug 16, 2019
Messages
870
Points
343

Scotland Corel kit #SM 56 (build 2013)
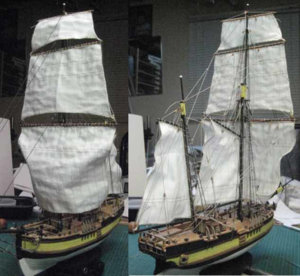
The Scotland, a ship dating back to the end of the eighteenth century, belong to the category of the Baltic Ketch-Yachts and was chiefly used for the transport of goods and passengers, also on rivers and the most important lakes. While being traditionally a “ Work Boat “, so-called because it was mainly used for commercial purposes the Scotland can be distinguished from the multitude of different kinds of relatively small boat, that is to say, those between 50 and 60 feet long, by its impressive sails and the pleasing and soft lines of the hull.
Even Chapman himself, in a note dated 1775, mentioned this type of ship because of the purposes for which it was used, but he called it “Galeas, a Baltik Vessel”.
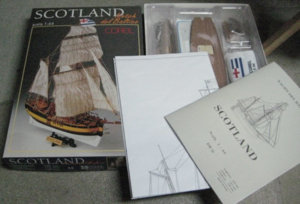
I have to said that when I open the box I was impress of the 3 other Corel kit that I have that one is the best one as I have see up to now from Corell. Impeccable packing a clear plastic tray separate the different parts the keel is straight and all the wood are in a small bag I did not see any damage on part or something wrong. All the metal decoration part are made in a black metal that will be very easy to paint with good result. The kit came with a nice stand that when prepare and paint will be gorgeous.
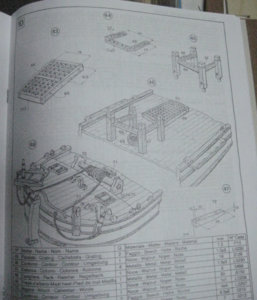
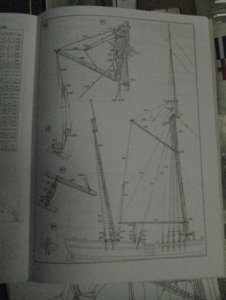
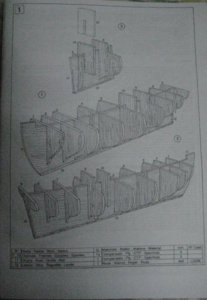
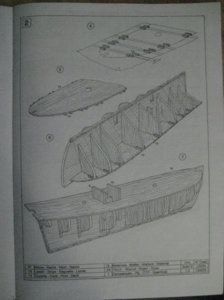
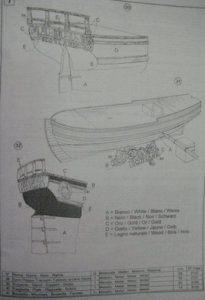
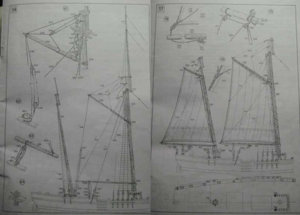
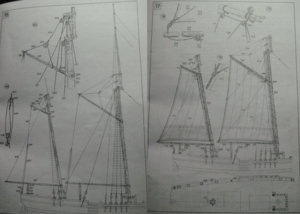
The booklet instruction is well made (at least for me) each page got the step on one page and drawing on the other side, a scale drawing complete the documentation.

That kit was build as a gift for one of my close cousin
1.jpg
2.jpg
3.jpg
 
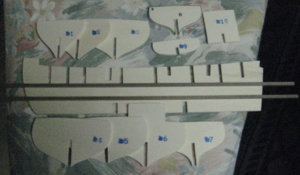
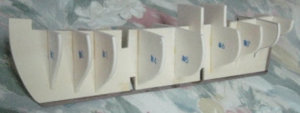
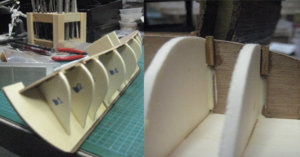
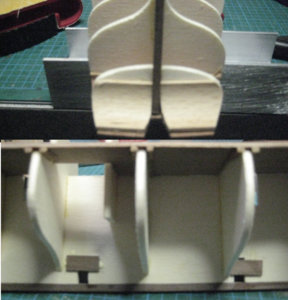
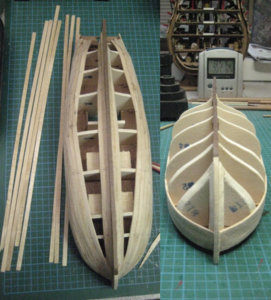
Construction begin with the frame
My frame was strait and all the parts in good condition
Not a lot to said as everything when smooth an easy.
Only a bit of sanding to have the bulkhead adjust to be level to the main frame but beside that nothing.
I used carpenter glue for that step as that type of glue give me time to place and adjust before it set.
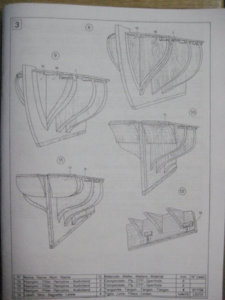
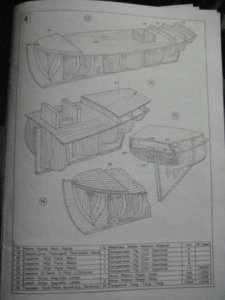
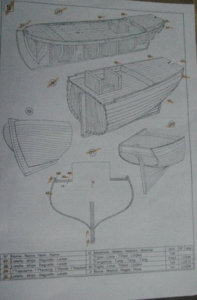
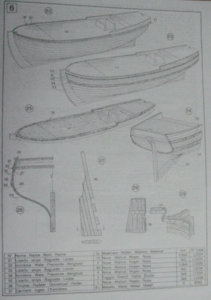
As you see in the photo the drawing are self explanatory. All the part are numbered so easy to identified
The keel was install and a small piece at the stern again a bit of sanding was necessary to have the part fit nicely. Personally I prefer to have to sand a bit of material, then found that the piece are to short.
1.jpg
2.jpg
3.jpg
 
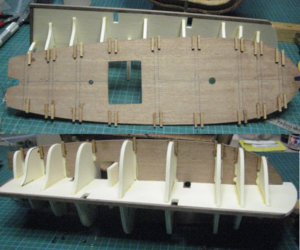
The second step is to install the deck.
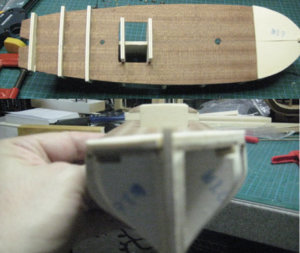
To make certain that the deck is place properly the demand that small block of 2x2mm are install with precision at certain place.
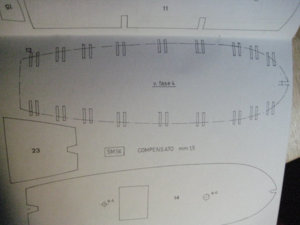
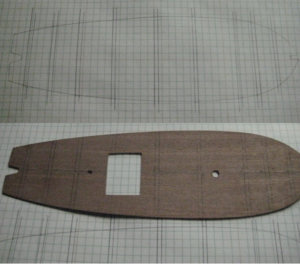
To do that we have to trace on a sheet of paper the form of the deck and copy the exact position of each bulkhead. To do that they supplied a drawing at the end of the booklet, and a compensation of 1.5mm as to be applied to it.
After that it is just a matter to glue the deck to the frame is just to show that I ad some carpenter glue on the junction to give more strength to it.
1.jpg
2.jpg
3.jpg
4.jpg
5.jpg
 
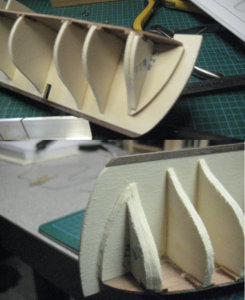
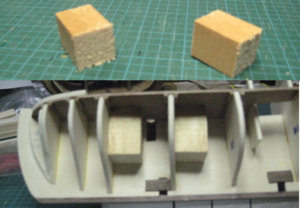
Step 3 the pose of the filler block and the sanding of the bulkhead.
Notting really to said it is a straight forward work that went fast and easy the plywood used is light and easy to sand.
At this point we install small wood piece that will be use later when the stand will be install photo 3-5 I did not use the wood of the kit I put some scrap wood from my waist box as I did not see the need of making cut in a nice piece of wood for those 4 small piece ant they will be inside the hull
1.jpg
2.jpg
3.jpg
 
The installation of the fore castle and quarter deck.
This will be follow by the planking of the deck.
3 long piece of wood are install to be the support to the Quarter deck and 2 big half will made the floor of the fore castle
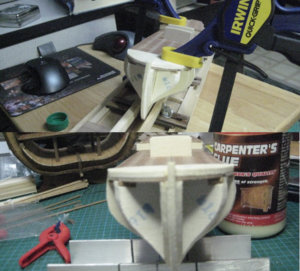
Well in the instruction they said to be careful to avoid the deck to twist when the thick piece are install at the fore castle. They where right as you can see I got a very nasty twist. I think that the cause of that is the fact that the deck got a camber.
At this stage of the building it is easy to correct so first I cut 4 block of wood of around 1”x1”x11/4” I then use my ship holding frame and 2 clamp I rectified the frame that was follow by gluing the 4 block under the deck to the frame ant the bulkhead 4-6. And as you can see the problem is now corrected.
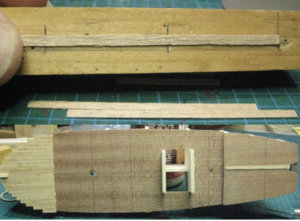
The planking of the deck they supplied 20 strip of Tanganica wood of 0.6x3mm they suggest a 50/50 pattern with a length of 70mm that I follow. First I made myself a small simple jig using a block of wood, I first made a line put a nail at one end made 2 perpendicular line at the dimension requested I got my jig
show the fore castle done and the line on the deck that will be used
The deck is now planked the tree nail where add also part of the stern was done at this step
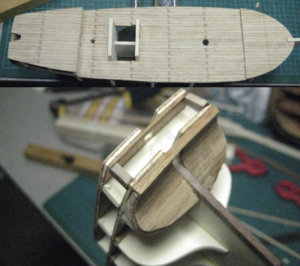
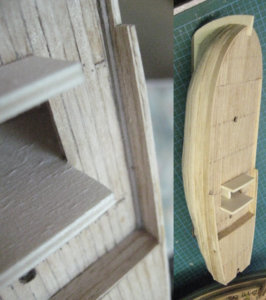
Here I went ahead and did already something that is suppose to be done at step5 on the front of the quarter deck you can see the piece of plywood that is use as a wall at step 5 I am suppose to plank it with the same type of wood so I did it now as it is easier to do now.
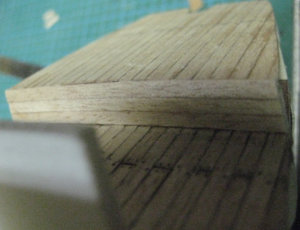
First small modification to the build if you look you will see a small elevation at the fore castle no where in the instruction they mention to plank it so after making certain that I have sufficient wood to do what have to be done at step 5 I add a small plank
1a.jpg
2a.jpg
3a.jpg
4a.jpg
 
The planking of the deck they supplied 20 strip of Tanganica wood of 0.6x3mm they suggest a 50/50 pattern with a length of 70mm that I follow. First I made myself a small simple jig using a block of wood, I first made a line put a nail at one end made 2 perpendicular line at the dimension requested I got my jig
show the fore castle done and the line on the deck that will be used
The deck is now planked the tree nail where add also part of the stern was done at this step
Here I went ahead and did already something that is suppose to be done at step5 on the front of the quarter deck you can see the piece of plywood that is use as a wall at step 5 I am suppose to plank it with the same type of wood so I did it now as it is easier to do now.
First small modification to the build if you look you will see a small elevation at the fore castle no where in the instruction they mention to plank it so after making certain that I have sufficient wood to do what have to be done at step 5 I add a small plank
1b.jpg
2b.jpg
4b.jpg
5b.jpg
 
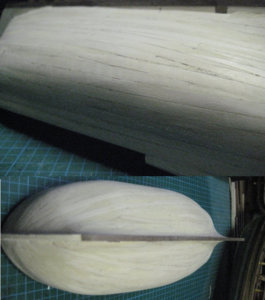
First I want to thanks Jean Pierre again as he spot a mistake that I made when sanding the bow. So correction done I was able to start the planking
And show different step in the planking.
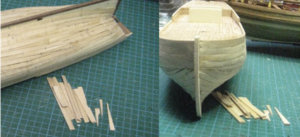
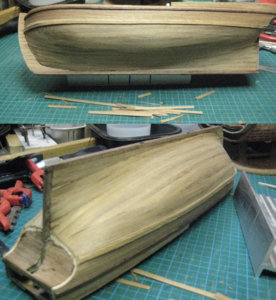
When I look I realize that I there was a possibility that I might be in trouble and be short of wood to plank the hull. So I went in economy mode show the hull complete and as you can see beside the hull not a lots was left. That is the first time that I made a build and arrive so tight in wood for the hull.
the hull after the sanding, the hull now have the proper shape but still need work.
show the hull finish and ready to received the second planking .
1.jpg
2.jpg
3.jpg
4.jpg
5.jpg
 
Stage 6
The second layer of the hull planking, the installation of the gunwales and the rudder
the complete hull finish it was not a problem at all it was easy to do and went very well as for the first planking not a lot spare plank
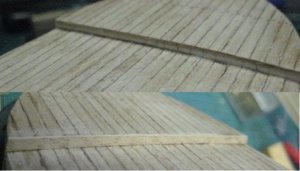
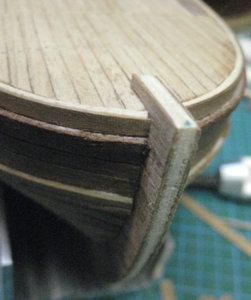
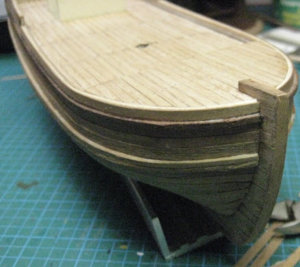
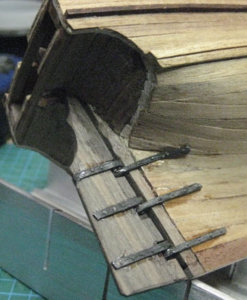
next show where I made my second modificationt as you can the edge of the bow is not cover so even when paint the layer of plank and plywood will be apparent so I decide to cover it with the few spare left
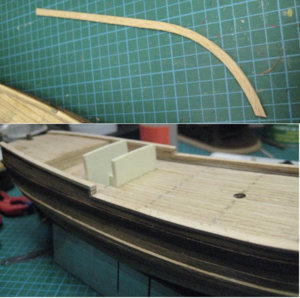
This is a nice surprise, Corel supplied Beech wood to make the handrail, and it was fantastic as you can see it is easy to bend and form it by hand and it keep is form the rail install.
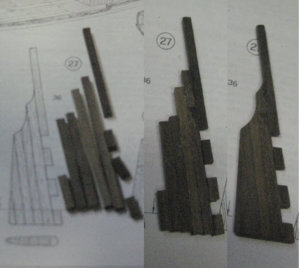
The next few picture show how the rudder is build from 3x3
All the parts before assembly
The parts assembled but not form
The rudder is complete ready to be install
The rudder install and the ship ready for the next stage
1.jpg
2.jpg
3.jpg
4.jpg
5.jpg
6.jpg
7.jpg
 
Stage 7

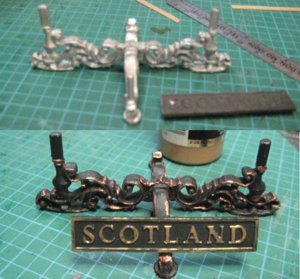
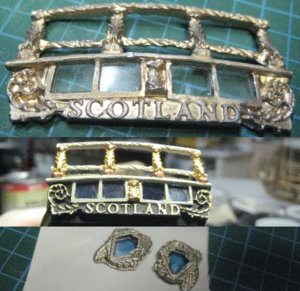
First thing that I did is to prepare the stand by first cleaning the stand and gluing the name plate a base coat of flat black then I did a very light copper paint on the detail, The name pate was paint a light gold just enough to be visible but not shiny to be point of be the focus point of the model.
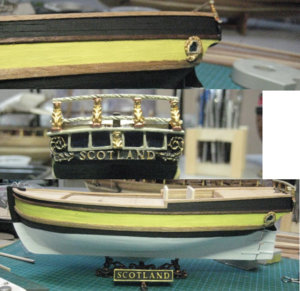
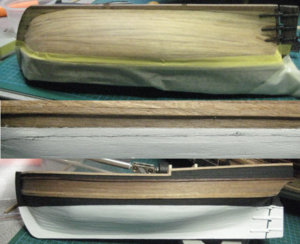
Next using a spray can of flat white and my masking tape 8-4 I paint the hull. I then made myself a rig to trace the water line
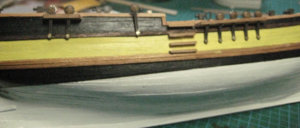
Next was the paint of the 2 black line follow by the yellow one
The stern
The kit do not supplied glass to fill the window so what I did is using some 1mm clear Plexiglas that I have and just cut them to fill the window.
I then paint the inside of the window clear blue using Tamiya paint X23 and finish the painting and then glue the stern in place I did the same with the 2 mall side window
That step is now complete a light coat of varnish and I am satisfied of the result
1.jpg
2.jpg
3.jpg
4.jpg
5.jpg
 
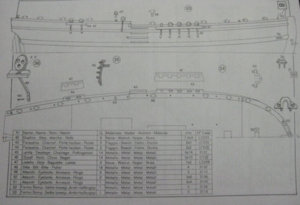
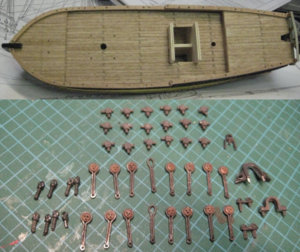
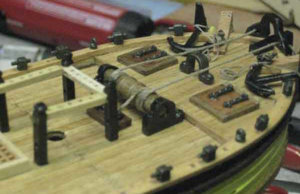
Ok step 8 is the installation of the deadeye, chain plate, bits and ring bolt. Notting really to said about that stage, measuring where the part go drill a 1.5mm hole and glue the part in place.
1.jpg
2.jpg
3.jpg
4.jpg
 
Stage 9
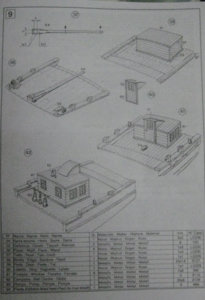
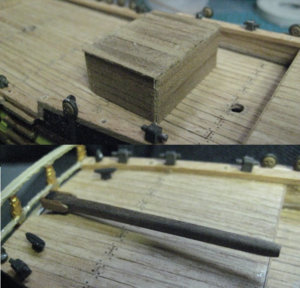
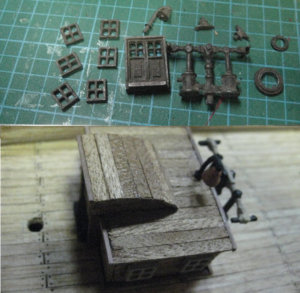
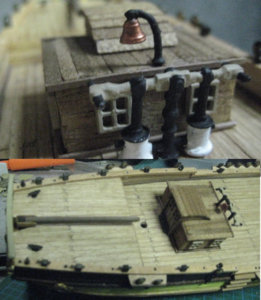
The making of the last furniture at the stern
That include the building of the cabin the tiller the installation of the pump and a few other little part.
Just follow the instruction and build it.
1.jpg
2.jpg
3.jpg
5.jpg
 
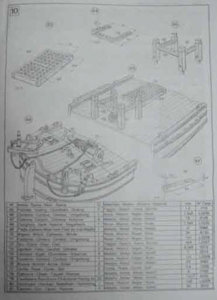
Step 10 complete Superstructure of center and Bow
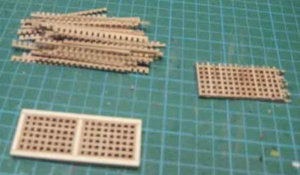
That section was not a big problem and went very easily. Up to this point the only thing that I can said bad about the kit was that all the wood supplied was in a very tight quantity well I got a surprise went I build the grating I got sufficient part to build at least 5 more
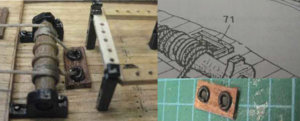
If you look at the drawing the parts 71 it is the anchor well latch the way I look at it that part is just suppose to received a bordering and paint the center mat black. I also considering to cut the deck to have a real hole there but I reject both idea as I did not like any one of them. So what I did is this first I made the bordering as per the dimension require then I made a cover for it, then using a thin copper wire I made 2 ring that I glue on top of it this was follow by making 2 hole in the center of the ring when install and the rope pass it look decent.
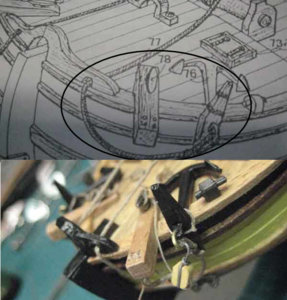
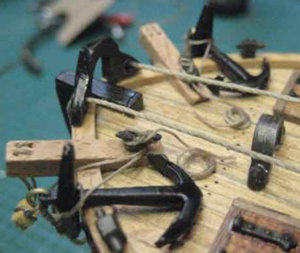
Another add that I did was on the anchor as you can see on the drawing they made you install a crane and a nice cleat but do nothing with it. So after making certain that the cleat was not use for something else I decide to make a proper rigging of it so using a double block I make a hook and rig the anchor and give you the result.
The next step will be the making of the mast and all parts related.
1.jpg
2.jpg
3.jpg
4.jpg
5.JPG
6.jpg
 
Step 11
Construction of the masts
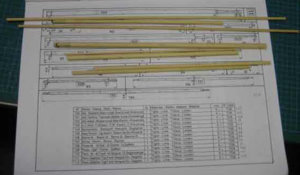
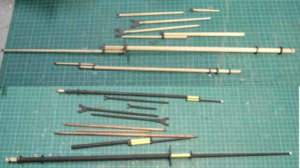
That was an easy step first I mark all my length
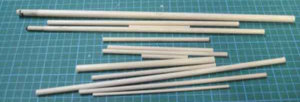
Then cut them (always do a cutting chart before starting to cut)
Never have a build with extra dowel
And all cut and trim ready for the next step the assembly of the mast
1.jpg
2.jpg
 
Step 13
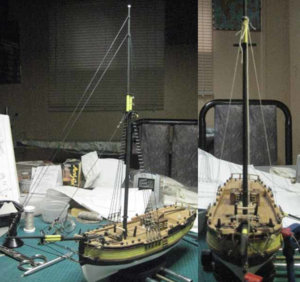
First I build both masts then paint them
In the instruction they suggest a method to install the mast and have a proper alignment. I try it and it work with perfection
Note I replace all standing rigging by black tread of equivalent size
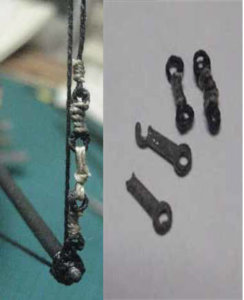
I build my self a rig for the deadeye and made the rat line and again change the line and use a thinner one
Got a small problem as the 2 last ring that I need to do the stay arrive damage so I build myself 2 new one using tread and the result is not bad I think 13-10
Step 13 is now complete
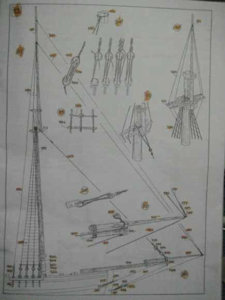
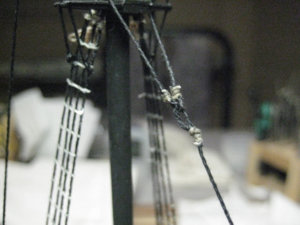
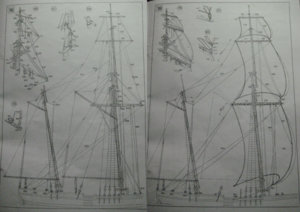
After reading carefully the instruction and all the drawing I realise that to do a proper work and to have a good result it is impossible to do it as they said. So I will have to follow a careful progression mixing step and going slowly cable by cable.
1.jpg
2.jpg
3.jpg
4.jpg
5.jpg
 
Well it went not to bad at all
Step 14 and what I call 17A the traysail
Both step was done in the same time as it is not possible to do it in any other way
1.jpg
2.jpg
3.jpg
 
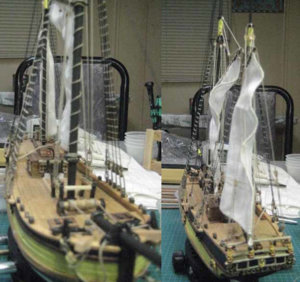
Step 18 done all sail on the main mast install
First was to sew the sail to the spar
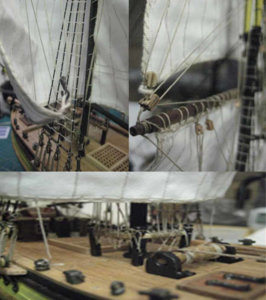
Second was to install all the pulley necessary
lots of cable on the rack
Detail of how the sail are rig nice detail is the hook on the main sail
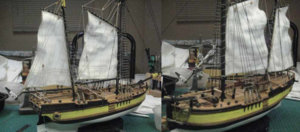
The last 3 picture is the build up to now
2 more sail to install then the rail and the build will be complete
1.jpg
2.jpg
3.jpg
 
Step 19
That will complete the ship with the finishing of the rigging we have to add the 4 rail that go on the side of the ship. They also suggest the addition of 2 small guns at the stern that I did not add as I did not see that ship with gun, so I did not add them.
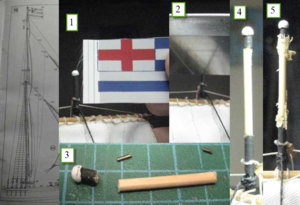
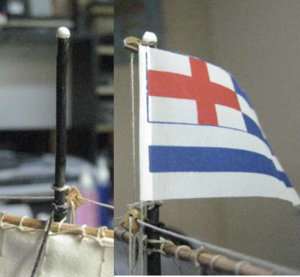
Got a small problem when I came to add the flag I came out short of 20mm
The flag is 30mm and on the scale drawing it is 20mm and I realise that I might be 5mm to high ok the solution was rebuild all the mast or find a solution.
I cut the end of the mast follow by cutting a 20mm length. I cut 2 smalls pieces of steel hole in each extremity
I glue the parts
I add some putty to hide the cut sand it
repaint
Flag in place I add a pulley that was not schedule for and problem solve
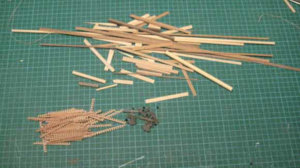
What left from the kit not mutch
1.jpg
2.jpg
3.jpg
 
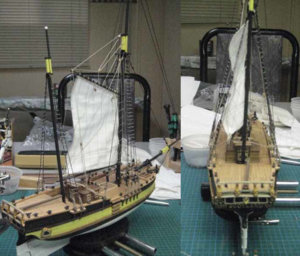
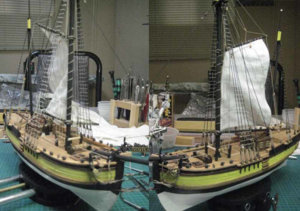
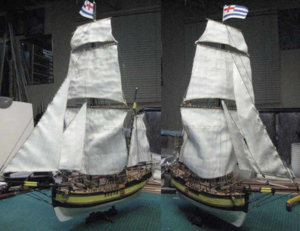
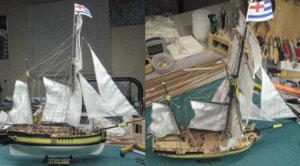
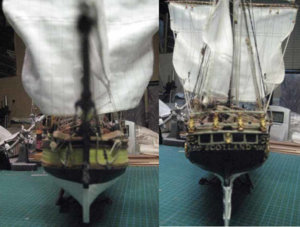
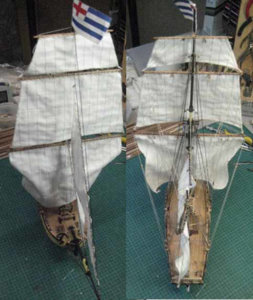
And here the final photo
Conclusion of the build
Box: Very good packaging
Wood: good quality but the quantity supply is just what needed for the construction of the kit not a lot to spare
Metal part: Not really good a kind of lead easy to strait if wrong but some of them where badly form in my kit
Instruction: Very good and clear just follow the step one by one
So do I recommend that kit
Yes it is in my opinion an intermediate skill level
The only problem is probably the size of the kit it is small so any mistake is more apparent. On the other end because of the size it is easier to manipulate.
1.jpg
2.jpg
3.jpg
4.jpg
 
Back
Top