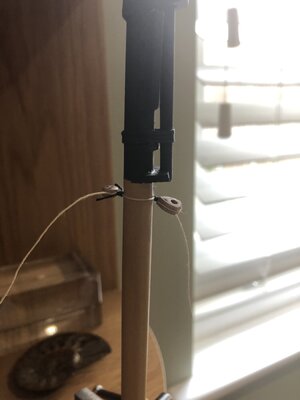
On later 18th and 19th century vessels you would find metal bands on yards to secure block strops to. Generally, on older ships, rope was commonly used in place of iron for many rigging attachments. Block strops were rope, as were mast wooldings, and anchor rope, not chain. See the sheet and clue line blocks attached to the yard below on the 18th century ship. Every time you research into a ship from a different time, you see changes in materials and rigging methods. Generalizations are hard to make because information on actual ships is full of holes and variations not just across time and country of origin, but between individual vessels abound. The amount of guesswork building a 17th century and a well documented 19th century English ship model is VAST. Imagine trying to build an accurate replica of an ancient Greek or Egyptian vessel...
View attachment 185410


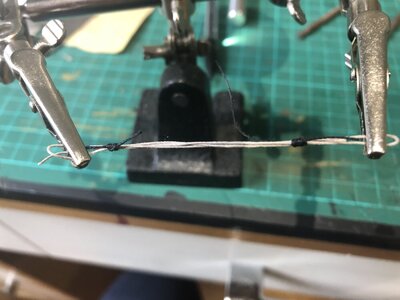
 - I have decided to proceed along the following lines. I had an 'S' shaped loop of 0.5 natural line which I held in my clamps, seized each end to form a secure loop into which I placed a heart shaped block and a deadeye at each end. I tightened the seizing and then drew the lines tight around the blocks whilst preserving the central space. I slipped the piece over the bowsprit an then, when the correct position, tightened the lines to clamp it; then applied a little watered PVA to secure in place. I used the wrong line so used some India ink to dye it black. The key is the correct seizing line; if it is too thin - i.e. cotton, it wont hold the tension around the mast and the knot slips. I used 0.25mm line to seize. Seems to work okay. For the aft securing (4 blocks) I will secure two at a time an dthen abut the lines. Peter