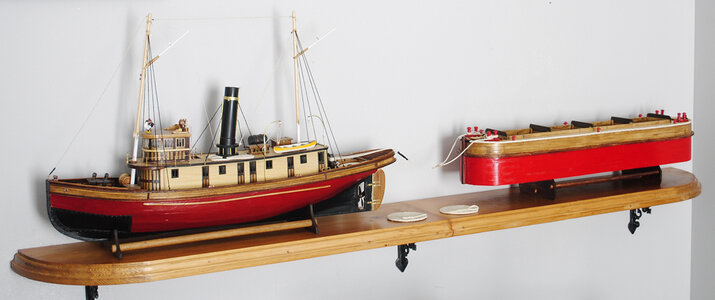
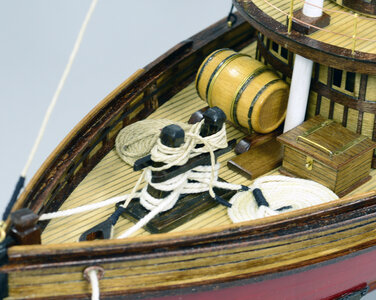
Seguin Steam Tug by Bluejacket & Dumb Barge [COMPLETED BUILD]

Joined
Feb 12, 2018
Messages
142
Points
103

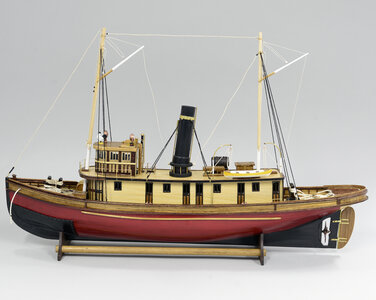
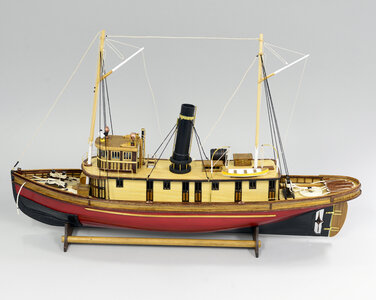
This will be my build log for the steam tug Seguin and a "Dumb Barge" of my own design.
The Kit is from Bluejacket Ship Crafters (kit #KLW108) in 1/4" scale and was received as a birthday gift in 2021.
First, I have finished this project. I am doing the build log now because during the actual build my shipyard was undergoing a major rebuild and I was working in my office with limited access to my computer.
I must also give a shout out to member Pathfinder 65. His build log from 2018 was most helpful, especially while building the main deck and deckhouse. If not for his observations on the curve of the main deck (not shown on the plans) I would certainly have gone ahead as he did and ended up with a major problem. Many thanks Pathfinder 65.
Second, I have misplaced some images from the builds. Sorry, words will need to do.

This is a beautiful model. The box and instruction manual pictures do not do it justice. in short it is elegant.
the kit quality is good, the laser cutting is accurate and the cast parts are better than most.
The plans are very good, full size and clear._DSC0896 small.jpgDSC_0894 small.jpg
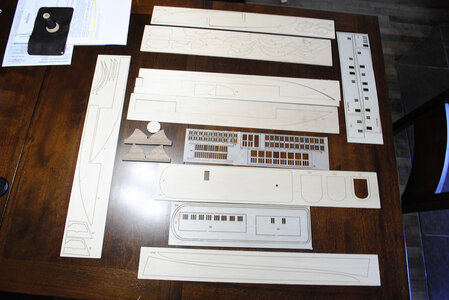
I did order some additional parts from Bluejacket: Rails f0029 5/8, lifeboat f0904 3 3/8, two searchlights f0122 3/8. all were of good quality.

Points to note:
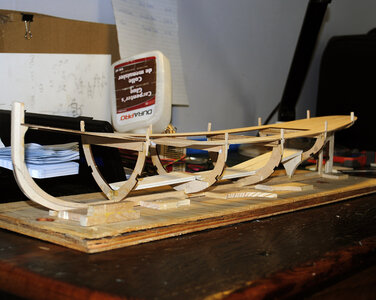
Hull - Make sure it does not warp or twist. build in the RC motor supports and more frame.
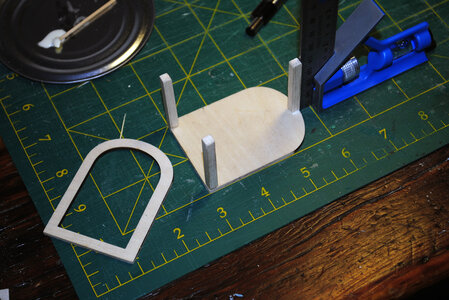
Main Deck & Deckhouse - Cut a card template of the deckhouse profile, dry fit, adjust as required and then build to it. Use the template for positioning the starboard stairway.
Stairway - Check the position and be very careful with the location.
Garboard planking - Do not score too deeply. Soak, pin to hull and allow to dry then glue.

There were no major issues with this build. Read ahead, use templates and dry fit first.

I hope you enjoy.
 
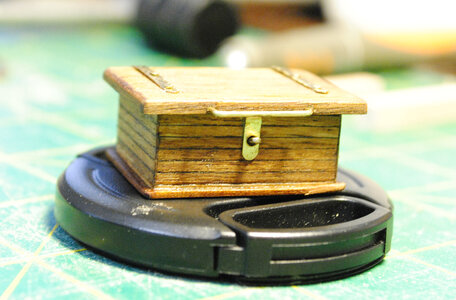
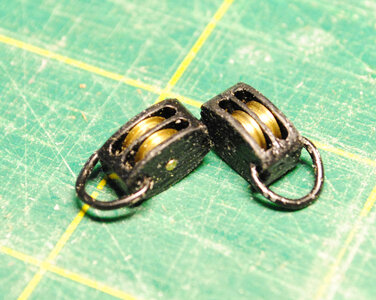
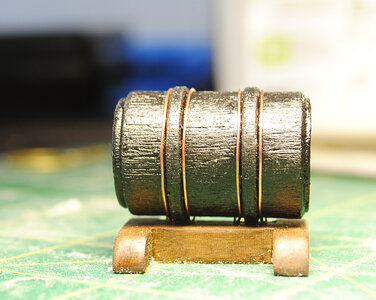
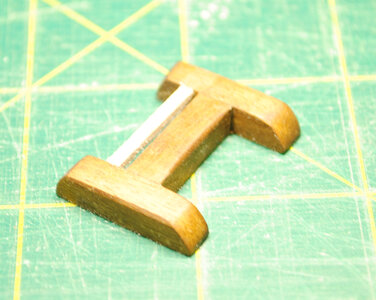
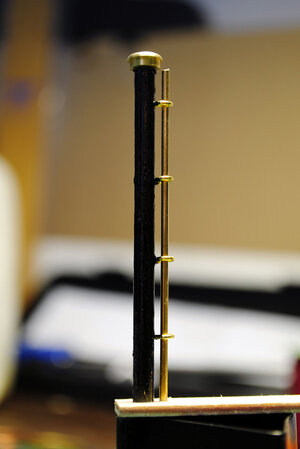
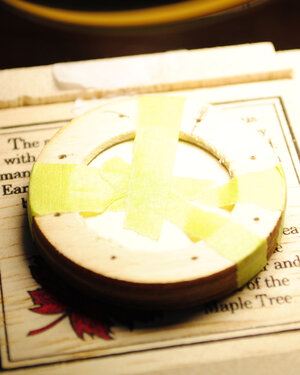
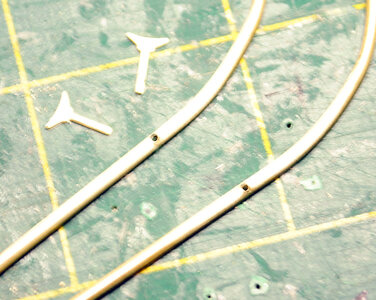
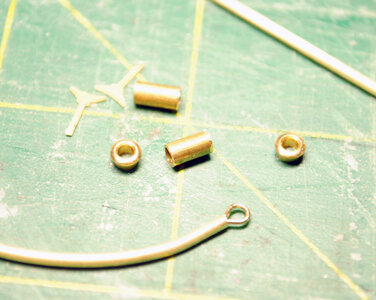
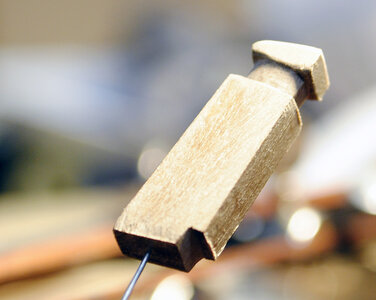
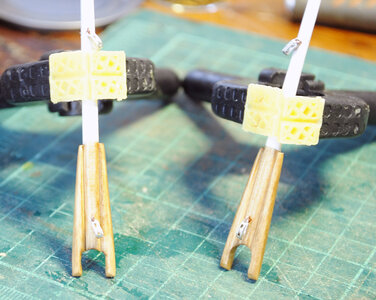
Working from the plans I built the smaller items: ladder, ice box, skylight, water barrel, fore post, kitchen stack, lifeboat davits.....
_DSC0804 crop small.jpg_DSC0808 small.jpg_DSC0819 crop small.jpg_DSC0823 small.jpg_DSC0837 small.jpg_DSC0840 small.jpg_DSC0871 small.jpg_DSC0927 small.jpg_DSC0939 small.jpg


The plans show the aft lifeboat davit being blocked by the mast back-stay. I did not notice this until the davits were drilled and in place so I moved the back-stays aft a bit and put a brass rail in the holes in the gunwale. You will see this in the final photos.

_DSC1090 small.jpg

_DSC1099 small.jpg
 
Many Thanks for starting this building log - great :cool:
 
That is a Great kit The Sequin was my First attempt at Model ship Building back in the late 80s Enjoy as I did
 
Thank folks, my photographs are not so great, sorry.
On with the log.
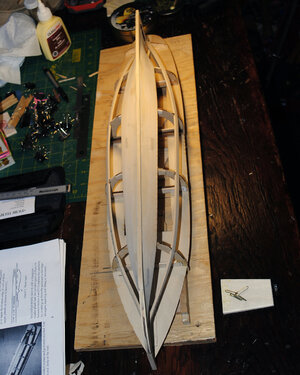
While building the frame it was very apparent that it would require additional support. Even with the RC mountings in place the structure was not very sturdy. I added 1/4" sq blocks to all the contact points. The sub-deck fitted very well and the curve that is formed for the Deckhouse is attained by bringing the sub-deck into contact with the top of the keel frames.
Hull 1.jpg

Hull 2.jpg

I then built the rudder and made sure it fitted into the stern. The instruction method is a bit convoluted however it works.

Hull 3.jpg

Planking the hull went well. Do not cut too deep when slitting the garboard sections. I planked 6 at a time, alternating sides.
I do not have the pictures for this part.

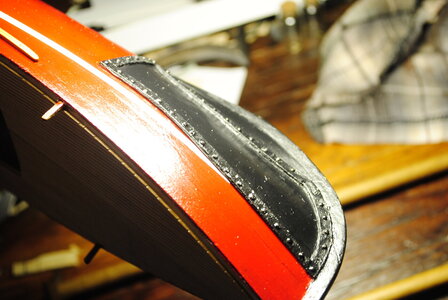
In one of the photos in the instruction it makes note of protective iron sheathing on the bow at the waterline. I wanted to include this so I used some 1/32" sheet aluminium to make the plates and drilled and mounted them to the bow. I was happy with the result. Again, the photos are MIA. I used a sand filled pounding bag, a small hammer and a trailer ball hitch to shape the sheets and strips.

_DSC1081.JPG

Next came the scribed decking and the raised stern section. I built the stern platform as a solid covered unit rather than building a frame.
The decking is a delight to work with. There is a lot leftover if you mark out carefully, I had enough to do the roof of the deckhouse too.

Hull 5.jpg

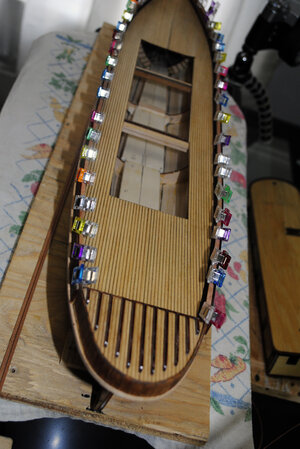
Finlay on the hull came the waterways, strakes, cleats, bulwarks, cap rail and rub rail. This went well.
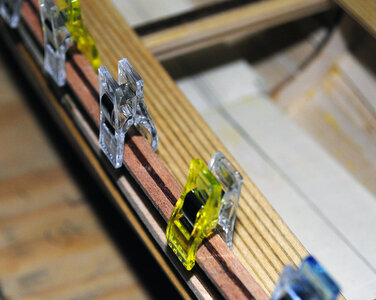
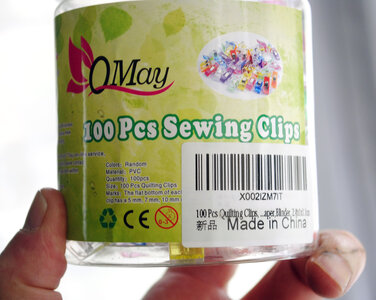
I "found" some small quilting clips and liberated them from servitude. They are surprisingly strong for their size and are perfect for holding the bulwarks.
The C in C said I could keep them. Sweet.

Hull 6.jpg

Hull 7.jpg

Hull 8.jpg
 
Greetings:
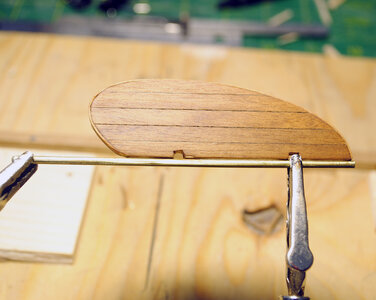
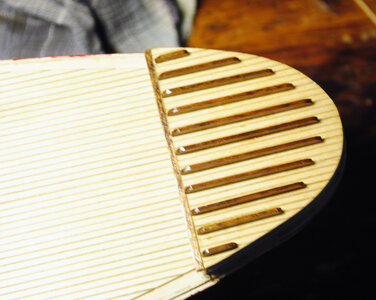
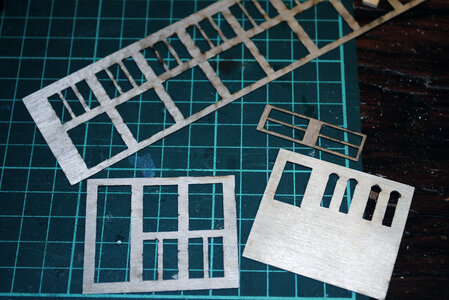
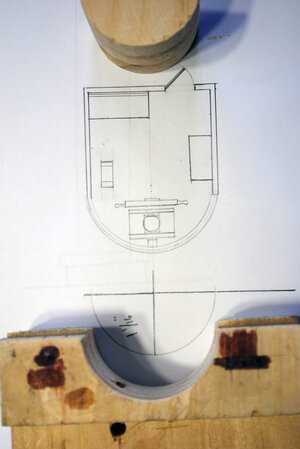
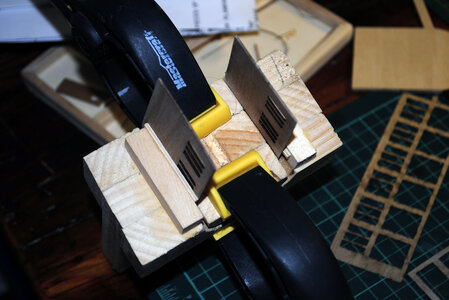
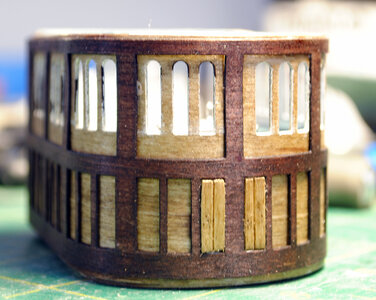
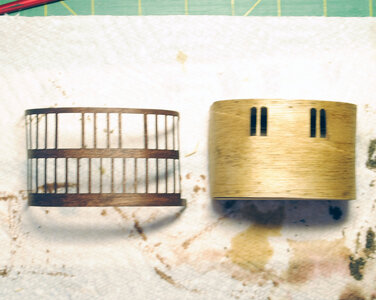
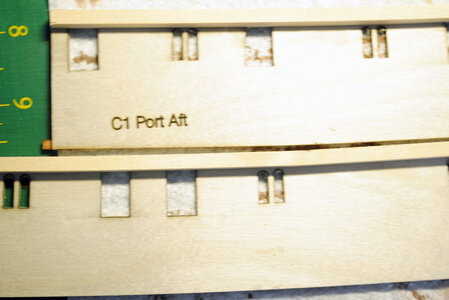
Next came the Pilothouse. I made a two part form with a 1 1/16 radius to shape the curved front sections. The sections were soaked and then clamped into the form. The main frame was built as per the plans with the parts all pre-stained. I planked the pilothouse roof rather than painting as indicated. While assembling the front section I noticed I had made an error, the part number printed in the underlay was visible in the cutouts of the overlay, I had shaped the part with the wrong side facing out. I think this is because the number is not visible when the wood is wet. My fix for this was 4 small strips placed into the overlay.

Pilot House 1.jpg

Pilot House 2.jpg

Pilot House 3.jpg

Pilot House 4.jpg

Pilot House 5.jpg

Pilot House 6.jpg


Pilot House 7.jpg

I added a detail strip and hand rails for the roof ladder the installed the running lights. Not shown are the two searchlights as they had not yet arrived.
The interior of the pilothouse is furnished (ships wheel, table bench and a light (not powered).

Now, on to the deckhouse:

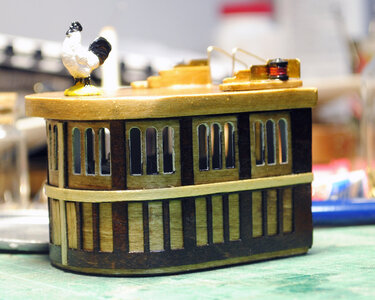
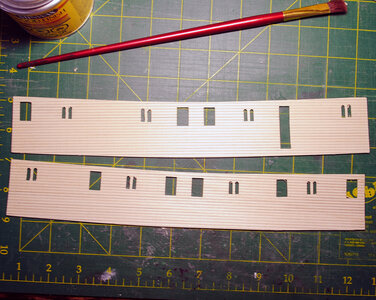
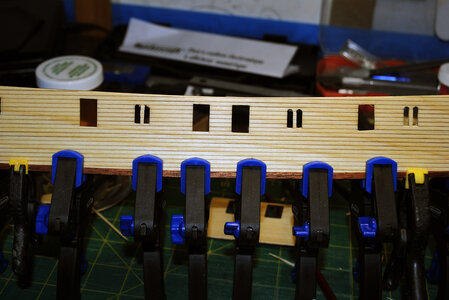
Much the same as the pilothouse, I used a form for the front section and built it onto the frame . I suggest building the floor a bit thicker in the frame and then sanding to fit the curve on the main deck. (something I had to do following the dry fit)
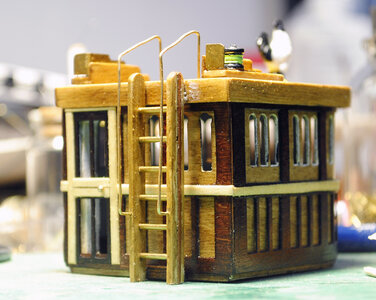
I made a template using the deckhouse roof and marked the locating of the stairway opening on the starboard side of the deckhouse superstructure. This was a bit tricky. The stairway was built free of the ship and then installed into the underside of the deckhouse.
The frame for the deckhouse needs more support than indicated on the plans.
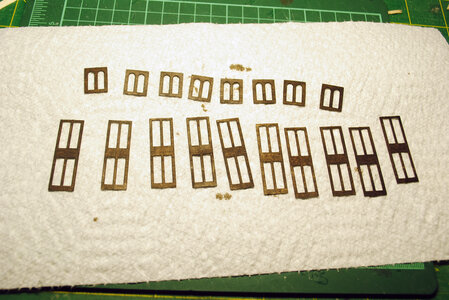
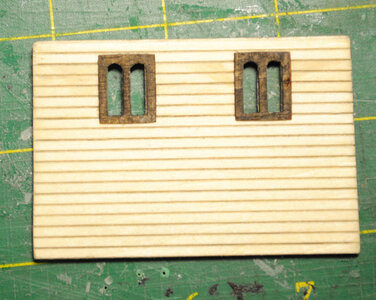
I pre-stained the windows doors and trim and the installed them. I had enough scribe decking to cover the roof, looks better than the suggested paint
No major problems during this part, thanks again to Pathfinder65.
It would be possible to partition the interior, I would do this on another project of this scale.

Deck House 1.jpg


Deck House 2.jpg

Deck House 3.jpg

Deck House 4.jpg

Deck House 5.jpg

Deck House 6.jpg

Next cam the masts, spars and booms.
I noticed the fore stay for the fore mast would interfere with any lines used from the bow (my interpretation, not nautical fact) so I made the fitting movable.
No issues with this section other than the previously noted position of the aft mast back stays and lifeboat davit.
I painted the hull and lifeboat and moved into assembly.
 
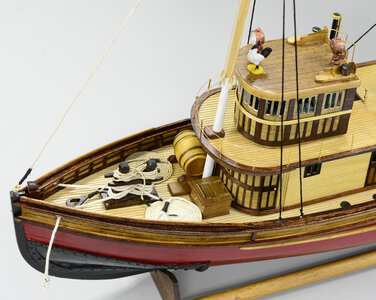
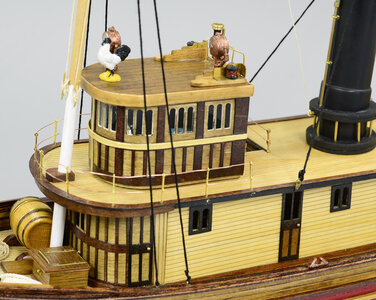
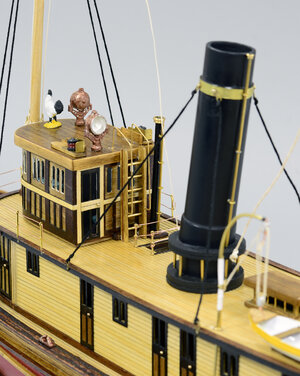
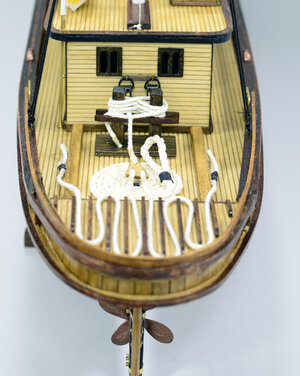
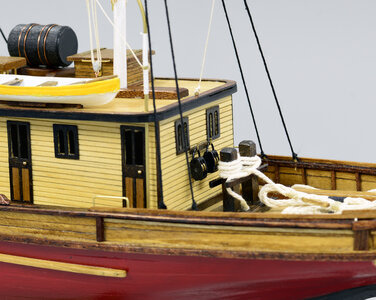
I made rope lines, another tool chest, fitted an extra barrel and made a tri-plate for barge towing. It all came together well.

Final pictures:

:_DSC6612 a small.jpg

_DSC6613 a small.jpg

_DSC6615 a small.jpg

_DSC6616 a small.jpg

_DSC6617 a small.jpg

_DSC6618 a small.jpg

_DSC6619 a small.jpg

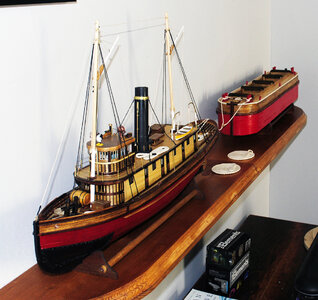
Then I said "she needs a barge"
I did some research. In addition to the information provided by Bluejacket I found mention of river service and coal and cargo delivery via "Dumb Barges".
"DUMB BARGE" How sad a term. Basically a barge with no propulsion, no steering and no crew. they need an appreciation society.
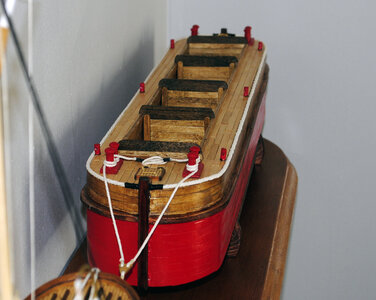
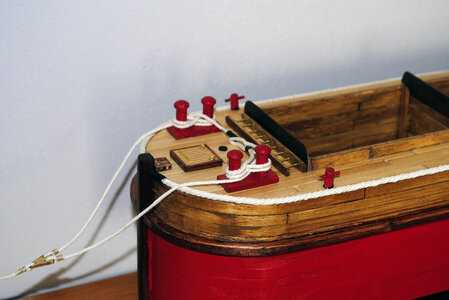
I started with 3/16 ply: 2 cut at 24" by 5" with a 2 1/2" radius (5" round) at each end. I cut the center out of one to form the top deck, the other became the hull.
I used 5/16 sq scrap at 3" to build the frame work and planked with "Craft Sticks" from the local Dollar Store.
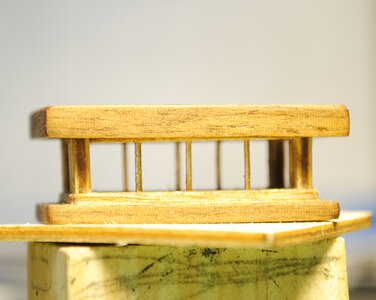
I built a long ladder, made some hatches, partitions and other fittings.
Total investment in less than $15.00.

The colours in the pictures are a bit too bright (saturated). They are more subtle in reality.
The full display is 5' long

_DSC0020 small.jpg


_DSC0021 small.jpg


_DSC0019 crop small.jpg


_DSC0016 crop small.jpg


Well there she is.
The possibilities with this kit are endless. Not without some challenges but well worth the time and effort.
I think partitions in the deckhouse and internal lighting throughout would be fun
This is my first build from Bluejacket, I will be looking for another project soon. Their materials are of fine quality and they have good customer service.
I do not know how accurate my towing rig is. There is a lot of information available, I just built a rig that used common parts.

Many thanks to those that followed the build.

All hail the Dumb Barge.
Cheers

_DSC6620 a small.jpg
 
I made rope lines, another tool chest, fitted an extra barrel and made a tri-plate for barge towing. It all came together well.

Final pictures:

:View attachment 303073

View attachment 303074

View attachment 303075

View attachment 303076

View attachment 303077

View attachment 303078

View attachment 303079

Then I said "she needs a barge"
I did some research. In addition to the information provided by Bluejacket I found mention of river service and coal and cargo delivery via "Dumb Barges".
"DUMB BARGE" How sad a term. Basically a barge with no propulsion, no steering and no crew. they need an appreciation society.
I started with 3/16 ply: 2 cut at 24" by 5" with a 2 1/2" radius (5" round) at each end. I cut the center out of one to form the top deck, the other became the hull.
I used 5/16 sq scrap at 3" to build the frame work and planked with "Craft Sticks" from the local Dollar Store.
I built a long ladder, made some hatches, partitions and other fittings.
Total investment in less than $15.00.

The colours in the pictures are a bit too bright (saturated). They are more subtle in reality.
The full display is 5' long

View attachment 303091


View attachment 303092


View attachment 303090


View attachment 303089


Well there she is.
The possibilities with this kit are endless. Not without some challenges but well worth the time and effort.
I think partitions in the deckhouse and internal lighting throughout would be fun
This is my first build from Bluejacket, I will be looking for another project soon. Their materials are of fine quality and they have good customer service.
I do not know how accurate my towing rig is. There is a lot of information available, I just built a rig that used common parts.

Many thanks to those that followed the build.

All hail the Dumb Barge.
Cheers

View attachment 303080
Everyone loves tugboats! Beautiful!
 
Excellent work. The barge is a neat idea and adds a lot to the display. Thanks for sharing this build.
 
This will be my build log for the steam tug Seguin and a "Dumb Barge" of my own design.
The Kit is from Bluejacket Ship Crafters (kit #KLW108) in 1/4" scale and was received as a birthday gift in 2021.
First, I have finished this project. I am doing the build log now because during the actual build my shipyard was undergoing a major rebuild and I was working in my office with limited access to my computer.
I must also give a shout out to member Pathfinder 65. His build log from 2018 was most helpful, especially while building the main deck and deckhouse. If not for his observations on the curve of the main deck (not shown on the plans) I would certainly have gone ahead as he did and ended up with a major problem. Many thanks Pathfinder 65.
Second, I have misplaced some images from the builds. Sorry, words will need to do.

This is a beautiful model. The box and instruction manual pictures do not do it justice. in short it is elegant.
the kit quality is good, the laser cutting is accurate and the cast parts are better than most.
The plans are very good, full size and clear.View attachment 301670View attachment 301671
I did order some additional parts from Bluejacket: Rails f0029 5/8, lifeboat f0904 3 3/8, two searchlights f0122 3/8. all were of good quality.

Points to note:
Hull - Make sure it does not warp or twist. build in the RC motor supports and more frame.
Main Deck & Deckhouse - Cut a card template of the deckhouse profile, dry fit, adjust as required and then build to it. Use the template for positioning the starboard stairway.
Stairway - Check the position and be very careful with the location.
Garboard planking - Do not score too deeply. Soak, pin to hull and allow to dry then glue.

There were no major issues with this build. Read ahead, use templates and dry fit first.

I hope you enjoy.
Using templates fitting deckhouse AND
Garboard planking tips very helpful .
 
Thank you for your build review. I am building the same Seguin tug, and your notes will be most helpful.
 
This will be my build log for the steam tug Seguin and a "Dumb Barge" of my own design.
The Kit is from Bluejacket Ship Crafters (kit #KLW108) in 1/4" scale and was received as a birthday gift in 2021.
First, I have finished this project. I am doing the build log now because during the actual build my shipyard was undergoing a major rebuild and I was working in my office with limited access to my computer.
I must also give a shout out to member Pathfinder 65. His build log from 2018 was most helpful, especially while building the main deck and deckhouse. If not for his observations on the curve of the main deck (not shown on the plans) I would certainly have gone ahead as he did and ended up with a major problem. Many thanks Pathfinder 65.
Second, I have misplaced some images from the builds. Sorry, words will need to do.

This is a beautiful model. The box and instruction manual pictures do not do it justice. in short it is elegant.
the kit quality is good, the laser cutting is accurate and the cast parts are better than most.
The plans are very good, full size and clear.
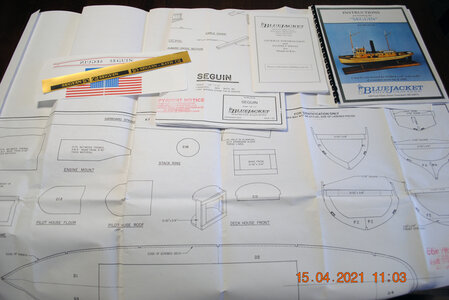
I did order some additional parts from Bluejacket: Rails f0029 5/8, lifeboat f0904 3 3/8, two searchlights f0122 3/8. all were of good quality.

Points to note:
Hull - Make sure it does not warp or twist. build in the RC motor supports and more frame.
Main Deck & Deckhouse - Cut a card template of the deckhouse profile, dry fit, adjust as required and then build to it. Use the template for positioning the starboard stairway.
Stairway - Check the position and be very careful with the location.
Garboard planking - Do not score too deeply. Soak, pin to hull and allow to dry then glue.

There were no major issues with this build. Read ahead, use templates and dry fit first.

I hope you enjoy.
Hallo @Anchorman
we wish you all the BEST and a HAPPY BIRTHDAY
Birthday-Cake
 
I made rope lines, another tool chest, fitted an extra barrel and made a tri-plate for barge towing. It all came together well.

Final pictures:

:View attachment 303073

View attachment 303074

View attachment 303075

View attachment 303076

View attachment 303077

View attachment 303078

View attachment 303079

Then I said "she needs a barge"
I did some research. In addition to the information provided by Bluejacket I found mention of river service and coal and cargo delivery via "Dumb Barges".
"DUMB BARGE" How sad a term. Basically a barge with no propulsion, no steering and no crew. they need an appreciation society.
I started with 3/16 ply: 2 cut at 24" by 5" with a 2 1/2" radius (5" round) at each end. I cut the center out of one to form the top deck, the other became the hull.
I used 5/16 sq scrap at 3" to build the frame work and planked with "Craft Sticks" from the local Dollar Store.
I built a long ladder, made some hatches, partitions and other fittings.
Total investment in less than $15.00.

The colours in the pictures are a bit too bright (saturated). They are more subtle in reality.
The full display is 5' long

View attachment 303091


View attachment 303092


View attachment 303090


View attachment 303089


Well there she is.
The possibilities with this kit are endless. Not without some challenges but well worth the time and effort.
I think partitions in the deckhouse and internal lighting throughout would be fun
This is my first build from Bluejacket, I will be looking for another project soon. Their materials are of fine quality and they have good customer service.
I do not know how accurate my towing rig is. There is a lot of information available, I just built a rig that used common parts.

Many thanks to those that followed the build.

All hail the Dumb Barge.
Cheers

View attachment 303080
Happiest Birthday. I do like Birthdays it give me the chance to view completed ships I have not seen before . Lovely steam tug and I do hail the barge- nice. Cheers Grant
 
Back
Top