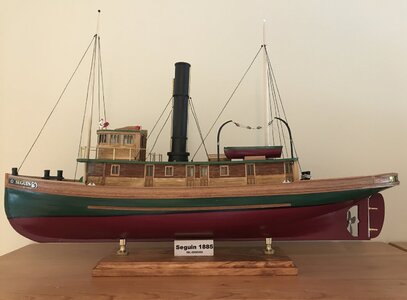
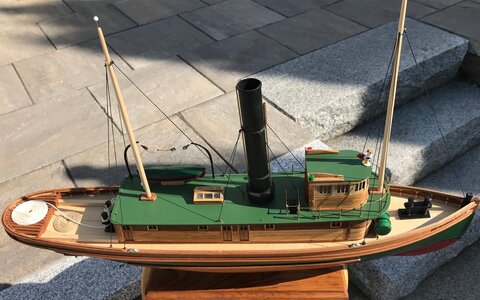
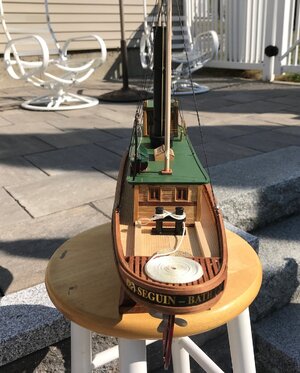
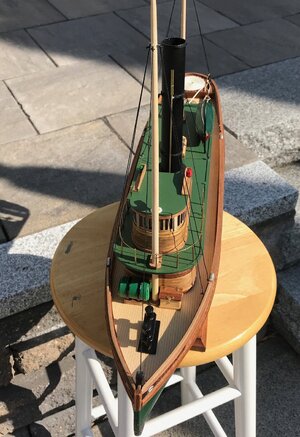
Seguin Tug; BlueJacket Shipcrafters - WIP (1st thread, ever 02/07/2023 )

Joined
Jun 19, 2022
Messages
8
Points
18

> My first, real ship, planking project. A bit intimidating, at 1st, but definitely a modeling, confidence builder.
Bluejacket labels the level of difficulty, nautically. Their Seguin kit is labeled "Admiral". I wanted to build that tugboat; so, with years of modeling, in youth, (now octogenarian) I went for it.
> WIP, at this Post:
▪️Frame complete
. ▪️Fairing has been done (yes, a commitment, realizing well-done fairing will have so much to do with successful planking and quality hull).
▪️Garboard plank(ing); this model has a multi-scored Garboard, equal to 3 planks wide; soaked (steamed) prior to fastening.
- sitting at this point; frame upside down, firmly secure on custom supports. Another, (as in music) point of arrival. Hesitating...
Have good soaking facilities, will be scoring 1st per instructions, and THEN...

Anyone, out there, done similar, would love comments, at this point.
Thank you, (ahead...).
 
Interesting name for the tug. There's a cruise ship on a series of lakes in the Muskoka region of the province of Ontario that's named Sequin. Now I will try to to find out where the name came from.
 
> My first, real ship, planking project. A bit intimidating, at 1st, but definitely a modeling, confidence builder.
Bluejacket labels the level of difficulty, nautically. Their Seguin kit is labeled "Admiral". I wanted to build that tugboat; so, with years of modeling, in youth, (now octogenarian) I went for it.
> WIP, at this Post:
▪️Frame complete
. ▪️Fairing has been done (yes, a commitment, realizing well-done fairing will have so much to do with successful planking and quality hull).
▪️Garboard plank(ing); this model has a multi-scored Garboard, equal to 3 planks wide; soaked (steamed) prior to fastening.
- sitting at this point; frame upside down, firmly secure on custom supports. Another, (as in music) point of arrival. Hesitating...
Have good soaking facilities, will be scoring 1st per instructions, and THEN...

Anyone, out there, done similar, would love comments, at this point.
Thank you, (ahead...).
Hi, I'm a little ahead of you at this point. I've got about 60% of the hull planking done. I attached untapered planks to the garboard and the deck edge on each side to see how many planks it would take and what "shape" I had to fill in between them. The large garboards make for an unusual planking shape - on most hulls the planks have to be tapered on their forward ends to fit onto the stem (see the planking pamphlet BJ provides in the kit) and then stealers have to be added near the stern which is usually the widest area. Not on this kit. The stem and bulkhead#5 are about the same planking space so you have to taper the aft end of the planks too. I did not really need to steam the planks to get them to fit (there is a bit of a twist to lay on bulkhead 5 but CA glue holds them. If you are planning on painting the hull below the deck level (like me) then you don't need to worry about how neat all the seams look or if your final planks on each side are not very rectangular because after using filler and paint you won't be able to see them. Good luck - this is a very attractive model.
 
Informative read, giving me more confidence in going ahead with plank on frame with SEQUIN's hull shape.
I am aware of analysis paralysis having been in systems design for several generations .
Thank you !
 
Hi, I'm a little ahead of you at this point. I've got about 60% of the hull planking done. I attached untapered planks to the garboard and the deck edge on each side to see how many planks it would take and what "shape" I had to fill in between them. The large garboards make for an unusual planking shape - on most hulls the planks have to be tapered on their forward ends to fit onto the stem (see the planking pamphlet BJ provides in the kit) and then stealers have to be added near the stern which is usually the widest area. Not on this kit. The stem and bulkhead#5 are about the same planking space so you have to taper the aft end of the planks too. I did not really need to steam the planks to get them to fit (there is a bit of a twist to lay on bulkhead 5 but CA glue holds them. If you are planning on painting the hull below the deck level (like me) then you don't need to worry about how neat all the seams look or if your final planks on each side are not very rectangular because after using filler and paint you won't be able to see them. Good luck - this is a very attractive model.
Hallo @schooner48
we wish you all the BEST and a HAPPY BIRTHDAY
Birthday-Cake
 
Back
Top