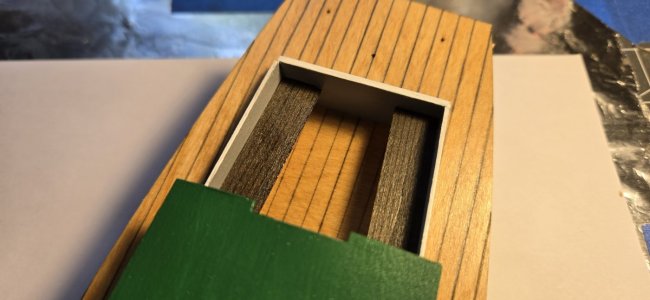
I have put my Norwegian Sailing Pram build on hold. I am at the point where I need to start fabricating, and make the sails. Once my work bench is ready I will resume that build.
To fill the time until my work bench is ready, I picked up and have started the Sharpie Schooner from Model Expo.
As the saying goes, "Don't assume." I assumed the Sharpie would be a simple straight-forward build. I was quite mistaken. I discovered the model is an older design, even if it has some production updates, notably the laser sheets.
As I progressed in the build I found a number of issues with the build. Some pieces were too long, some too short, some too wide, etc, etc, etc.
My problem solving and mechanical skills were put to the (minor) test.
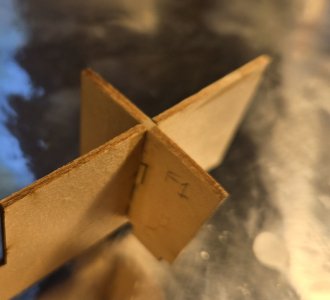
The bulkheads are fairly thin, as is the keel. Too much clamp pressure broke one bulkhead, and a fall from the table broke the stern extension on the keel.
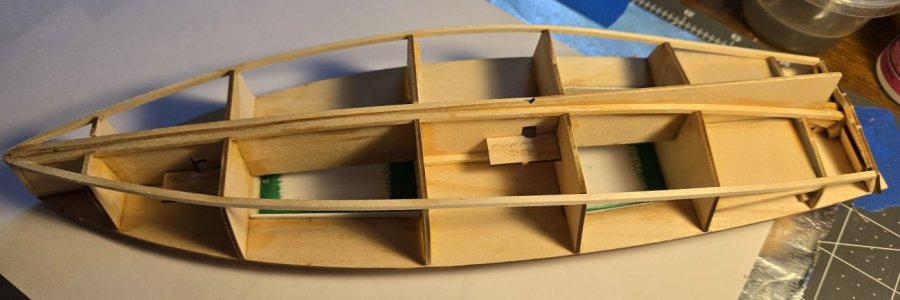
Clamps and LEGO blocks securing and squaring the bulkheads.
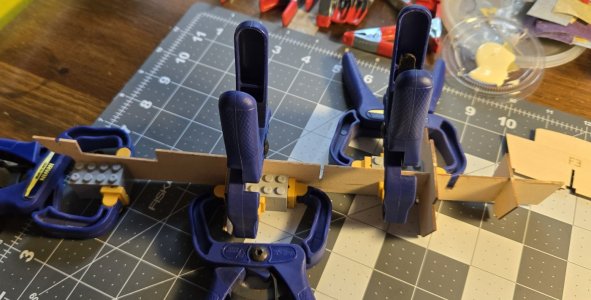
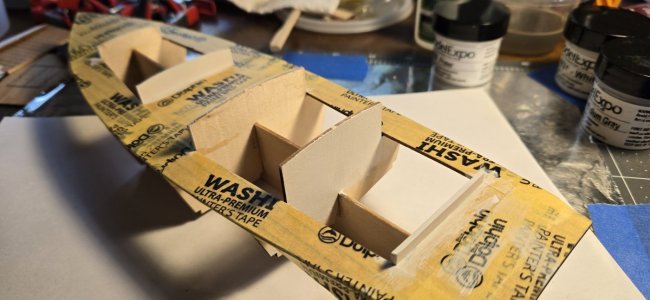
Bulkheads in place.
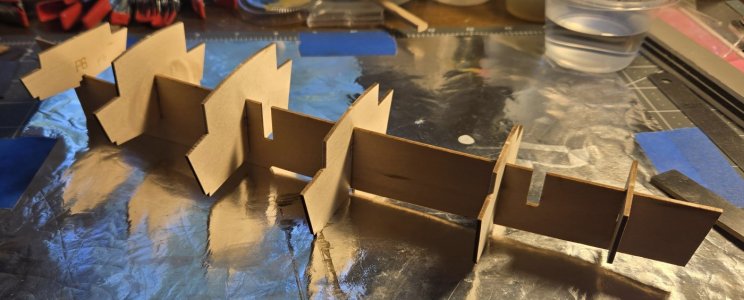
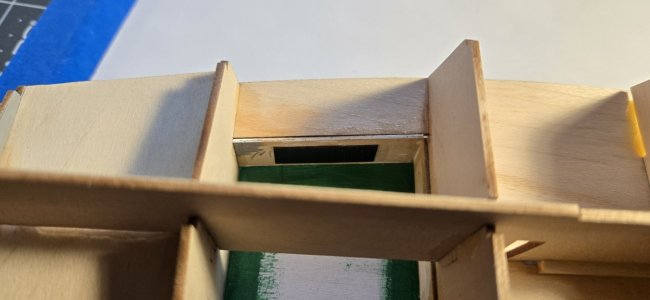
My first assumption was that all of the bulkheads fit as designed. After gluing them in I found bulkhead #1 sat too high.
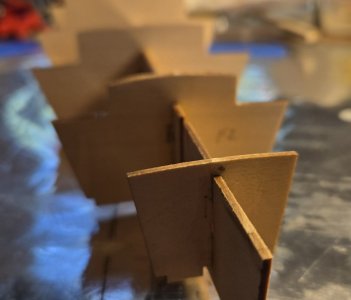
A judicious use of vinegar, and the tip of a #11 blade pried the bulkhead lose for adjustment.
Reseated bulkhead #1.
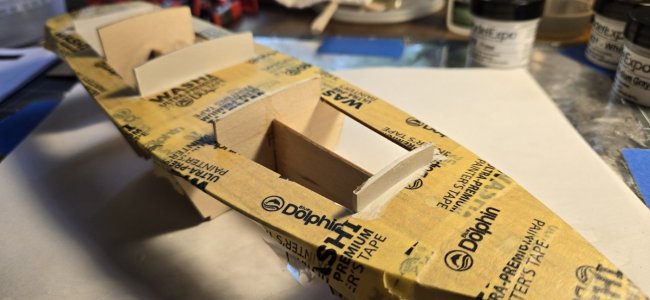
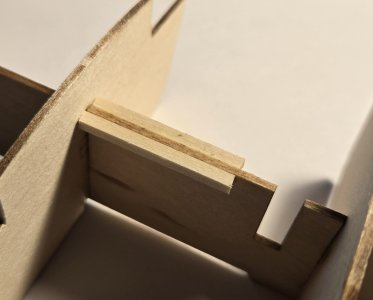
In instruction order, the cleats to support the deck around the centerboard "slot".
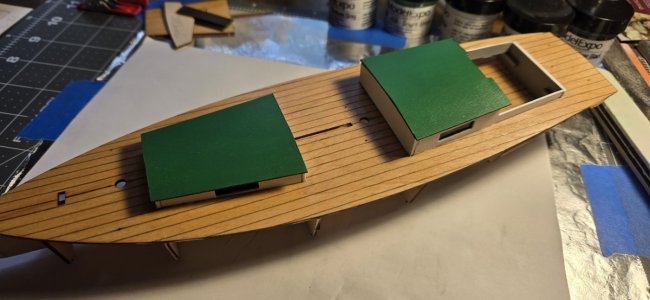
Following the instructions, I measured out and scribed in the deck planking.
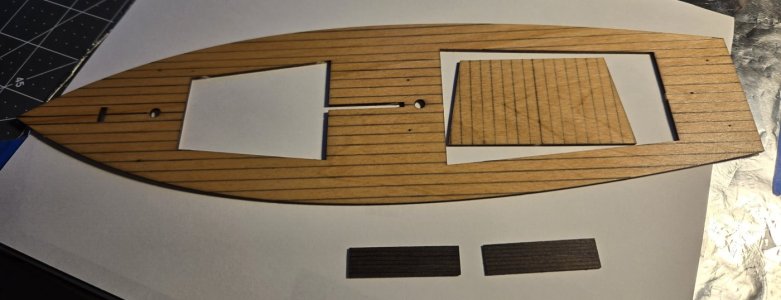
I sanded the deck smooth, then applied two or three coats of Minwax Ipswich Pine221 Wood Finish Penetrating Stain, until I got a shade I liked.
Once the stain was fully dried, I applied multiple coats of Zinsser Bulls Eye Shellac. I applied coats until I approximated an eggshell finish.
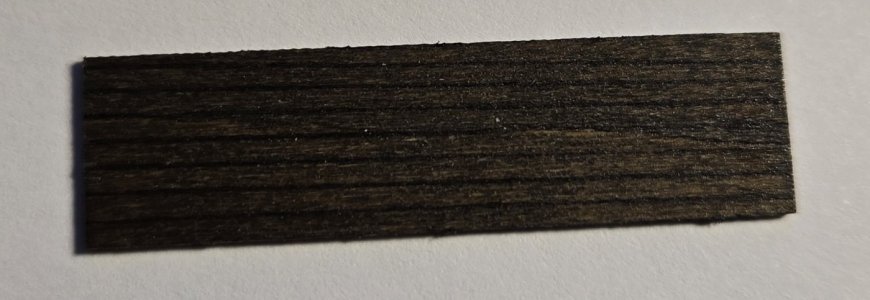
While working on the deck, I tackled the cockpit seats. Since the companionway door and molding strips are Walnut, I decided to finish the cockpit seats in walnut. I had scribed the seat planks as instructed, then applied the stain. Nope. The lines disappeared. I used a black Sharpie pen (not marker) to draw in the plank lines. Worked out.
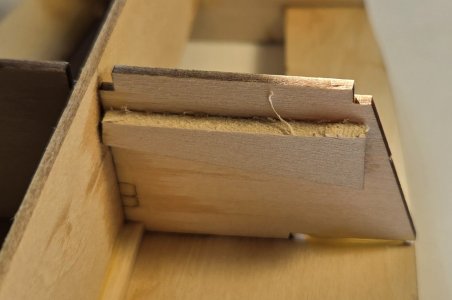
As mentioned in the opening, I broke a bulkhead, with too much clamp pressure.

You can see the end of the split highlighted in red, and the splint in green
Another view.
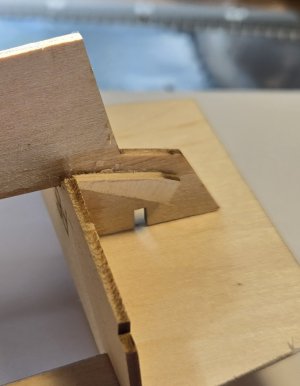
Also mentioned earlier, (before attaching the deck) the framework took a header off of my table. Here is the beginning of the transom repair.
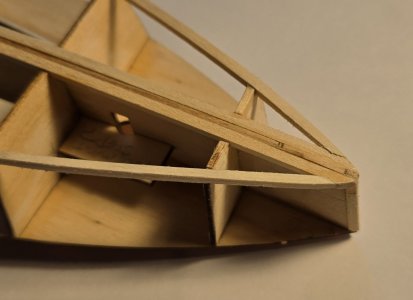
The instructions mentioned the possibility of the bow of the deck extending past keel.
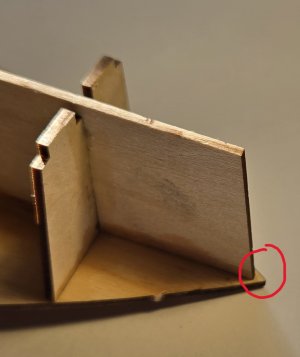
Extension added, per the instructions solution. I ensured the grain ran the length of the extension, and not across, to be sure of maximum strength of the mend.
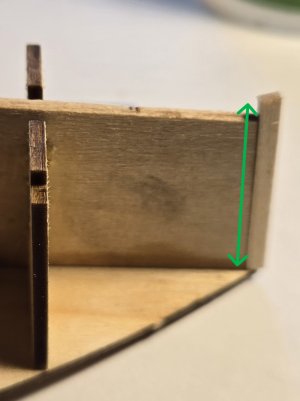
The instructions mention the possible need to sand the cockpit floor shorter to fit between the bulkheads. Indeed it did. I also found the cockpit floor wider than the deck.
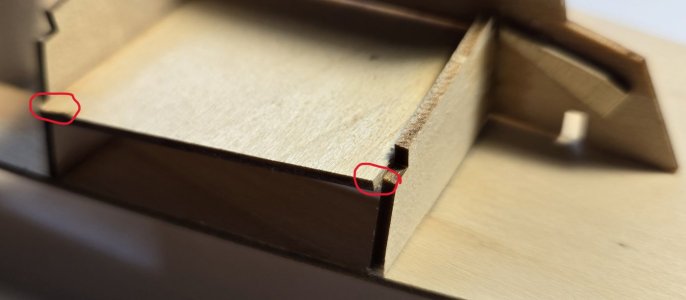
I marked and trimmed off the port and starboard excess.
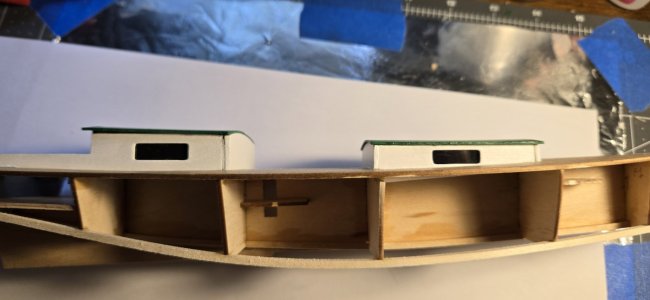
As I mentioned earlier, there were more issues with with fit, particularly the bulkheads. The cockpit floor, when lined up with the notches for the chines, it did not sit 'on' the keel.
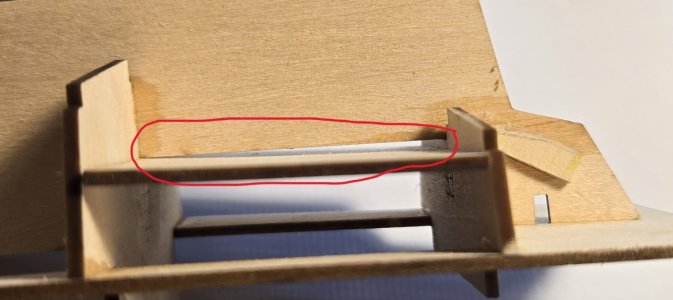
I left it as is.
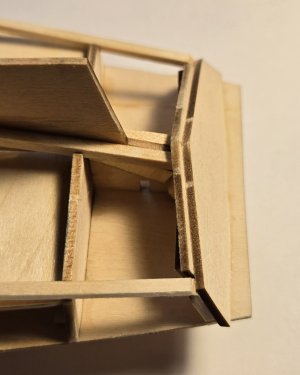
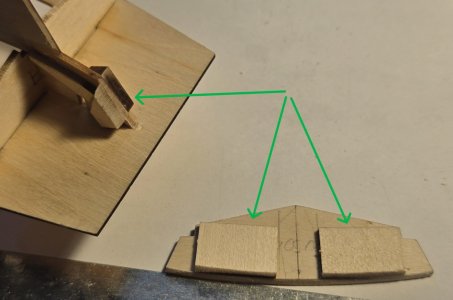
When trying to afix the transom I found there was insufficient support along the edge of the keel to adequately support the transom while the deck was curved to fit.
I added blocks to the keel and the inside of the transom to add gluing area. Did the trick. Solid attachment to the keel AND the deck.
The transom ended up wider than the deck.
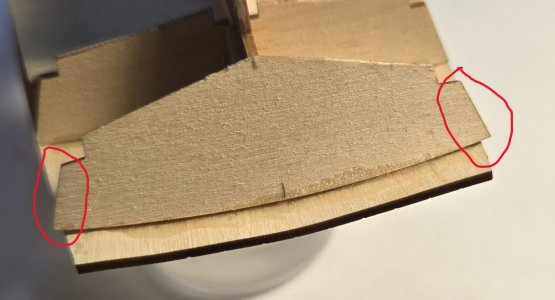
After I attach the transom cap I will sand both to shape.
Gotta run. Playing taxi for my son. Will post the rest of this stage when I return.
Cheers
To fill the time until my work bench is ready, I picked up and have started the Sharpie Schooner from Model Expo.
As the saying goes, "Don't assume." I assumed the Sharpie would be a simple straight-forward build. I was quite mistaken. I discovered the model is an older design, even if it has some production updates, notably the laser sheets.
As I progressed in the build I found a number of issues with the build. Some pieces were too long, some too short, some too wide, etc, etc, etc.
My problem solving and mechanical skills were put to the (minor) test.
The bulkheads are fairly thin, as is the keel. Too much clamp pressure broke one bulkhead, and a fall from the table broke the stern extension on the keel.
Clamps and LEGO blocks securing and squaring the bulkheads.

Bulkheads in place.

My first assumption was that all of the bulkheads fit as designed. After gluing them in I found bulkhead #1 sat too high.

A judicious use of vinegar, and the tip of a #11 blade pried the bulkhead lose for adjustment.
Reseated bulkhead #1.

In instruction order, the cleats to support the deck around the centerboard "slot".

Following the instructions, I measured out and scribed in the deck planking.

I sanded the deck smooth, then applied two or three coats of Minwax Ipswich Pine221 Wood Finish Penetrating Stain, until I got a shade I liked.
Once the stain was fully dried, I applied multiple coats of Zinsser Bulls Eye Shellac. I applied coats until I approximated an eggshell finish.
While working on the deck, I tackled the cockpit seats. Since the companionway door and molding strips are Walnut, I decided to finish the cockpit seats in walnut. I had scribed the seat planks as instructed, then applied the stain. Nope. The lines disappeared. I used a black Sharpie pen (not marker) to draw in the plank lines. Worked out.

As mentioned in the opening, I broke a bulkhead, with too much clamp pressure.

You can see the end of the split highlighted in red, and the splint in green
Another view.

Also mentioned earlier, (before attaching the deck) the framework took a header off of my table. Here is the beginning of the transom repair.

The instructions mentioned the possibility of the bow of the deck extending past keel.

Extension added, per the instructions solution. I ensured the grain ran the length of the extension, and not across, to be sure of maximum strength of the mend.

The instructions mention the possible need to sand the cockpit floor shorter to fit between the bulkheads. Indeed it did. I also found the cockpit floor wider than the deck.

I marked and trimmed off the port and starboard excess.
As I mentioned earlier, there were more issues with with fit, particularly the bulkheads. The cockpit floor, when lined up with the notches for the chines, it did not sit 'on' the keel.

I left it as is.
When trying to afix the transom I found there was insufficient support along the edge of the keel to adequately support the transom while the deck was curved to fit.
I added blocks to the keel and the inside of the transom to add gluing area. Did the trick. Solid attachment to the keel AND the deck.

The transom ended up wider than the deck.

After I attach the transom cap I will sand both to shape.
Gotta run. Playing taxi for my son. Will post the rest of this stage when I return.
Cheers


